
Add a Note
You can enter one or more notes for any timesheet entry or for the timesheet as a whole. While each entry can have a separate note, there is only one timesheet note, which you can edit to add, delete, or change. You can also include a note with a submitted timesheet.
You can add an entry note by right-clicking the entry and selecting Add Entry Note, or by selecting the Add Entry Note button in the Notes pane at the bottom of the screen.
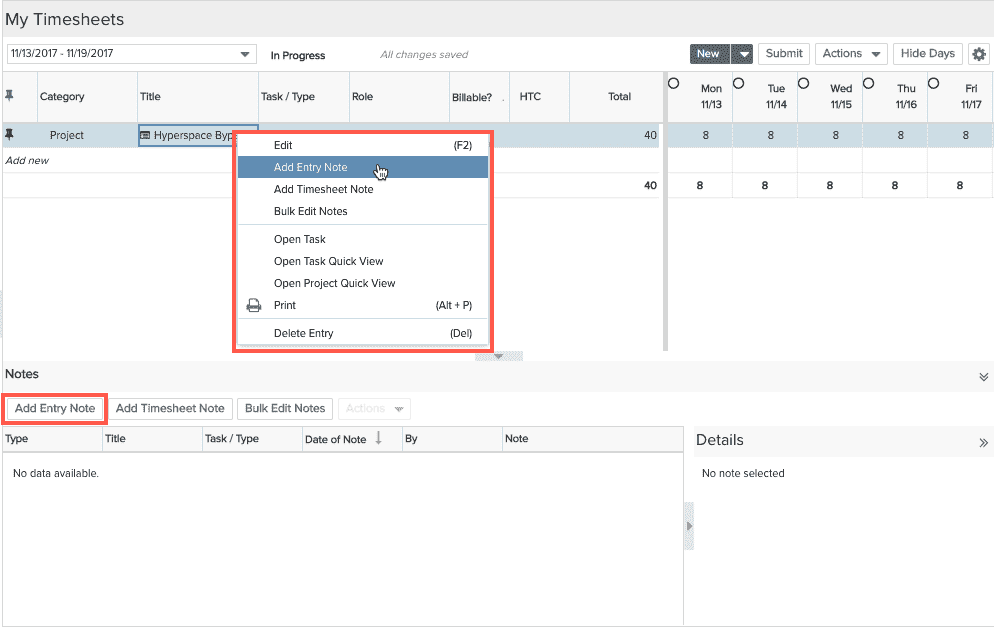
Then the Add Entry Note pop-up will open with that day selected by default. You could also just select the Add Entry Note button within the Notes pane and change the date of the note as needed. Saving a note will add it to the Notes pane with Type “Entry”.

If you select to “Add Timesheet Note” from that right mouse click context menu or the button within the Notes pane, a simple pop-up opens for entering the Timesheet note. Since the Timesheet note is a general note for the timesheet period as a whole, it doesn’t have a day selector. Instead it shows the timesheet period and once saved will be associated with the first day of the timesheet period by default. Saving this note adds it to the Notes pane with Type “Timesheet”. There can only be one Timesheet note, so the Add Timesheet Note button and option become disabled once it has been added, but it can still be edited or deleted by the user that entered it, via right mouse click context options for the note row or from the Notes pane Actions menu. You can also double-click on a note to edit it.
All notes appear in the Notes pane at the bottom of the Timesheets page. The Type column reflects the type of note (Entry, Timesheet, Submission, Rejection, Approval). For more information about notes, see Notes.