
Changing Page Layout
You PPM Pro administrator configures the Details pages in SSA for all SSA-enabled entities, such as projects, tasks, issues, portfolios, and assets.
The groups of fields defined in SSA are displayed on the rendered Details page according to the order they appear in on the Details panel in SSA. For example, if you use a one-column layout for your rendered project, the groups of fields will appear in the Details section in the same order they appear in the SSA project Details panel.
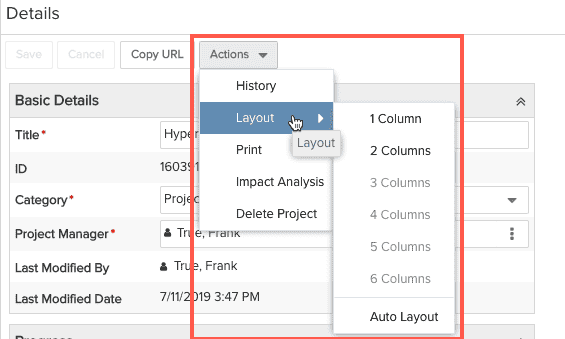
You can change the number of columns in pages that contain multiple groups, such as the project Details page, by using the Layout menu.
Layout Changes Impact All Entities, Per User
Layout changes affect the grid for the current user. In addition, any layout changes made on an entity will affect all entity instances of the same category, as long as the pages are EXACTLY the same. For example, if 2 projects use the same category, but one project has scoring enabled, the changes will NOT be propagated because one project will have Scoring fields on the Details panel, and one project will not.
For example, the screenshot below shows the Details section defined in SSA for a project category - notice the order of grouped fields: Basic Information, Reporting and Compliance, Additional Information, Dates, Budgets:
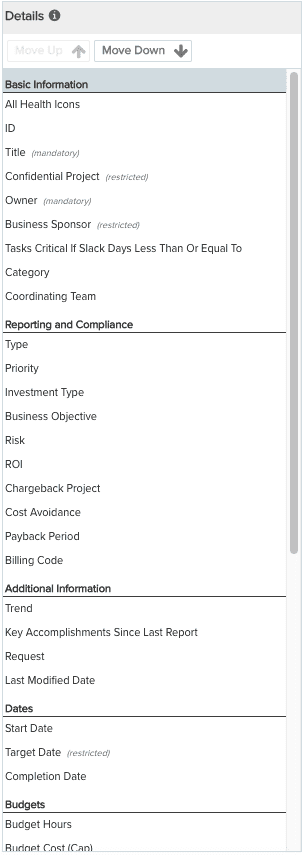
As mentioned earlier, if you have a one-column layout, the sections will appear in the same order as they do in the screenshot above. Every group is in the left column (L L L...).
If you choose a multi-column layout, the sections are distributed from left to right in the rendered Details page; L R L R for a two-column format, L R R for a three-column format and so on.
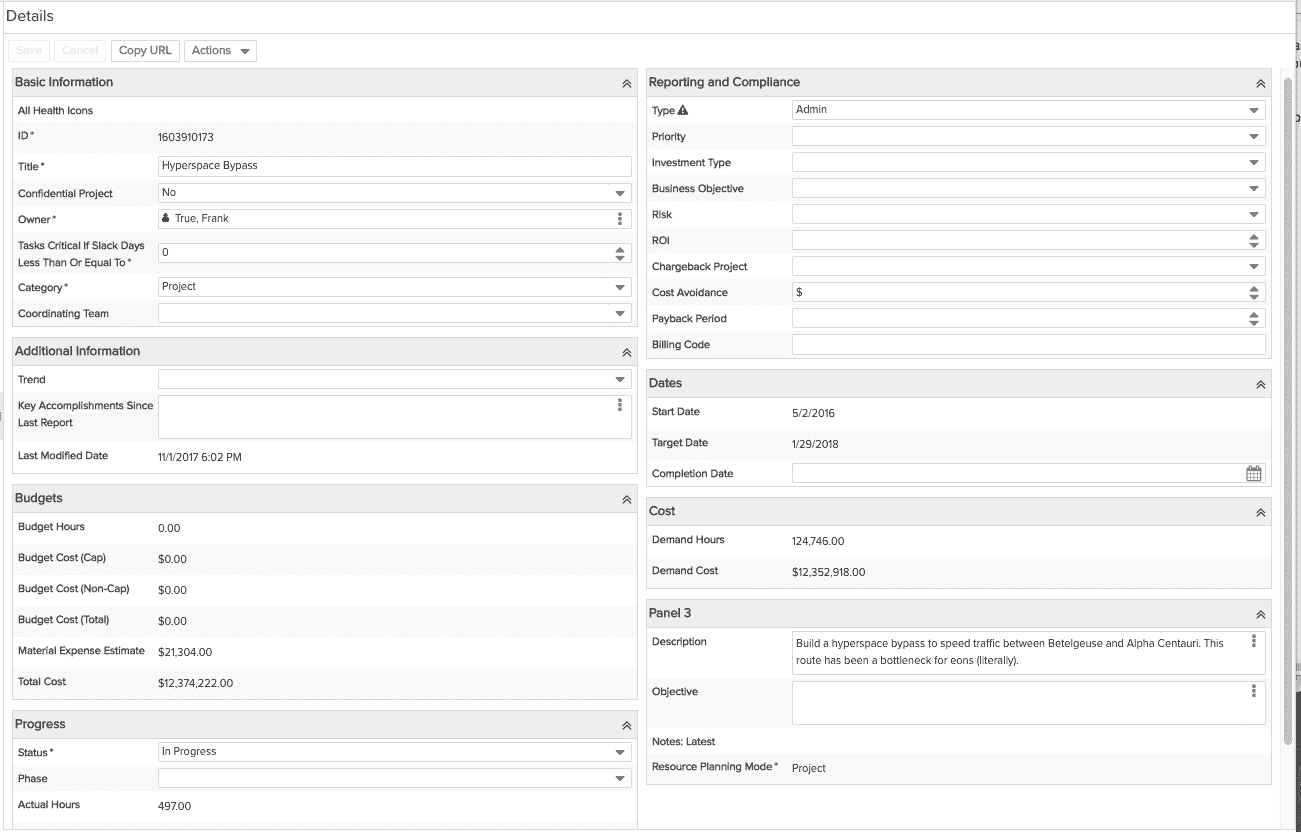
For example, the screenshot below shows the same SSA Details section in a two-column layout in the rendered Details page:
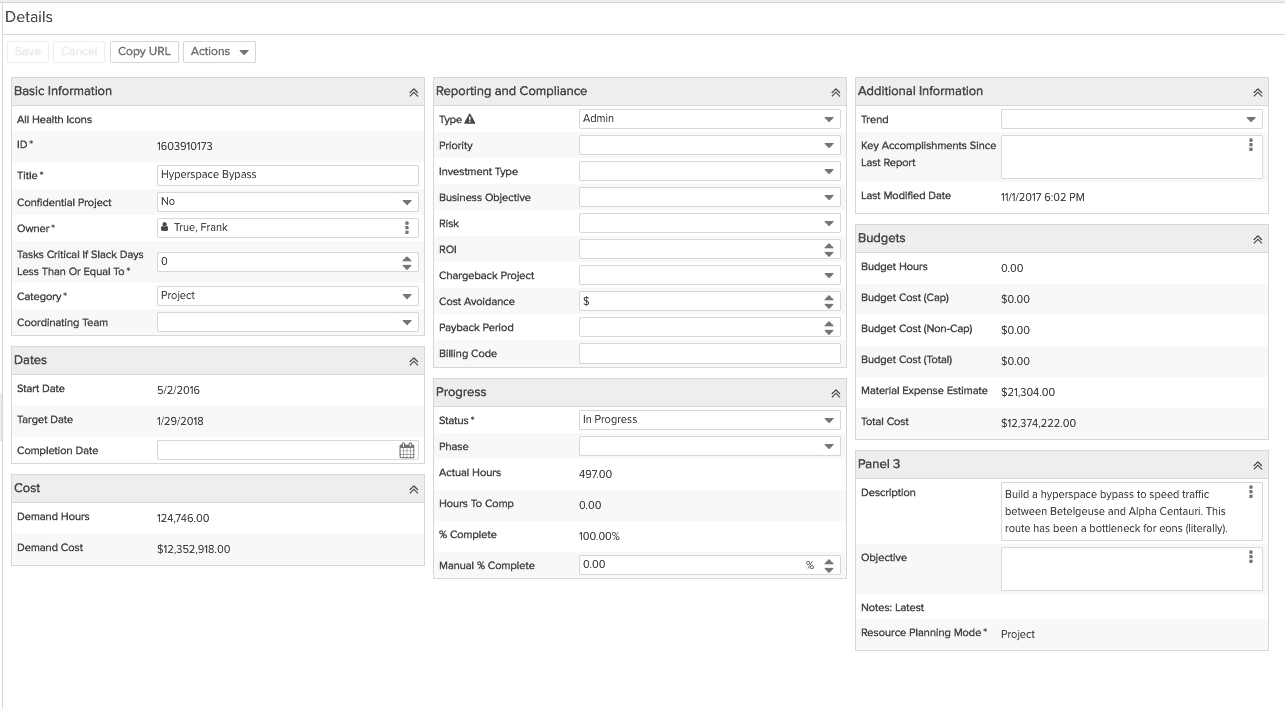
In the three-column layout shown below, groups are still distributed left to right. In this example, since there are only 8 sections (not divisible evenly by 3), the system puts the 8th group in the spot that makes the layout most even (if there were 9 groups, the last 3 groups would be laid- out left to right in the bottom row):
You can drag the sections into different locations manually, but the only way to increase/decrease the number of columns is to use the Actions > Layout command.
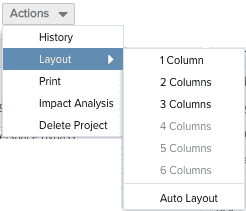
The values offered by Actions > Layout values depend on the width of your browser window - if you browser is too narrow to divide the sections into 3 columns, for example, then Actions > Layout offers 1 Column and 2 Columns as options, in addition to Auto Layout.
If you choose Auto Layout, then the system divides the page into as many columns as will fit. If you increase or decrease the width of your browser window, then the system automatically resizes to the optimal number of columns.
If you choose 1 Column, for example, then the fields will stretch across the width of the browser window, regardless of how wide/narrow the window is.
If you choose 2 Columns, for example, the system will divide the sections into 2 columns. If you stretch the browser window, the fields in each column will resize to equally to span the width of the window. If you narrow the window, the display will eventually convert to one column. Any time you choose more than 1 column, the system will reduce the number of columns when necessary as you narrow the window. Note that a horizontal scroll bar will not be applied regardless of how narrow the window gets.