
Request Notes and Attachments
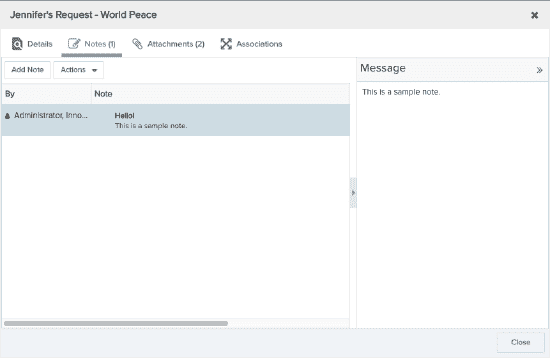
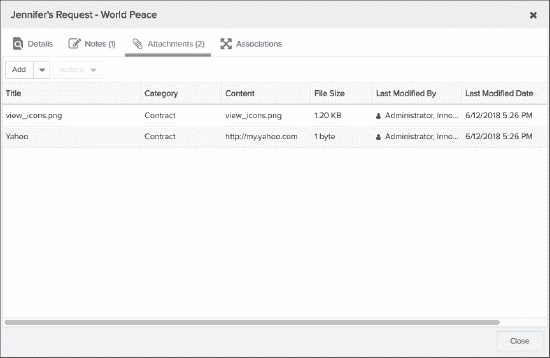
Requests can include notes and attachments provided the request category is configured to support them. If configured, Notes and/or Attachments tabs appear in addition to the request Details tab, as shown below:
In addition to creating notes/attachments for requests, you can also copy them to an existing associated entity, or copy them to an entity at the time of its creation from a request.
User Notes vs System Notifications
User notes that are explicitly created by a user are displayed in the notes tab; notifications sent by the system, as well as any comments make on actions such as Approve, Reject, or Place On Hold, are captured in the Activity Log. System fields that are provided as a convenience for reporting, such as Notes: Latest, consider only notes on the Notes tab.
Adding a Note to a Request
- Navigate to the request List or Card view.
- Open the request for which to create the note and click the Notes tab.
- Click the Add Note button.
- Enter a subject (required) and an optional message.
- Click Save.
Working with Notes
Once you add a note to a request, the following options are available from the Actions menu or the right-click context menu:
| Action | Description |
|---|---|
| Edit | Opens a rich text editor where you can modify the existing note, including the Subject text. |
| Reply | Opens a rich text editor where you can enter a new message in response to the message that was selected when you chose Reply. The title of the original message is displayed (read only) in the Subject line. |
| Copy Note to Associated Entity | See Copying a Note to an Associated Entity |
| Delete | Deletes the selected note. Notes can be deleted even after copying to an associated entity. |
Adding an Attachment to a Request
- Navigate to the request List or Card view.
- Open the request to add the attachment to, then click the Attachments tab.
- Click the Add menu.
- Select Link or File.
- File - browse to the file you wish to upload, add an optional Title, Category, and Description and click Save. See About Attachments and Attaching Files and URL Links to an Entity for more information.
- Link - Enter a URL, add an optional Title, Category, and Description and click Save. See Attaching Files and URL Links to an Entity
- Click Save.
Working with Attachments
Once you add an attachment to a request, the following options are available from the Actions menu or the right-click context menu:
| Action | Description |
|---|---|
| Open | Opens the link or file. |
| Download | (File attachments only) Downloads the file. |
| Edit | Opens the Attach File or Attach Link dialog, where you can modify the the link/file, change the title, category, or description. |
| Opens the system email client which automatically includes the file or link as an attachment. You can optionally choose to send a link to the file. | |
| Copy Attachment to Associated Entity | See Copying an Attachment to an Associated Entity |
| Delete | Deletes the selected attachment. Attachments can be deleted even after copying to an associated entity. |
Copying a Note/Attachment to an Associated Entity
Note that you can copy notes/attachments to associated entities at any point, even after the request has been approved.
- Navigate to the request List or Card view.
- Open the request that contains the note/attachment.
- Click the Notes or Associations tab, then highlight the note/attachment.
- Choose Actions > Copy Note to Associated Entity.
- In the dialog that appears, select one or more entity by clicking the appropriate checkbox(es).
- Click Copy Note or Copy Attachment (depending on which tab you are in).
Customizing the Notes/Attachments Grids
You can control the columns that appear on the Notes and Attachments grids, where they appear, and the sort order. The screenshot below shows the UI elements referenced in the descriptions:

- To add/remove columns (from the static set provided), hover your cursor over a column header until you see the dropdown menu. Click the menu icon, then click the Columns item. Check or uncheck the columns you want to add/remove them.
- Move columns to any position in the grid by simply dragging the column header in the grid.
- To sort a list, click on a header. An arrow pointing up indicates ascending sorting; down indicates descending. Alternatively, click your cursor in the header to display the menu and choose the sort order - ascending or descending.