
Overview of dashboard creation
This video demonstrates how to create a dashboard. Duration: 6 min.
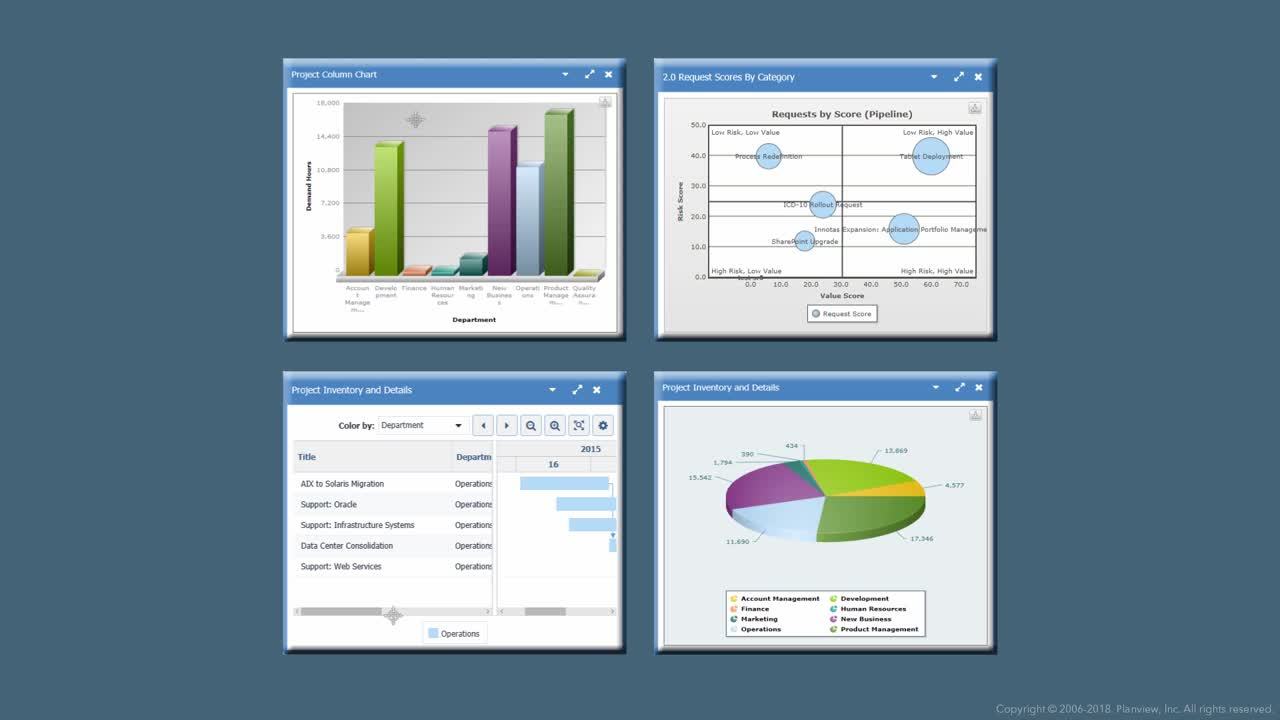
You create a dashboard by selecting the reports you want to publish, placing them on the dashboard, arranging and sizing them, and determining who will be able to view the published dashboard. Reports in this context are also referred to as dashboard "components."
Part of setting up a dashboard includes applying filters to the reports, because only the report definitions are placed on the dashboard, not their runtime options. For example, when you view the dashboard you will specify the targets for all the reports in the dashboard. If you further refined your data and specified a date range for a particular field when you ran the report, you will need to create a filter that replicates that field/date range so it is available when you configure the dashboard components. For more information, see Configuring dashboard components (reports).
To initiate Dashboard creation you click the New button, which brings up a that presents the following tabs:
-
Basic Details - specify dashboard Title and Type, and indicate whether you want to force page breaks in the printed output
-
Layout - choose the reports you want on the dashboard
-
Components - set runtime information, such as the target for the report and any filters you want to apply
-
Visibility - specify who can see the dashboard
Once you have configured your dashboard, you can save and view it, make it available to other users, and revise it as much as you want.
Depending on your organization's internal processes, you can publish the dashboard (if you are on the Admin Publishing team), or hand it off to another resource tasked with publishing dashboards.
Note: You can also access the dashboard interface throughout the system at each high-level entity, such as at a specific project. The Dashboard list will be filtered to reflect the object you are working with. For example, if you have selected a project and then click its Dashboards section link, the Dashboards List will appear displaying only report definitions for the Project entity, and you can only create dashboards from this interface with reports based on projects.
Before you begin
Things to think about:
-
Will you need to apply filters? Any filters available on the Admin/Filters tab are available on the Components screen of the wizard. However, if you used a date range for a specific field when you ran your report, you will need to create a filter that replicates those parameters; you will need to do this before you view your dashboard.
- Who should be able to see your unpublished dashboard? By default dashboard visibility is set to Owner - only you can view it. If you wish to create a dashboard team, or set the visibility to All Users, you can do so when you create the dashboard. You can modify the dashboard team at any time.
-
Do you want your published dashboard URL to expire or to require an access code or to require a login? You can specify this information when create the dashboard or add it at a later point.
-
Do you want to categorize your dashboards? You can define dashboard Types, which are just labels that provide a visual indicator to help understand the target audience for the dashboard. Dashboard types can be set up in Admin / Setup / Lookup Lists.
Next step?
From the Dashboards List, click New and specify the basic report details.