Creating Filter-Based Groups
Filter-based groups are user-defined groups whose members are determined by the results of a resource filter. When you create the group you assign a resource filter to the group. Any time a resource meets the filter criteria, they are added to the group. Similarly, if a resource no longer meets the filter criteria, they are removed from the group.
Please note the following;
- If a filter is in use for a filter-based group, it cannot be deleted or edited.
- You can change the filter used by a group on the group's Details tab in Admin/Groups.
- "is Current User" filter criteria are evaluated in the context of themselves. For example, the criterion "Immediate Supervisor is Current User" would result in a group containing users who are their own immediate supervisors. We recommend that you do not use Current User as a criterion in a filter for a filter-based group.
Filter-Based Groups, Permissions, and Performance
Groups are one of the primary vehicles for granting permissions to the various PPM Pro entities (see Profile-Based Permissions). Because filter-based group membership is dynamic, permissions assignments can frequently change. You can use the Permissions Explorer to double-check the permissions for any given user by navigating to the Resources list, right-clicking on the resource and choosing View User's Permissions. We recommend that you click the Refresh button to ensure the most up-to-date permissions are displayed.
While filter-based groups are a convenient way to control permissions, caution must be used to avoid negatively impacting application performance. For best results, use simple filters (filters with criteria on the resource entity only, for example), and avoid calculated fields.
Note: Avoid filtering on groups when using that filter in a filter-based group.
To Create a Filter-Based Group
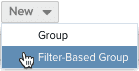
- Navigate to Admin/Groups and select New > Filter-Based Group.
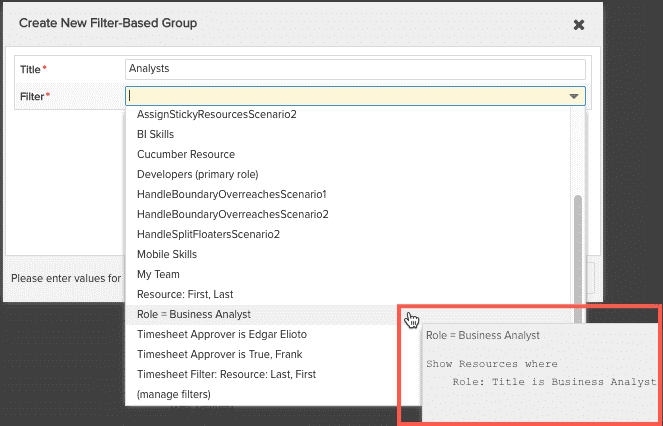
- Enter a title for the group. It is useful to use a descriptive name, such as "My Special Projects Team", or "All DBAs".
- Select a filter from the list of resource filters. This filter will determine the members of the group. You can hover your cursor over a filter name to see its definition.
- Click Save.
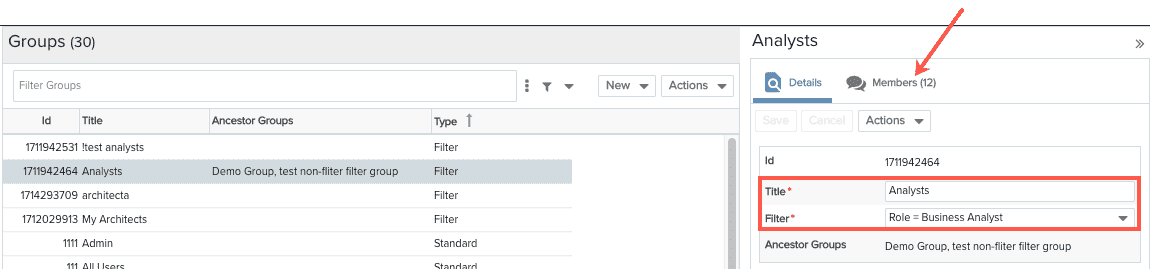
The new group will appear on the Admin/Groups page. Select the group to view its Details and Members tabs. Note that you can change the filter assigned to the group by selecting a different filter from the Filter droplist.