
Printing dashboards
To print a dashboard, run it and then choose Actions > Print.
To print a dashboard as well as its meta-data (see screenshot below), choose Actions > Print Details.

Generating a PDF
You can generate a PDF of your dashboard from the print dialog. The PDF is generated by your local web browser in conjunction with whatever "PDF printer" plugin is installed on your local machine. PPM Pro generates the HTML for the report/dashboard page and the browser converts that to a PDF. As such, there can be differences in the output based on the browser and PDF printer software being used locally.
To ensure the best output, you should enable your browser to print background color and images. See Printing Background Colors for more information.
Inserting Page Breaks
In the Basic Details screen of the Dashboard wizard there is a field called Page Break After Rows. This optional field allows you to force page breaks in printed output when the web browser print functionality is producing a poor result.
You specify a row number (for example 1,3,5) to indicate which rows of components, as seen in the layout tab, should be followed by page breaks. Note that these are row numbers, not page numbers.
For example, imagine a layout like the one below: four large chart components stacked vertically, each on a new row in the layout panel.
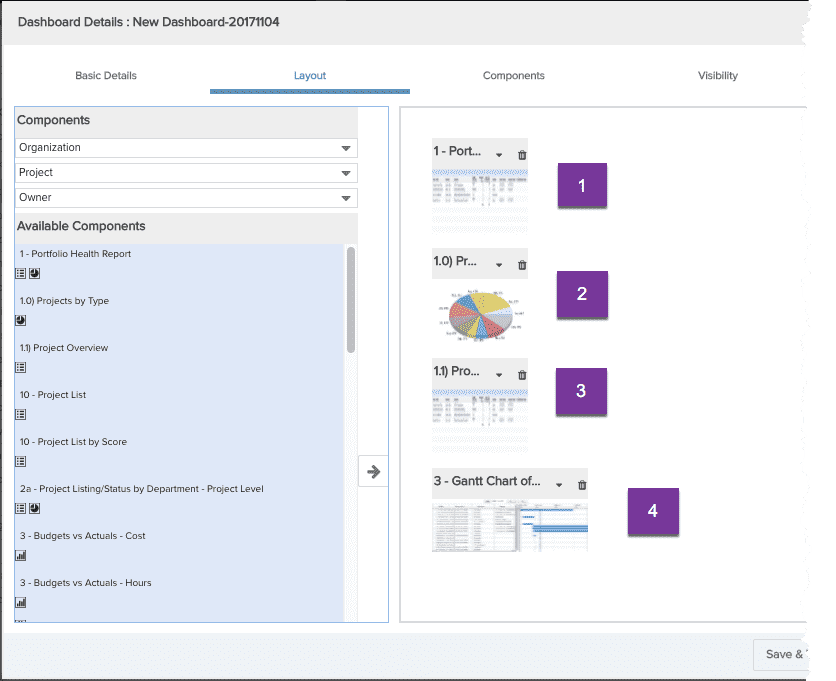
You want to force a page break after the 2nd chart because two charts print nicely on a single page. In this scenario, you would enter "2" in the Page Break After Rows field. The resulting printout will have two charts on page 1 and two on page 2.
If you add another report below the 4th chart and want this report to start printing on a new page, you enter "2,4" in the Page Break After Rows field. The resulting printout will have 2 charts on page 1, two charts on page 2 and then the 5th report starting on page 3.