
How to Publish Dashboards
Once you get your dashboard looking the way you want it to, you can publish it, which means taking a snapshot of the dashboard.
Dashboards are published from entity Dashboard grids (for example, the grid that appears when you click the Dashboards section for a project, or the grid that appears when you click the Dashboards tab for a portfolio). Dashboards cannot be published from the top-level Dashboards grid (the grid that appears when you click the Dashboards navigation link in the header). However, you can publish dashboards at the Organization level (the grid that appears when you click the Organization link in the header, and then click the Dashboards link in the left navigation), provided you have scoped the dashboard to the Organization. Once scoped for the Organization, the dashboard can be published from the Organization/Dashboards grid. Note that the dashboard publisher must be a member of the Organization standard group.
NOTE
Users with access to the top-level Dashboards list can view Org-level published dashboards. If you don't want these published dashboards visible to anyone who has permission to see dashboards, you can add a layer of security by requiring a publishing access code to gain access to the dashboards.
Permissions
To publish a dashboard, a user must have Dashboards > Edit > Publishing permission by one of these techniques:
- Use a Global permission profile with Dashboards > Edit > Publishing and assign the user/group/unit to that profile. This will give you access to publish any dashboard that you have access to, as well as the ability to Manage Publishing of dashboards you have access to, even if you are not the publisher.
- Use a Team profile that contains Dashboards > Edit > Publishing permission and add the user/group/unit to the team of a specific dashboard. This will give you access to publish the dashboard, and manage publishing even if someone else published it. Similarly, you can add a user/group/unit to the team of an entity (such as a project) to allow management of dashboard publishing for dashboards published at that entity level.
- Use an Owner profile and add Dashboards > Edit > Publishing permission so all dashboard owners can publish and manage publishing of their dashboards.
Dashboard > Edit > Publishing permissions is required to view previously published dashboards (not the same as View Published Dashboard).
Dashboards can be unpublished by any user with Dashboards > Edit > Publishing permission for any dashboard that is published at the scope(s) they have access to.
Publishing a Dashboard
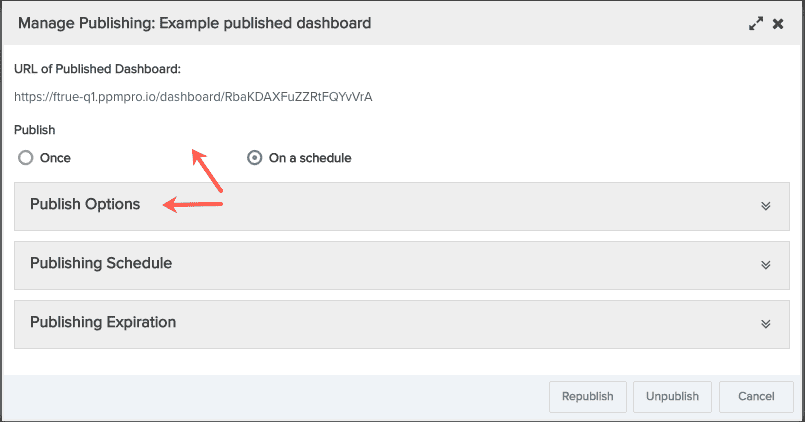
The screenshot below shows the entire Manage Publishing modal, with all sections collapsed. We'll be talking about the Publish Options section here, the other sections are covered in Schedules and Notifications.
NOTE
- Navigate to the entity grid and locate the dashboard you wish to publish.
- Select the dashboard and click Actions > Manage Publishing (or right-click and choose Manage Publishing from the context menu). The following modal appears:
- Choose whether you want to publish this dashboard once (manually) or on a schedule by clicking the appropriate radio button. "Once" is the default. The configuration for the schedule does not display until you click "On a Schedule". If you clicked "On a schedule", see Schedules and Notifications and configure the schedule.
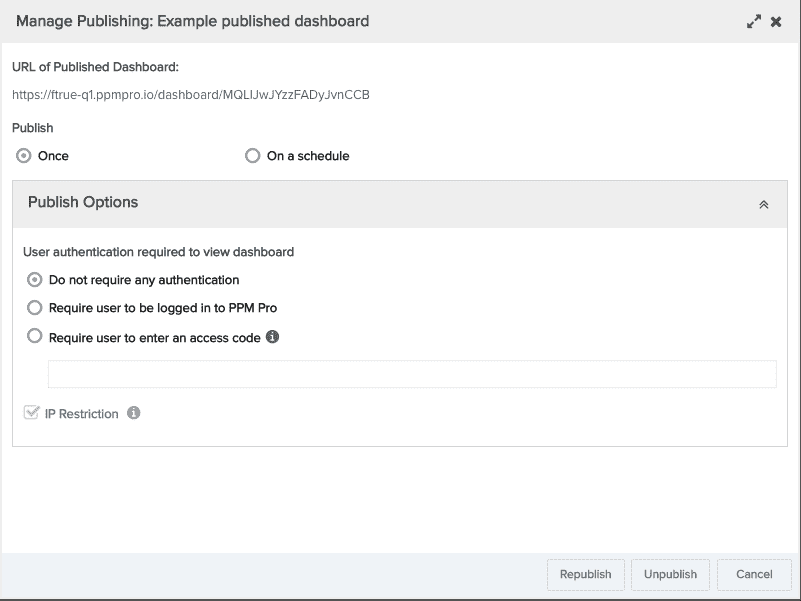
- Configure dashboard security/authentication. The default is "Do not require any authentication" as shown in the screenshot above. Other options include:
- Require users to be logged into PPM Pro to view the dashboard - simply select that radio button. Remember that drilldowns are active only for logged-in full/stakeholder users.
- Require users to specify an access code to view the dashboard.
- Configure IP restrictions.
- If you clicked "On a schedule" in step 3, go ahead and set up the schedule - the schedule configuration UI appears when you click "On a schedule". See Setting up a Dashboard Publishing Schedule. You can always set up the schedule after you publish.
- Click Publish.
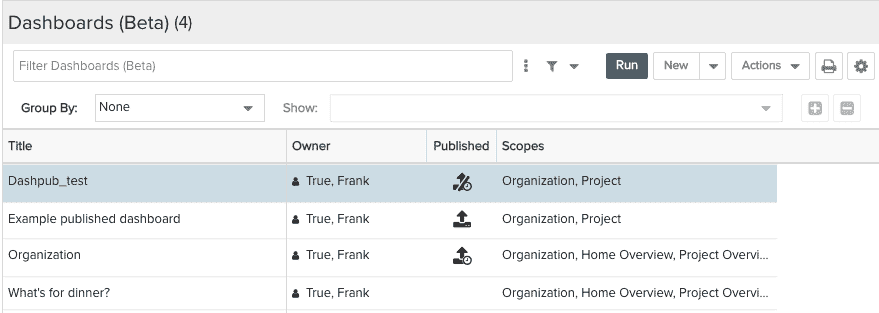
The screenshot below shows an entity Dashboards grid with unpublished, published (![]() ), scheduled (
), scheduled ( ), and published with expired schedule (
 ) dashboards.
Unpublishing and Republishing Dashboards
- Unpublishing a dashboard means removing its access (URL no longer valid). Once you unpublish a dashboard you cannot republish it (you can only publish it).
- Republishing a dashboard means refreshing the published dashboard, taking into account any changes made to the publishing options, such as adding authentication or changing the publishing schedule. Republishing uses the existing URL, and resets the expiration settings. Republishing is useful if you want to change how the dashboard is configured but you don't want to change access (the URL) to the published dashboard.
If you unpublish and then publish the same dashboard again, you will get a new URL. If you publish and then republish a dashboard, the URL for the published dashboard remains the same - you do not have to redistribute the URL after each update.
If changes are made to a published dashboard component, the change(s) will be included the next time the dashboard is published (either by the next scheduled run, by using the Republish button, or by unpublishing and then publishing again).
NOTE
User must have Dashboards > Edit > Publishing permission (see above). Additionally, a member of the Admin standard group can see a list of all published dashboards on Admin/Publishing, and can view or unpublish any of them (cannot edit publishing options).
Unpublishing Dashboards
- Navigate to the entity Dashboards grid where the published dashboard resides.
- Right-click on the dashboard you wish to unpublish and choose Manage Publishing (or select the dashboard and choose Actions > Manage Publishing).
- Click the Unpublish button. The following confirmation dialog appears:
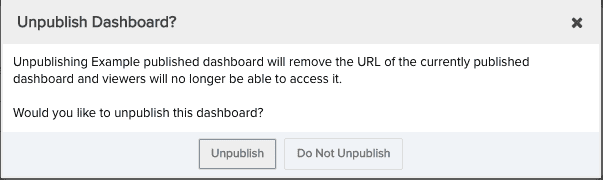
- Click Unpublish.
- Click Cancel to close the modal.
You can Publish the dashboard again, resulting in a new URL.
Republishing Dashboards
- Navigate to the entity Dashboards grid where the published dashboard resides.
- Right-click on the dashboard you wish to unpublish and choose Manage Publishing (or select the dashboard and choose Actions > Manage Publishing).
- Click the Republish button. The following confirmation dialog appears:
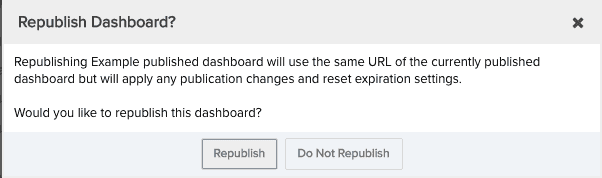
- Click Republish.
- Click Cancel to close the modal.