
Reporting
This section covers ProjectPlace Excel time reports, Workspace reports and Charts, and Power BI reports.
Webinar - Track progress with ProjectPlace reporting and Power BI
The following link will take you to a webinar that contains a walkthrough of different ways of how you can track the progress with ProjectPlace and PowerBI. Below you can find some of the topics covered in the webinar.
Power BI
Use the ProjectPlace for MS Power BI integration to extract and visualize your ProjectPlace data directly in Microsoft Power BI. View key statistics, find out who your most active and productive team members are, and identify at-risk cards and activities across your workspaces.Plan tool
If you need to create a customized report in the Plan tool or need to store snapshots of your plan to enable comparisons over time (since we don’t have baseline capability). https://success.planview.com/ProjectPlace/Planning/Export_and_print_the_plan
Portfolios tool
If you are a portfolio owner and want to get reports on a regular basis and/or provide KPIs that you want the workspace manager to report on on a regular basis.
You can follow the progress of the workspace by viewing the portfolio overview and also export a portfolio report. The portfolio can also be shared with other stakeholders https://success.planview.com/ProjectPlace/Project_portfolios/Work_with_portfolios#Portfolio_Overview
Reports in a workspace
Workspace administrators can use workspace reports to monitor and share progress of their projects with internal and external stakeholders. Widgets on the Reports page are fully customizable, so you can control how reports look for specific project workspaces.
https://success.planview.com/Project..._Work_Progress
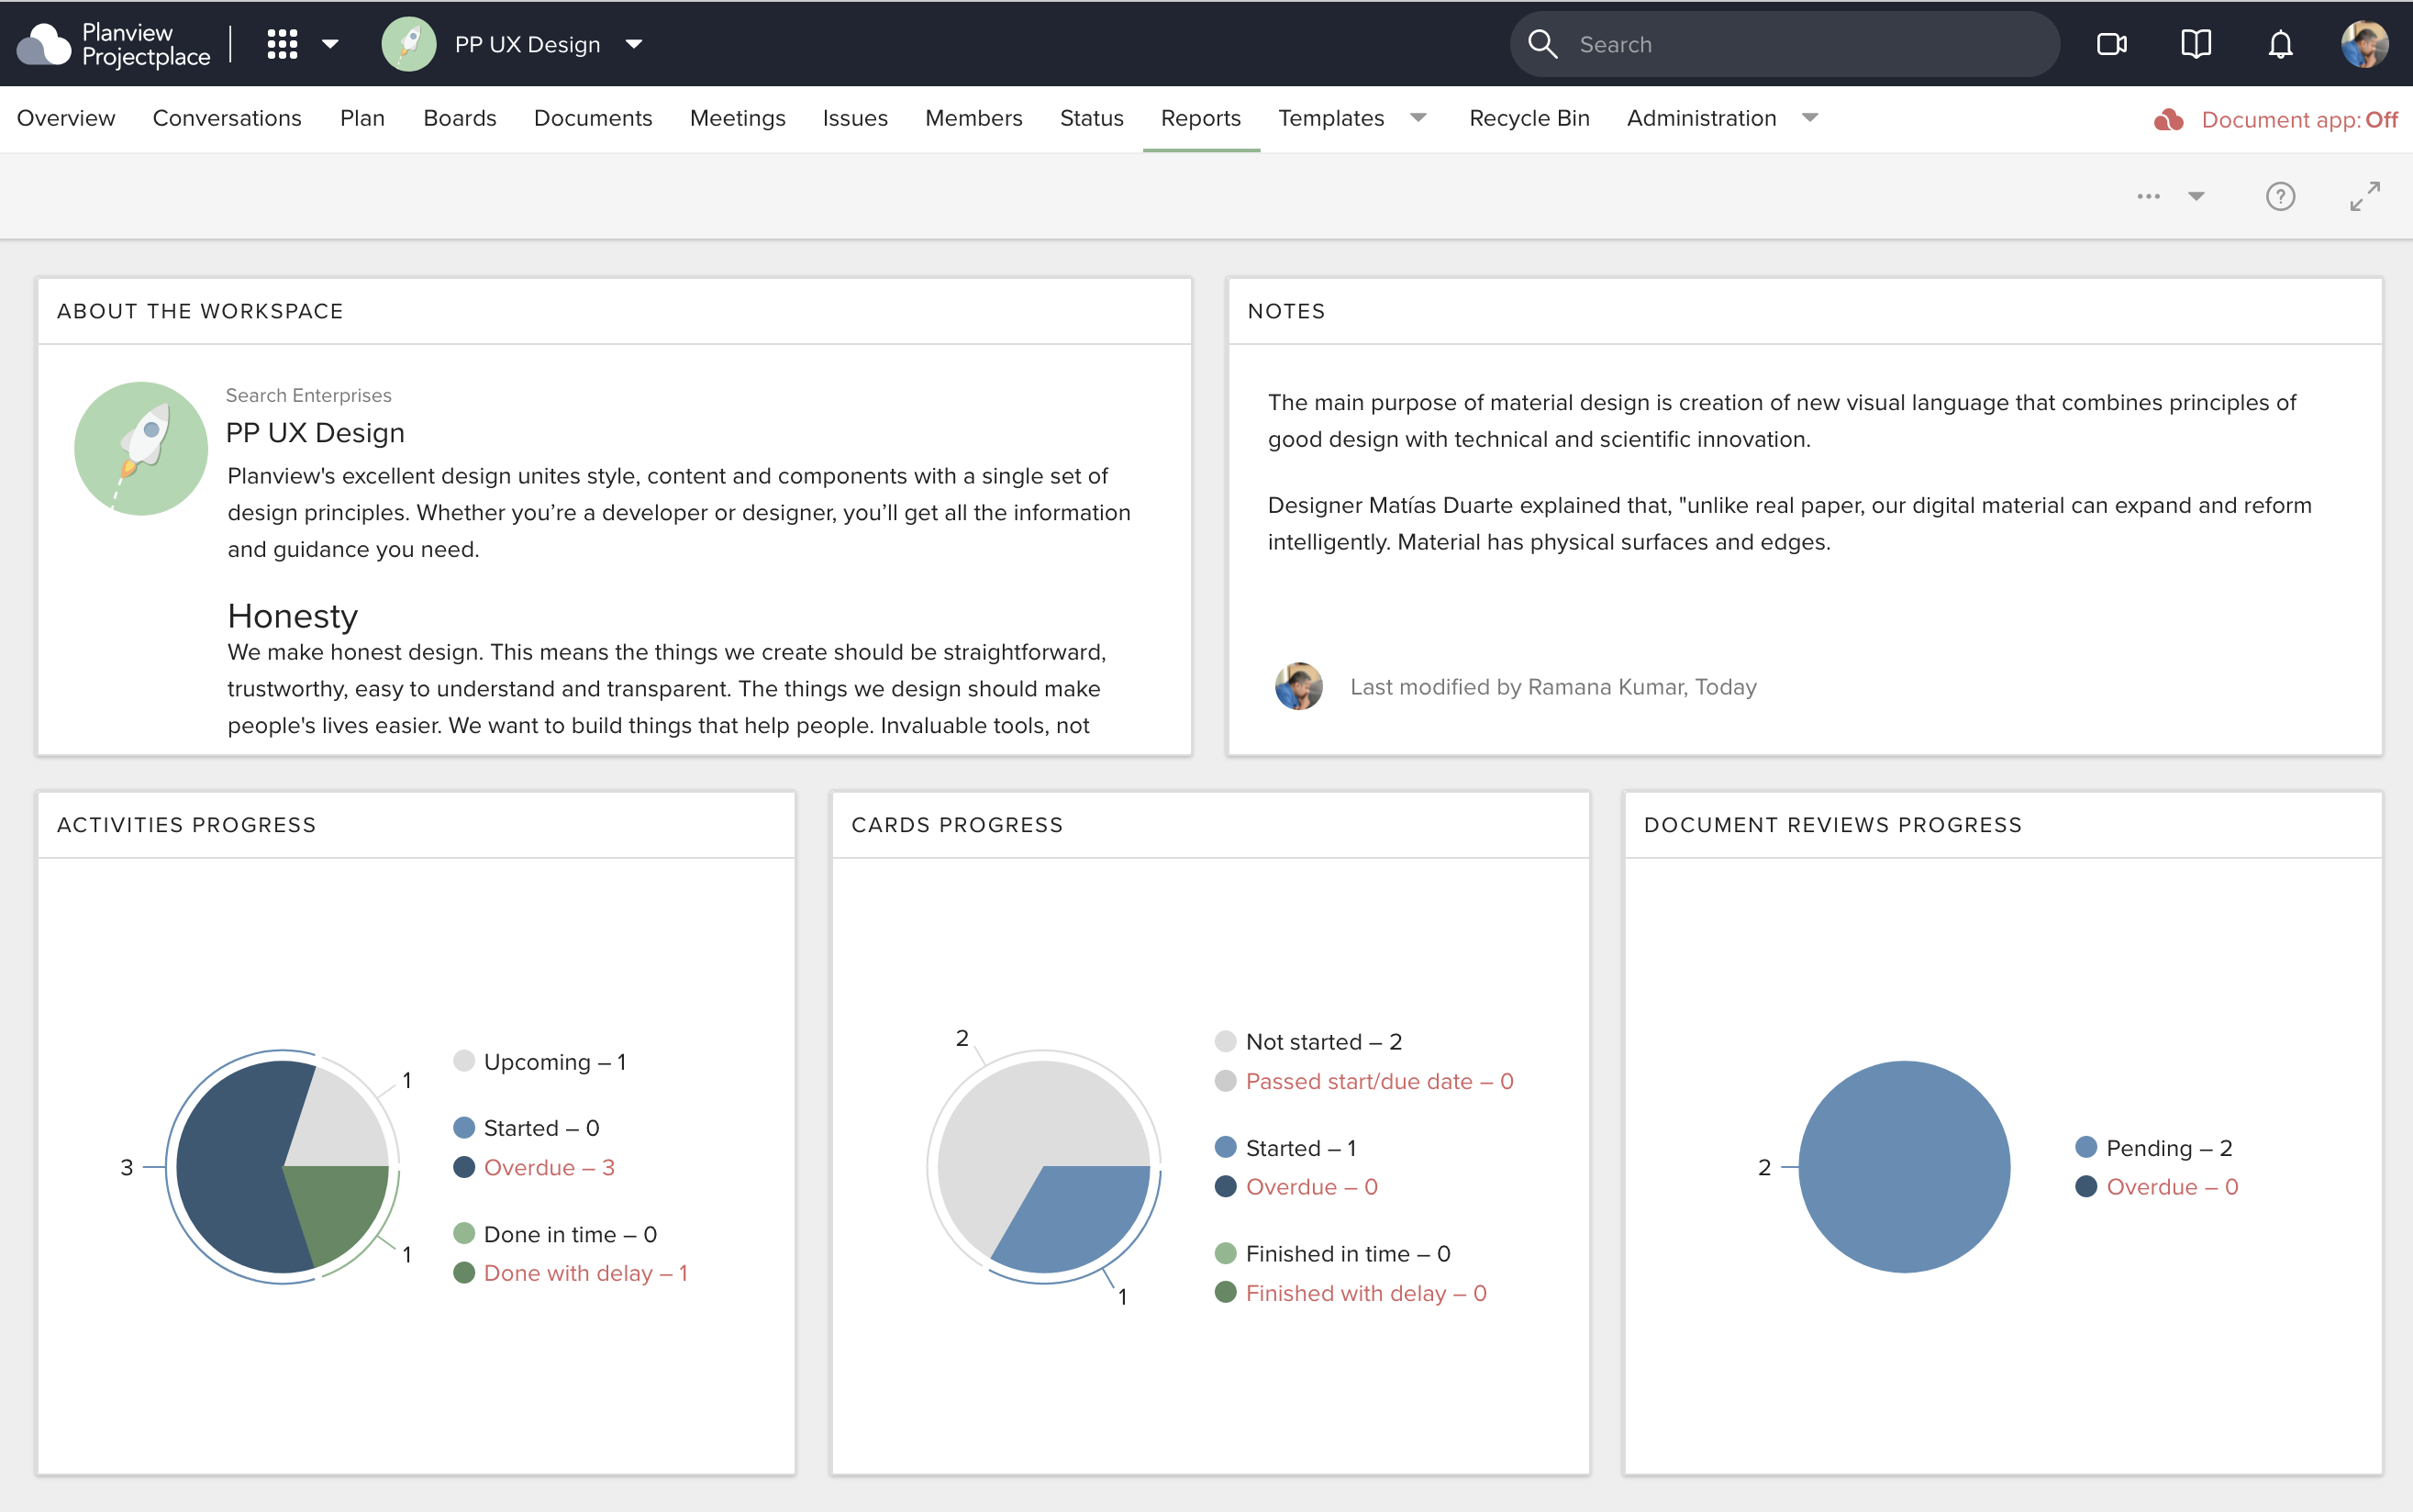
Example report
Automated Report Emails
Users can schedule automated report emails to be sent at the start or end of the month, offering more control over when reports are delivered.
To schedule automated report emails:
- Click the view selector in the top navigation bar and choose Account administration.
- Click the Automation tab to see a list or account rules.
- From the Rules view
 , Click Add rule
  . (From the Templates view
  , skip this step and go to Step 4.) You can toggle between these views on the Automation tab.
 - Choose template.

6. Click Next.
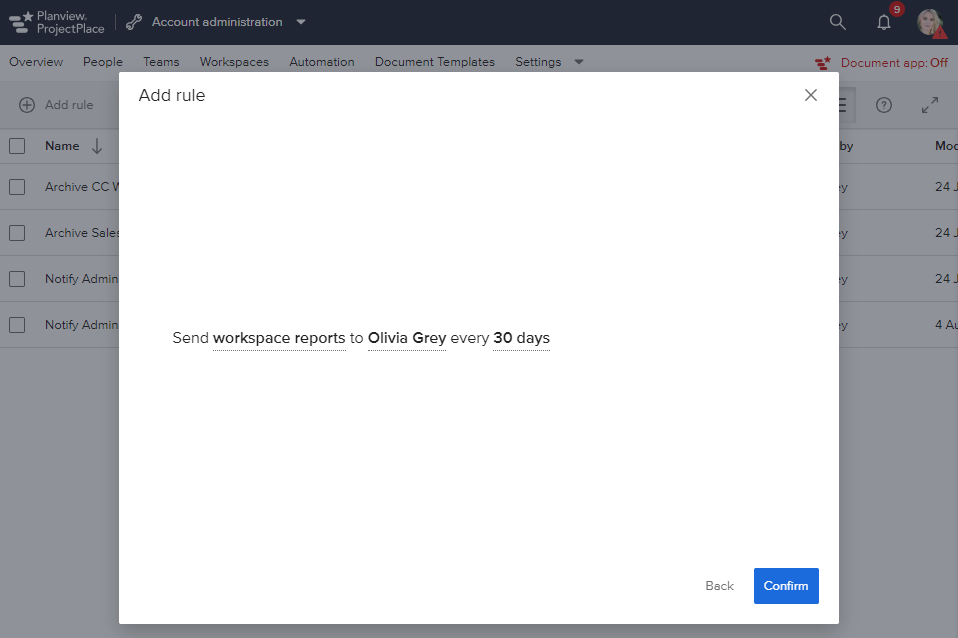
7. In the Add Rule window, use the dropdown menus to create the desired rule..
8. Click Confirm.
9. In the detail pane, give your rule a name and description. Press the Enter key.
10. To make the rule active, click the Activate toggle to switch it to the on position.

For more information about creating and managing account rules, see this article.