
Work with Documents and Folders
DROPBOX
(Updated Jan 30, 2026) Due to a security finding in Dropbox's integration library, uploading new Dropbox files is currently not possible. Existing Dropbox files will continue to be available. There are no indications that the security finding has been exploited or can be exploited within ProjectPlace. As a precautionary measure, Dropbox integration has been temporarily disabled while we complete our investigation.
Video: Work with documents and folders
Find Your Way Around the Documents Tool
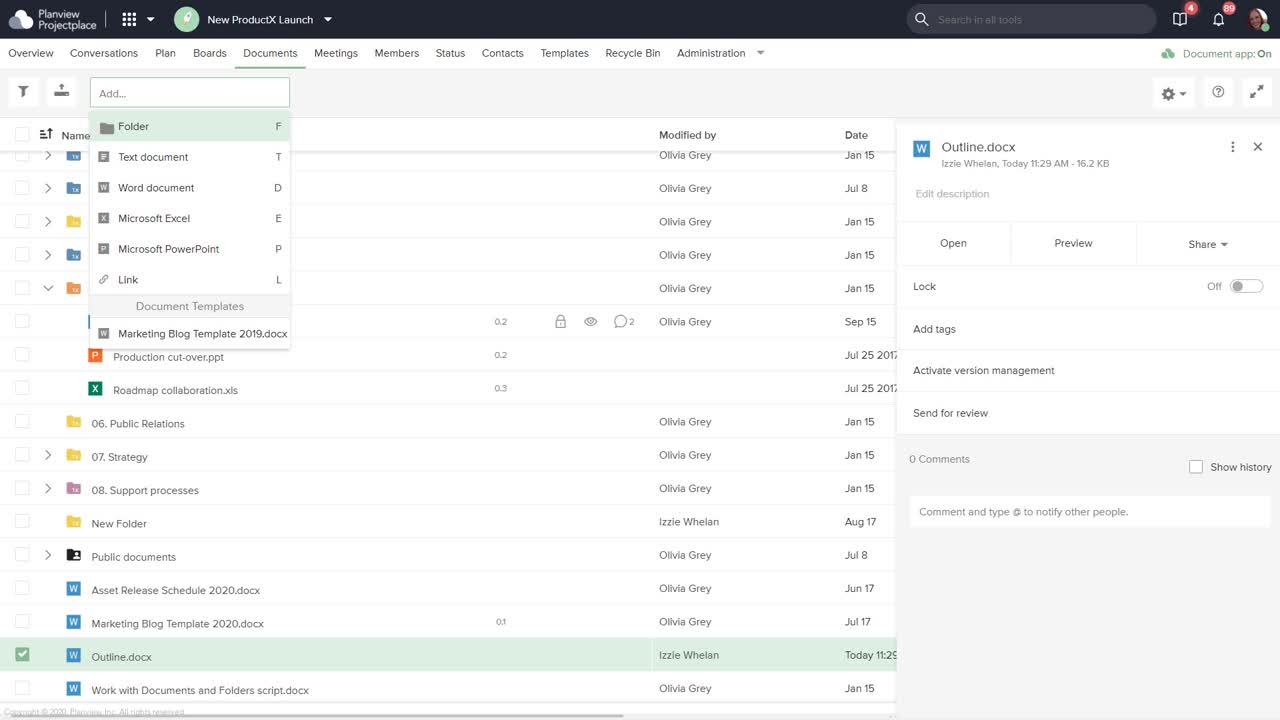
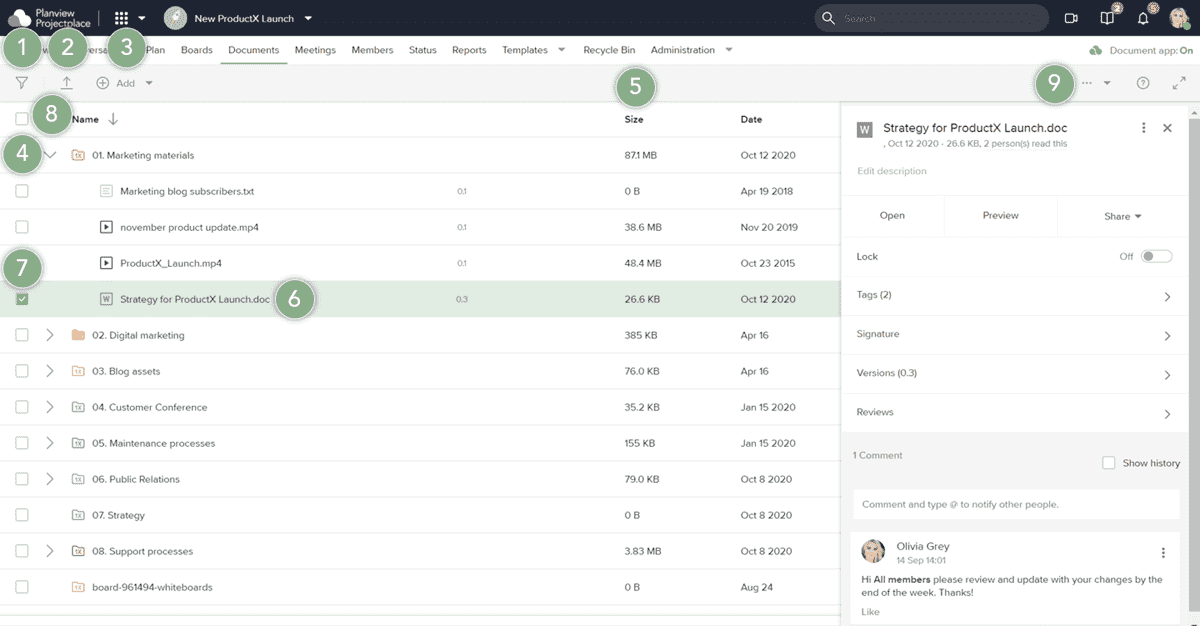
The main view of the Documents tool is a hierarchical list of folders and documents.
- Use the Filter pane to narrow the list of documents by certain criteria, such as file type, review status, when they were modified, etc.
- Upload a document, link, or folder from your computer or a third-party service, such as Dropbox.
- Create a document, link, or folder directly in the Documents tool.
- To expand or collapse a folder, click the arrows next to the folder. (Tip: Click the Collapse all
 icon to collapse all expanded folders.)
 - Click the column header to sort the list view by that header item.
- Click a document name to open it.
- Select a document or folder and open the detail pane by clicking the checkbox or anywhere in the row except the document or folder name. A detail pane will open and you will find all details and actions related to the document or folder. You can comment and discuss the document with other workspace members. If you select several documents and folders at once, the detail pane will include only the applicable actions for the selected documents and folders.
- Select all documents and folders listed with the checkbox next to the Name column header.
- Use the Options menu to rearrange the columns (the name column will remain the first column), set and/or export Permission rights to the Documents tool, export a list of documents, manage document templates, or refresh the page.
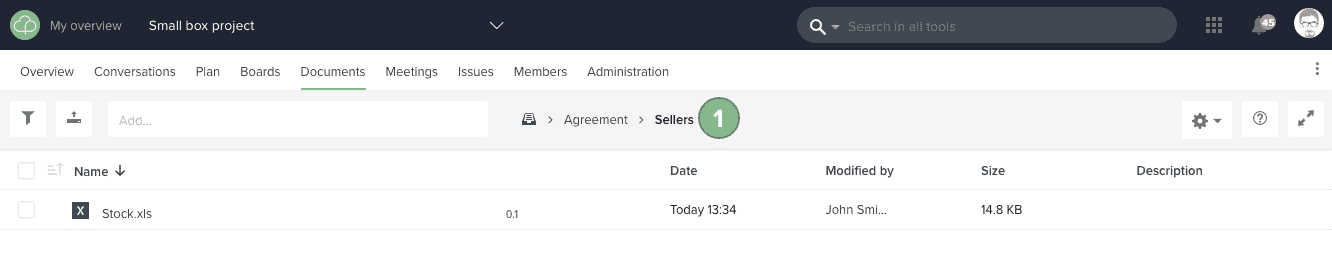
Use the breadcrumb navigation in the documents toolbar to navigate back to the parent folder(s).
Two special folders may appear in the document archive:
- Public documents. This folder is used to share important documents to project stakeholders without a ProjectPlace account, using a public site.
- Knowledge base. This folder is used to share important documents to be used in several workspace in an organization, such as document templates or instructions. The knowledge base is created in a workspace template and is visible and up-to-date for all projects based on the template.
Install and use one of the Document Apps in ProjectPlace to help simplify working with documents. Using a document app, each document will be locked when you edit it, preventing others from overwriting your changes. The document is automatically opened in the correct program, and the app will also unlock and save a new version of the document back to ProjectPlace when you have completed making your changes.
Preview PDF, Microsoft Word, Microsoft PowerPoint, and Media Files
Preview is available for documents less than 1 MB in size.
You can preview files (less than 1 MB in size) without downloading them.

There are two ways to preview a file:
- Hover the cursor over the file name to see a preview icon
 . Click the Preview icon to open the preview window.
 - Or, click the Preview tab in the document's detail pane to open the document preview window.
Supported media file formats include:
|
Chrome |
Firefox |
Safari |
IE10 |
IE11 |
Edge |
|
|
.mp4 |
 |
|
 |
|
|
|
|
.ogg |
|
|
|
|
|
|
|
.webm |
|
|
|
|
|
|
|
.mp3 |
|
|
|
|
|
|
|
.xwav |
|
|
|
|
|
|
|
.mpeg |
|
|
|
|
|
|
|
.audio_ogg |
|
|
|
|
|
|
Upload Documents, Links, and Folders
Upload existing files of any file format from your computer to ProjectPlace. Use folders to create a manageable, hierarchical structure of documents and links. Add a relevant document description, link, or folder in the detail pane. The document name and description are each searchable, making searches more effective.
To upload files:
- Navigate to the folder where the files you want to add are located.
- Click the Upload icon
 in the toolbar.
 - In the Upload Files dialog, use the icons to browse for the file on your local hard drive, or from third-party services such as Dropbox, Google Drive, OneDrive, SharePoint, Box, and Google Workspace. Documents from third-party services are stored in their respective repositories and are only referenced in the Documents tool, with the exception of documents from OneDrive and SharePoint. You can log out of your account(s) at any time by clicking the Log out button in the upper-right corner of the upload window.
- Drag and drop the files to the dialog box or click Choose Files to select the files you want to upload. You can also directly drag and drop files to the document list, and even drop the files into the appropriate folder. Use the list view to upload files more efficiently, saving time.
The files are uploaded as ProjectPlace documents. By default, all uploaded files use Version Control. If the folder uses Version Control, the new documents are assigned version 0.1, but the version number can be changed.
The maximum size of a single file upload is approximately 30 GB, though for best results we recommend keeping files under 500 MB. Larger files take longer to upload and download, and are more likely to be interrupted by network issues. The other limit that can prevent an upload is the workspace or account storage quota, if your workspace is out of space, the upload will fail regardless of file size.
All integrations with third-party document apps use standard OAuth APIs; authentication tokens are encrypted and stored in ProjectPlace and are never shared in the browser after the initial authentication. ProjectPlace uses authentication tokens to fetch the file and folder names displayed in the user interface, so when users are browsing files from third-party document apps, no file or folder names are stored or cached. When accessing the files from ProjectPlace, only links to the files are stored in ProjectPlace, and the content of the files are neither fetched nor stored. For OneDrive or Sharepoint documents, users have the option to import the content of the files directly into ProjectPlace.
Create Documents, Links, and Folders
Rather than upload existing documents and folders, you can create them directly in ProjectPlace. Workspace administrators can create document templates that everyone in the project can base their documents on. You can also create links to anything with a URL, for example, web pages or documents that are located in other cloud services.
To add a new document, folder, or link:
- Click + Add in the menu bar and select what type of file you want to create from the available list. Available document templates are listed in the Document templates section.
- Give the file a name and press Enter. The detail pane for the file will open automatically.
- If you want to put access restrictions on a newly created folder, click Manage folder permission rights and create or set the appropriate settings. By default, a folder inherits the permission rights from its parent folder.
Only workspace administrators can set permission rights on folders.
You can also use hot-keys to quickly create new elements. Just press the key, type in the name (optional) and then press Enter. Click the Add.. box to see the available shortcuts.
To create a better overview and differentiate folders from each other, change folder colors. For each project, you can decide what each color represents, for example, specify a particular color for a specified stage in the project.
Upload a Folder Structure
To retain the folder structure when uploading to ProjectPlace:
- Zip the folder you intend to upload.
- Upload the folder via Add files.
- Click the Checkbox for the Zipped file.
- A detail pane appears on the right side of the window.
- Click the More Menu icon
 .
. - Select Unzip.
Read or Edit a Document
ProjectPlace recommends installing the document app or using the Microsoft Office for Web integration to make it easy to work with documents in ProjectPlace. If you cannot install the document app, see how to edit a document without the document app.
To read or edit documents using the document app:
- In the documents list, click on a document to open it.
- In the Open Document window, select one of the following options:
- Read: The file is opened in read-only mode, and remains unlocked in ProjectPlace so that other users can edit the file.
- Edit: The file will be opened for editing, and is locked in ProjectPlace so that no one else can edit the file at the same time.
- Open using Microsoft Office for Web: The file is opened in Microsoft Office for Web, where you can edit the document along with other users in real time. Learn more about working with ProjectPlace documents using Microsoft Office for Web.
- When editing a document, all changes will be made available in ProjectPlace as soon as you save the document. If version management is activated, a new document version will be created the first time you save the document. Subsequent changes are saved into the same version. When you are done, save any changes and close the file. The document will be unlocked if needed.
WARNING
If you manually unlock a document someone was working on, their changes will NOT be saved.
Image document types are handled differently. To open an image, click the image name to open up a preview of the image. Then click the Download image link below the preview to open it.
Upload a New Document Version
If a document has been updated outside of ProjectPlace, you can upload the new (updated) version.
To upload a new document version:
- Open the detail pane for the document.
- Click the More menu icon
and select New version.
- If the document is not version managed, the menu will say Replace instead.
- Choose the document to be uploaded and click Update. The document has now been replaced and if version management is activated a new version has been created.
Move Documents, Links, and Folders
Documents, links, and folders can be moved within the workspace or to another workspace.
Members with only View-access can not make changes to the location of documents, links, and folders. Remember that changes can not be made to the public documents folder unless you are the workspace administrator.
To move a single item to another folder using the drag and drop method:
- Hover over the item you want to move.
- To the left of the checkbox, three small dots appear.
- Click the More menu icon
and drag the document, link, or folder into another folder.
While moving a file to another folder, drag the file to the collapsed folder and hover for a moment. The folder will automatically expand.
If you want to move a file but you can’t use a drag and drop operation because you can’t see the destination folder, use copy and paste, which is found in the detail pane for the document.
To move one or multiple items to another folder or workspace:
- Select one or more documents, links, or folders.
- In the detail pane, click the More menu icon
and select Cut. A message appears informing you that items have been added to the clipboard.
- Navigate to the folder (in the same or another workspace) where you want to put the items.
- Click Paste in the displayed message.
When folders are moved from one workspace to another, they lose their permission rights settings. After moving to the new location, please set permission rights accordingly.
Copy Documents, Links, and Folders
Documents, links, and folders can be copied within the same folder, to another folder in the same workspace, or to another workspace.
When a document is copied, it is only the current version that will be copied. History, older versions, or comments will not be copied along with the document.
To copy documents, links, and folders:
- Select one or more documents, links, and folders.
- In the detail pane, click the More menu icon
and select Copy.
- A message that the items have been added to the clipboard appears at the top of the window.
- Navigate to the folder (in this or another workspace) where you want to put the items.
- Click Paste in the message displayed.
Change Document, Link, or Folder Name and Description
When you select a document, link, or folder, a detail pane appears. To change the name or description, simply click the name or in the description box within the detail pane to make changes.
Comment and Discuss Documents, Links, and Folders
Keep all communication and events around documents in one easily accessible place. The comments are found in the detail pane. To add a new comment, click in the comment box, type your comment and when finished click Comment.
If you want feedback from a specific person on a document, you can ask them to comment directly in ProjectPlace. Type @ and the first letters of the contact name, and then select the desired person from the list that appears below. If you write, for example, @jo all persons with first or last name that begins with Jo will appear in the available list.
The person you @-ref will be notified both in ProjectPlace (with an in-service notification) and through email.
You will get notifications when someone else comments on a document, link, or folder that you have commented on earlier.
If you want to refer to a document in a conversations post on the workspace overview you can attach a link to it. Only members of the workspace have access to conversations. Learn how to work with conversations.
You can also use reviews to gather feedback in a more structured way.
Lock a Document Permanently
If you want to preserve a specific version of a document you can lock it permanently.
Locking a document permanently may be useful, for example, when a contract has been approved, or when a document has been published externally and should not be changed after publication.
In the document's detail pane, click the More menu icon and select Lock permanently to lock a document. You can also lock multiple documents at the same time by selecting them in the list, and clicking the Lock toggle to the on position.
When a document is permanently locked it cannot be edited again, and the lock cannot be removed.
Filter Documents
Users can perform searches by using filters. Finding specific documents is simple because you can filter your searches by:
- Documents currently under review
- Document file formats
- Document tags
- Document created or modified date
- The workspace member who created or modified the document
- Documents currently locked by you
- Custom fields set for documents in a particular workspace
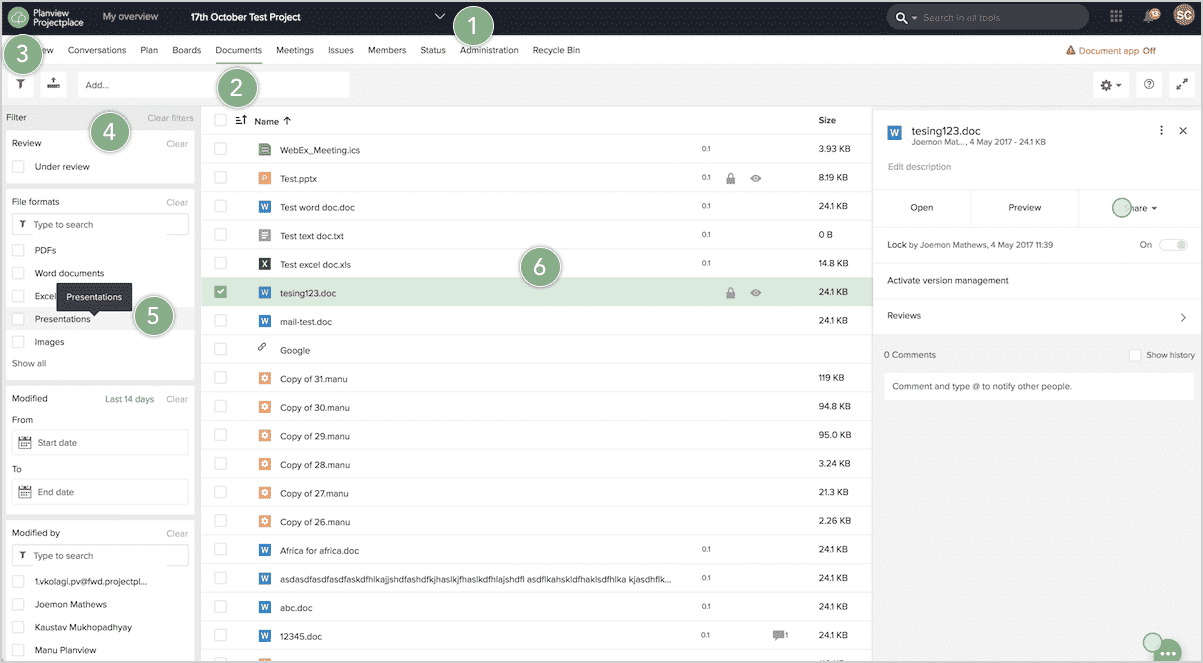
- Navigate to the desired workspace.
- Click the Documents tab.
- Click the Filter icon
 .
. - The Filter detail pane appears on the left side of the window.
- Select the desired filter options to easily find the desired documents.
- The filter results lists the documents in the center section of the window.
Share Documents
There are a number of different ways you can share documents with others, including emailing documents, notifying others of document changes, or sending a document for review.
Keep Track of Document Changes
There are several ways to keep track of changes in the document archive including, document history, a view where you can see a document that has been changed recently, daily, and weekly. You can also Follow a document, as described below.
Follow Documents
Following a document allows you to keep informed on how work is getting done. You can follow any document in the document archive of a workspace. When you follow a document, My Overview includes information about the documents you are following, giving you a direct way to access continual changes that occur within the document.
From My Overview, click the Following tab in the top, right side of the window, next to the My Work tab. Each document you follow is listed under the Following tab. The most recent change or event is listed under each document and includes the changes made to the document and when the changes occurred.
Click any document from the Following tab to access details and make changes without leaving the My Overview page.
Following a document allows you to get a ProjectPlace (or in-service) notification when the document is updated and you will be notified when:
- The document is moved to another folder
- The document is deleted
- Someone uploads a new version of the document
- Someone starts a review for the document
- A document review is finished
To follow a document:
Click the More menu icon in the document detail pane and select Follow. A confirmation message will appear at the top of the window.
To unfollow a document you are currently following:
Select Unfollow. This will remove the document from the Following tab, and you will stop receiving ProjectPlace (in-service) notifications about the document you are no longer following.
Read On the Go – Mobile Support
With our apps for iOS and Android you can access your documents in ProjectPlace wherever you are.
In both the Apple iOS and Android apps you can:
- See document updates in an event feed
- Read documents
- Read documents offline
- Share documents with anyone
- Add comments
The iOS app also includes the ability to participate in document reviews.
Delete Documents
To delete a document:
- Click the checkbox next the document name of the document you want to delete.
- A document detail pane appears. Click the More menu icon
 in the top right corner of the detail pain to open an available list.
 - Select Delete.
- The deleted document is now in the Recycle Bin and from there, the document can be restored or permanently deleted.
If the file is currently locked, the Delete option will not appear. All files must be unlocked before they can be deleted.