Use ProjectPlace with DocuSign
The ProjectPlace and DocuSign integration enables you to electronically sign documents stored in ProjectPlace with your DocuSign subscription. With the integration, you can:
- Initiate electronic signature requests if you have a DocuSign subscription
- Request digital signatures from people, even if they don't have a ProjectPlace account
- Capture multiple signatures on the same document, or send separate copies of the same document to multiple signers
- Store electronically signed documents in ProjectPlace
TIP
View a list of DocuSign supported file formats here.
Enable or Disable DocuSign
By default, the DocuSign integration is enabled for all users, so you won't need to configure access to DocuSign to begin using it in ProjectPlace. Account permissions to DocuSign is controlled by Account Administrators.
To enable or disable DocuSign for the account:
- Click the tool selector
in the top navigation bar and select Account Administration.
- On My Overview, click Settings and select the Third party software data access option.
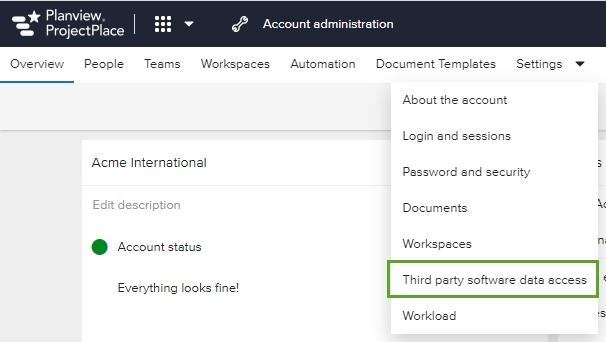
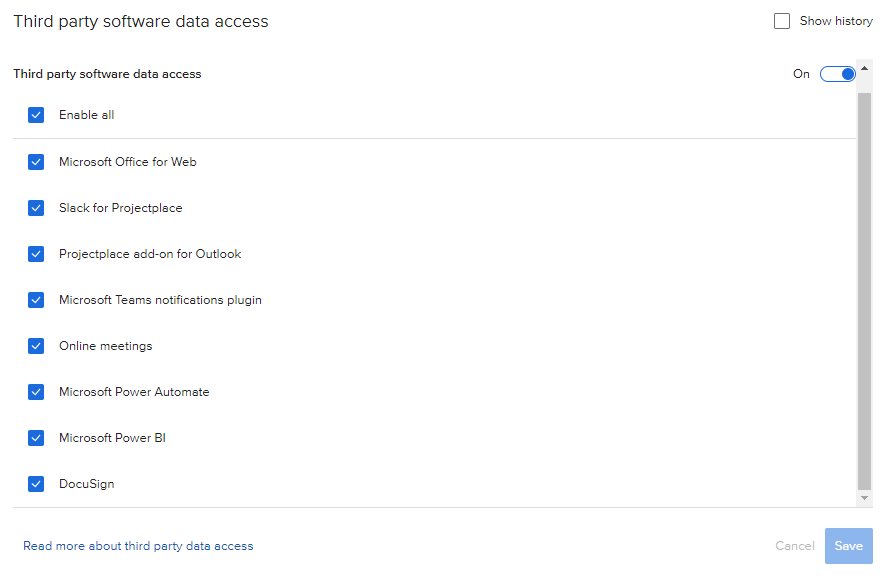
- Slide the toggle to the On position (if not already on).
- Check the DocuSign option to enable DocuSign (if not already selected). If you want to disable DocuSign, uncheck the DocuSign option.
- Click Save.
Send a Document for Signature
To send a document for signature:
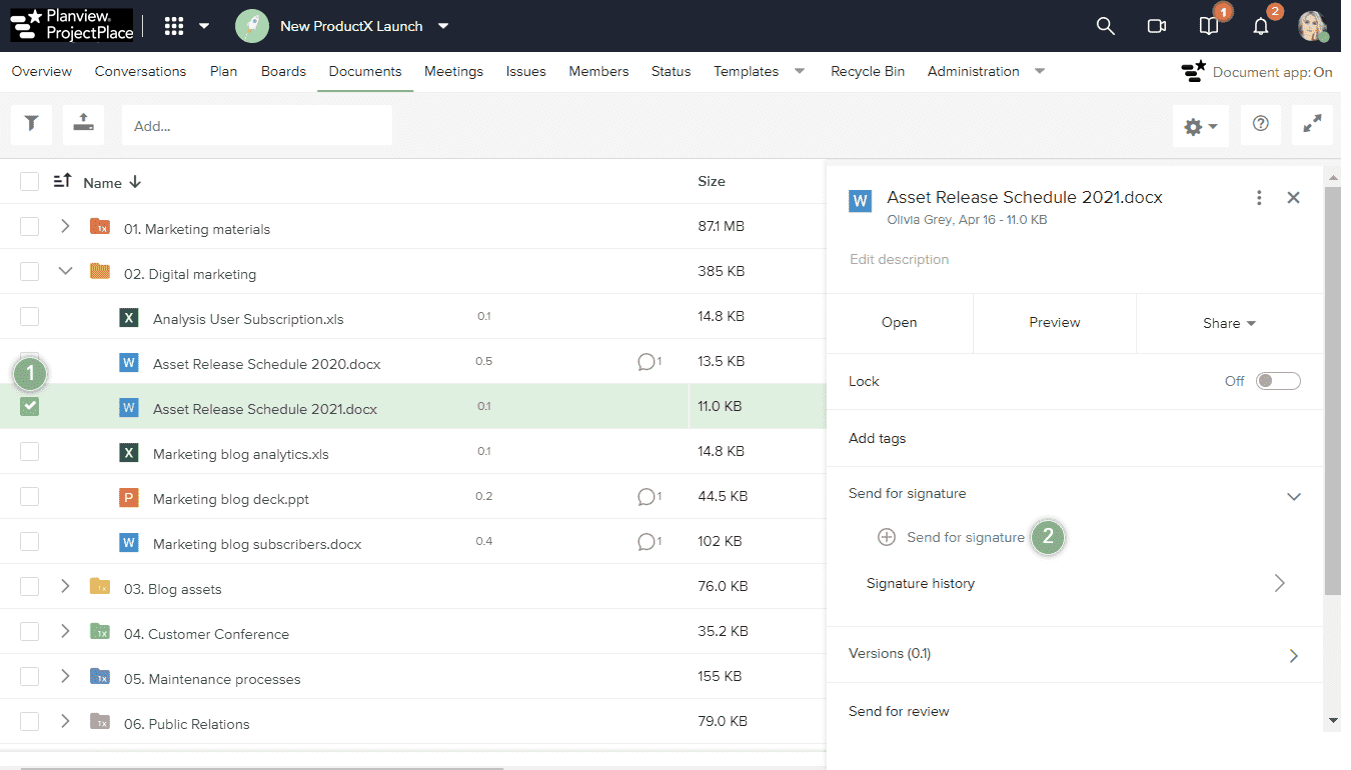
- Click the checkbox of the document you want to send for a signature to open the document's detail pane.
- In the Send for signature section, click the
 Send for signature icon.
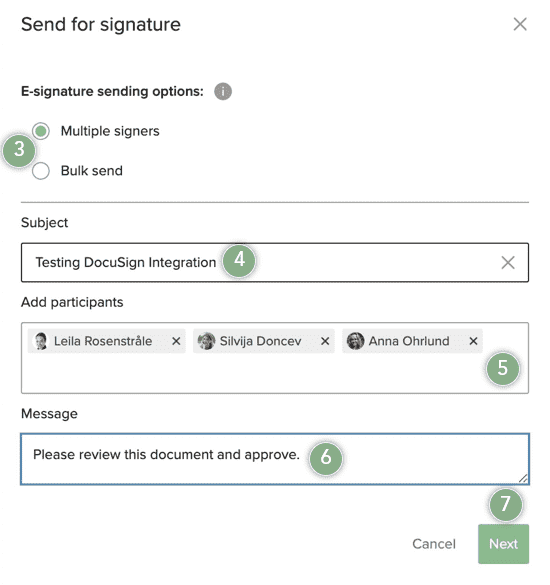
- In the Send for signature window, choose which signature sending option you want to use:
- Choose the Multiple signers option if you want to send a single copy of the document to be signed by multiple people.
- Choose the Bulk send option to send separate copies of the document to be signed individually.
- Enter a Subject that participants will see when they receive the signature request.
- Click the Add participants box to select from an available list of members and groups. You can also start typing a member's name to filter the available list, or type the email addresses of external stakeholders to send a document to people who are not members of the associated ProjectPlace workspace or project.
- Include a Message that participants will see when they receive the signature request.
- Click Next.
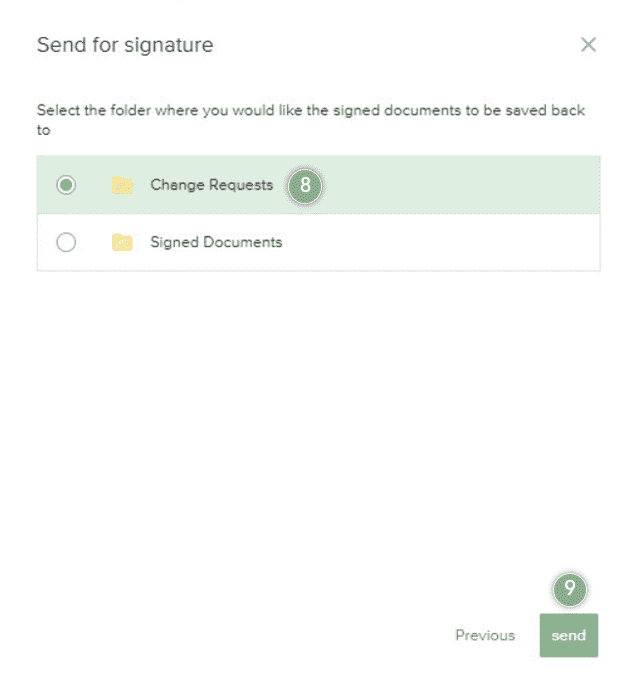
- Select the folder you want the signed documents to be saved to.
- Click Send.
You must have a DocuSign subscription to send a document for signature.
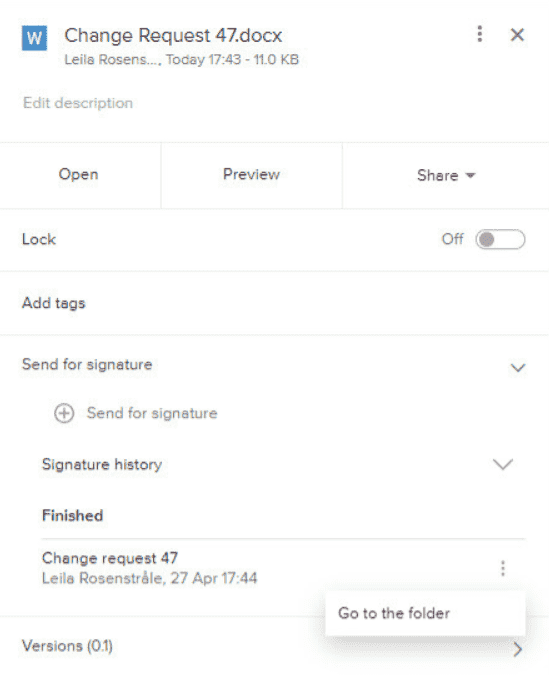
View Signature History
Active and finished document signatures are stored in the Signature history section. This section also includes information about who requested the signature and the date and time of the signature request.
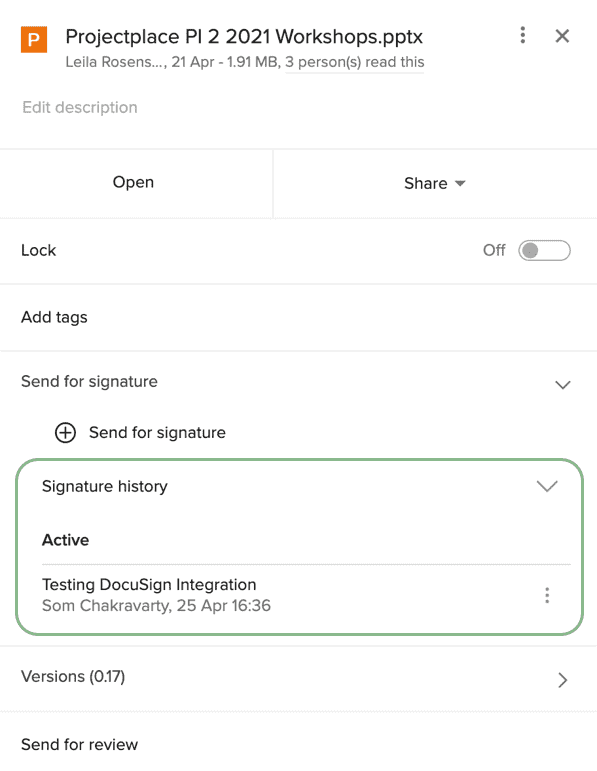
You can easily navigate to the folder where the document is stored by clicking the More menu icon and selecting Go to the folder.