
Enable and Manage Workspace Requests
Use requests to capture ideas for new workspaces executed in ProjectPlace. The Requests tool enables you to do the following:
- Gather requests from individuals inside and outside the organization, regardless of whether they are ProjectPlace users or not.
- Create workspaces based on requests.
- Create multiple requests forms and assign them to different departments in your organization.
- Create requests forms in multiple languages.
Requests and request forms are managed by the account administrator and request administrators.
Video: Manage Requests
Create a Request Form
To create a new request form:
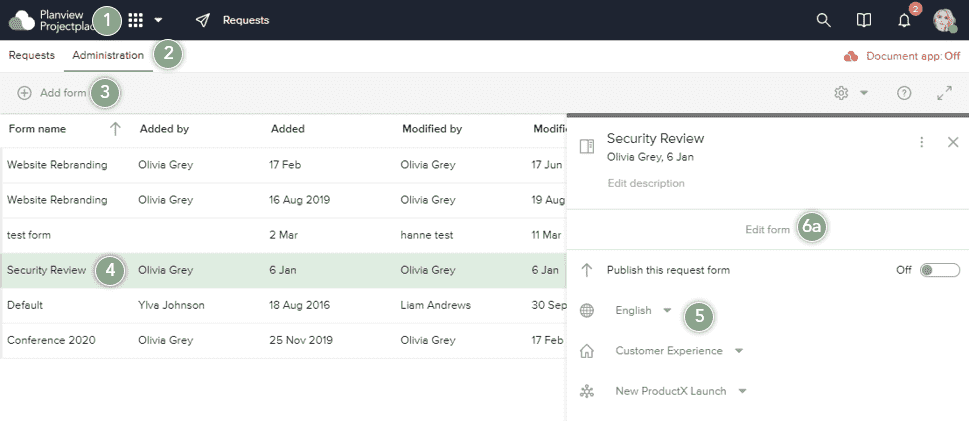
- Click the tool selector
 and select the Requests tool.
 - Click the Administration tab.
- Click Add form in the tool bar.
- Enter a name for the form and press Enter.
- In the detail pane, select a Language, Department, and Workspace for the form.
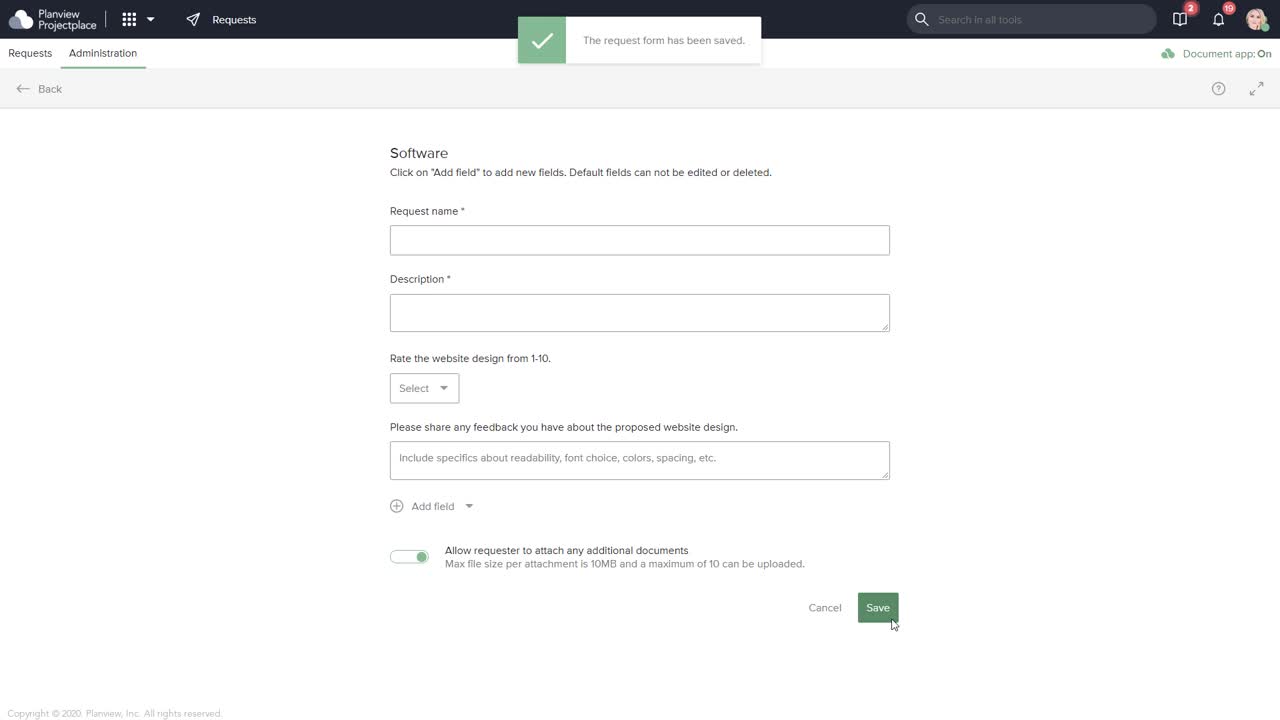
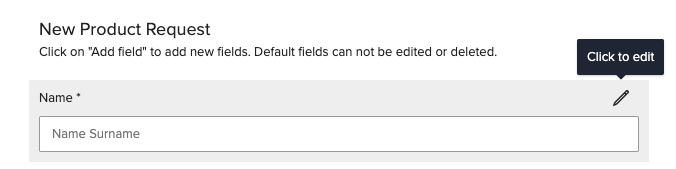
- The default request form has four fields, Name, Email address, Request name and Description. The labels for the default fields cannot be changed but you can edit their hint text by hovering over any of the fields until a pen icon appears in the top right corner.
To add additional fields:- Click Edit form.
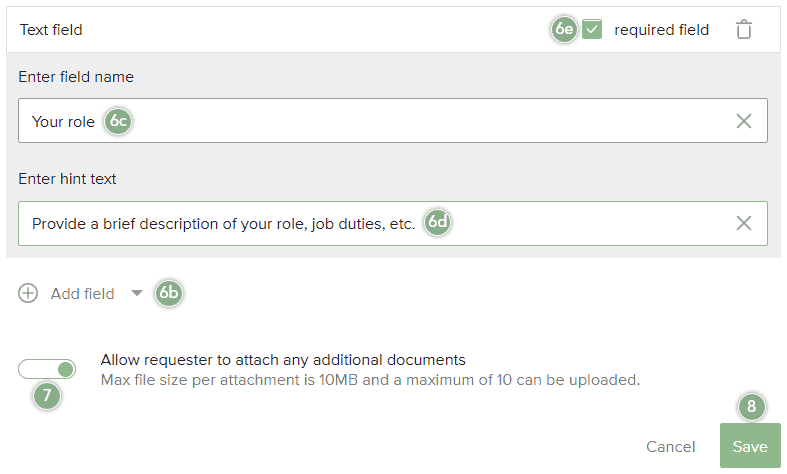
- Click the Add field icon
 and select the type of field you want to add from the available list.
 - Enter a name for the field.
- If desired, provide additional hint text for the field.
- If desired, select the required field checkbox to make the field mandatory.
- Click Edit form.
- If you want requestors to be able to attach documents to their request, click the Allow requestor to attach any additional documents toggle to the on position.
- Click Save.
The Request form will be created in the user’s current language setting.
Publish a Request Form
After creating a request form, publish the form to make it available to anyone with the link.
Requests forms must be published by the account administrator or the request administrators. You can assign request administrators from Account Administration > People tab.
To publish a request form:

- Click the tool selector and select the Requests tool.
- Click the Administration tab.
- Select the form you want to publish.
- The form's detail pane opens. In the Publish this request form section, click the toggle to the on position.
- A link to the public request form is generated. Copy or share the link to the people you want to place requests.
Customize a Request Form
Once you have created a request form, you can edit its name, description, language and department in the details pane. You can also edit or delete the form's fields.
To edit a request form:
- Select the form you want to edit.
- In the form's detail pane, you can change the form's Language, Department, or Workspace.
- To edit the form's fields, click Edit form from the detail pane. From here, you can:
- Click and hold the move icon
 to drag and drop fields to the desired order.
 - Click the trash icon
 to delete a field.
 - Click the edit icon
 to edit the field's name and hint text.
- Click and hold the move icon
- When you have completed your changes, click Save
All custom field values are carried over to cards, activities, and workspaces from approved requests.
Manage Incoming Requests
Administrators view requests and choose to approve or reject them. If a request is approved, a project is created in ProjectPlace.
The status of a request can be either:
- Pending
 (grey) – Waiting to review request for an Approve or Reject decision.
 - Approved
 (green) – The request has been approved and a workspace has been created.
 - Rejected
 (red) – The request has been rejected.
A decision made on a request cannot be changed once an initial selection has been made.
View Requests
To view requests:
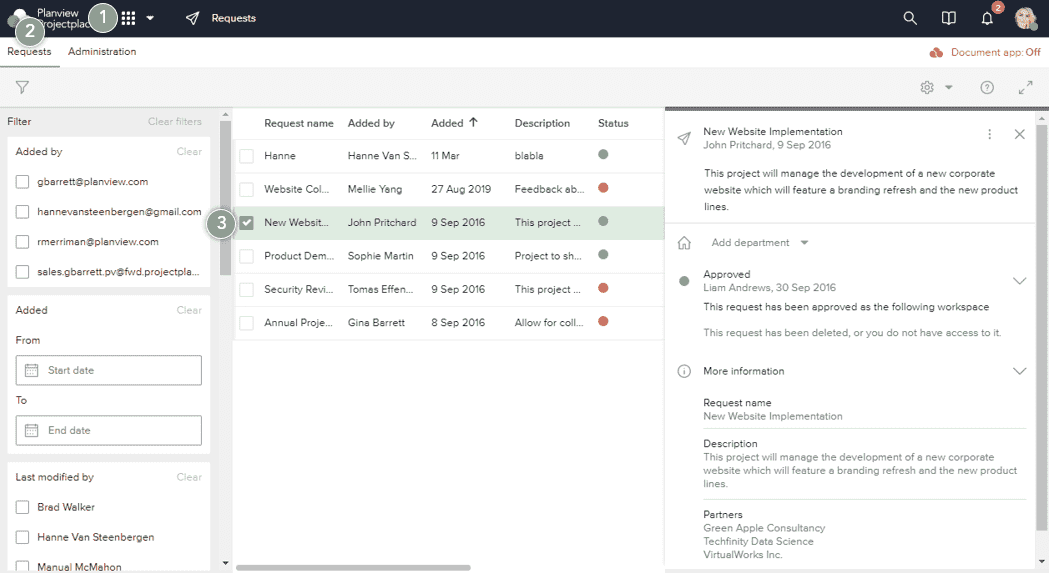
- Click the tool selector and select the Requests tool.
- Click the Requests tab to see a list of requests. Notice that if the Account administrator has given you access to one or several departments, only those and requests without a set department will appear in the list.
- Select a request to view its details. If desired, you can edit the form's language, department, or workspace.
Click the Filter icon ![]() in the toolbar to filter the requests in your inbox.
in the toolbar to filter the requests in your inbox.
Approve a Request
To approve a request and create a workspace:
- Click a request to open the request detail pane.
- Click Approve.
- In the New workspace window, choose whether you want to Create a blank workspace or Create a workspace from a template.
- Fill in the new workspace's details, such as its Name and Description (if creating a blank workspace) and the Cost code and Department the workspace should be connected to.
- Click Create. Requests are approved once the workspace has been successfully created.
Account administrators approving requests will be the head administrator for the created workspace. You can transfer this responsibility to any other workspace member. First add the member as an administrator for the project, and then change the head administrator.
Reject a Request
To reject a request:
- Click a request to open the request detail pane.
- Click Reject to disapprove the creation of a workspace.
- Add a comment in the Reason for rejection box that explains why the request was rejected.
Create an Activity or Card from a Request
To create an activity or a card from the request in a particular workspace:
- Click a request to open the request detail pane.
- Click Forward to assign it to a workspace. A forwarded request can also be revoked before it is approved in that workspace.
- The workspace's head administrator will receive a notification. When users view the Requests inbox, they will be able to see the request forwarded to their workspace.
- Click the Approve button and select either Approve as card or Approve as activity.
- Selecting the Approve as card option will prompt you to select a board from the workspace where you want to create the card. The description and name of the request is carried over to the card.
- Selecting the Approve as activity option will create a parent activity in the Plan tool. The description and name of the request is carried over to the activity.
Delete a Request
To delete a request from the inbox:
- Select a approved or a rejected request.
- In the details pane, click
More menu.
- Click on the Delete option to delete the request.
Export a List of Requests
To export a list of all requests in the request inbox:
- Click the Settings icon
 and select the Export to Excel option.
 - In the window that appears, use the checkbox to indicate whether you want to include attachments in the .zip file.
- Click Export to Excel. You will receive an email notification when the file is finished downloading.