



Create a Workspace
A workspace is the place where you can communicate, collaborate, plan your project or work to be done, and follow up on progress. You can create an empty workspace, or choose to base it on a template.
To create a new workspace:
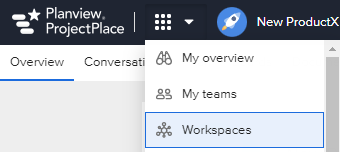
- Click the tool selector
 and select the Workspaces tool.
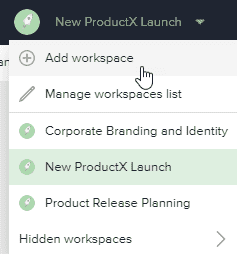
- From the Workspace menu, select the + Add workspace option.
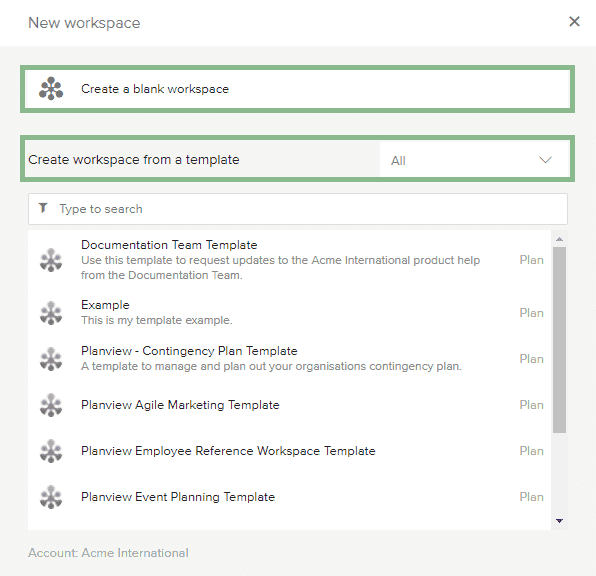
- In the New workspace window, you can choose to create a blank workspace or create a workspace from a template.
Create a Blank Workspace
- Click Create a blank workspace.
- Select the Plan planning tool to use in the workspace.
NOTE
No further development is done to ProjectPlace Roadmap. Existing Roadmap workspaces will continue working, but the ability to create new Roadmap workspaces has been suspended.
- Complete the relevant details in the provided fields:
- Type the Workspace name.
- Under Recurring working days, click the checkboxes to select the days of the week that you want to set as working, and deselect the days that you want to set as non-working. You will later be able to manage the working days settings, adding more custom days if needed.
- Type the Cost code (if any).
- Use the dropdown menu to select a Department (if any). This field can be set to be optional or mandatory by the account administrator.
- Use the dropdown menu to select a Business unit (if any). This field can be set to be optional or mandatory by the account administrator.
- Use the Teams picker to select any account teams to add to the workspace (if any). All the members of the specified teams will be added to the workspace.
- Click Create.

Create a Workspace from a Template
To create a workspace from a template:
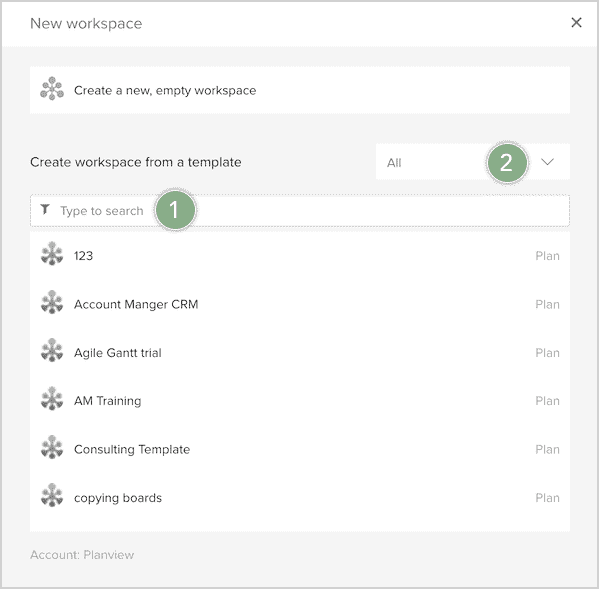
- Search from one of the available templates by typing the name of template in the search field.
- You may choose from one of the four categories when selecting a template:
- Personal templates
- Account templates
- ProjectPlace or Global templates
- Partner templates
- Complete the relevant details in the provided fields:
- Type the Workspace name.
- Select a Project start date.
- Under Recurring working days, click the checkboxes to select the days of the week that you want to set as working, and deselect the days that you want to set as non-working. You will later be able to manage the working days settings, adding more custom days if needed.
- Type the Cost code (if any).
- Use the dropdown menu to select a Department. This field can be set to be optional or mandatory by the account administrator.
- Use the dropdown menu to select a Business unit (if any). This field can be set to be optional or mandatory by the account administrator.
- Use the Teams picker to select any account teams to add to the workspace (if any). All the members of the specified teams will be added to the workspace.
- If the template you are basing your new workspace on has pre-defined teams - those will be automatically added to the dialogue. You have final control over which teams go into the resulting workspace.
- Click Create.

Global templates are made available to both ProjectPlace and ProjectPlace Trial users who are U.S. customers from the U.S. datacenter.
If you need help getting started, learn the ProjectPlace basics or how to setup a new workspace.