
Edit Lane Settings
Users with Board Manager or Board Administrator roles can edit individual lane settings directly from a board using a lane’s context menu. From there you can easily set or alter a lane’s WIP limit, change a lane’s title, edit a lane’s policy/description, and change how cards in the lane are sorted. Learn more about lanes here.
Edit Lane Details
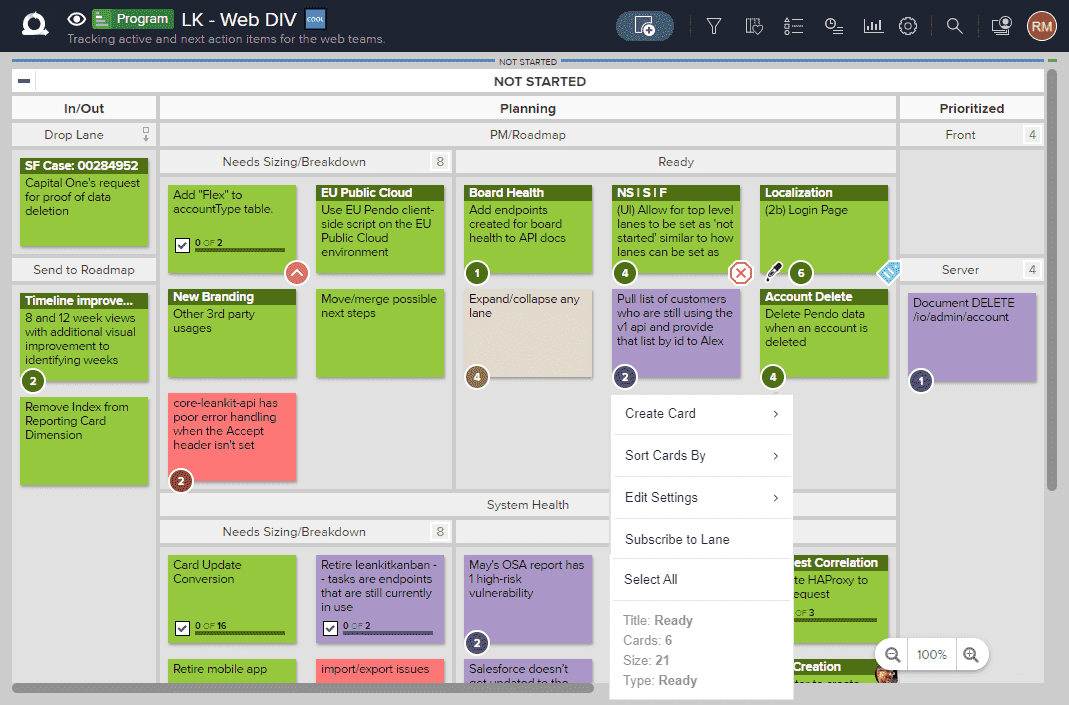
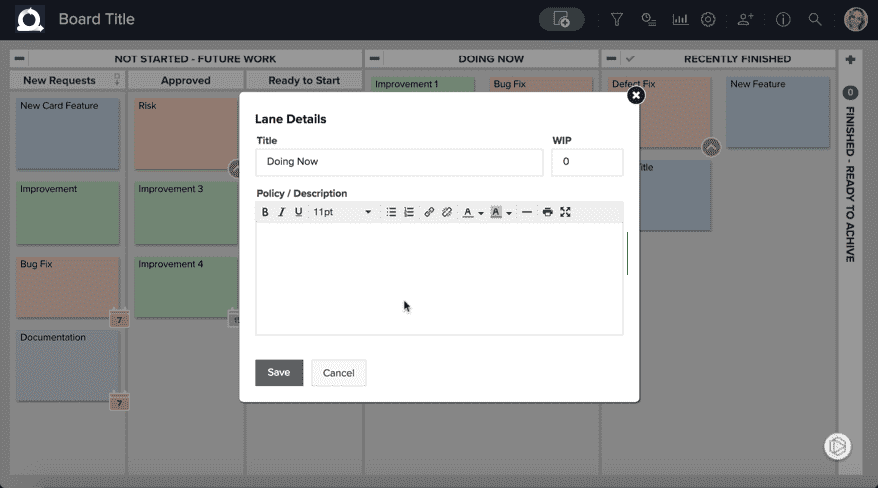
To edit a lane’s settings directly from the board, right-click the lane header or anywhere inside the lane and select Details... from the context menu.
The Lane Details dialog box will appear, and you will be able to edit the lane’s Title, WIP limit, or Policy / Description.
Set Default Drop Lane
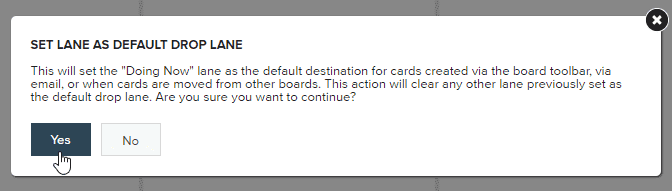
To make an in-process or backlog lane the default drop lane, right-click the lane header or anywhere inside the lane and select Set Default Drop Lane from the context menu.
Click Yes to confirm your choice.
Edit Lane Sorting
To sort the order in which cards appear in a lane, right-click the lane header or anywhere inside the lane and hover over the Sort Cards By menu option.
Select a sort option, such as: Priority, Planned Finish, Entered Lane, or a Custom Field. To reverse the sort order, toggle the Reverse Sort option.
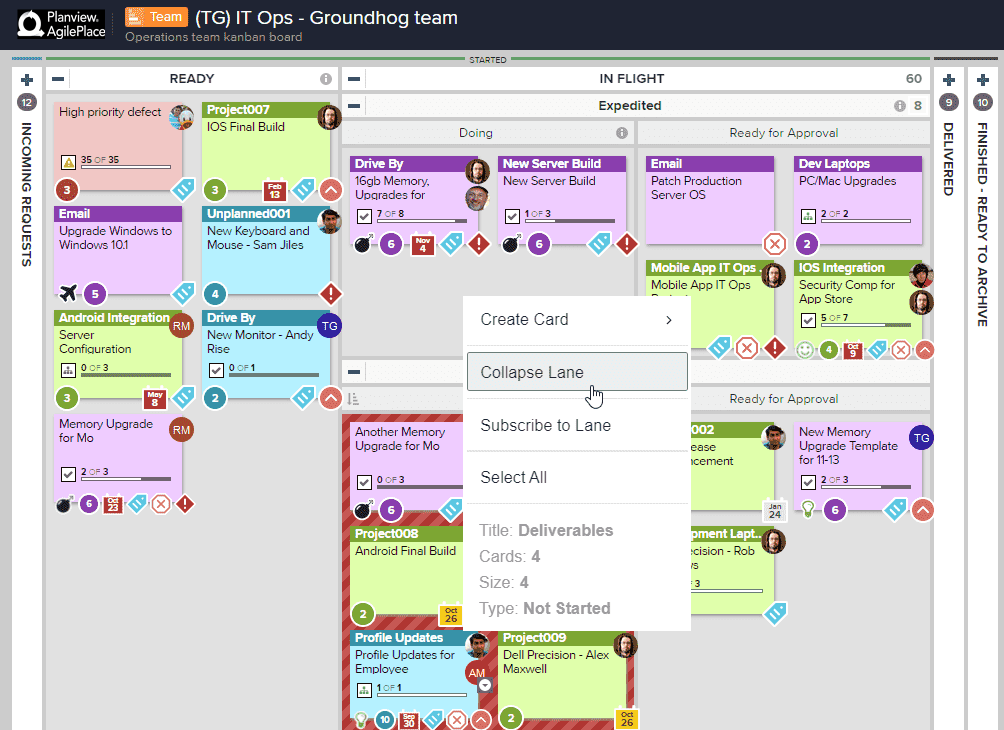
Collapse Lanes
You can also collapse lanes on the board to simplify your view. Click the minus icon in a lane header to collapse it, or right-click the lane and select Collapse Lane.
NOTE
Depending on your board layout and how many split lanes you have on your board, certain lanes may not be collapsible and the Collapse Lane option will not be available from the right-click menu.