Filter Cards on a Board
Filters can be applied to cards within a board, allowing you to dim or hide cards that don't meet your desired criteria. The filters you apply to view a board affect only your view of that board. If you leave a board that you've applied a filter to and come back later, the filter will still be applied. You can also create and manage Saved Filters.
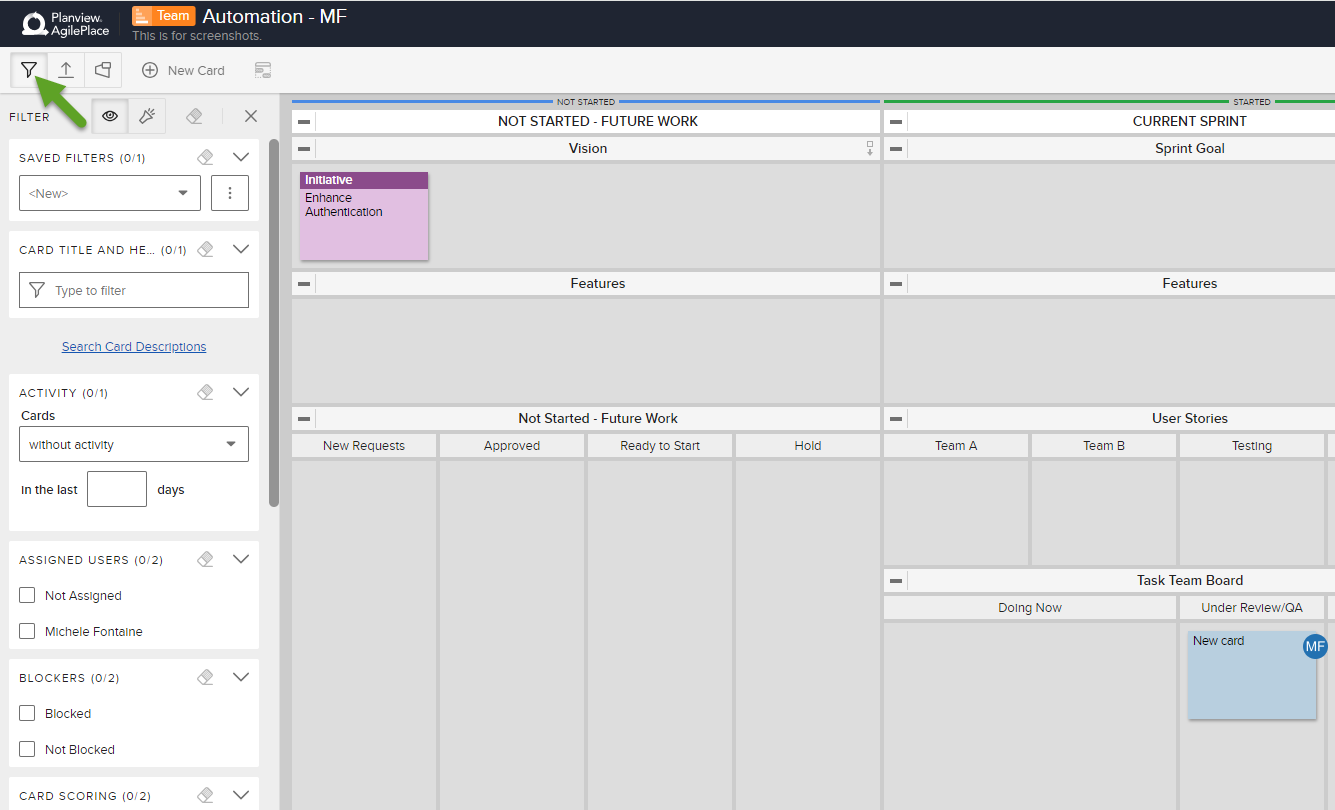
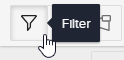
The Board Filter can be accessed by clicking on the Filter icon, which resembles a funnel.
Turning the Filter On and Off
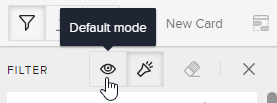
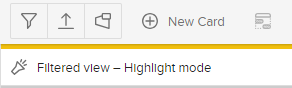
To turn the board filter on, select a feature to filter by, or type text into the filter search field, and click Highlight mode (flashlight) or Default mode (eye) at the top of the filter options.
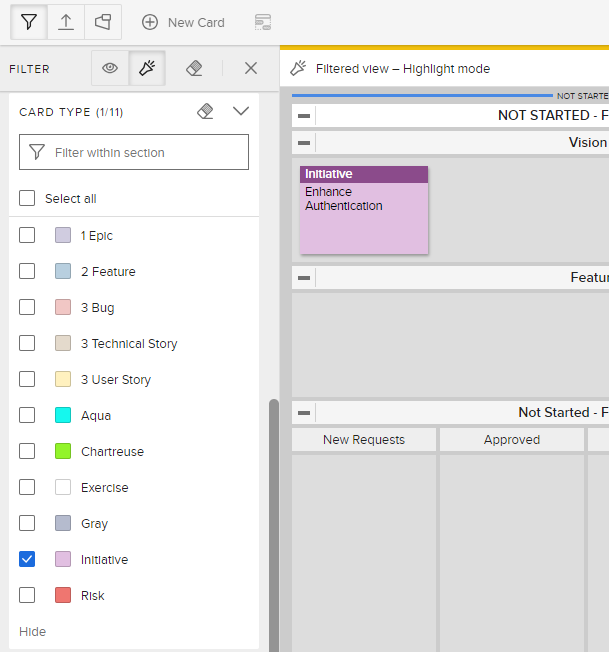
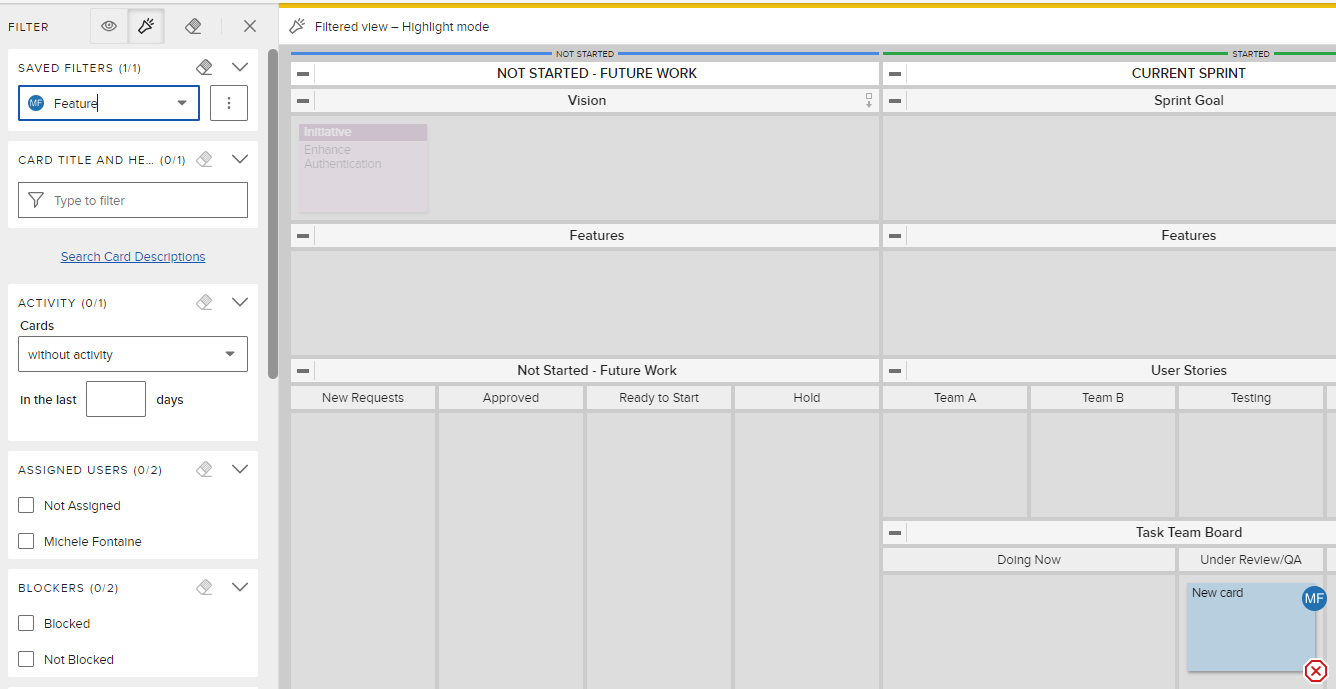
Choosing Highlight mode will display a filtered version of the board in which cards that you are not filtering for will be dimmed.

Choosing Default mode will display a filtered version of the board in which cards that you are not filtering for will be hidden entirely from the board.
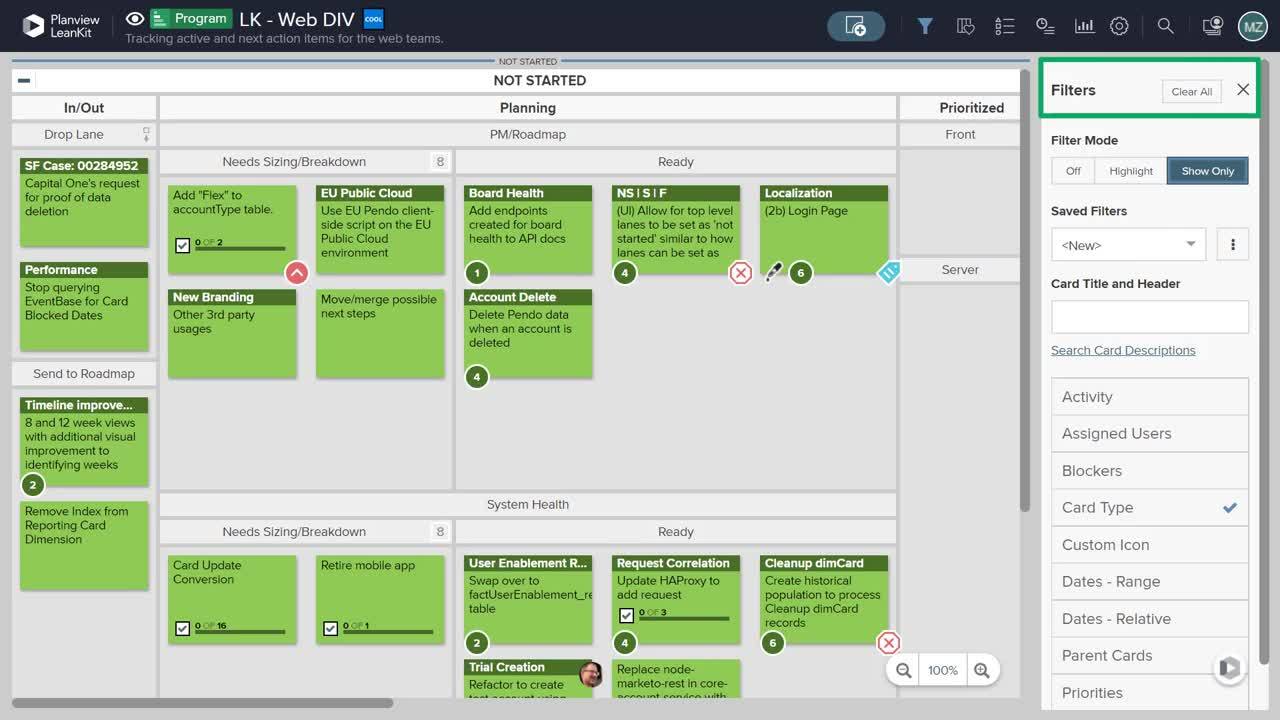
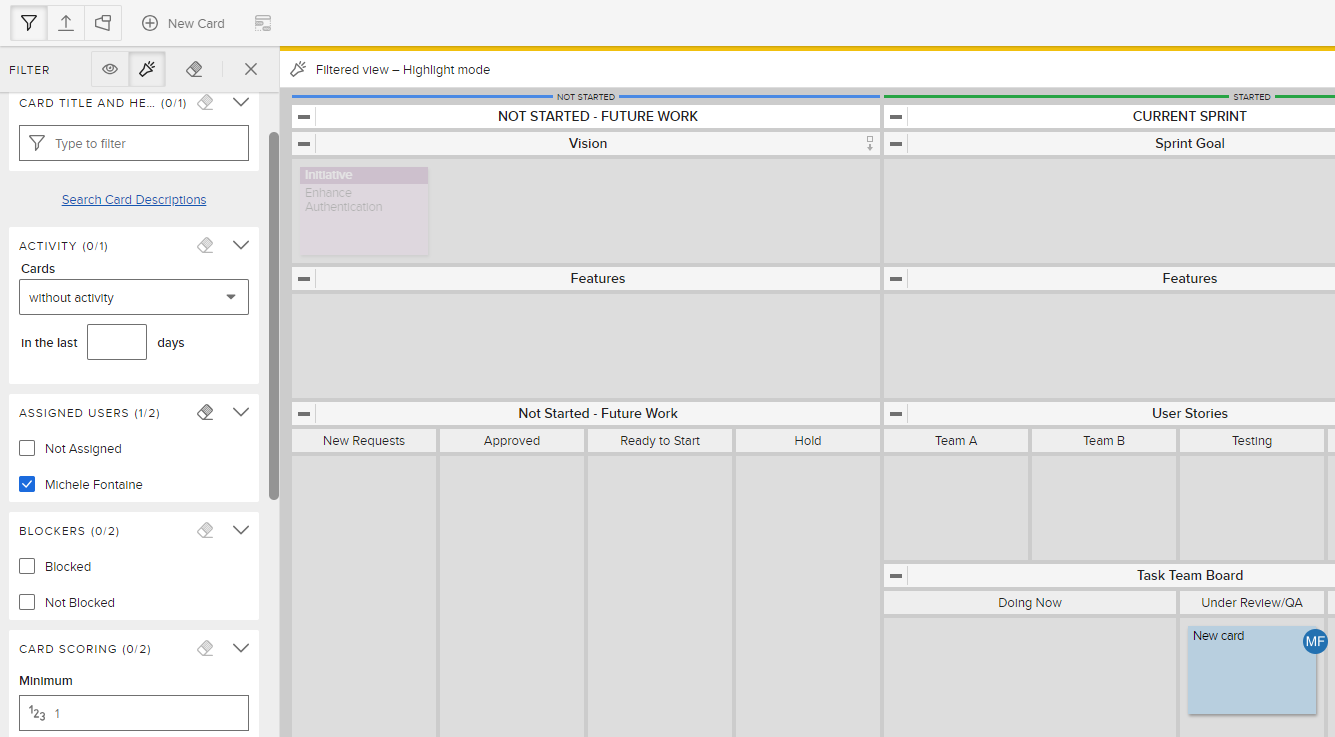
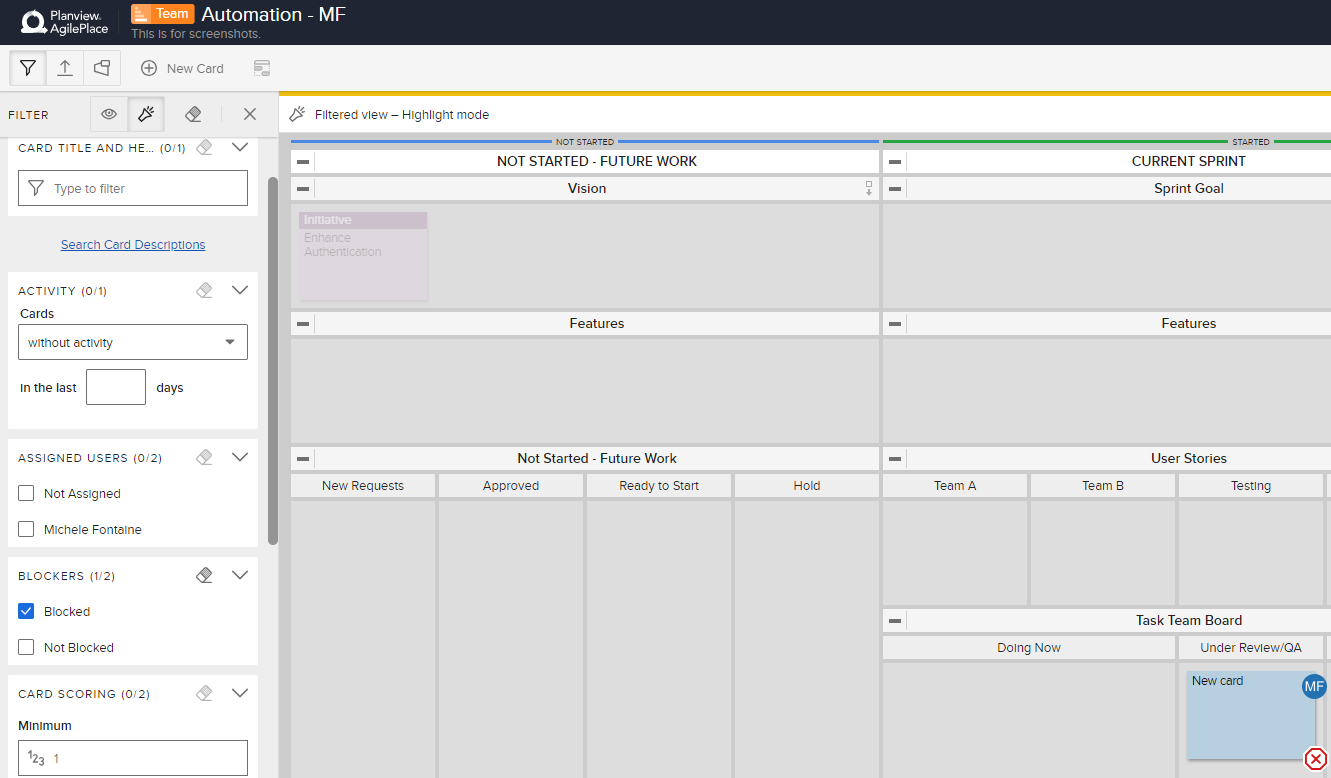
When the board filter is on, the Filter icon on the top bar will appear depressed, and the filter panel will appear to the left of the board, as shown above.
To turn off the board filter, click the Filter icon. The filter panel will disappear and the Filter icon will return to its normal state. Any currently applied filter views will appear below the Filter icon.
Filtering Cards
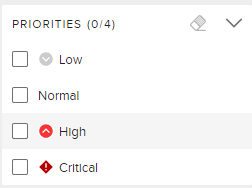
When you access a board via a connected parent card, AgilePlace automatically filters out all cards not associated with the parent card. To remove the filter, simply turn the filter off. With the filter on, you can assign to Highlight mode or Default mode cards that meet a specified criteria for either, for example, Assigned User, which will dim or hide all other cards that do not meet the criteria. Specify your desired filter criteria by ensuring its checkbox is selected on the category of filter you would like to select. All cards that do not meet the filter criteria will be dimmed or hidden, depending on your previous selection.
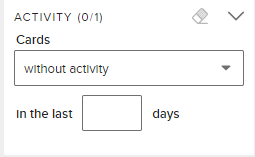
Activity
Select the activity level of cards by which to filter. Using the dropdown beneath Cards you can select to filter for cards:
- without activity
- with activity
- without lane changes
- with lane changes
And you can specify the number of days of activity or inactivity to filter by (0 by default) by typing a number of days in the field below the dropdown.
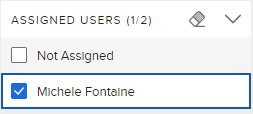
Assigned User
Filter cards assigned to one or more users by checking the box next to the user(s) you would like to filter for.
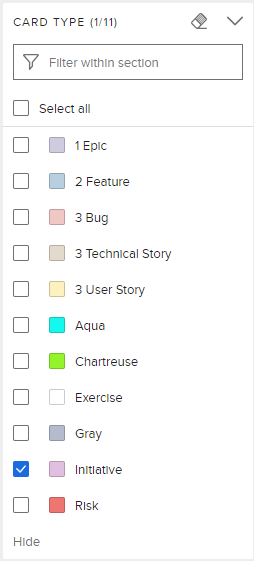
Custom Icons
Click the checkbox next to the custom icons you want to filter by, then specify the filter criteria.
![]()
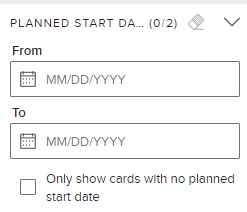
Dates - Range
Filter all cards that fit within a specific start-date and end-date timeframe. Simply click within the fields to type or select a set of dates by which to filter.
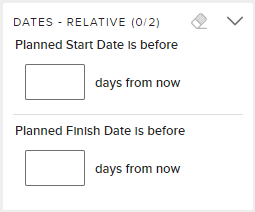
Dates - Relative
Filter for Planned Start and Planned Finish Dates that fall within a specified number of days.
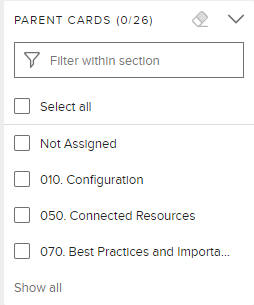
Parent Cards
Select the parent card or cards by which to filter.
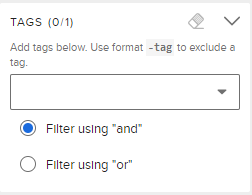
Tags
To filter based on card tags, type the desired tag or tags in the field and specify whether you want to sort either by “or” or “and.”
"Or" lists any possible match to any tag specified; "and" only returns cards that match all tags specified.
TIP
To exclude cards with a certain tag, type an exclamation point (!) or a dash (-) followed by the tag name. For instance, to exclude cards with the tag "planning", enter -planning or !planning.
Creating a Saved Filter
Use Saved Filters to help you quickly view the board in ways that are most useful to you. Saved Filters are board-specific and are not seen by other users, unless you choose to do so (see below).
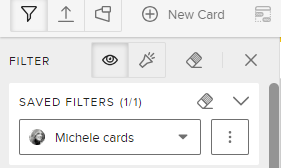
- Click the Board Filter icon (funnel) to open the board filter panel. Previously saved filters can be found under the Saved Filters dropdown menu.
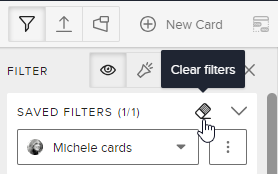
- Start creating a new a filter by clicking Clear filters (eraser icon) to remove any existing filters.
- Use the selection criteria to define a filter that you would like to save. Be sure that you have selected either Highlight mode or Default mode as the Filter Mode.
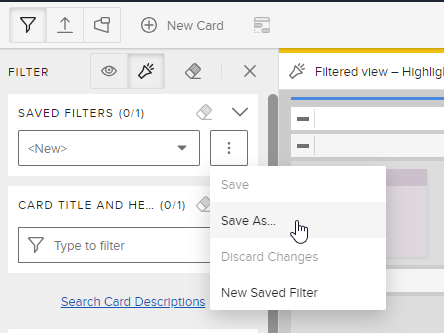
- After selecting the filter options, click the Saved Filters menu and select Save As.
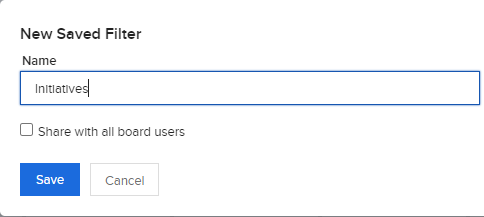
- Enter a Filter Name. Choose whether to Share with all board users, and then click Save.
NOTE
If your filter does not appear to be active, be sure that the Filter Mode is set to either Highlight mode or Default mode.
Updating a Saved Filter
- Select your filter from the Saved Filters dropdown menu, and make the filter selection criteria as needed.
- Click the Action menu > Save As.
- On the popup, type a name for the new filter. Click Save to update your previously saved filter with the current selected filter criteria as a new filter. Your new filter will be listed in the Saved Filters dropdown menu for future use.
Sharing Saved Filters
When creating a filter, you have the ability to share a saved filter with all board users.
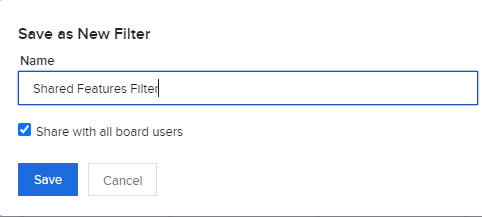
1. Use the Share with all board users checkbox when you create a new filter.
2. Click Save.
As a second option to share an existing saved filter, access the Rename and Sharing menu.
1. Select your existing filter from the Saved Filters dropdown menu.
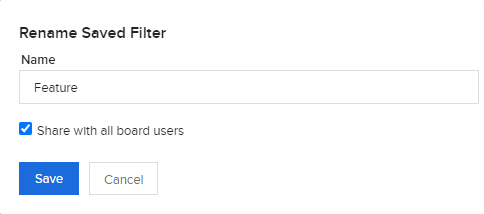
2. Click Rename and Sharing.
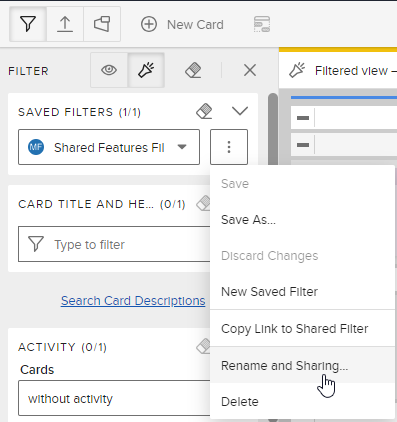
3. Select the Share with all board users checkbox.
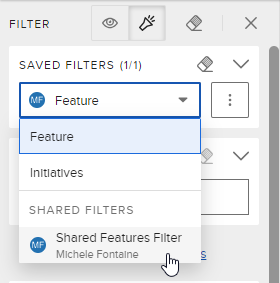
4. Click Save.
5. Click the Saved Filters dropdown menu to access your Shared Filters.
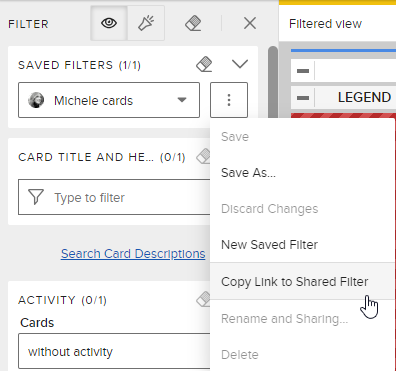
Linking to Shared Filters
After you have marked a Saved Filter as Shared, you can share a link to the filter by selecting the filter you want to share, clicking the icon, and selecting Copy Link to Shared Filter.
NOTE
To share via link the filter must have the Share with All Board Users option enabled.