
Automatically Create Scheduled Cards Using Zapier
You might have work items that are repeated on a daily, weekly, or monthly cadence. Zapier integrations allow you to automate the creation of scheduled cards for these repeated events so that you don’t even have to think about adding them to your board, they’ll just be there when you need them!
To get started creating a scheduled, repeated card using Zapier integrations, first go to the Zapier website. From there, click Make a Zap at the top of the screen.

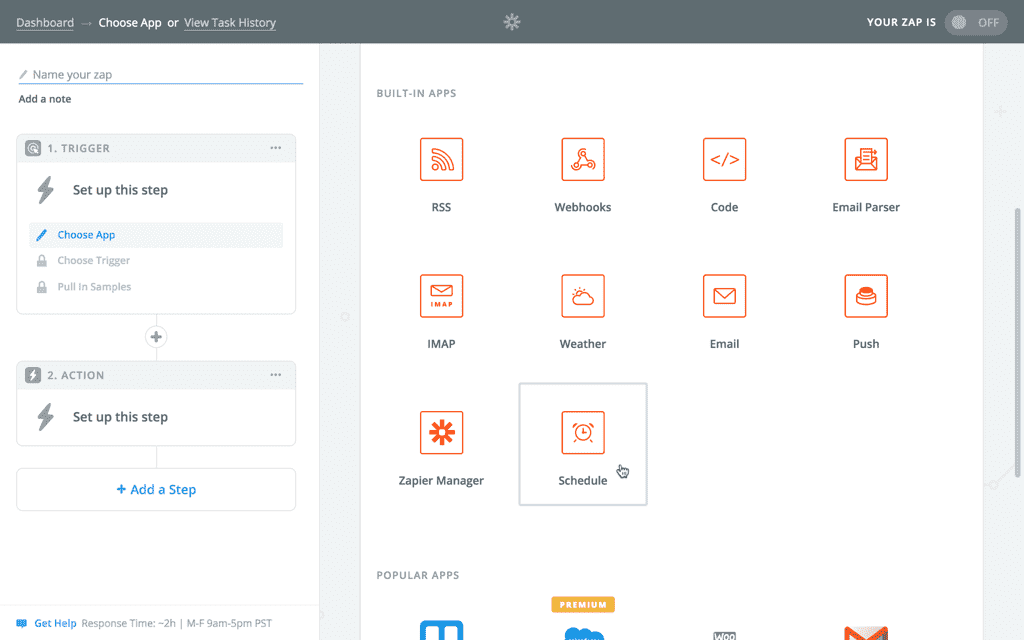
This will bring you to a page where you can select the applications you would like to integrate for this Zap. From here, you’ll want to first choose Schedule from Zapier’s built-in apps.
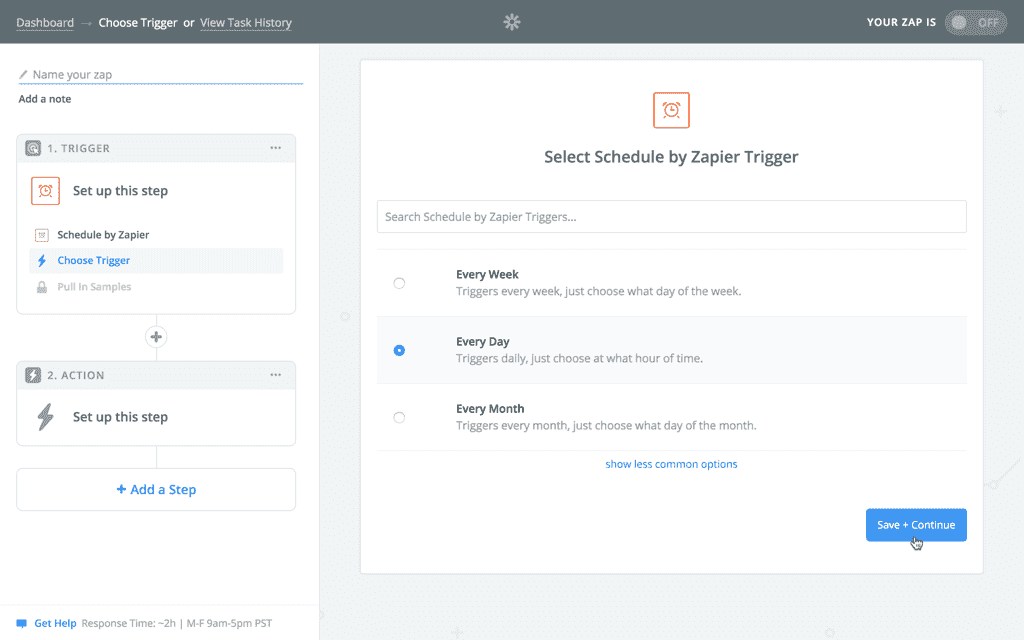
This will bring you to a list of scheduled triggers you can create.
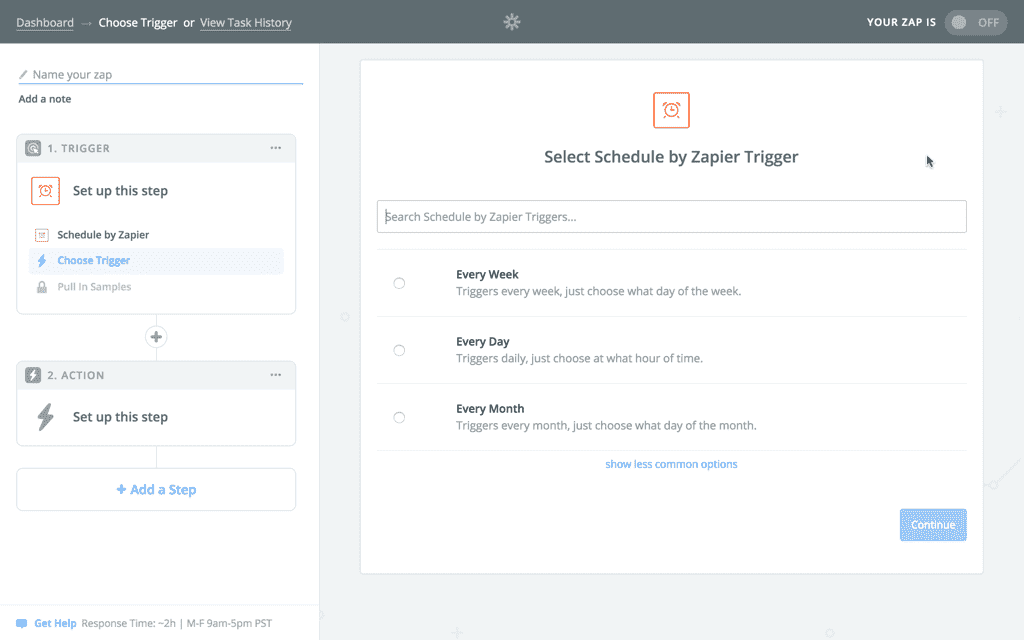
You can then choose to:
Automatically Create a Card via Zapier Every Week
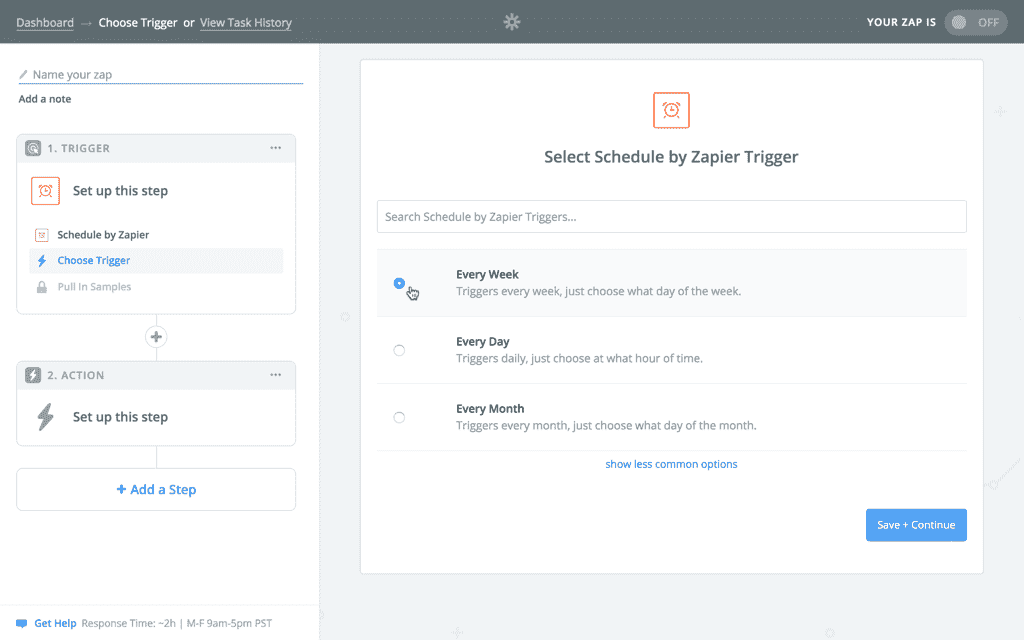
To trigger the creation of a card on a weekly cadence, select Every Week from the Schedule by Zapier Trigger list. Then click Save + Continue.
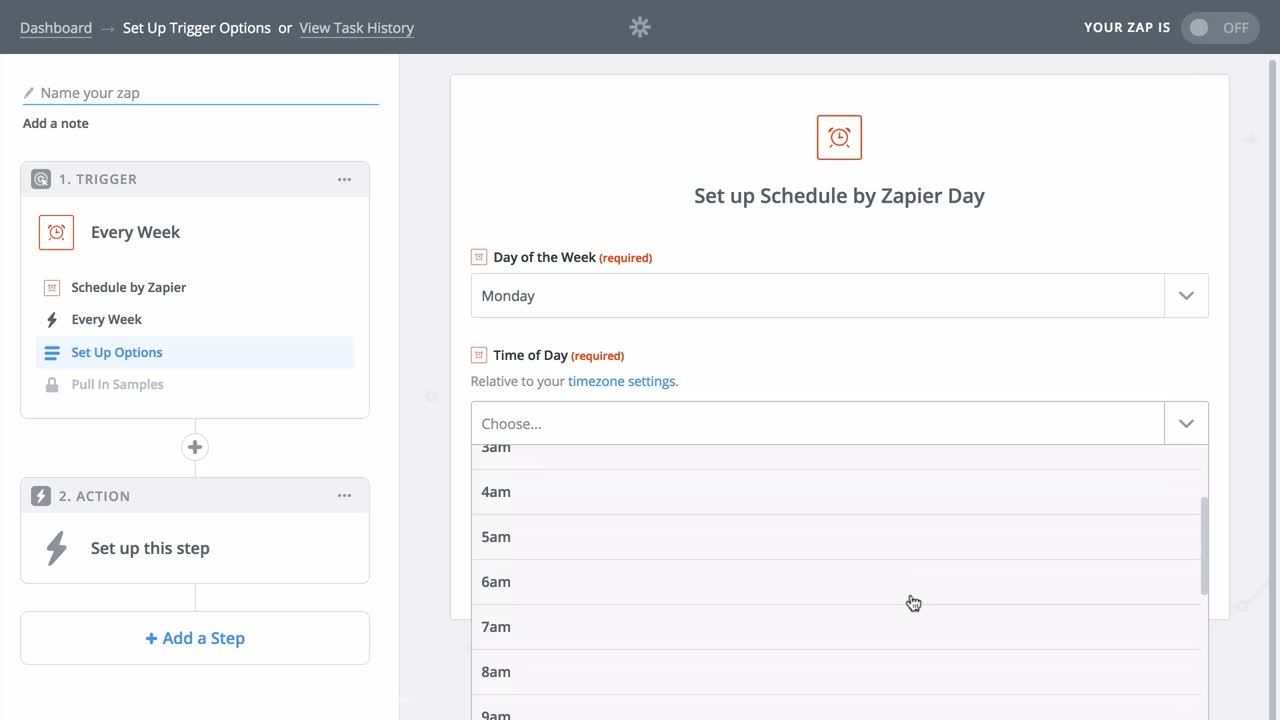
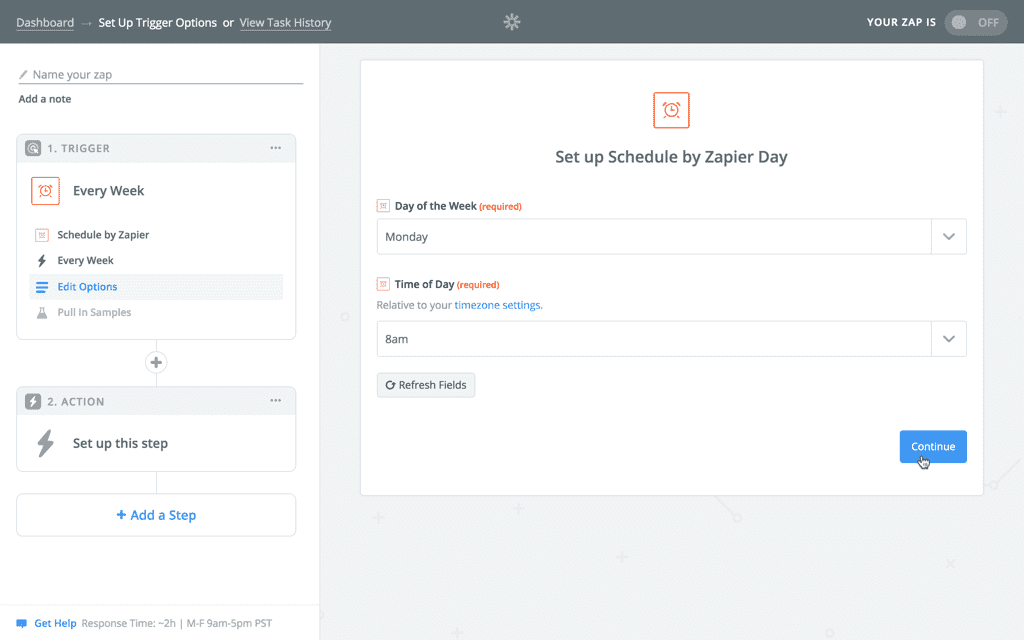
This will bring you to a page to set up your schedule trigger. Select a Day of the Week and a Time of Day from each respective dropdown. Then click Continue.
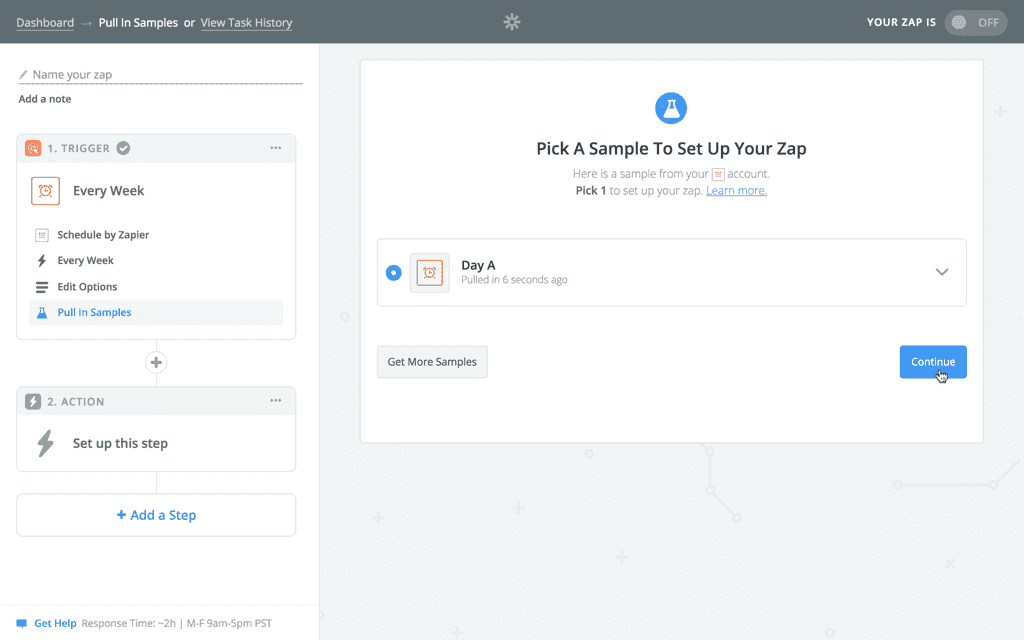
You’ll be brought to a page to pull a sample of the schedule trigger. Click Continue once the sample is pulled.
Once the sample is pulled, you’ll brought back to the the main setup page to choose an Action App, in this case Planview AgilePlace.

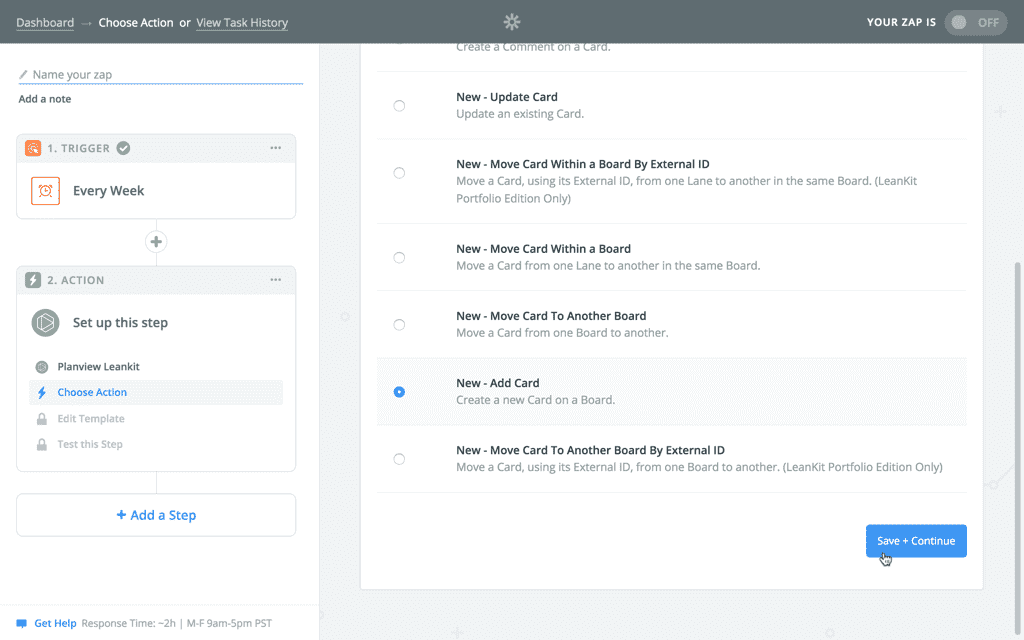
Once you’ve selected Planview AgilePlace as your action app, you’ll be brought to a page to choose the type of action that will be triggered on the selected cadence. In this case, choose New - Add Card so that a new card will be created each week. Then click Save + Continue.
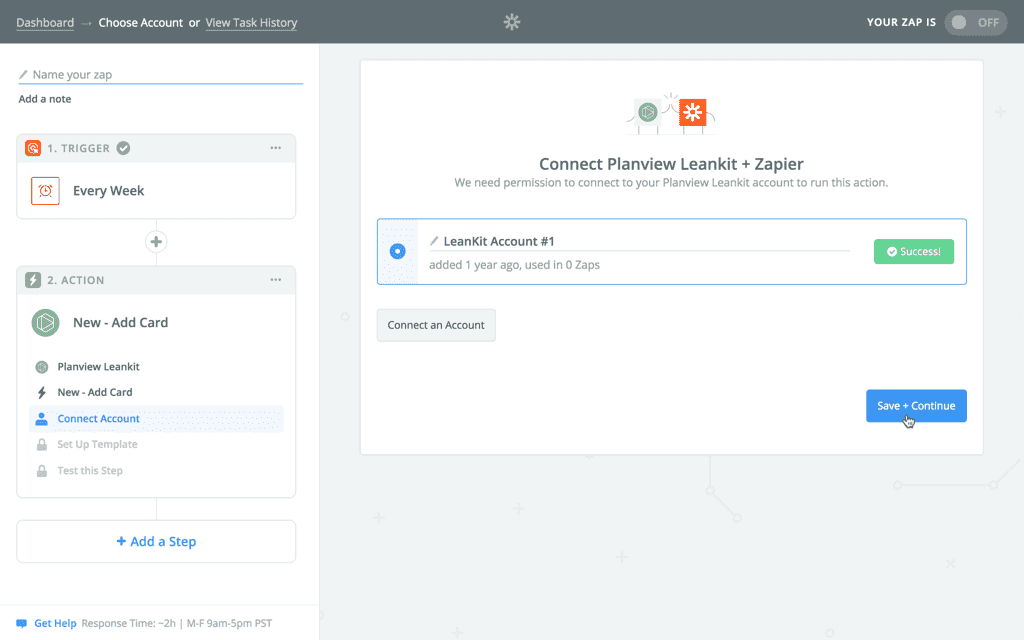
Then select the Planview AgilePlace account you would like to apply this to or you can choose to Connect an Account if you haven’t already connected your account or if you’d like to connect a new account. Click Save + Continue when you’re done.
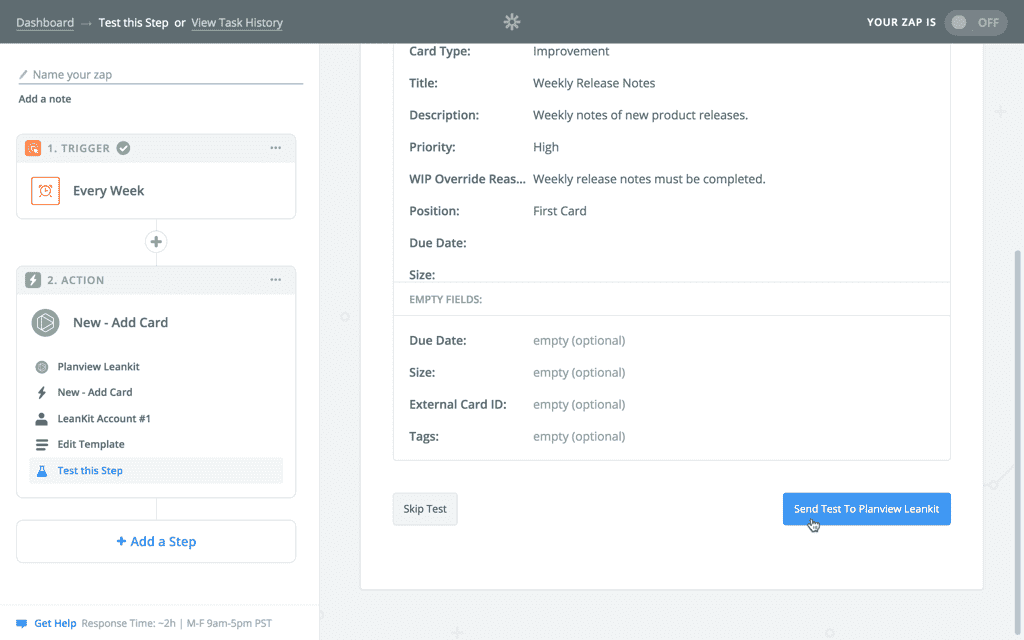
From there, set up your Planview AgilePlace card by selecting various options from the dropdowns. When you’re done, click Continue at the bottom of the screen.

Review the information and click Send Test To Planview AgilePlace to test and create your new Zap.
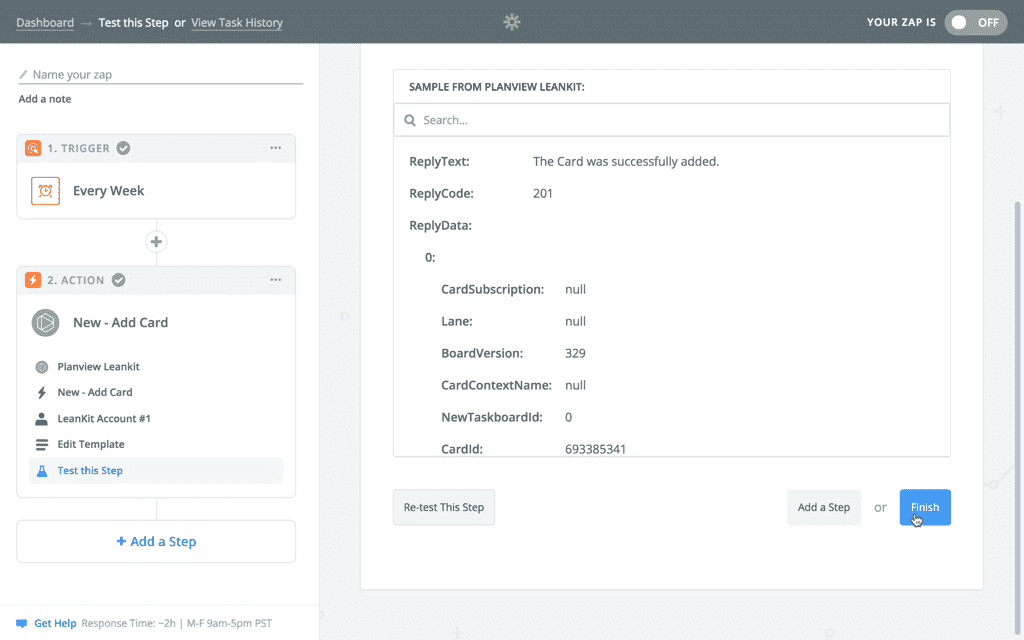
Once the test is confirmed successful, click Finish to complete the creation of your new Zap.
Once your Zap is created you can give it a name and toggle the Zap from OFF to ON to activate it.
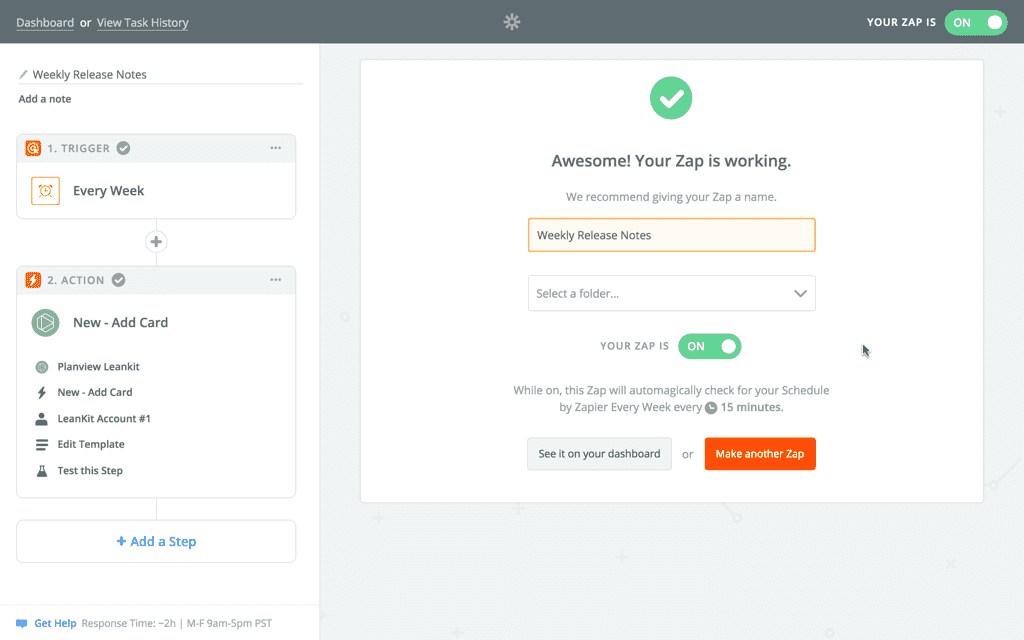
Once your Zap is activated, a new card will appear in the specified lane on the specified board each week.
Automatically Create a Card via Zapier Every Day
To trigger the creation of a card on a daily cadence, select Every Day from the Schedule by Zapier Trigger list. Then click Save + Continue.
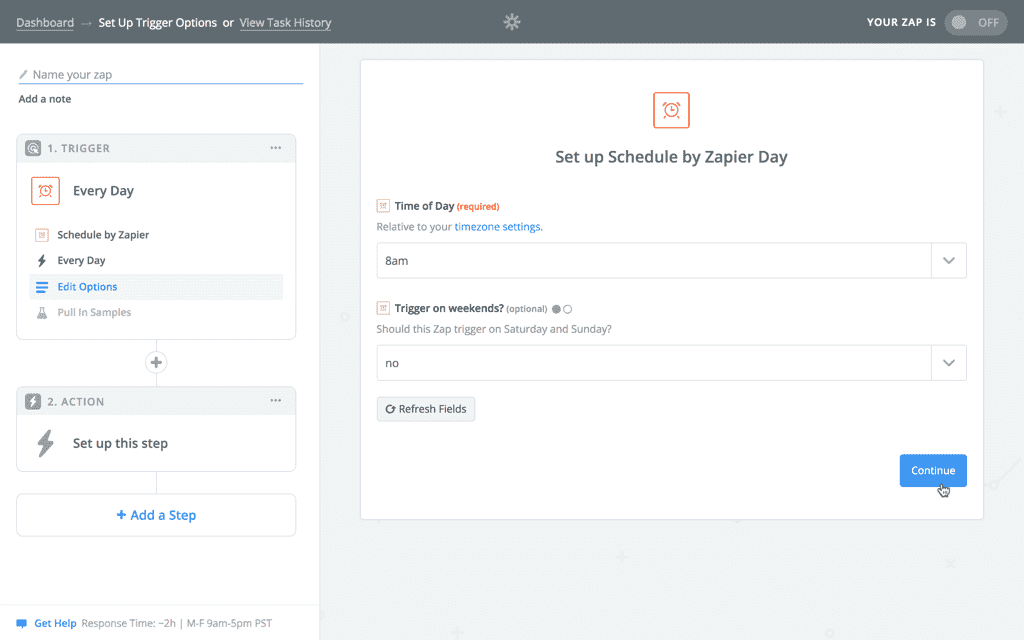
This will bring you to a page to set up your schedule trigger. Select a Time of Day and whether or not you want to Trigger on weekends from each respective dropdown. Then click Continue.
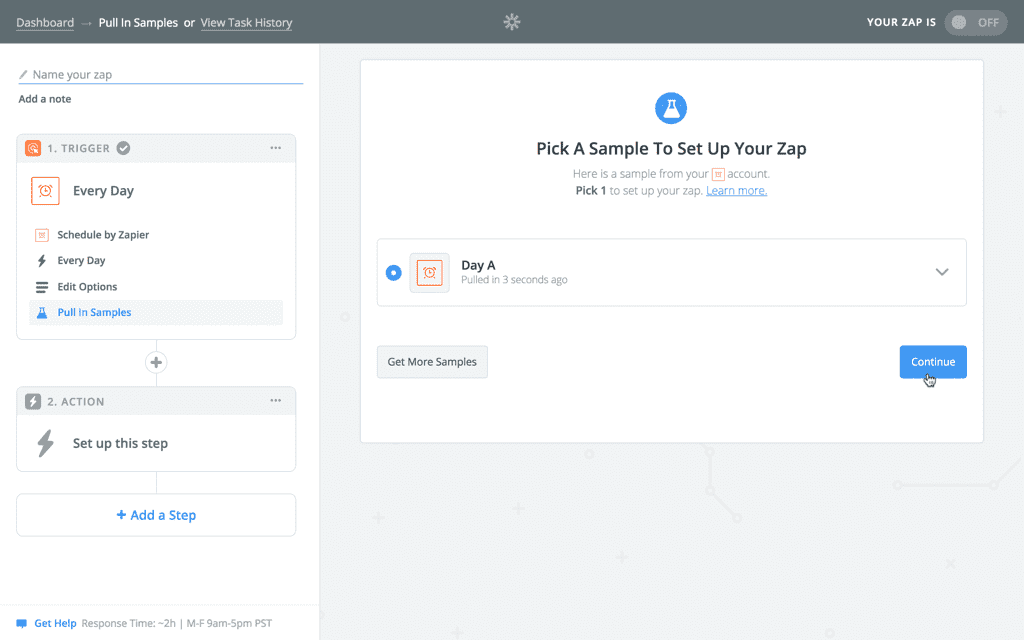
You’ll be brought to a page to pull a sample of the schedule trigger. Click Continue once the sample is pulled.
Once the sample is pulled, you’ll brought back to the the main setup page to choose an Action App, in this case Planview AgilePlace.

Once you’ve selected Planview AgilePlace as your action app, you’ll be brought to a page to choose the type of action that will be triggered on the selected cadence. In this case, choose New - Add Card so that a new card will be created each day. Then click Save + Continue.

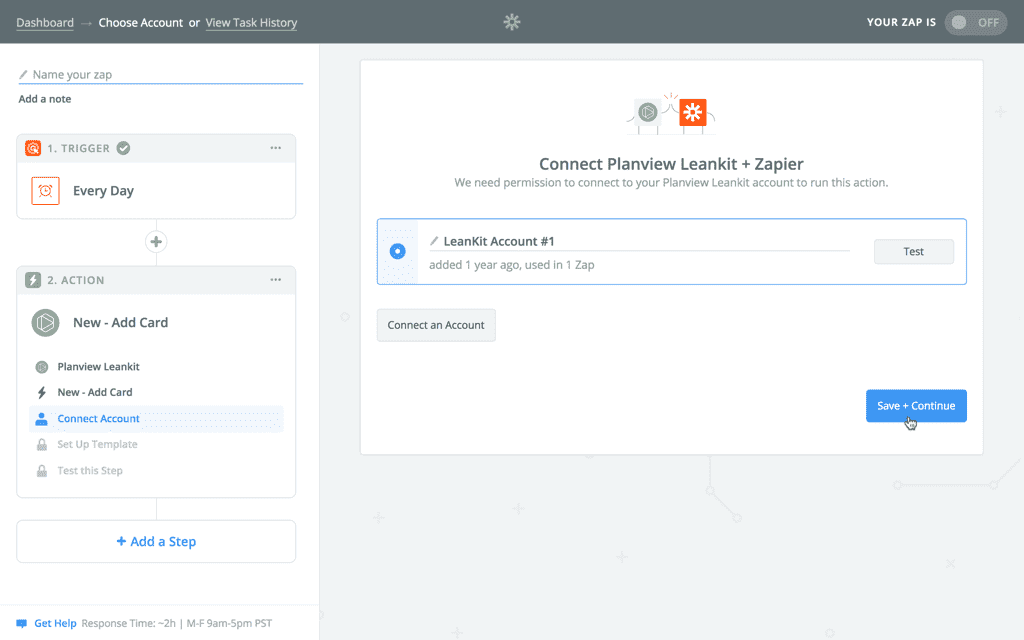
Then select the Planview AgilePlace account you would like to apply this to or you can choose to Connect an Account if you haven’t already connected your account or if you’d like to connect a new account. Click Save + Continue when you’re done.
From there, set up your leankit card by selecting various options from the dropdowns. When you're done, click Continue at the bottom of the screen.

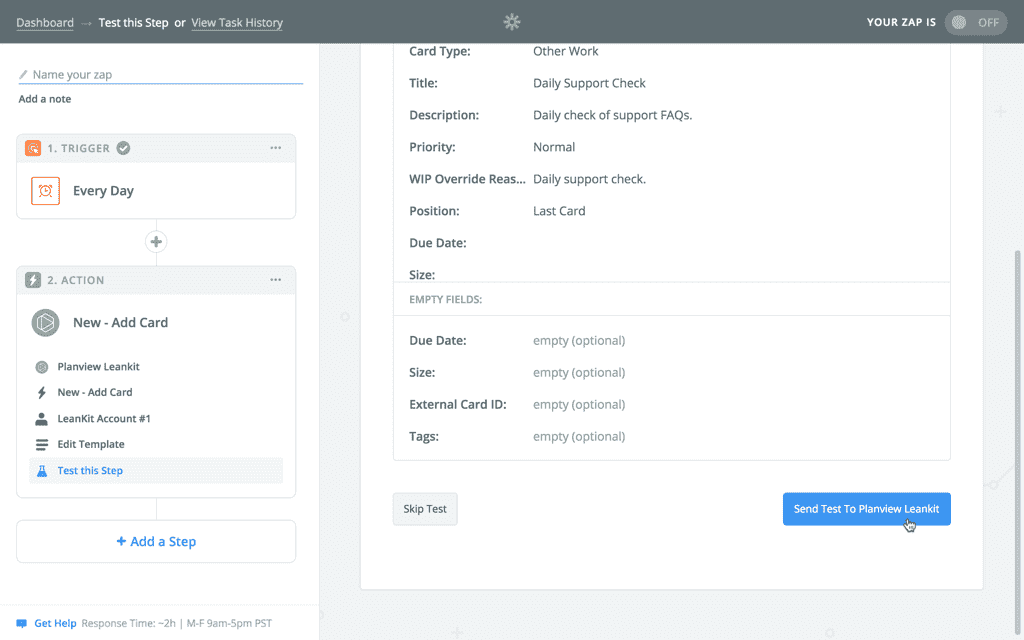
Review the information and click Send Test To Planview AgilePlace to test and create your new Zap.
Once the test is confirmed successful, click Finish to complete the creation of your new Zap.
Once your Zap is created you can give it a name and toggle the Zap from OFF to ON to activate it.

Once your Zap is activated, a new card will appear in the specified lane on the specified board each day.
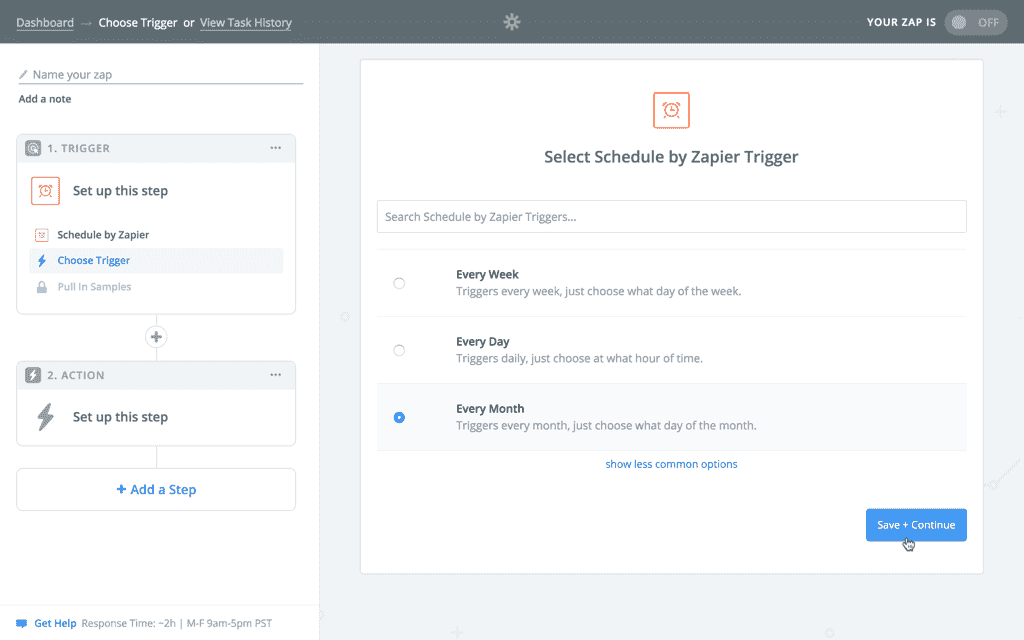
Automatically Create a Card via Zapier Every Month
To trigger the creation of a card on a monthly cadence, select Every Month from the Schedule by Zapier Trigger list. Then click Save + Continue.
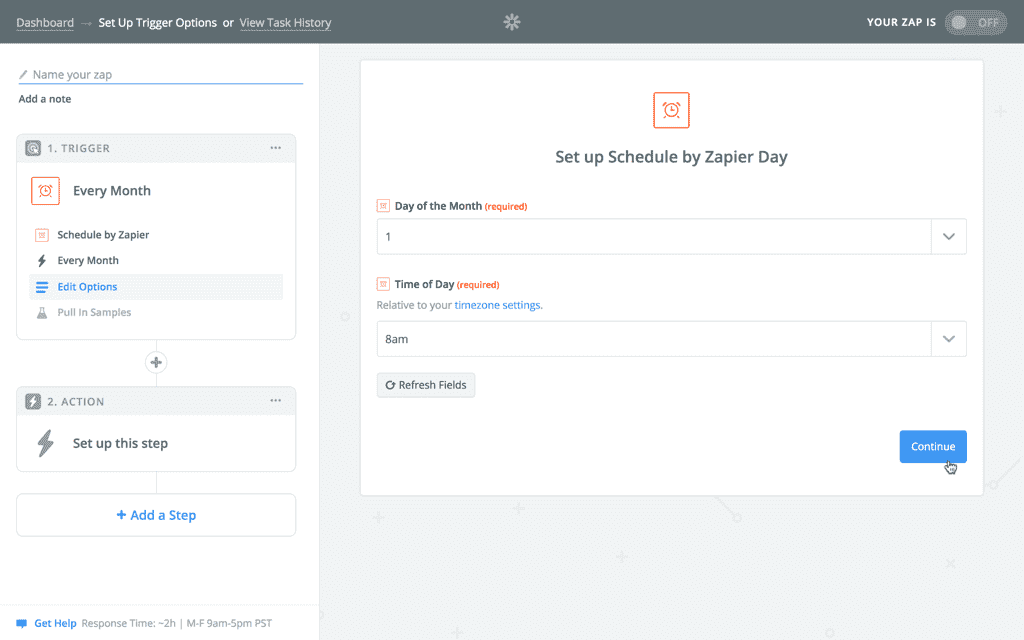
This will bring you to a page to set up your schedule trigger. Select a Day of the Month and Time of Day from each respective dropdown. Then click Continue.
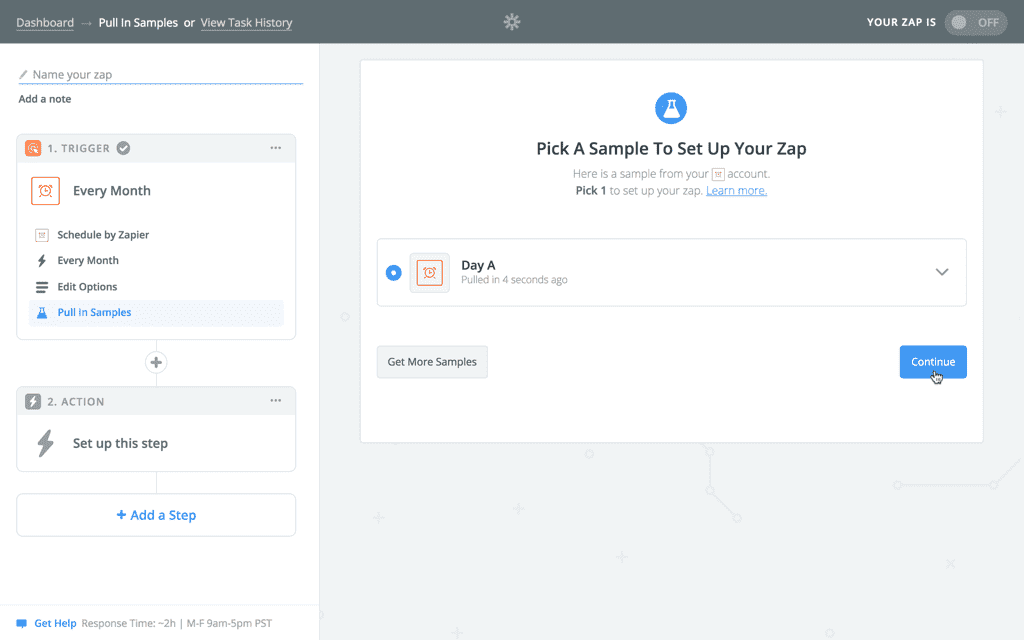
You’ll be brought to a page to pull a sample of the schedule trigger. Click Continue once the sample is pulled.
Once the sample is pulled, you’ll brought back to the the main setup page to choose an Action App, in this case Planview AgilePlace.
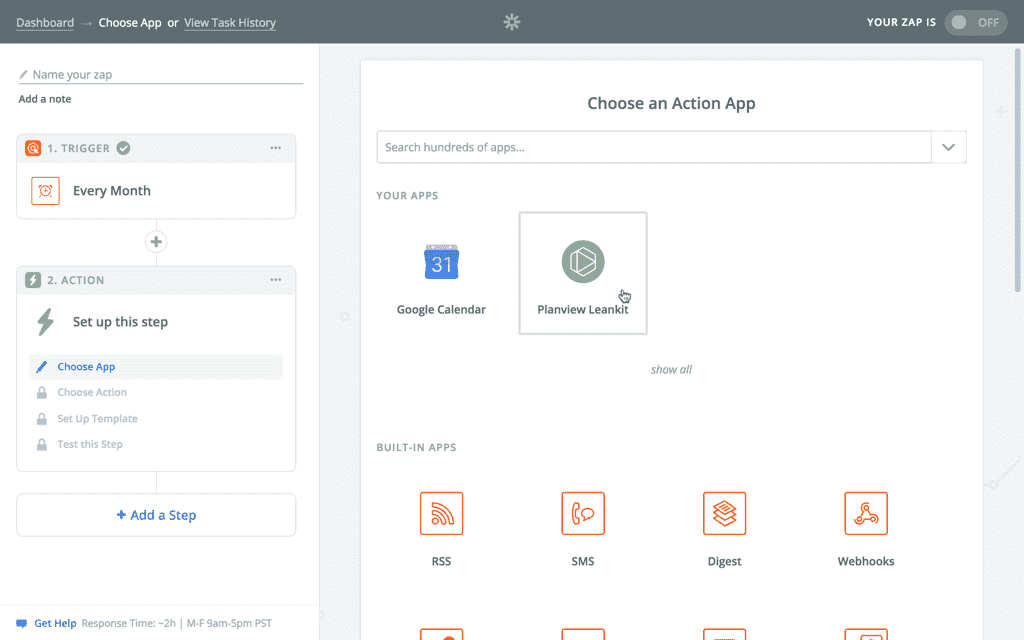
Once you’ve selected AgilePlace as your action app, you’ll be brought to a page to choose the type of action that will be triggered on the selected cadence. In this case, choose New - Add Card so that a new card will be created each month. Then click Save + Continue.
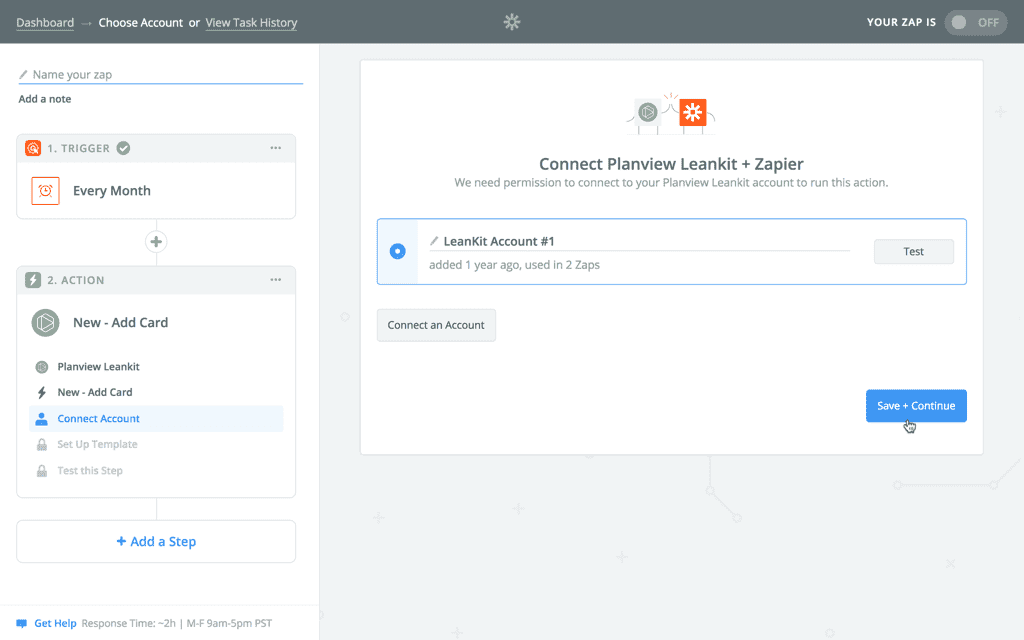
Then select the AgilePlace account you would like to apply this to or you can choose to Connect an Account if you haven’t already connected your account or if you’d like to connect a new account. Click Save + Continue when you’re done.
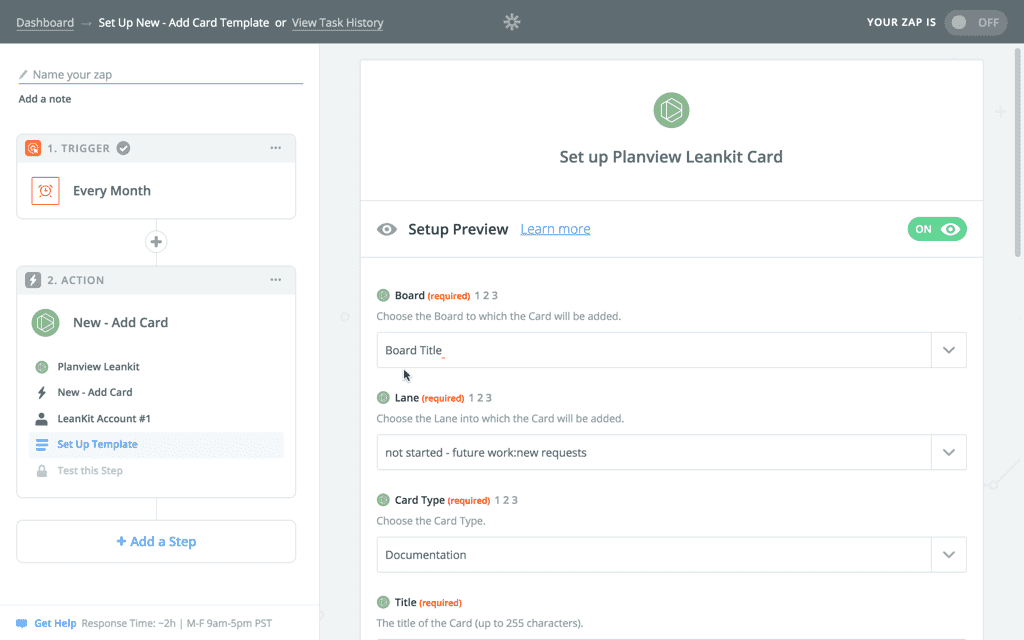
From there, set up your AgilePlace card by selecting various options from the dropdowns. When you’re done, click Continue at the bottom of the screen.
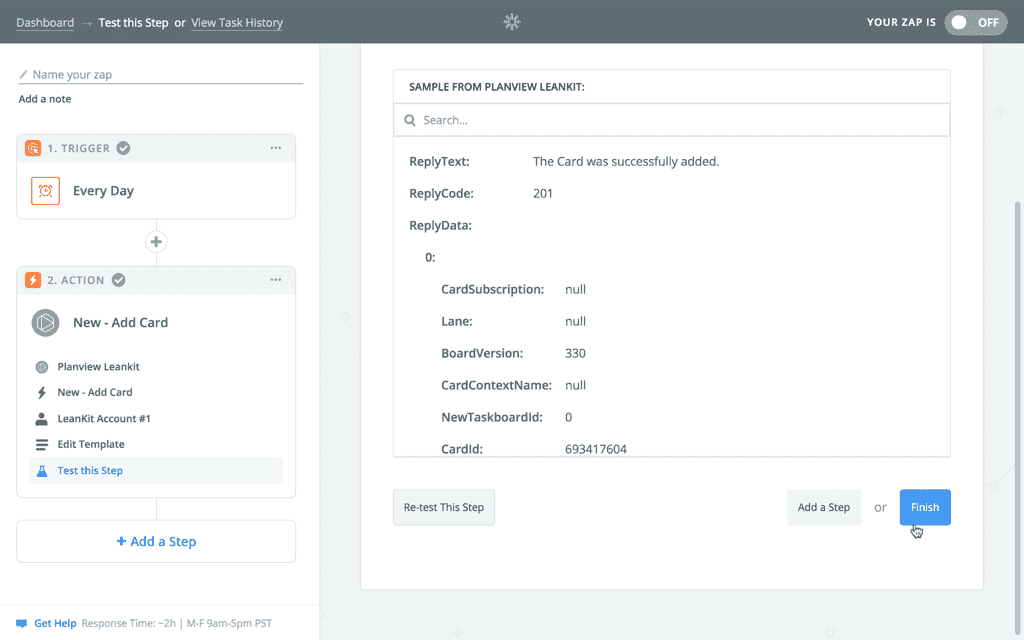
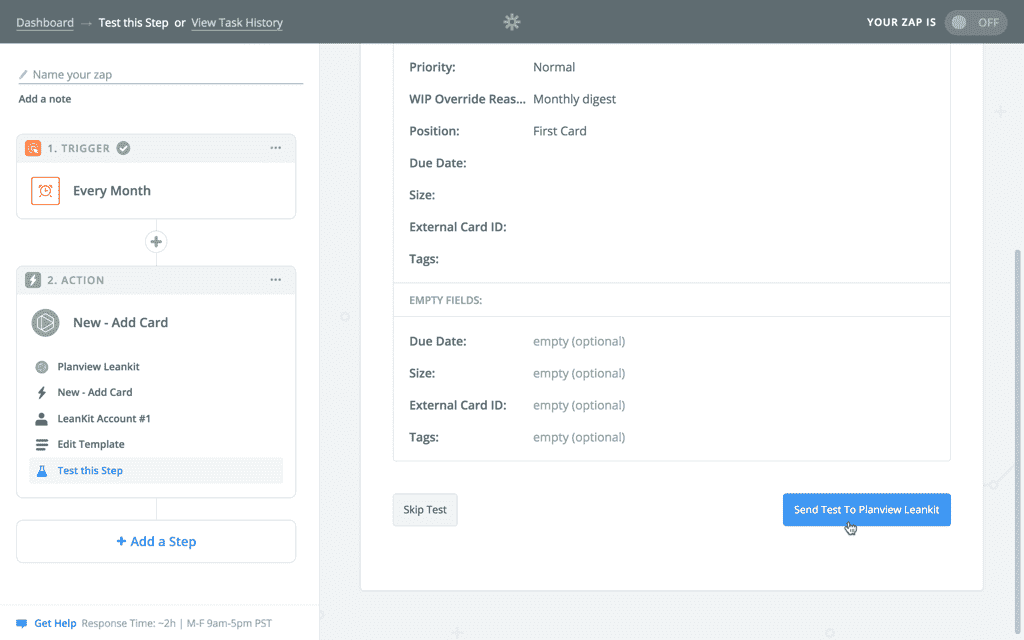
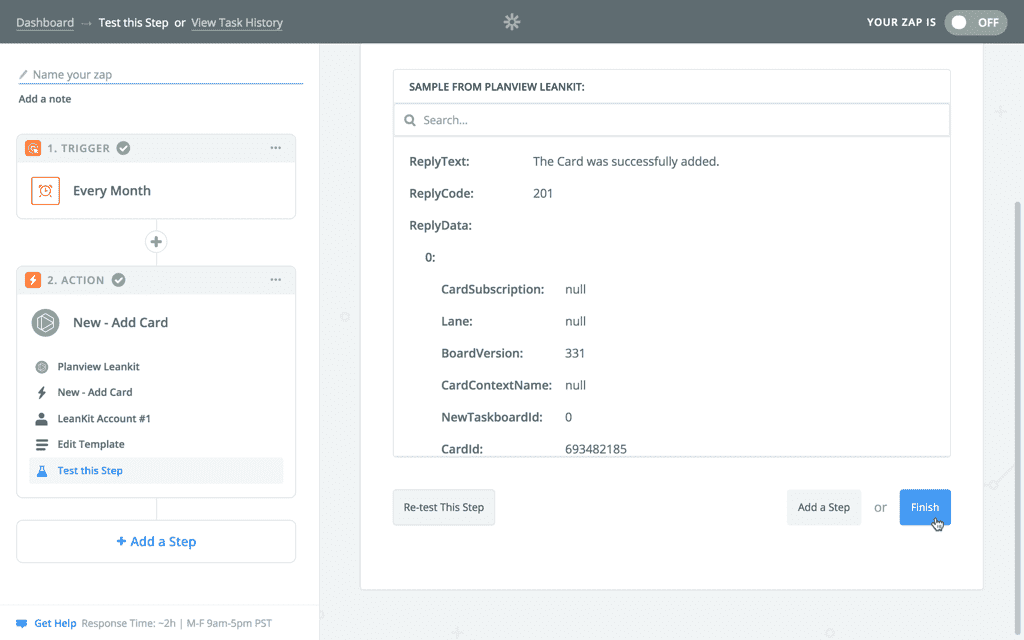
Review the information and click Send Test To Planview AgilePlace to test and create your new Zap.
Once the test is confirmed successful, click Finish to complete the creation of your new Zap.
Once your Zap is created you can give it a name and toggle the Zap from OFF to ON to activate it.

Once your Zap is activated, a new card will appear in the specified lane on the specified board each month.