
Configure Custom Fields
Custom Fields in cards, available in Planview AgilePlace, give you more flexibility to capture additional information within AgilePlace. This is especially useful in conjunction with AgilePlace Integrations or the AgilePlace API.
How Do Custom Fields Work?
Each board in an account can have its own custom card fields. These fields can be one of six types: either free-form text, numerals, a date, a list of options in a dropdown menu, muti-select, or Rich Text (20K character limit for Rich Text). Each board can have up to 30 custom fields enabled. Custom fields can be created or configured by board administrators only. Custom Fields on the cards can then be used by other board users. You can also change the order of your custom fields by dragging them.
How Do I Configure Custom Fields?
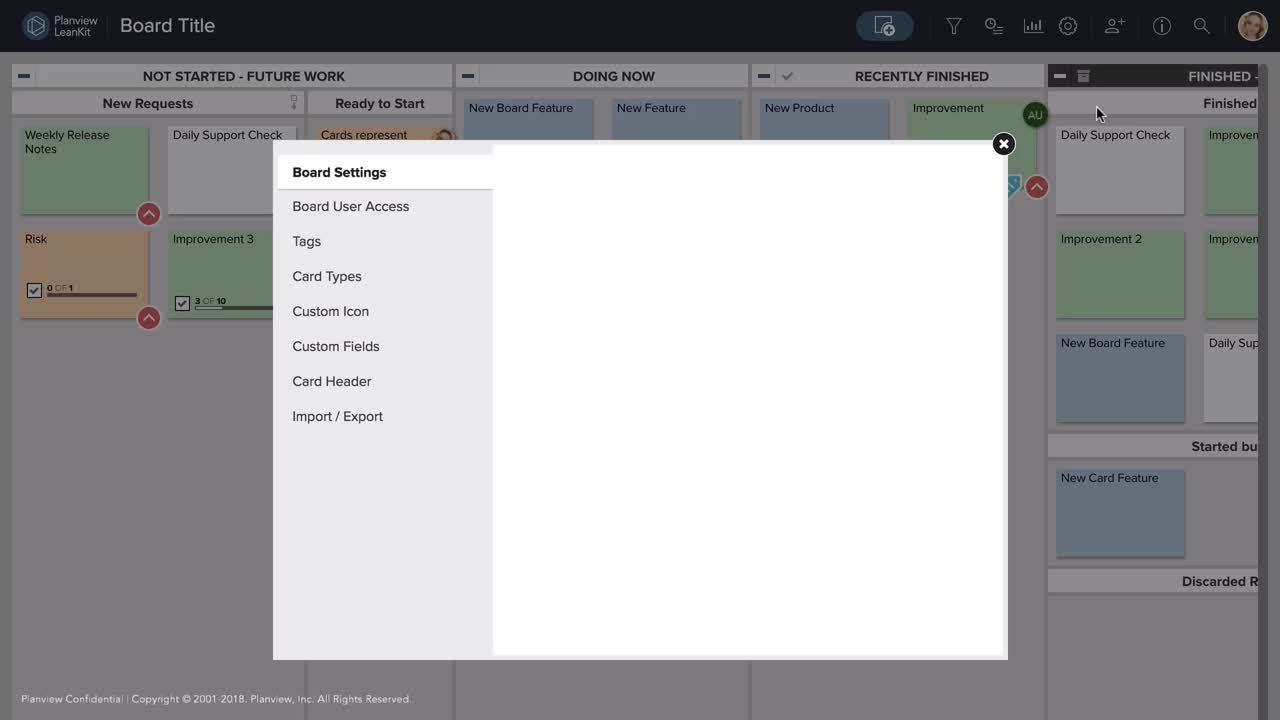
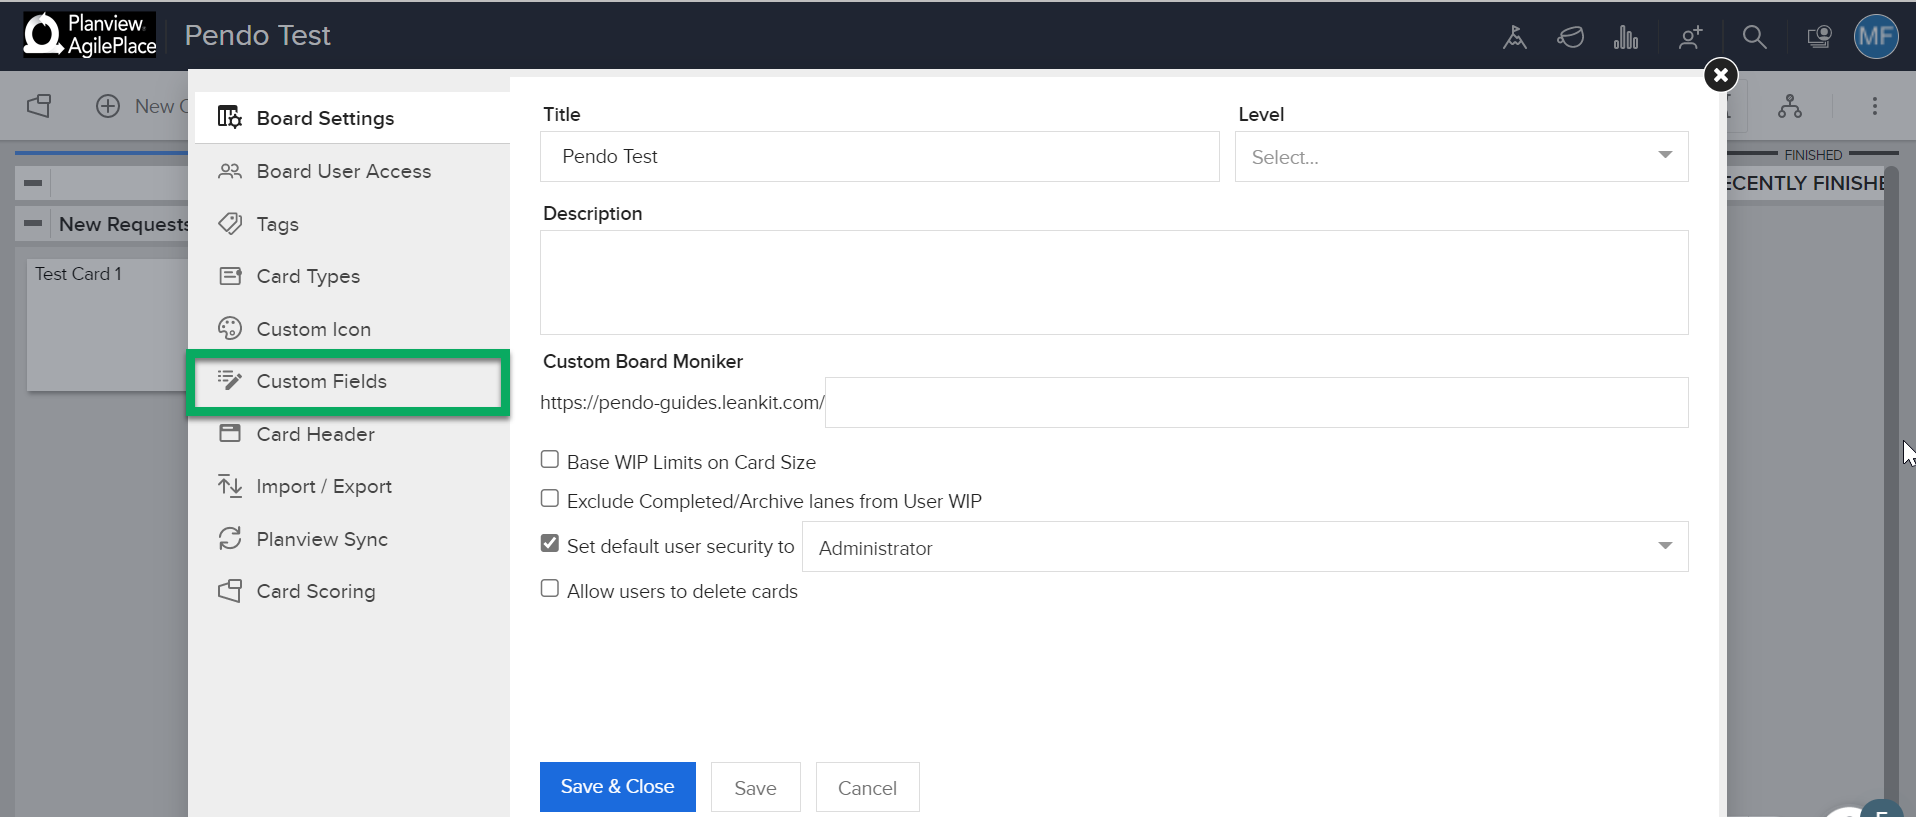
To configure Custom Fields for a particular board, first go to the board you'd like to configure custom fields on. Then click the in the upper-right corner of the board and select Board Settings.
Select the Custom Fields tab.
How Do I Create a Custom Field?
To create a new custom field, click the button labeled Create Custom Field in the upper right hand corner of the Custom Fields tab in the Board Settings.
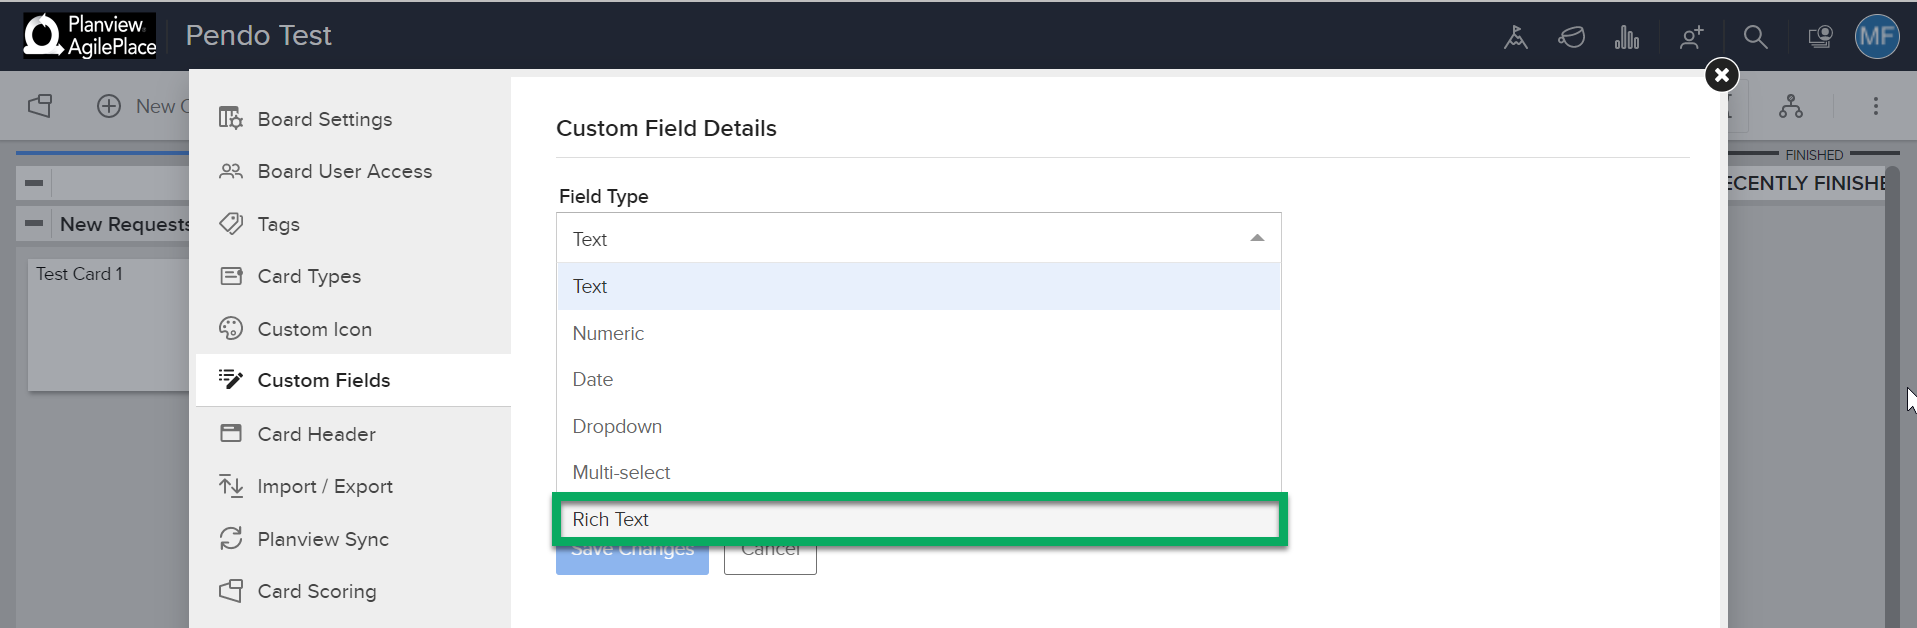
Under Field Type, choose Text, Numeric, Date, Dropdown, Multi-select, or Rich Text.
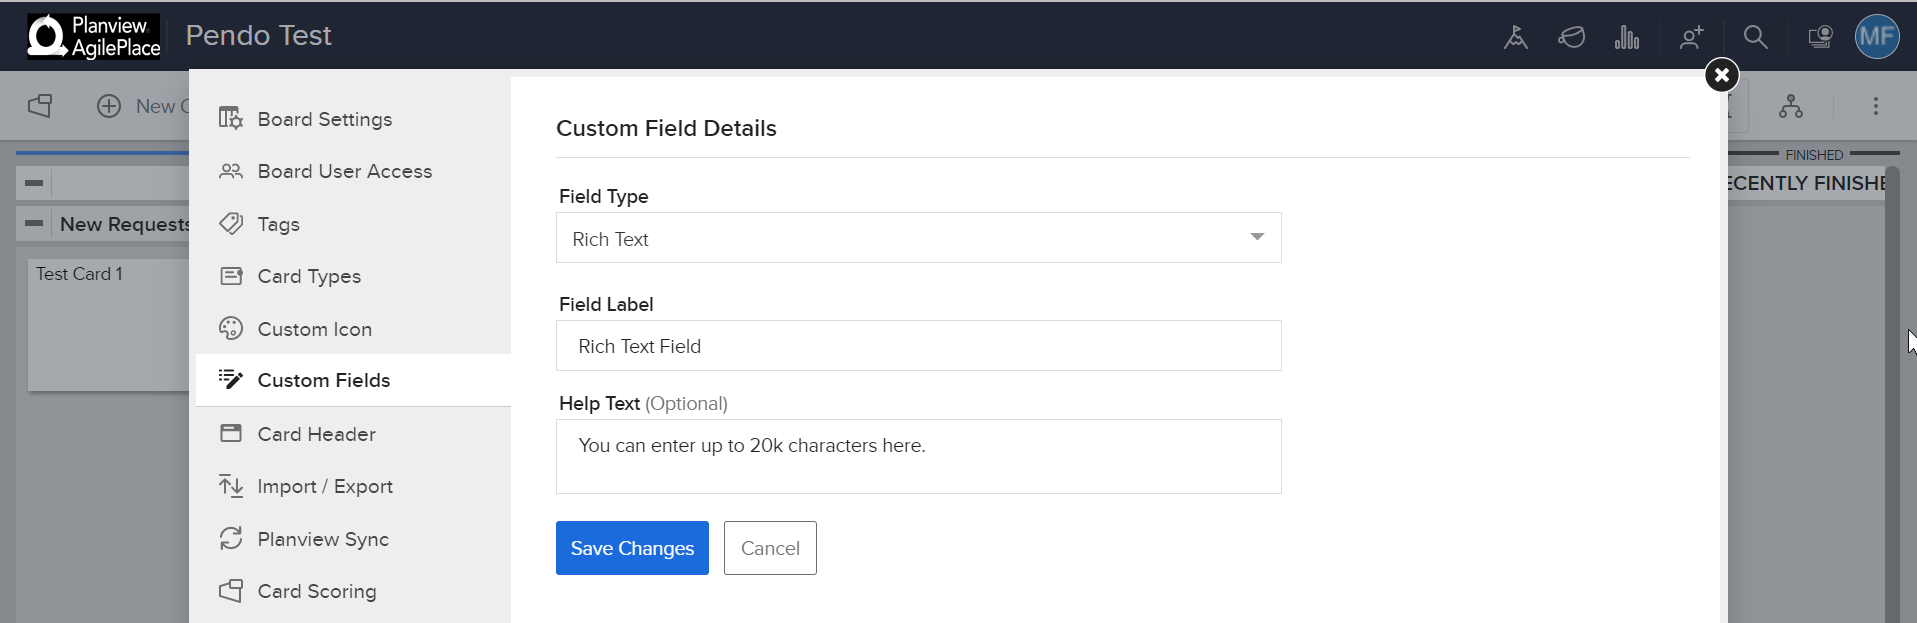
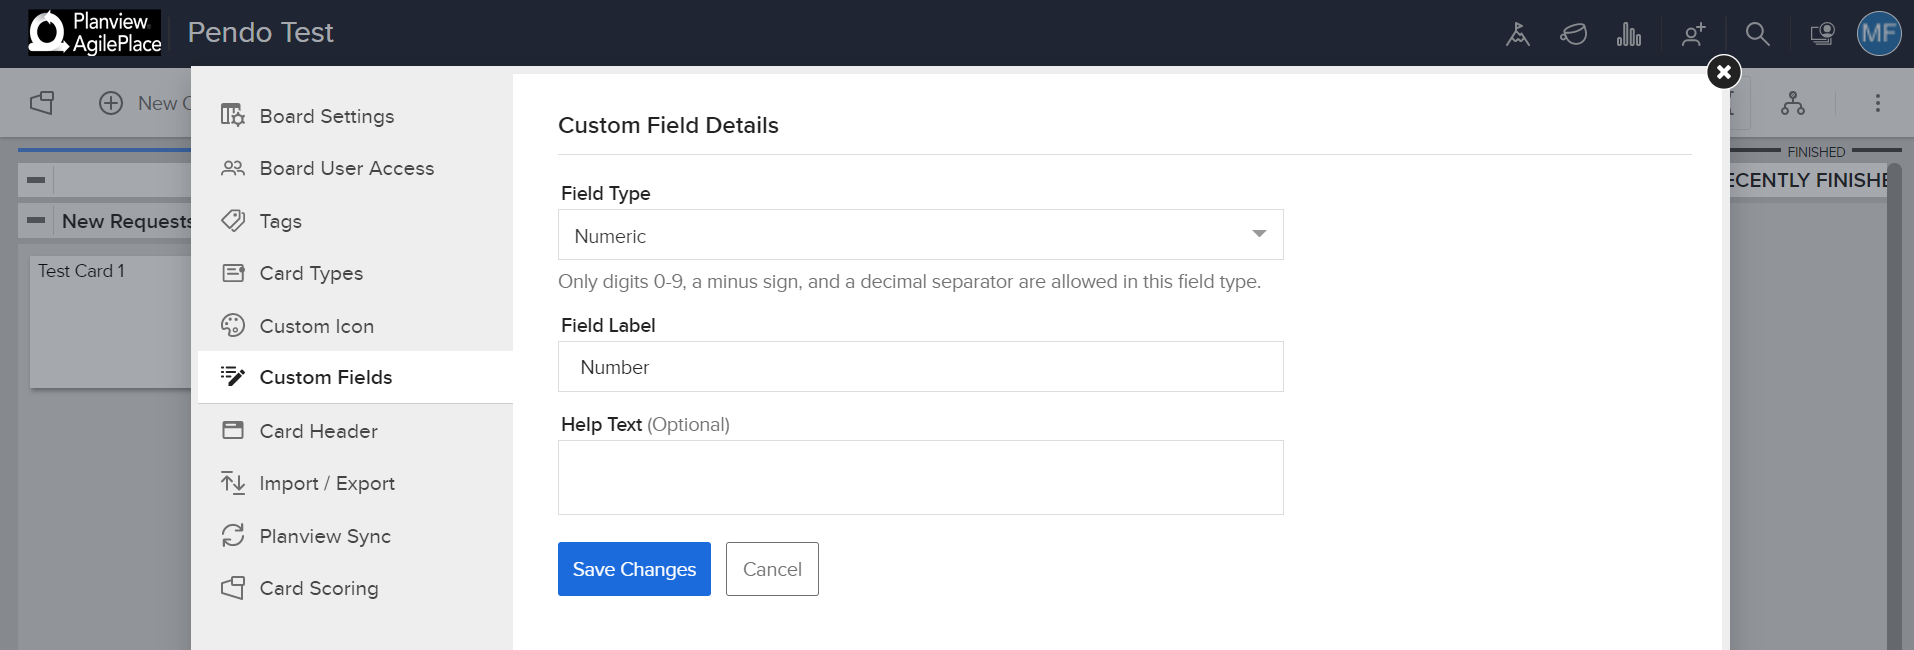
Enter a Field Label and Help Text (if desired). For Dropdown or Multi-select fields, enter the Values for the dropdown/multi-select menu as a comma separated list.
Click Save Changes when you're done.
How Do I Set A Card’s Custom Field(s)?
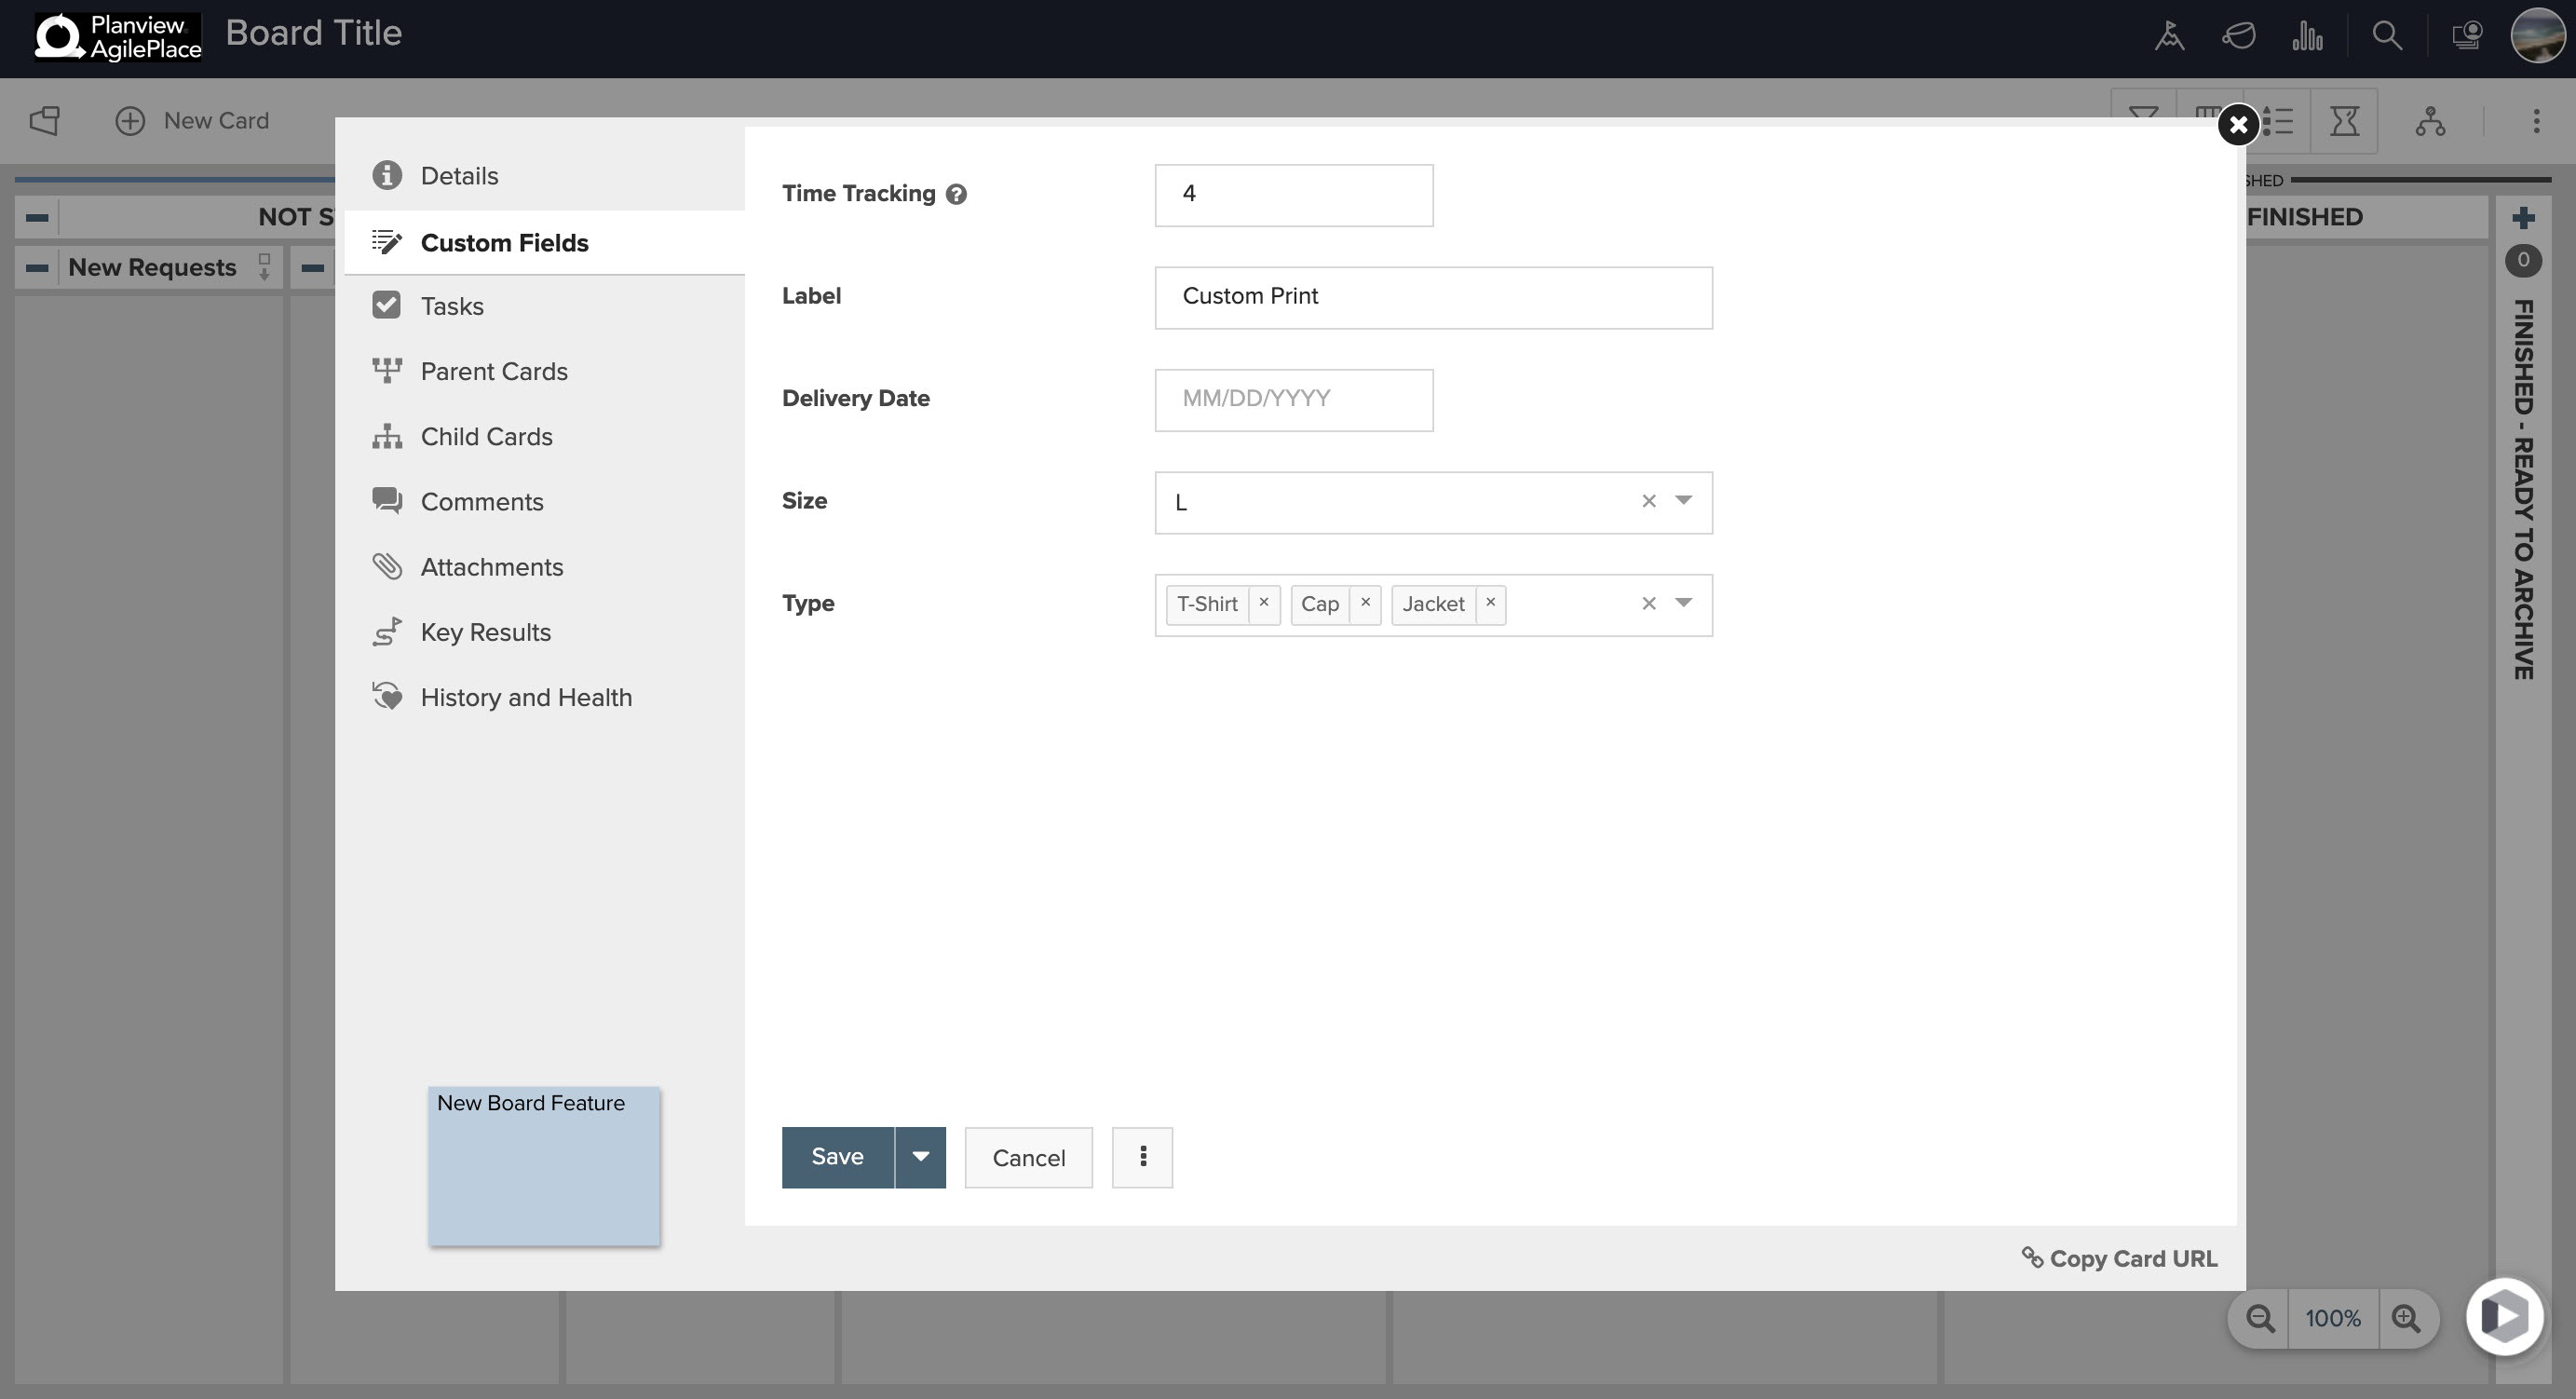
To set a specific card's custom field, open the card and click the Custom Fields tab.
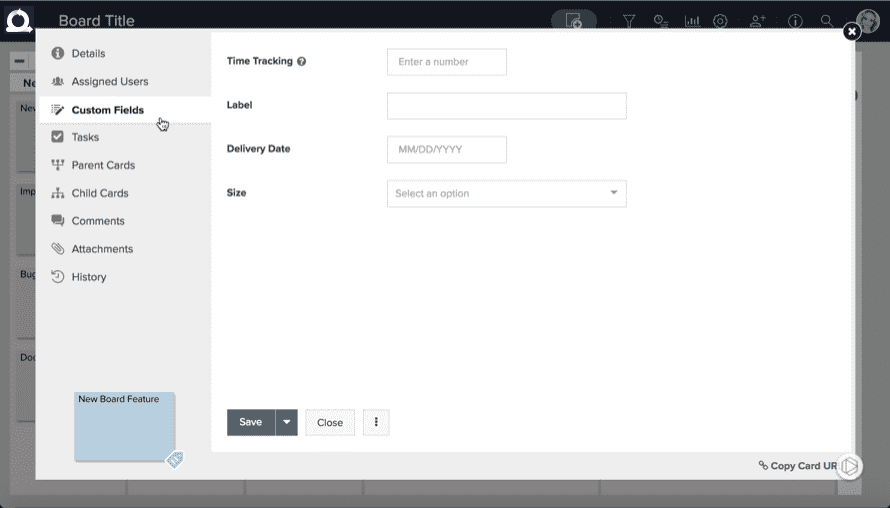
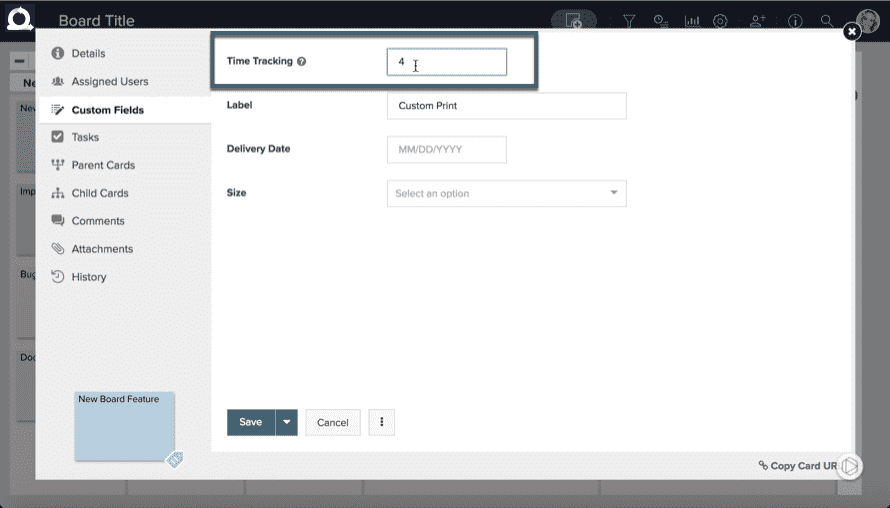
For Text, Rich Text, or Numerical fields: Beneath the label of the custom field you want to set or modify, click in the field and enter the desired text or number (depending on the field type).

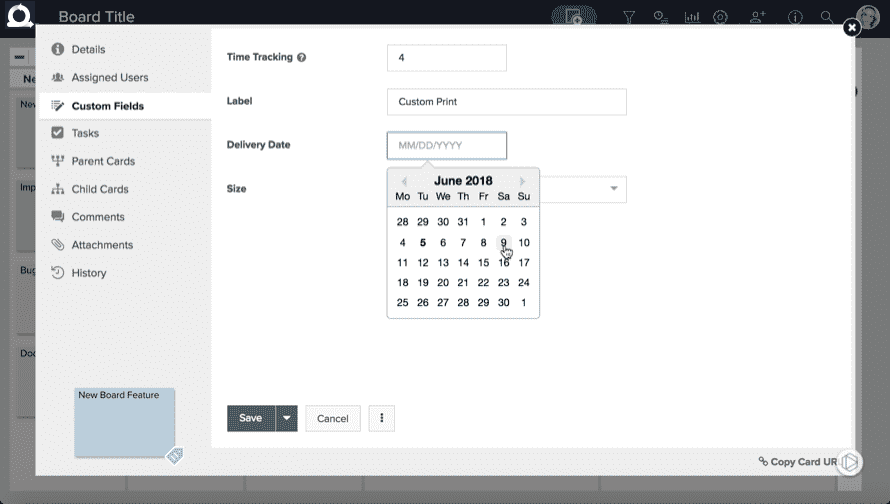
For Date fields, you can type in the desired date or choose a date from the calendar selector.
For Dropdown fields, click Select an option under the field label, and click your choice in the dropdown menu.
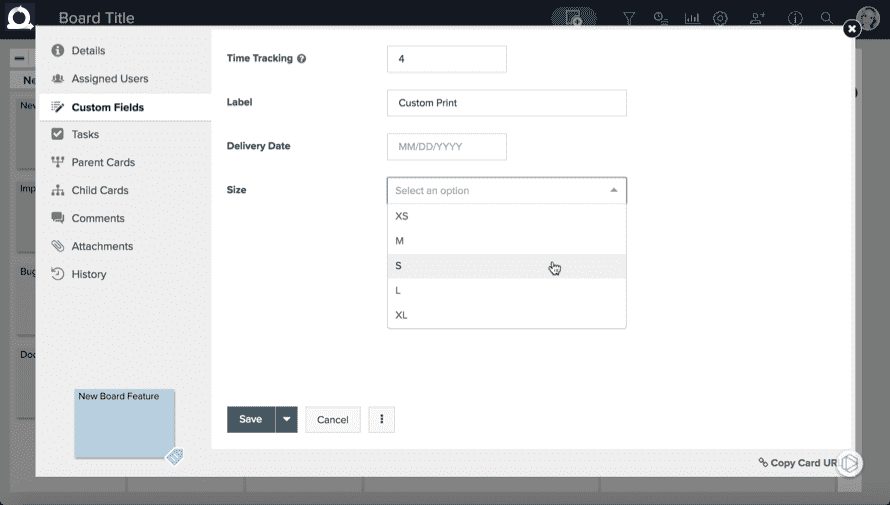
 For Multi-select fields, click Select options under the field label, and click your choice(s) from the multi-select dropdown menu.
Select to Save or Save & Close your card when you're finished.
Custom Field Triggers for the Card Automation Event
The Card Updated automation event supports triggers for specific custom field changes, giving you precise control over when automations run.
- Previously: All custom field changes would trigger the Card Updated event.
- Now: Create targeted automations that trigger only when specific custom fields are modified.
This enables more sophisticated automation workflows by reducing noise and ensuring automations only execute when relevant field changes occur. You can now create focused automations for any custom field that drives your team's workflow.
Example Use Cases
- Automatically assign a specific stakeholder when an Approver custom field is updated.
- Send Slack alerts when an Environment custom field is updated to Production.
- Send email alerts when a Review Status custom field changes to Rejected.
How to Use
When creating or editing Card Automation rules, select Card Updated and choose the specific custom field(s) you want to monitor for changes.