
Work with Board Levels
Board levels give users a way to organize and categorize boards using color-coded, hierarchical labels. You can use board levels to organize your boards into a hierarchy, giving context about what level a board is within an organization.
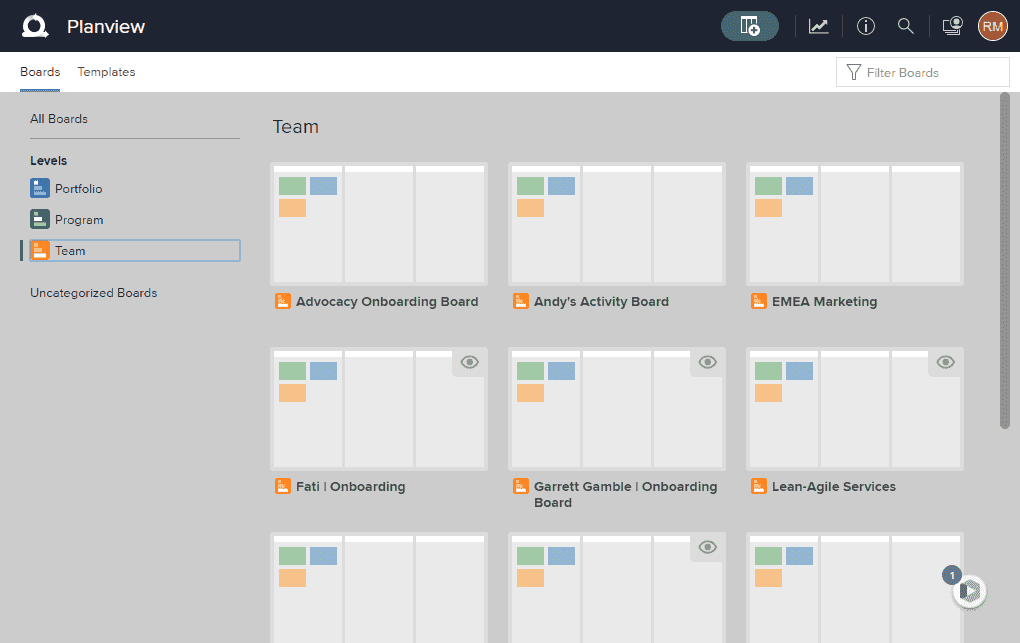
On the Boards home screen, you can:
- Select a level to display all the boards assigned to that level
- Click Uncategorized Boards to view boards with no assigned level
- Click All Boards to clear your level selection
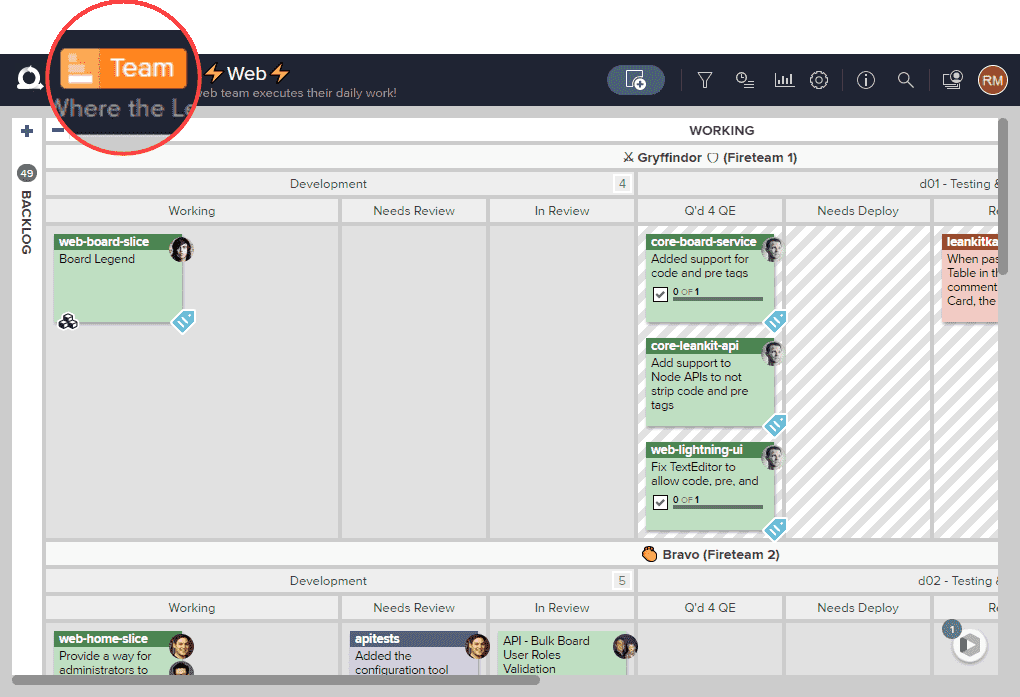
Throughout AgilePlace, board level labels appear next to board titles once the board has been assigned to a level. Each level icon uses descending bars to represent how many levels exist in your hierarchy, and the highlighted bar in each icon indicates its position in the hierarchy, enabling users to quickly understand what type of board they are working with.
Enable Board Levels
To enable board levels, click Enable Levels... on the Boards home screen.
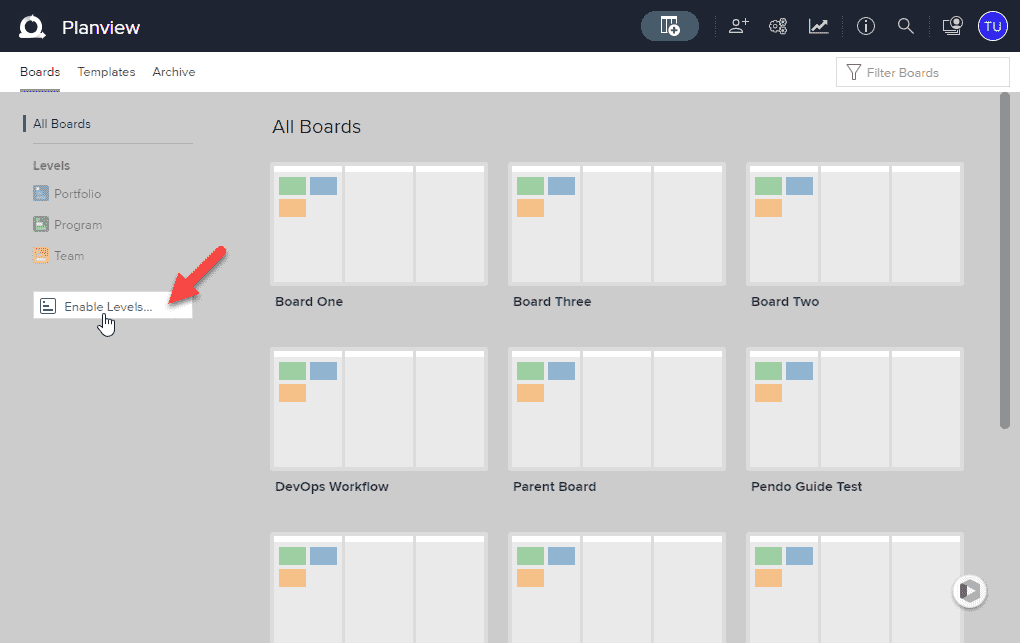
NOTE
Only account administrators can enable board levels.
Create Board Levels
AgilePlace provides three default board levels: Portfolio, Program, and Team. However, you can create an additional board level (up to four board levels total) to meet your organization's specific needs.
To create a new board level:
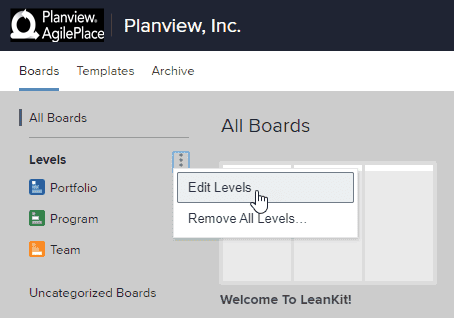
- In the Levels section to the left of the boards, click the kabob menu and select the Edit Levels option.
- Click the + Add Level button.
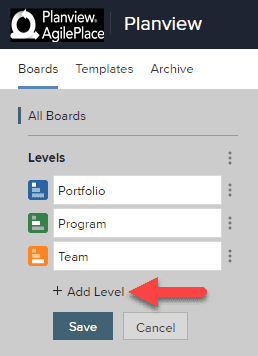
- Name the level.
- Click the kabob menu next to the level to configure its color and order.
- Click Save to save your changes.
TIP
When you create your board levels, start at the lowest level where the most granular work is executed (for example, team boards.)
Edit Board Levels
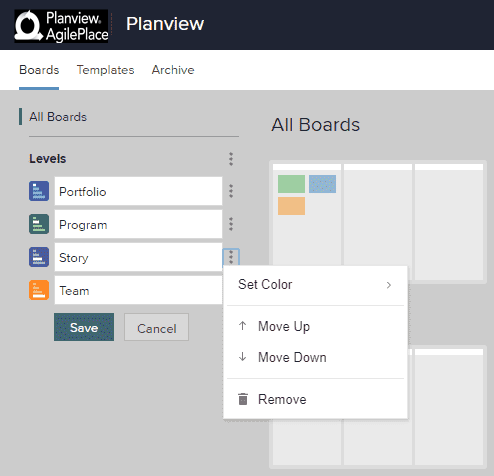
- In the Levels section to the left of the boards, click the kabob menu and select the Edit Levels option.
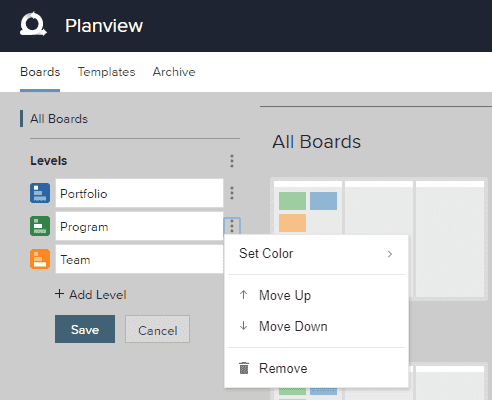
- Click the kabob menu next to a level to edit the level's color, move the level up or down in the hierarchy, or remove the level.
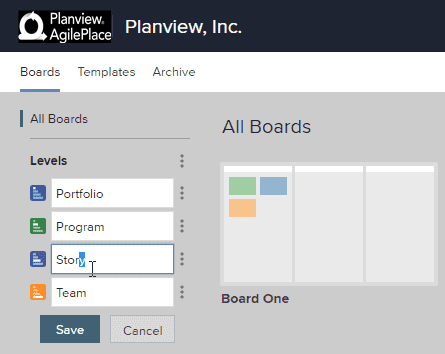
- To edit a level's title, simply click inside the field and make the desired changes.
- Click Save to save your changes.
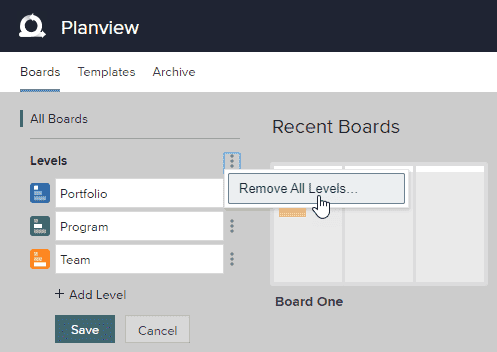
Remove All Levels
To remove all board levels:
- In the Levels section to the left of the boards, click the kabob menu and select the Edit Levels option.
- Click the kabob menu next to the Levels header and select the Remove All Levels... option.
Assign Board Levels
On the Boards home screen, account administrators can right-click a board to set its level.
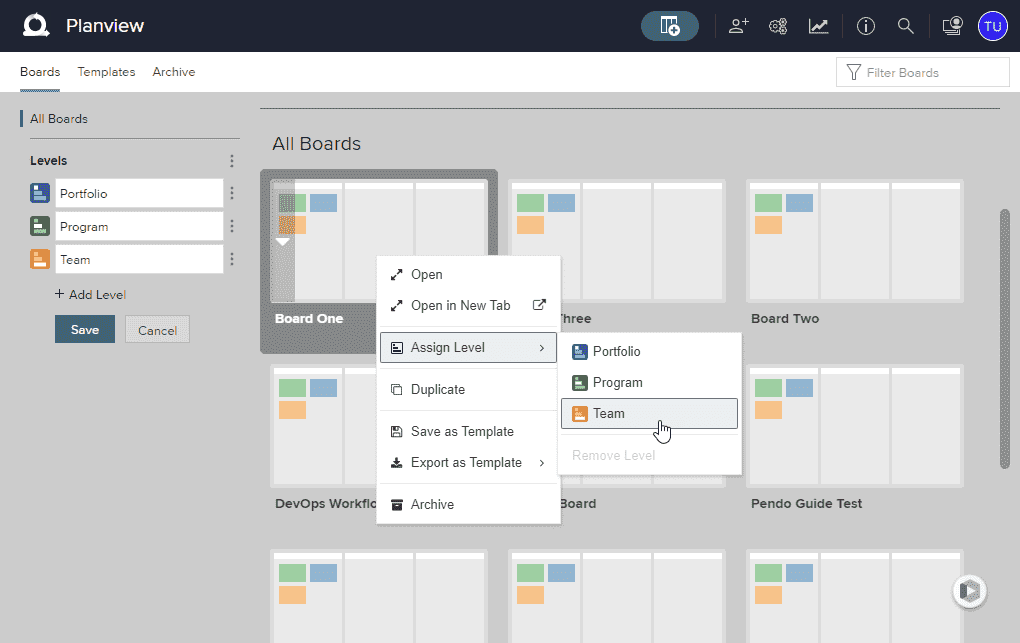
A board's level can also be set by a board administrator within that individual board's settings.
