
Custom Card Icons
Visually Categorizing Work with Custom Icons
Custom icons help you visually categorize work in the same way that you use the card type/color. Custom icons allow you to define a list of options in a drop-down menu and associate each one with an icon that appears on the face of the card.
NOTE
The custom icon feature is labeled "Class of Service" by default, but once you've enabled custom icon, you can label your set of icons with any classification you like!
Some examples of how you could use custom icons include using them to identify which customer a card is for, which geographic region a card is connected to, or what product a card pertains to.
TIP
It's usually best to use card type/color as your primary classification method for work, and custom icon as your secondary system. This is because card color takes less time to "read" when looking at a board.
Defining Custom Icons
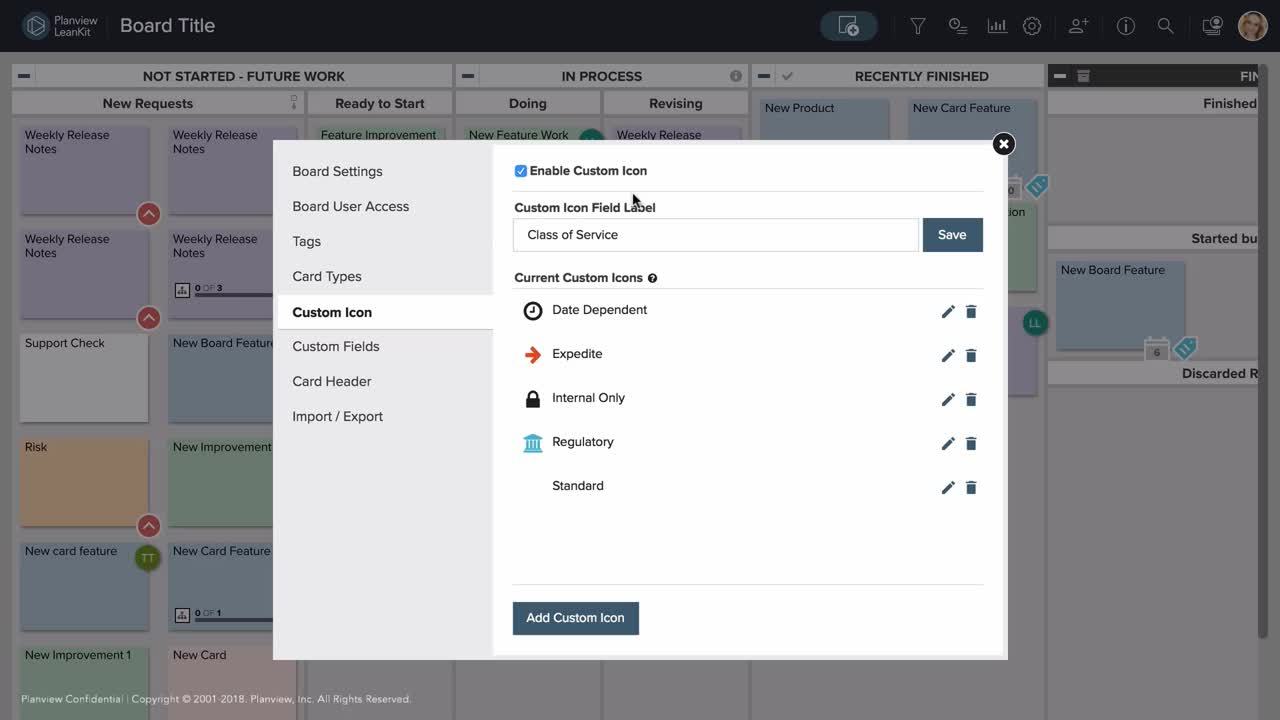
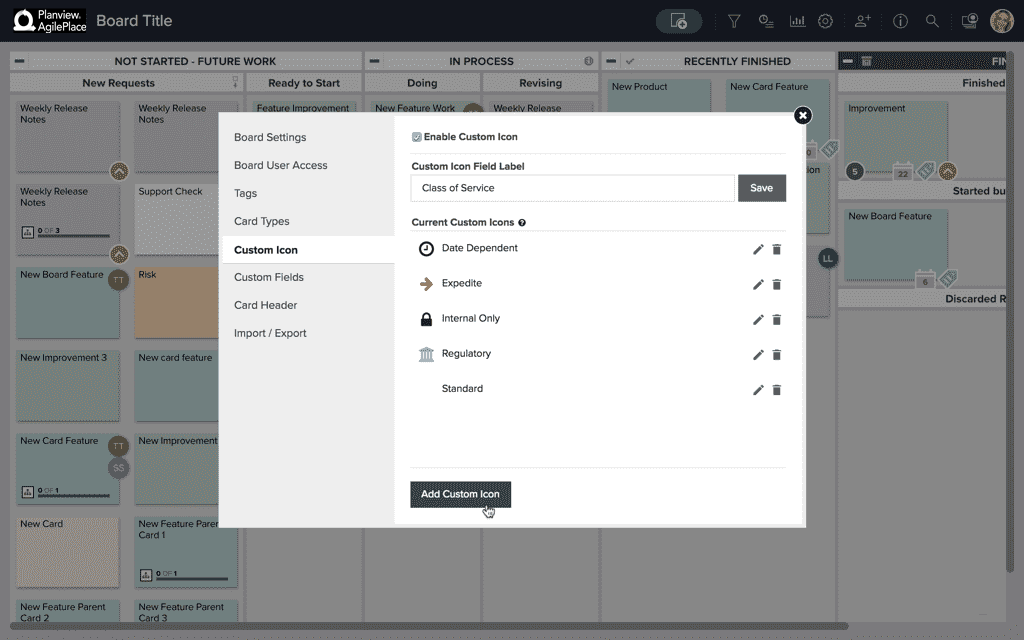
There are four default custom icons included in Planview AgilePlace:
- Standard
- Expedite
- Regulatory
- Date Dependent
Enabling Custom Card Icons
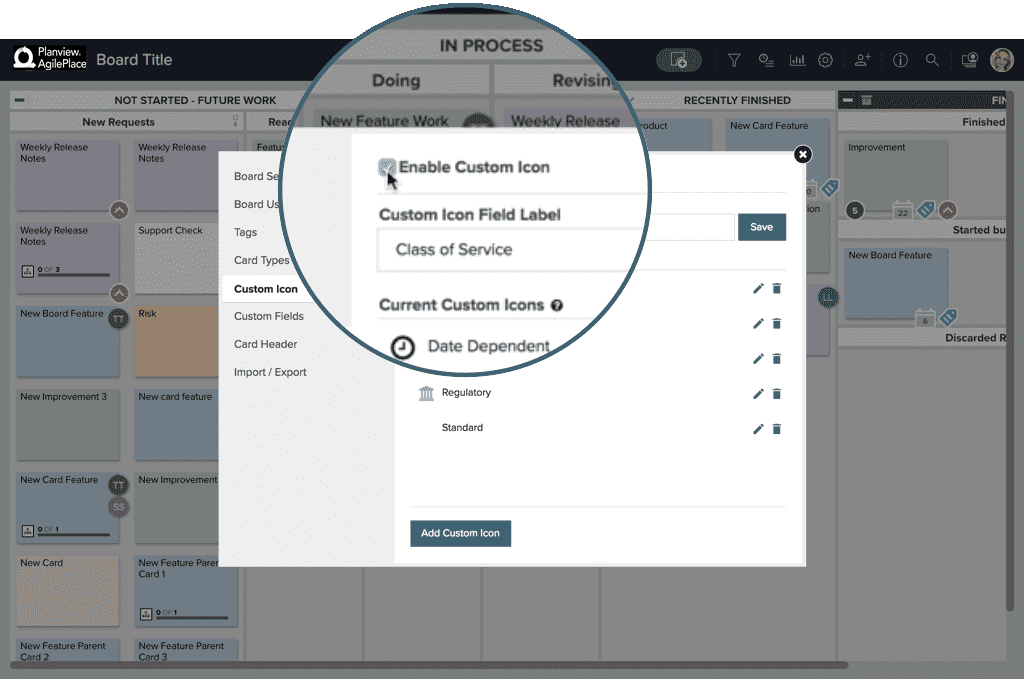
To enable custom icons, click the in the upper-right corner of the board and select Board Settings.
Then click the Custom Icon tab.
In the Custom Icon tab, check the box next to Enable Custom Icon. If you wish to disable custom icons, simply uncheck the box again.
Adding and Editing a Custom Icon
To add a new custom icon, click the Add Custom Icon button.
To edit an existing custom icon, select the pencil and paper icon next to the icon that you wish to edit.

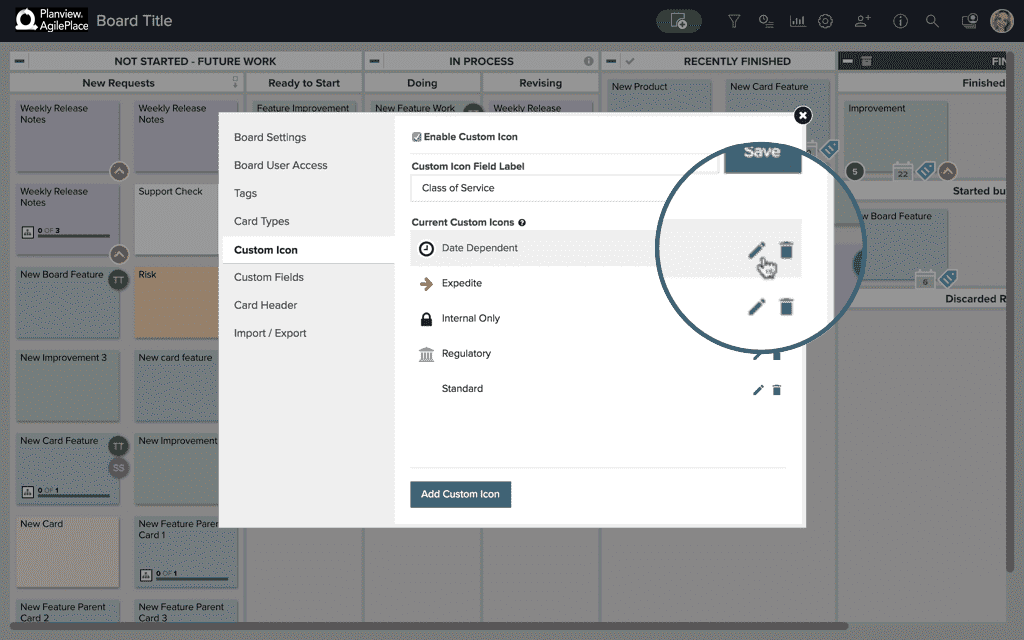
In either case, you will be taken to a new page where you can update the Title, select an associated display icon and icon color under the Icon dropdown, and define the Policy for this custom icon.

TIP
Users can easily view the policy by opening a card and clicking on the "i" icon next to the selected custom icon. The Policy text field also allows for rich formatting!
Once you are satisfied with your changes, click the Save button to save your changes.

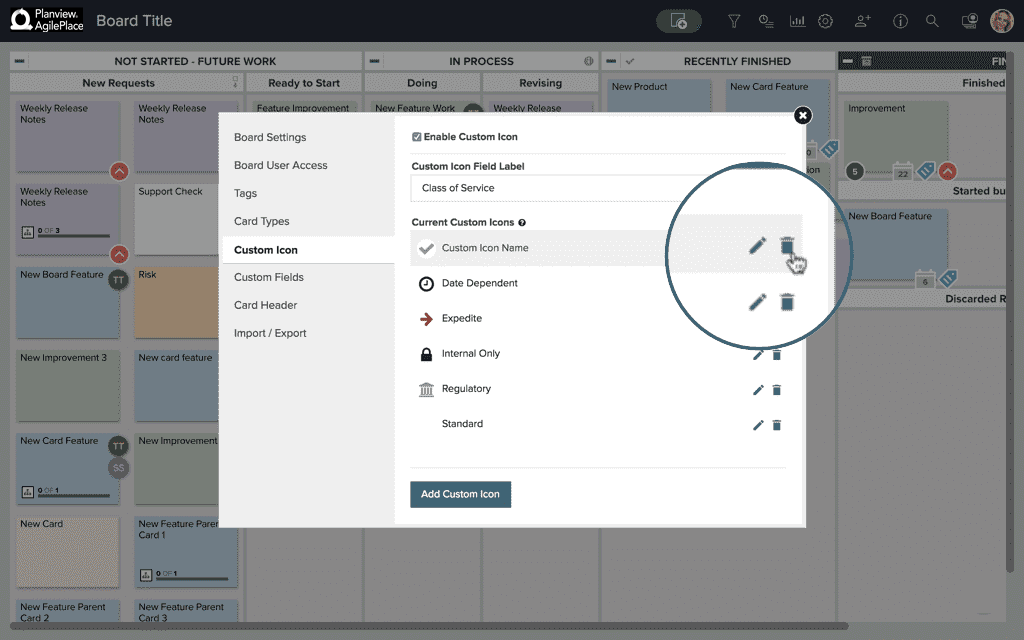
Deleting a Custom Icon
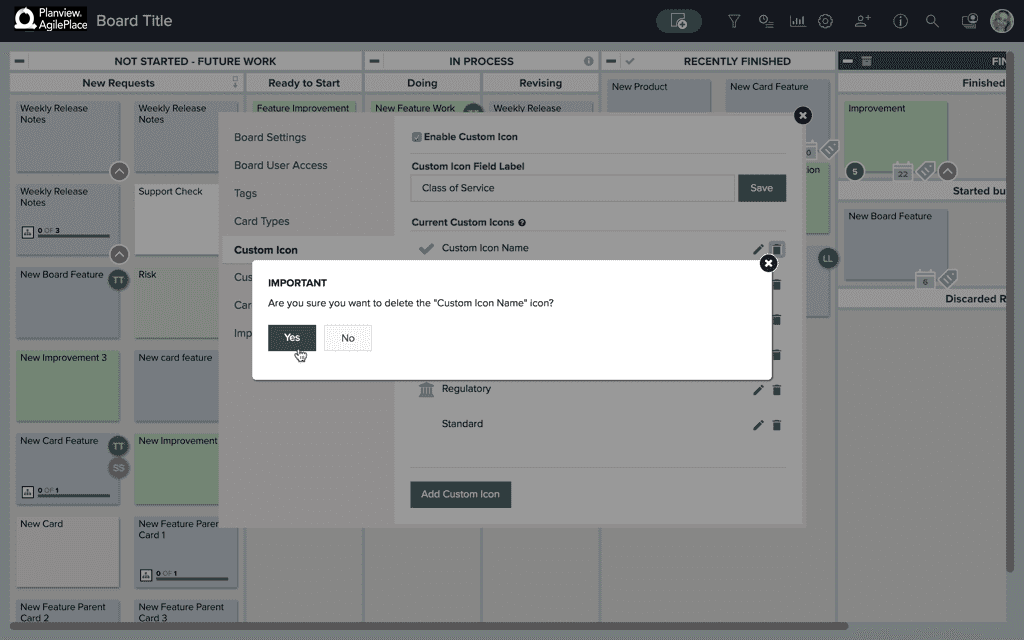
In the Custom Icon tab, locate the icon that you wish to delete and click the trash can icon.
Confirm that you wish to delete the item and the custom icon will be removed.
NOTE
You must edit or delete cards associated with a custom icon before it can be deleted. You cannot delete a custom icon that is in use on one or more cards. As an alternative to deletion, we recommend labeling custom icons that are no longer in user with title text stating so. For example, "Custom Icon Title - No longer in use."