
Create or Add a User
When creating a new user, Account Administrators can either create the user manually, or send an invitation to that prospective user.
View All User Invitations
To view all existing user invitations:
- Click the Account Settings
 icon in the top bar.
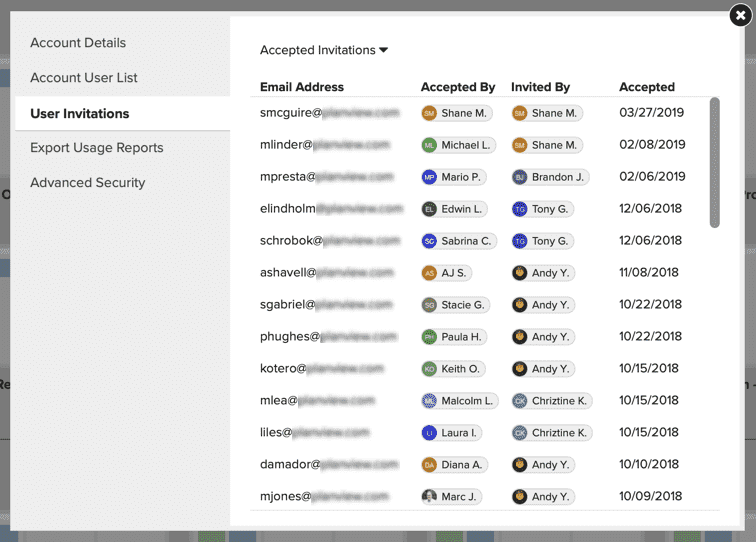
 - Click the User Invitations tab to view all existing user invitations.
- By default, all pending user invitations are displayed. Note that all pending invitations expire 30 days from when they were created, unless the user is invited again during that time.
- To view accepted invitations, select Accepted Invitations from the dropdown menu.
Invite a User
To invite a user to your account from within a specific board:
- Click the Invite User
 icon in the top bar.
 - Type the email addresses of the users you’d like to invite to your AgilePlace account. You can also copy and paste a comma separated value (CSV) list of users from a mailing list or other source.
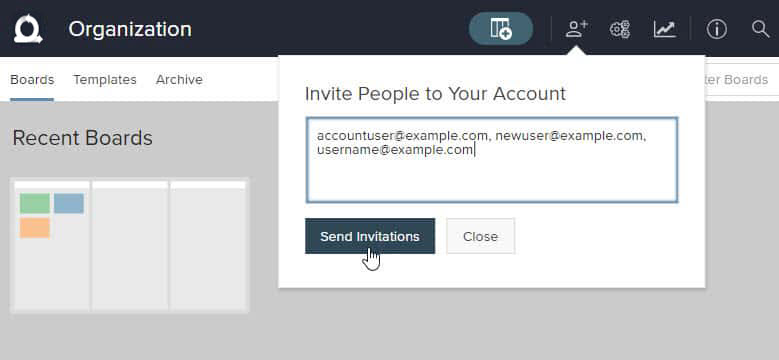
- Click Send Invitations, AgilePlace will email all the recipients, allowing them to create their user account. These users will be created with the following settings by default:
- User enabled
- No permission to create new boards
- No explicit permissions to any board (although boards shared with users by default will be visible)
Once the user accepts the invitation, you will receive a confirmation email that they have created an account. Later in this article, we will cover editing this user to allow permissions for additional functions.
Manually Create a User
To manually create a new user:
- Click the Account Settings icon in the top bar.
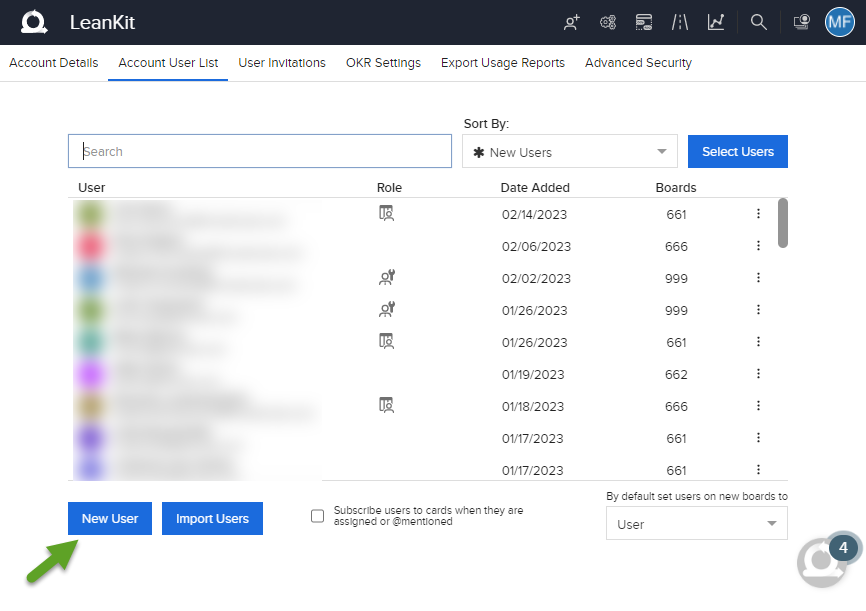
- In the Organization Settings window, go to the Account User List tab and click the New User button.
- In the new fields that appear, enter the new user’s:
- Email Address
- First Name
- Last Name
- Password
- Select the user's Time Zone and Date Format.
- Select License Type.
- Select Account Role from dropdown.
- Check the Enabled option to enable the user. In higher level editions of AgilePlace, you can choose whether to make the user an organizational-level administrator and whether to automatically give this user access to all boards.
- Check the External User option to indicate if the user is external to the organization (ex. a contractor). The External User setting doesn't impact any permissions or authentication. It is a way to mark and separate which users have access to your environment that are not directly part of your organization.
- Click Create User.

Revoke User Invitations
To revoke a user's invitation:
- Click the Account Settings icon in the top bar.
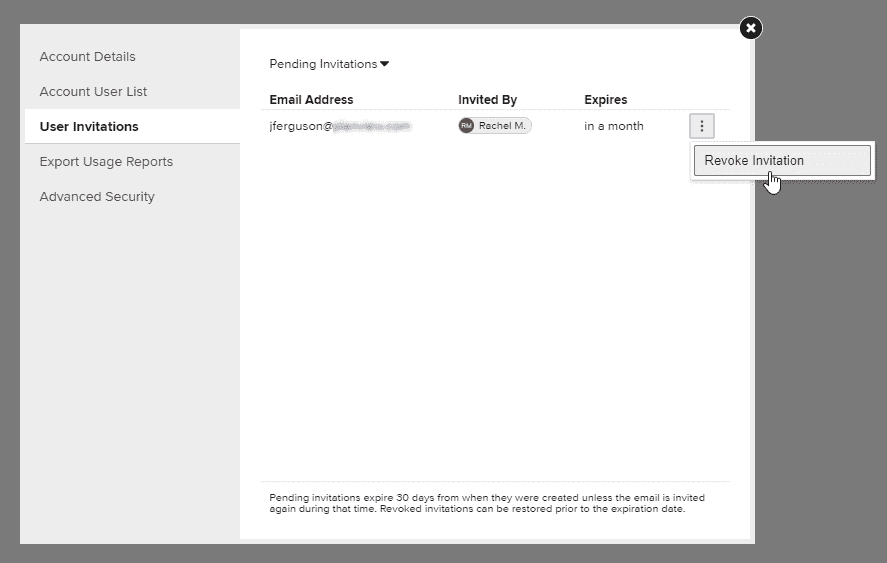
- Click the User Invitations tab to view all existing user invitations.
- In the Pending Invitations list, click the three dots to open the hamburger menu and select Revoke Invitation.
Bulk Import Users
To import users via a .CSV file:
- Click the Account Settings icon in the top bar.
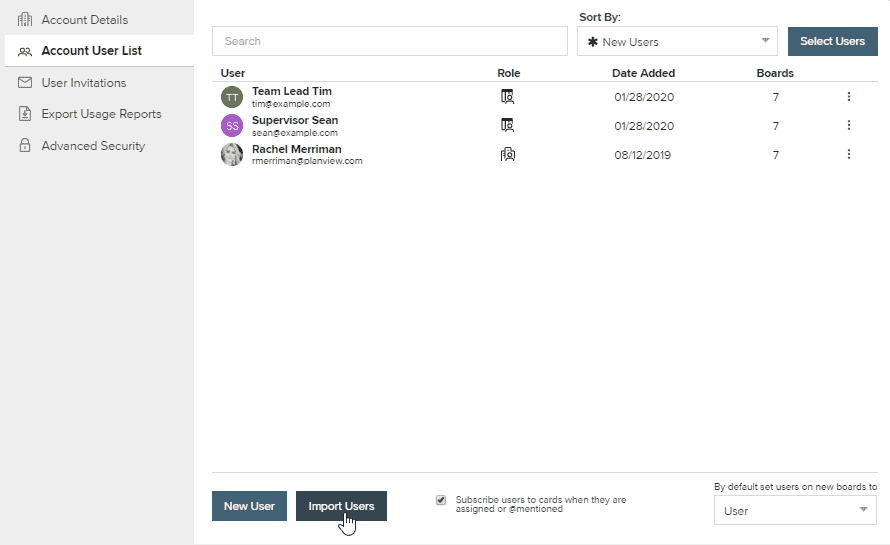
- Click the Account User List tab to view all current users.
- At the bottom of the window, click the Import Users button.
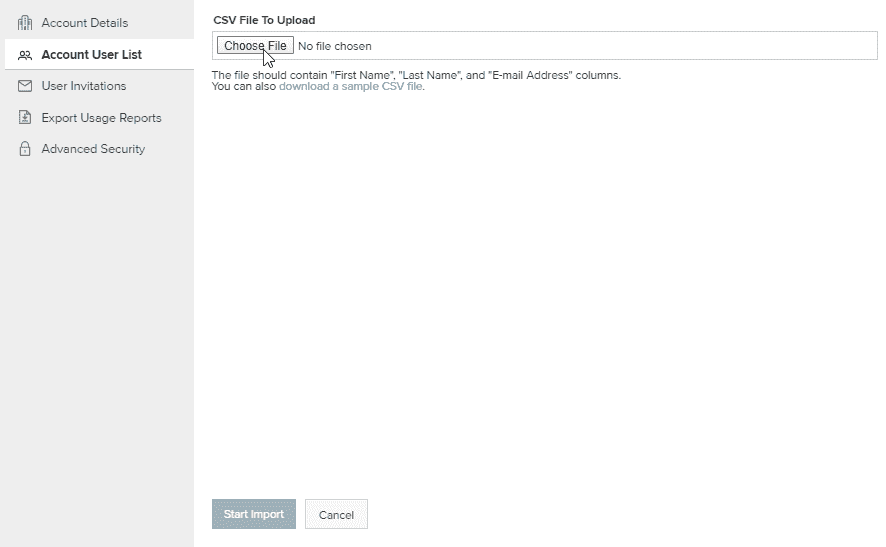
- Click Choose File and select your .CSV file.
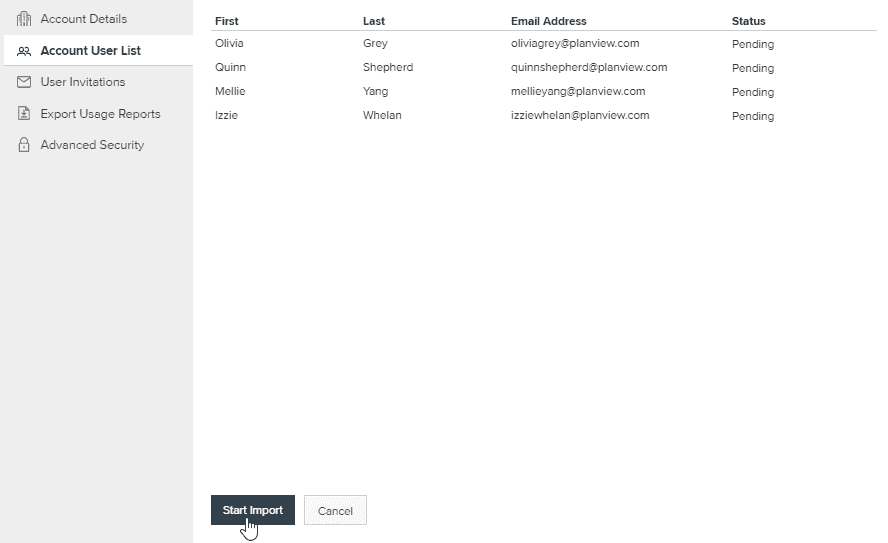
- Review the list of users to be imported and click Start Import.
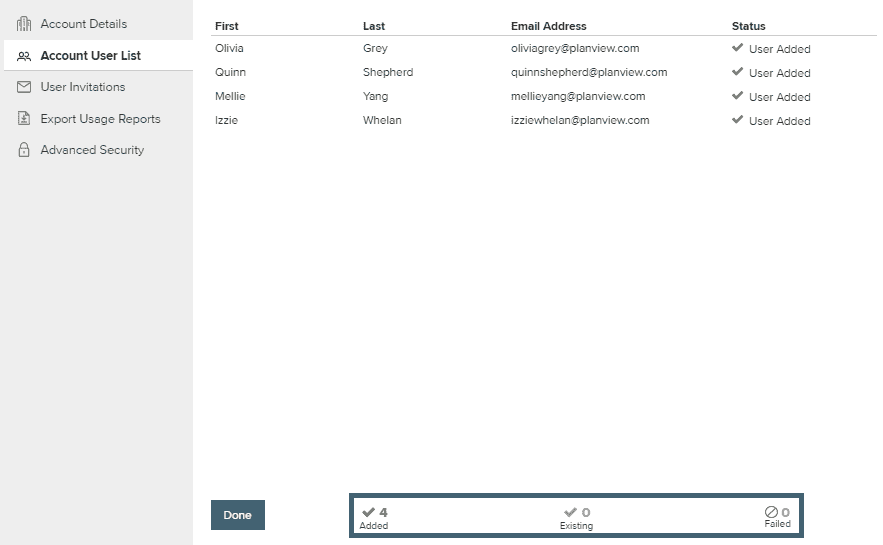
- A summary of added, existing, and failed entries is displayed when the upload is complete. Click Done to return to the Account User List view.
TIP
Click the link to download a sample .CSV file with the necessary columns.
More on Users
Every individual who interacts with your AgilePlace account will require their own unique user (login) account. User accounts are unique to individual people and cannot be shared.
Each user can be marked as "enabled" or not. Users can be enabled or disabled by the Account Owner at any time. Users not marked "enabled" cannot login or otherwise interact with your AgilePlace account.
Only enabled users count towards your total number of licenses. Your account needs as many licenses as the number of users marked "enabled"; You can create as many users (unique logins) as you want, but at any one time you can only enable as many users as you have user licenses.
See Increasing User Licenses for directions for increasing your licenses.