
Instant Coffee
Overview
Instant Coffee is a new way to brainstorm and collaborate with your team and others. Instant Coffee provides a visual and lightweight way to connect and collaborate in real time, using virtual sticky notes on a virtual canvas.
You can easily sort and sift through ideas, determine which ideas are prime for execution, and then easily send the approved items to AgilePlace. Here are some of the many ways you can use Instant Coffee with your team:
|
|
With Instant Coffee, you can source ideas from many people simultaneously, allowing them to comment, up vote and organize their input as necessary. See the following sections for more information:
Accessing Instant Coffee
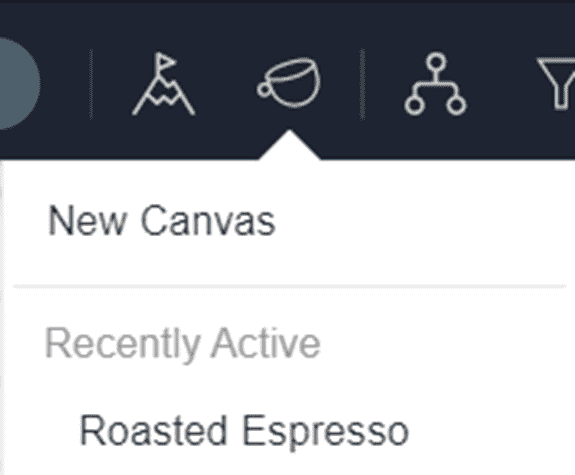
To access Instant Coffee, navigate to the corresponding AgilePlace board and click the Instant Coffee icon ![]() in the Menu Bar. From here you can create a New Canvas or select a recently used canvas by clicking on its name.
in the Menu Bar. From here you can create a New Canvas or select a recently used canvas by clicking on its name.
Sharing your Instant Coffee with Others
The power of Instant Coffee comes from allowing multiple users to share ideas simultaneously, so we made it easy for you to provide access to users both inside and outside of your organization.
Users who have access to your AgilePlace board will be able to access your canvasses by using the method described in Accessing Instant Coffee or by following a shared link to the canvas. For other users within your organization that don't have access to your AgilePlace board, you will need to share either the link or QR code with them. To access the sharing link, on your Instant Coffee canvas click Share and select Copy Link. To view the QR code for your Instant Coffee canvas, either click Share and select Show QR Code or click  .
.
Sharing with Guest Access
Enabling Guest Access as an Administrator
Instant Coffee can allow guest users (users outside of your organization) to access canvasses to join the collaboration! Guest access must first be enabled for an organization's account by an Account Administrator before canvas creators can allow guest access for specific canvases.
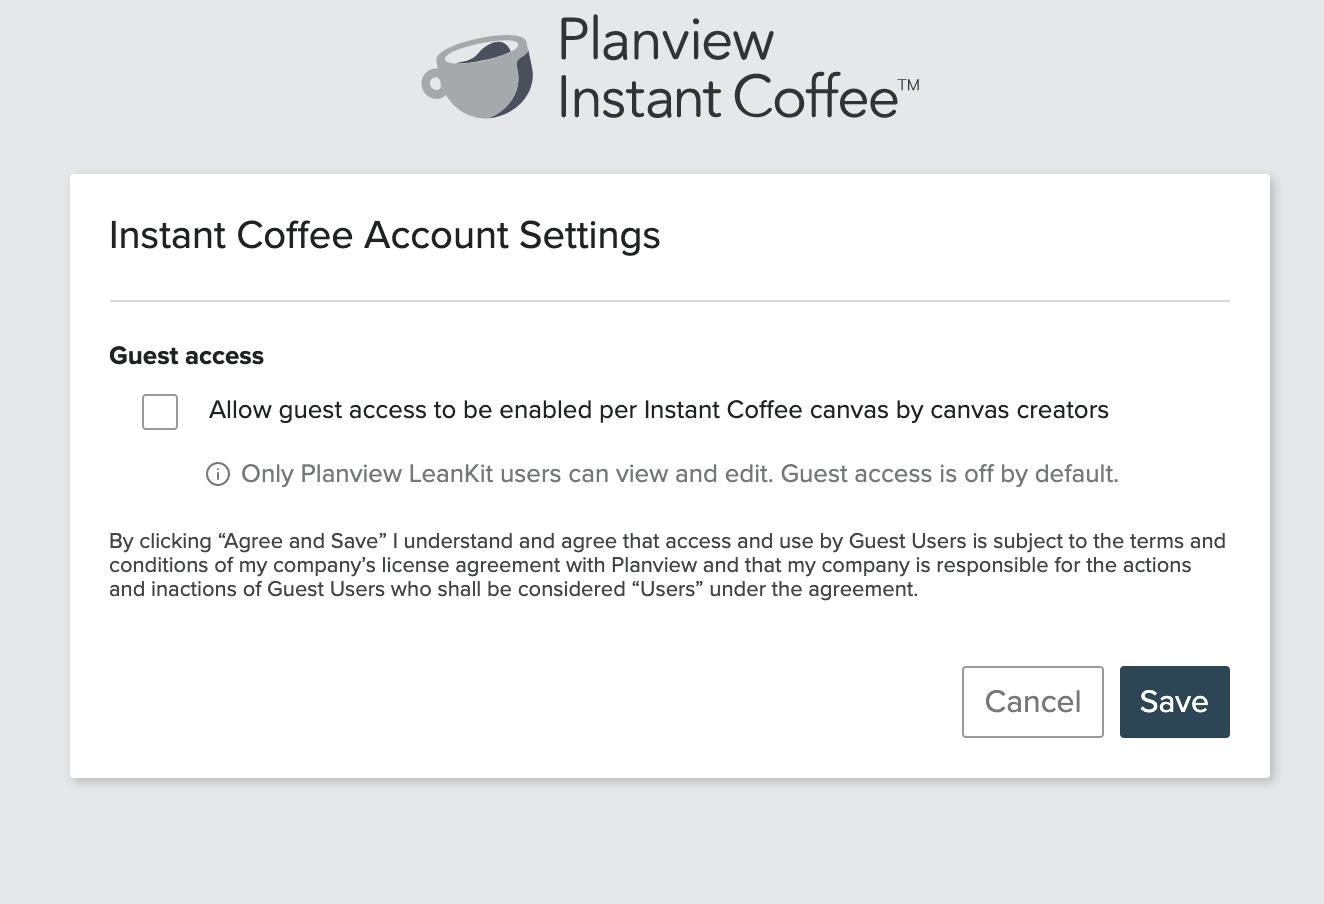
To enable guest access for your AgilePlace account:
- Click Share then Sharing Settings.
- Click the Manage Instant Coffee settings link.
- Mark the Allow guest access to be enabled per Instant Coffee canvas by canvas creators checkbox.
- Click Agree and Save.
Once this setting is enabled, Canvas Creators can choose to allow guests on their canvases.
NOTE
You must be an Account Administrator to enable guest access.
Allowing Guest Access as a Canvas Creator
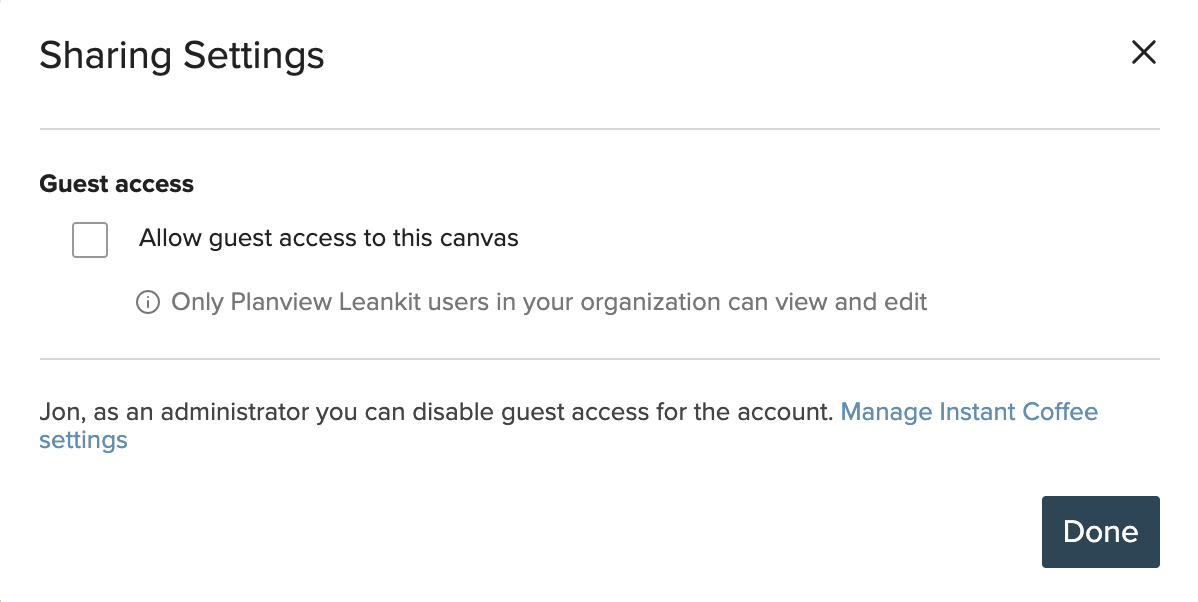
Once guest access has been enabled for your AgilePlace account, canvas creators can allow guest access on specific canvases. To enable guest access for your canvas:
- Click Share and select Share Settings.
- Mark the Allow guest access to this canvas checkbox.
- Click Done.
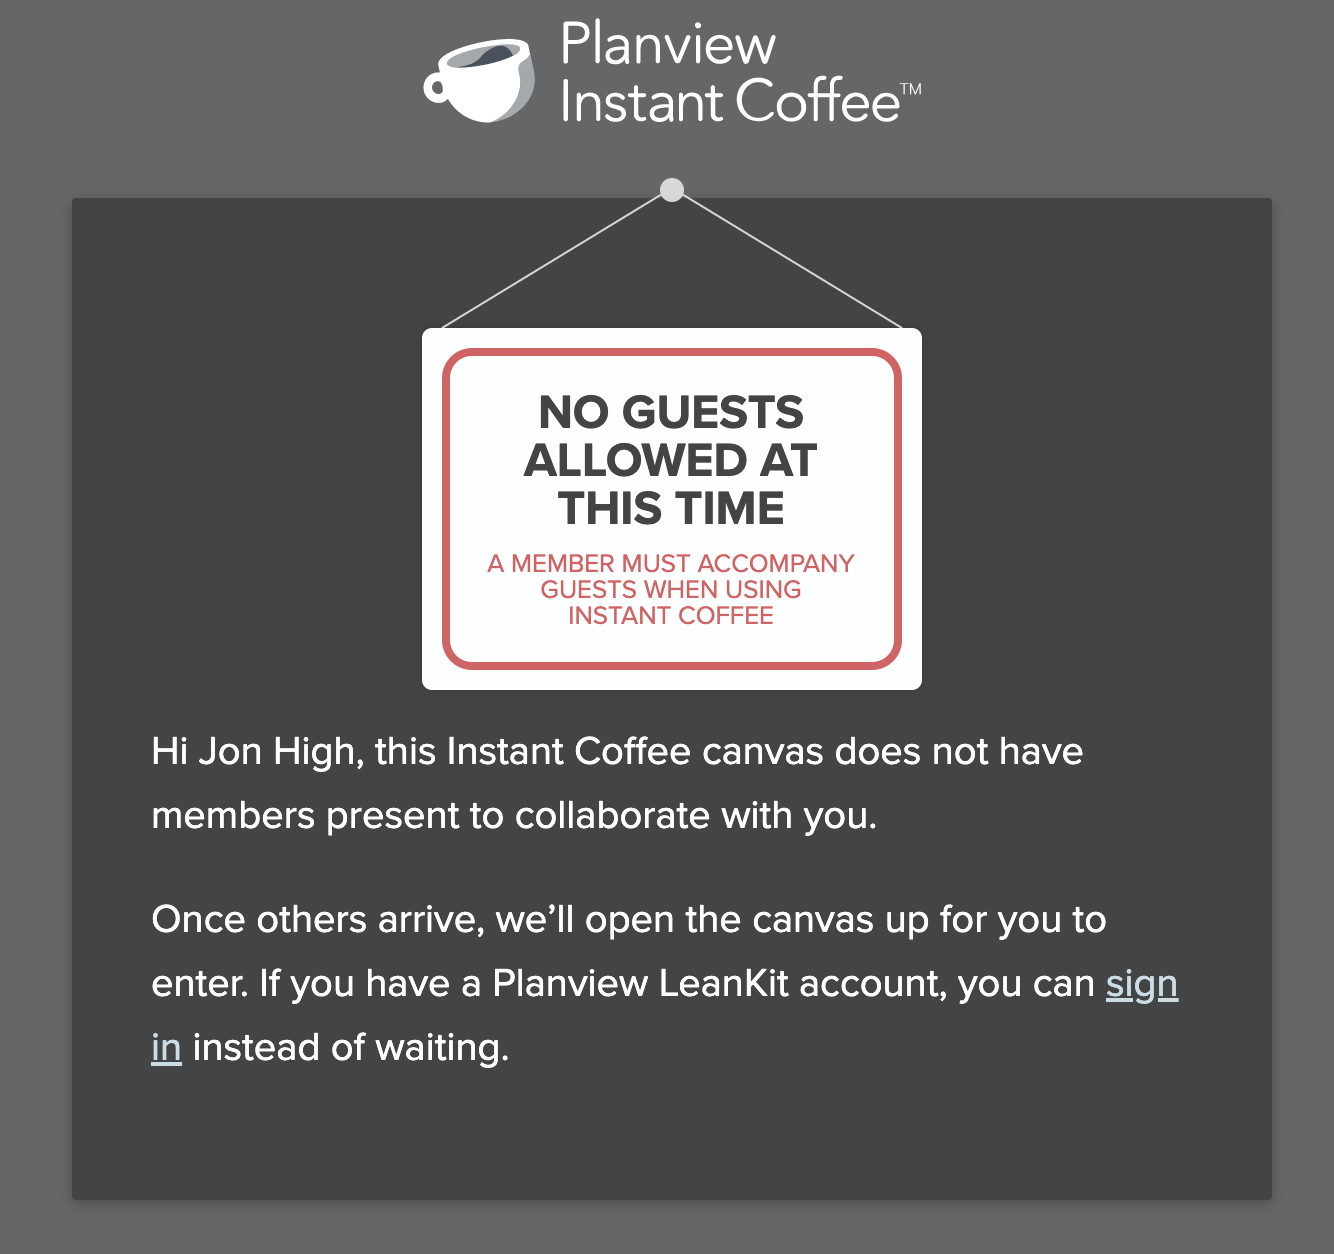
Guest users are only able to access a canvas if a user within the organization has logged into Instant Coffee with AgilePlace credentials and is active on the canvas. If a guest user attempts to access a canvas that doesn't have any active, authenticated AgilePlace users on it, the guest user will be sent to a waiting area. Once a user within the organization accesses the canvas with AgilePlace credentials then the guest user will be redirected to the canvas.
Working with Instant Coffee Sticky Notes
Once you have shared your Instant Coffee with others, they can begin adding, upvoting, and commenting on sticky notes.
Creating Instant Coffee Sticky Notes
NOTE
To create an Instant Coffee sticky, you must have the Selection tool ![]() selected.
selected.
To create an Instant Coffee sticky, double-click in the general area where you want the sticky to go. You can always move it later. Then enter the text for the sticky, such as an idea you want to suggest to the group.
TIP
While editing a sticky note, quickly create another one by pressing enter on your keyboard!
Interacting with Instant Coffee Sticky Notes
Once a sticky is created, you can interact with it in several different ways:
NOTE
When you move, edit or open a sticky, it is highlighted and your initials appear below it to indicate who is interacting with the sticky to your team.
- To edit the text of the sticky, click the existing text and make any desired changes. You can also edit the text by clicking and selecting the Open option, which is described below.
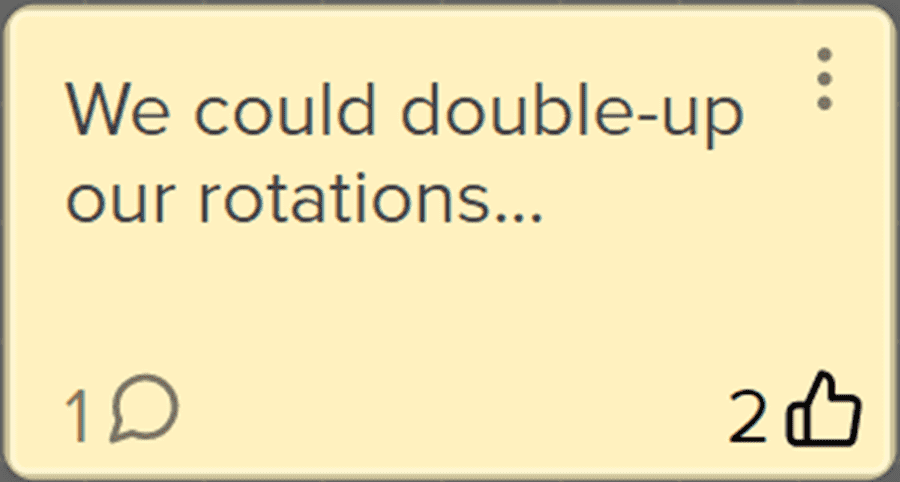
- Click the Thumbs Up icon to upvote the sticky. This is generally used to mean you support or agree with the idea expressed on the sticky. The number next to the icon indicates how many users have upvoted the sticky.
- If you click the icon, you can:
- Click Open to view comments on the sticky. This is the same as clicking the Speech Balloon icon.
- Click Remove to remove the sticky from the Instant Coffee board. You can view removed sticky notes by clicking the trash can icon in the upper-left corner. From this view, you can restore a deleted sticky by dragging it back on to the canvas.
- Click one of the colored squares to change the color of the sticky. This option allows you to organize your sticky notes by type, impact, etc.
TIP
To quickly change the color of a selected sticky, use the number keys on your keyboard (0-9). These keys each correspond to a color as shown in the color selector.
- Click the Speech Balloon icon to see the full contents of the sticky and view any comments. The number next to the icon indicates how many comments have been made on the sticky.
In the comments view, you can enter new comments, view any existing comments, see the name of the sticky creator, and see the approximate times the sticky was created and comments were made.
NOTE
When commenting on stickies, you can use markdown to add formatting to your text. This includes adding headings, blockquotes, bolding, and more. For more information on markdown, see this guide to learning markdown.
Working with the Instant Coffee Canvas
Dividing the Canvas
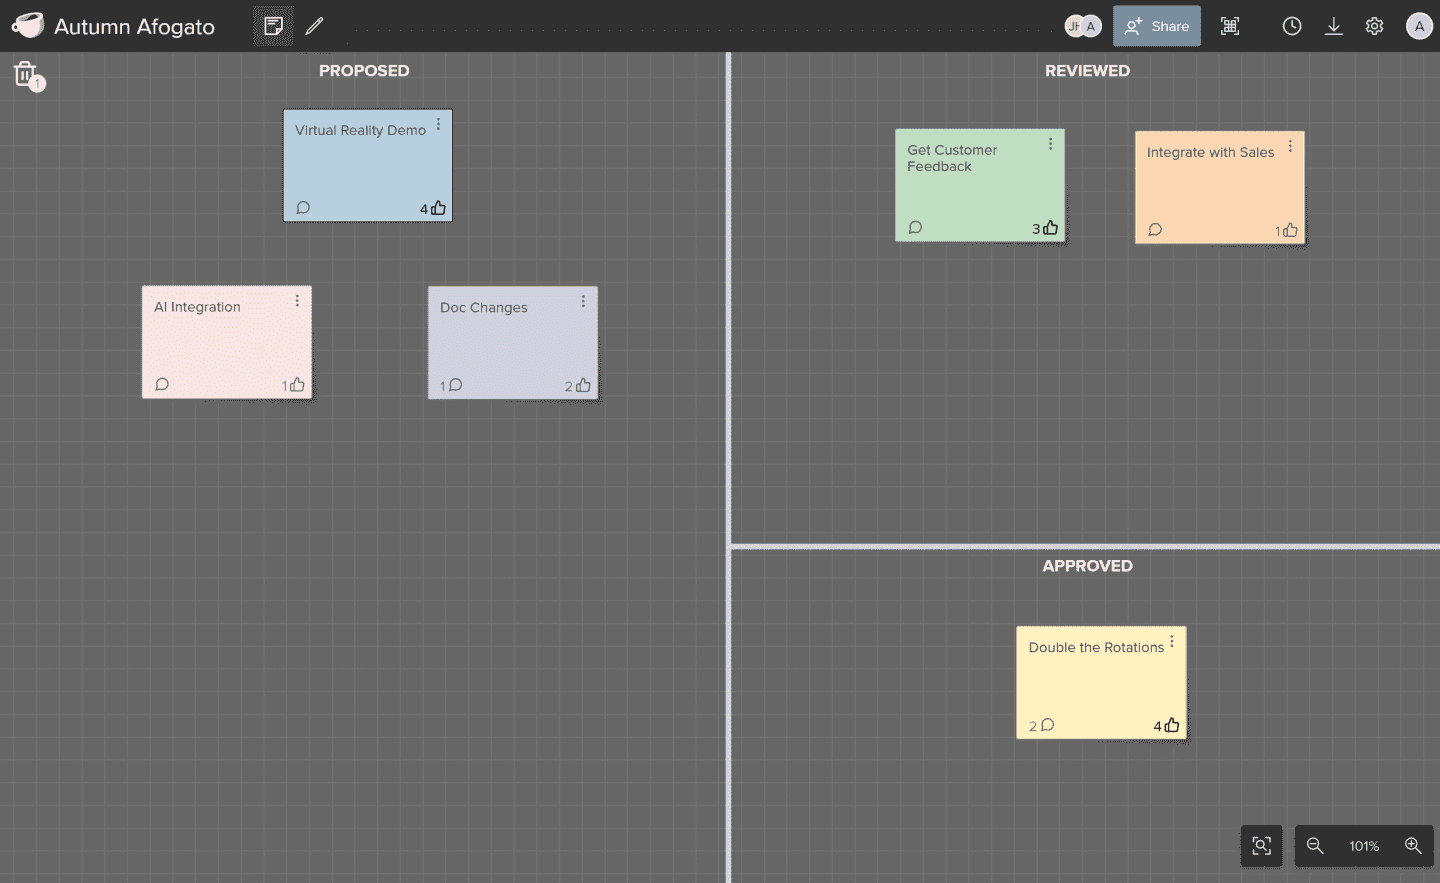
In addition to using sticky colors to logically organize your sticky notes, you can change the layout of your canvas and switch to canvas edit mode by clicking the Draw tool ![]() . This tool allows you to click and drag to segment and divide your canvas. To delete a drawn line, with the draw tool selected, click the line to highlight it and press the delete or backspace key. To move existing lines, click the line to select it and then drag the line to the desired location.
. This tool allows you to click and drag to segment and divide your canvas. To delete a drawn line, with the draw tool selected, click the line to highlight it and press the delete or backspace key. To move existing lines, click the line to select it and then drag the line to the desired location.
Every time you create a division in your canvas, the newly created section will have an optional title. To modify the title, click the title text and enter the desired name for that section.
Moving Multiple Sticky Notes
Once you have created different sections in your canvas, you will want to move sticky notes to their appropriate sections. To move multiple simultaneously, choose the Selection tool ![]() and click and drag until you have surrounded all the sticky notes you want to move. Clicking and dragging one of those sticky notes will now drag all selected sticky notes. Click anywhere outside of the selected sticky notes to deselect.
and click and drag until you have surrounded all the sticky notes you want to move. Clicking and dragging one of those sticky notes will now drag all selected sticky notes. Click anywhere outside of the selected sticky notes to deselect.
Changing the View of the Canvas

Use the zoom controls to increase or decrease the zoom level for your canvas. The view percentage is indicated between the zoom out and zoom in buttons.
Click the Reset View button  to zoom to an appropriate zoom level to view all stickies on the canvas.
TIP
The canvas size is nearly infinite. Scroll, use your track pad, or hold down the space bar while clicking and dragging to move your view of the canvas.
Switching between Light and Dark Modes
Click the Settings icon ![]() and select either Dark Mode or Light Mode to switch to the opposite view.
and select either Dark Mode or Light Mode to switch to the opposite view.
Changing Your Name
You can change your name on the canvas by clicking the avatar icon ![]() and selecting Edit Your Name. Enter the new name you want to use for all canvases and click Save.
and selecting Edit Your Name. Enter the new name you want to use for all canvases and click Save.
Exporting Your Canvas
Click the export icon and select one of the following options to export information from your Instant Coffee canvas.
- Export to AgilePlace:
- Enter your domain or host name and click Connect.
- In a popup window, you will need to Authorize Instant Coffee to continue.
- From the Destination Board dropdown, select the board you want to create cards on.
- Mark the Include comments as card description checkbox to add any comments from cards on your canvas as description information for the cards on your AgilePlace board.
- Click Continue. Once the process completes, the cards are added to the bottom of the leftmost lane on the specified AgilePlace board.
- Export to Excel - Creates an Excel spreadsheet with each card on your canvas as a row of data
Extending or Deleting an Instant Coffee Canvas
Instant Coffee canvases by default will delete themselves 45 days after they were created.
- To extend your Instant Coffee canvas for another 45 days, click
 and then click Extend 45 Days from Now.
 - To delete an existing Instant Coffee canvas, click
 in the canvas and select Delete Canvas.
NOTE
Only the canvas creator can delete the canvas.
You can always screenshot or export your canvas to save your ideas.
Using a Timer
Timers can be helpful to constrain brainstorming sessions in Instant Coffee.
- To access the built-in timer, click the
 icon.
icon. - Click the buttons to add the corresponding amount of time to the timer or click and drag the slider to increase or decrease the time.
- With the desired time selected, click Start Timer. The timer display will turn from green to orange (25% of time remaining) to red (10 seconds remaining) as your time runs out. After the timer finishes, you can click New Timer or click the X to close the Timer..
Logging Out of Your Canvas
To log out of Instant Coffee, click the avatar icon ![]() , and then select Logout.
, and then select Logout.
Renaming Your Canvas
When you create a canvas, a descriptive adjective that can apply to coffee and a type of coffee are combined to create a randomized name for your canvas.
To rename your canvas at any time, double click the canvas name, then modify it as desired. Press the Enter key to save or Esc to cancel.
Submitting Feedback about Instant Coffee
If you have any feedback you would like to share with the development team, click the Settings icon ![]() and select Send Product Feedback. Then enter any comments you want to share. Include your email address if you would like a response from the development team. Then click Submit Feedback.
and select Send Product Feedback. Then enter any comments you want to share. Include your email address if you would like a response from the development team. Then click Submit Feedback.