
Configure Board Settings
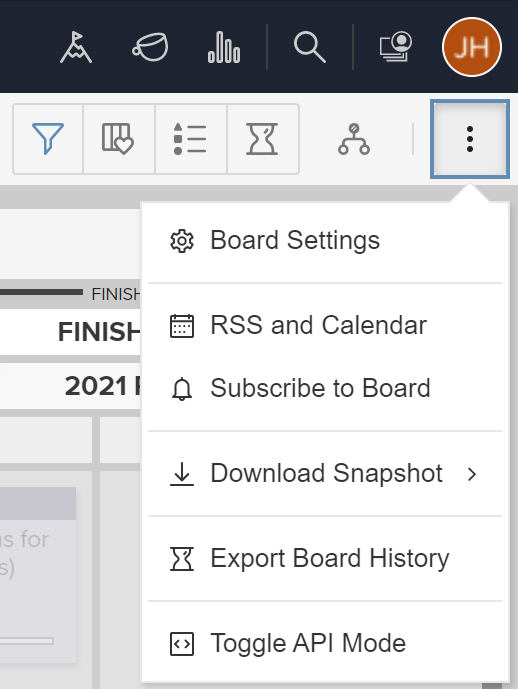
You can access most of the settings for a board from the Board Settings window. To open the Board Settings window, click the icon in the upper-right corner of the board and select Board Settings.
Board Settings

On the Board Settings tab you can update the board’s Title and Description. You can also select whether to:
- Base WIP Limits on Card Size: With this setting, you can assign “sizes” to individual cards and set Work In Progress limits for lanes or users according to the total of the sizes of cards rather than number of cards.
- Exclude this Board from Organization Dashboard: With this checked, metrics from this board won’t be included in your organization-wide metrics.
- Set default user security to: This allows you to set the default user role for new users added to a selected board.
- Exclude Completed Lanes and Archive from User WIP and Due Date Violations: This setting keeps completed and archived tasks from counting against a user’s Work-In-Progress limits and due date violations.
TIP
To learn more about basic board administration, check out this article.
Board User Access
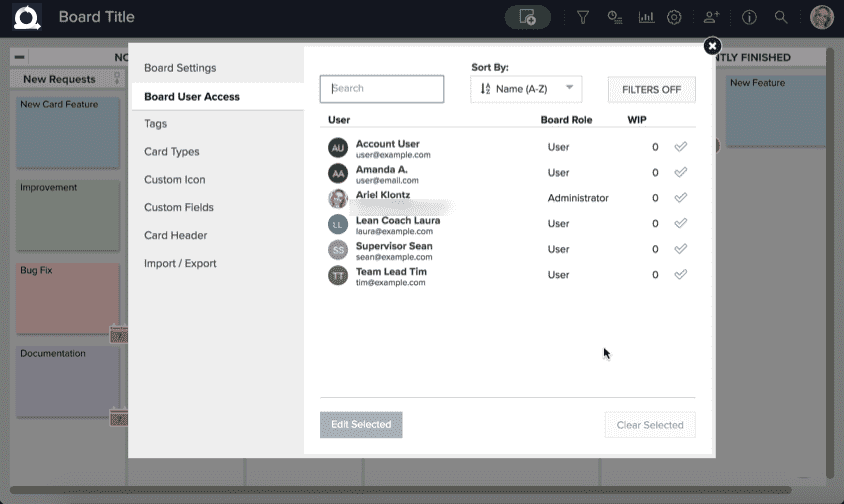
On the Board User Access tab, you can assign different levels of board access—different roles—to different users.
TIP
To learn more about user roles and access, check out this article.
Tags
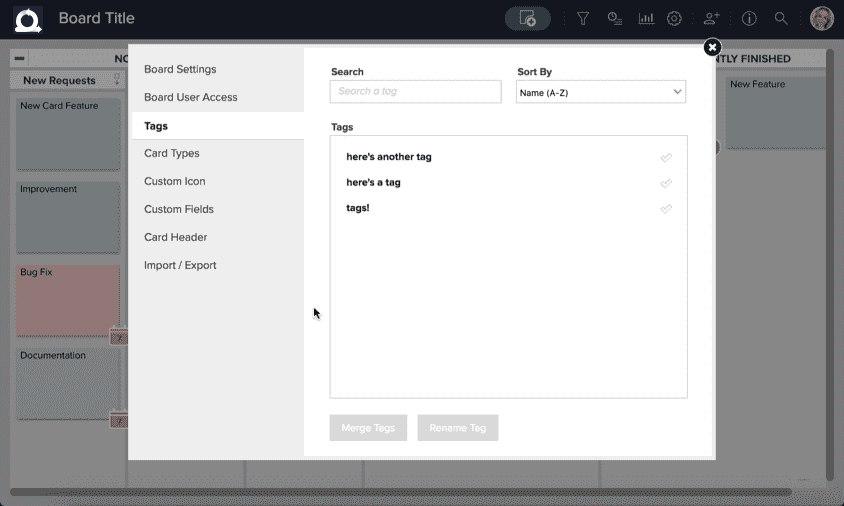
You can use the Tags window to manage all the tags present on a board. For example, whole sets of tags can be renamed or even merged.
TIP
To learn more about tags, check out this article.
Card Types
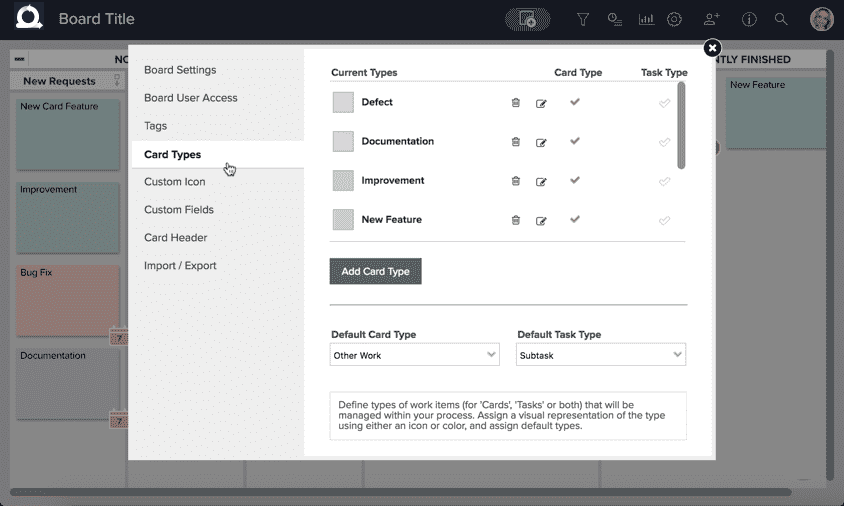
On the Card Types tab, you can view and edit the types of cards available for this board. Card Types are used to define the types of work items that will be managed on this board.
TIP
To learn more about card types, check out this article.
Custom Icon (labeled "Class of Service" by default)
You can assign cards a Custom Icon (called “Class of Service” by default). Traditionally, Class of Service defines a policy for the work item based on the cost of delay. By default, Custom Icon is not enabled. If available for your account type, you can enable Custom Icons for this board by clicking Enable Custom Icon.
![]()
Once Custom Icon is enabled for this board, you can see a list of existing classes as well as add, edit, and delete classes.
TIP
To learn more about custom icons, check out this article.
Card Header Settings
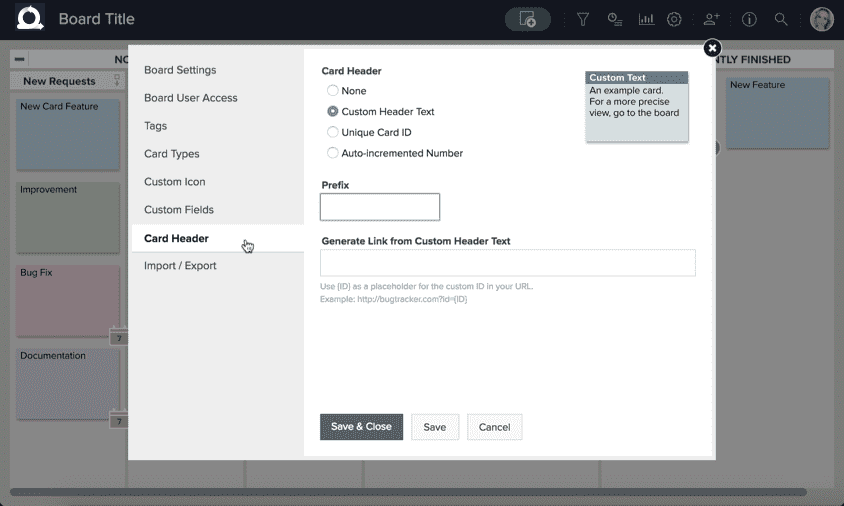
AgilePlace allows you to specify Card Header options, helping to link cards in AgilePlace to tickets, bug reports, or other items in an external system.
TIP
To learn more about card headers, check out this article.
Import / Export
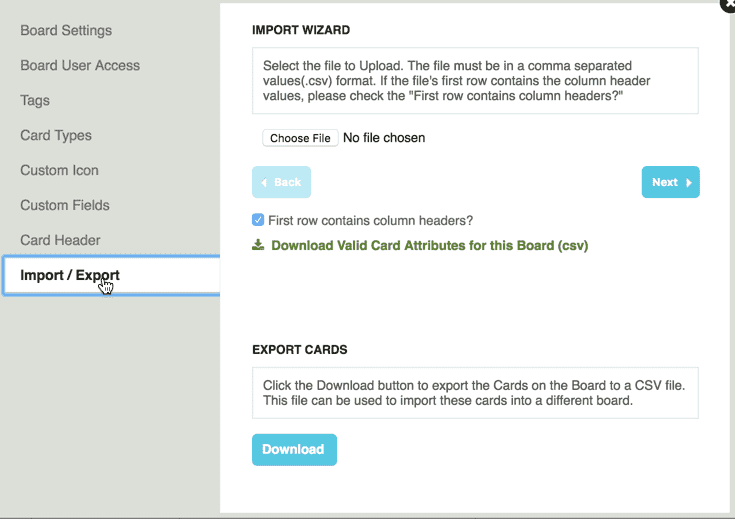
On the Import/Export tab, you can access the import wizard, which allows you to import cards to the board via .CSV files. From here, you can also download a .CSV file to export the existing cards on this board.
TIP
To learn more about importing or exporting cards, check out this article.