
SharePoint Online - Setting Up the Integration
This section describes how to configure the integration between SharePoint Online and AdaptiveWork. For more about the benefits and how to manage SharePoint content in AdaptiveWork, click here.
The integration with SharePoint online includes the following stages:

Supported Versions and Unsupported Functionality
- Permissions are based on permissions in SharePoint. For example, you cannot access SharePoint files via AdaptiveWork if you do not have direct access to the same file in SharePoint.
- SSO authentication. If you use SSO in AdaptiveWork, your users still need to be authenticated with SharePoint when logging in for the first time.
- See also Support for Site Collections as Default Integration Paths and Upload Files Using Configurations
1. Registering the AdaptiveWork app in Azure Active Directory
The following procedure should be performed by your Microsoft 365 administrator.
To register AdaptiveWork in Azure:
- Log into your Azure account, and click Azure Active Directory.
Note: If you do not see Azure Active Directory, click More services and search for Azure Active Directory.

- Select your directory, and then select App registrations, and New registration.
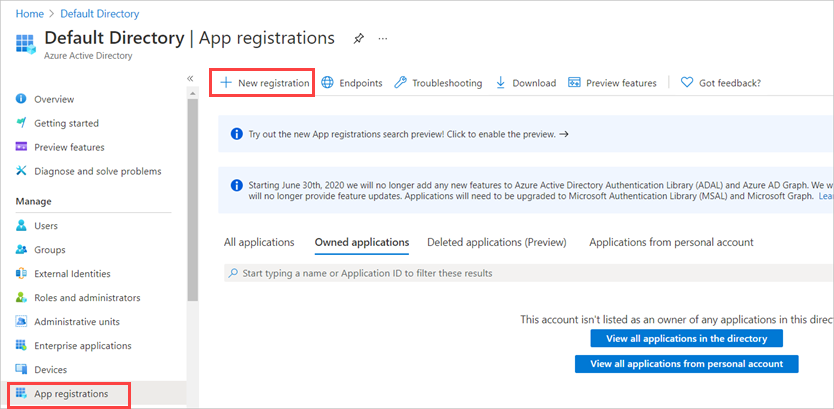
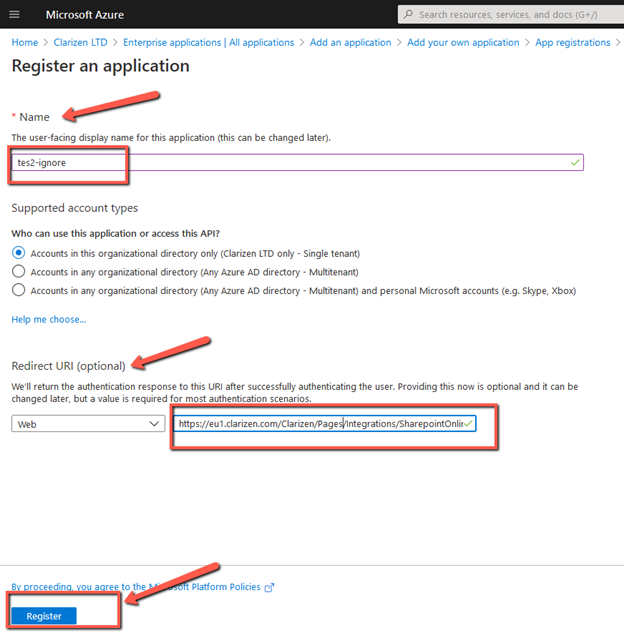
- Add a Name and Redirect URI based on your location, and click Register.
You can update or add a Redirect URI under Authentication.- US: https://app2.clarizen.com/AdaptiveWork/Pages/Integrations/SharepointOnline/oAuthCallback.aspx
- EU: https://eu1.clarizen.com/AdaptiveWork/Pages/Integrations/SharepointOnline/oAuthCallback.aspx
- US TB: https://app.clarizentb.com/AdaptiveWork/...hCallback.aspx
EU TB: - https://eu.clarizentb.com/AdaptiveWork/P...hCallback.aspx
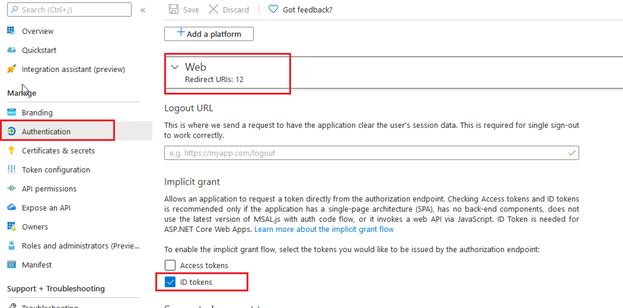
Review the registration details under Authentication.
- Open the Overview screen.

- To add an Application ID URI, click Add an Application ID URI.

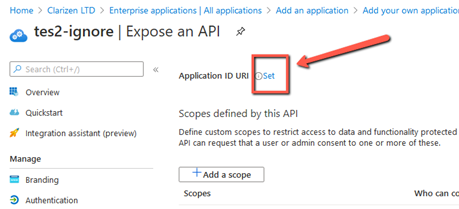
- You should now see the Expose an API screen.
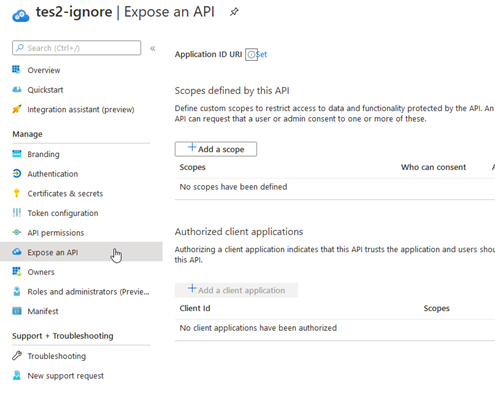
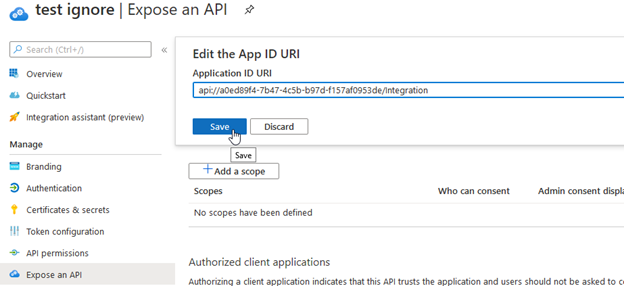
- In the Expose an API screen, click Set and update the URL with your SharePoint URL plus the suffix /Integration.
Example: api://a0ed89f4-7b47-4c5b-b97d-f157af...de/Integration
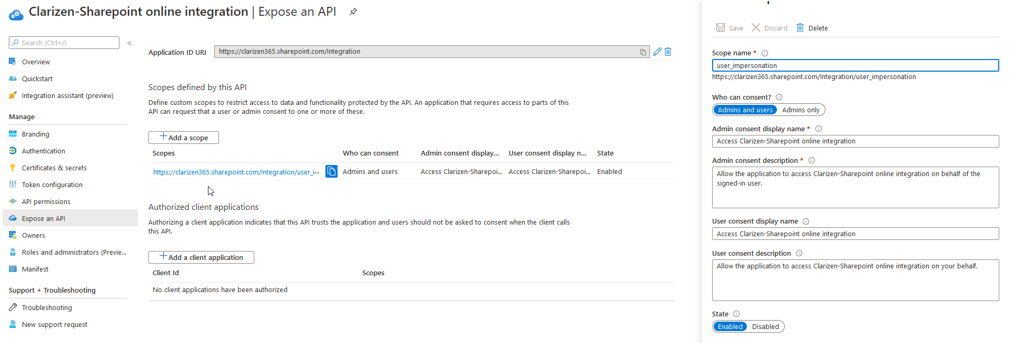
- Click Add a Scope and fill in the following details:
- Scope name: user_impersonation
- Who can consent?: Admins and Users
- Admin consent display name: Access AdaptiveWork-Sharepoint online integration
- Admin consent description: Allow the application to access AdaptiveWork-Sharepoint online integration on behalf of the signed-in user
- User consent display name: User consent display name
- User consent description: Allow the application to access AdaptiveWork-Sharepoint online integration on your behalf
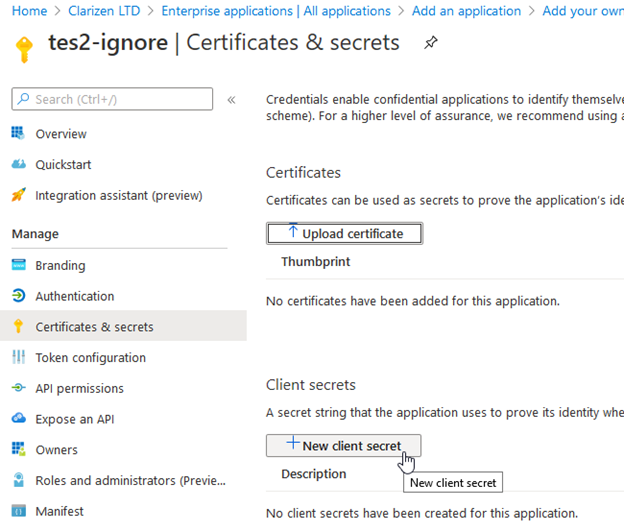
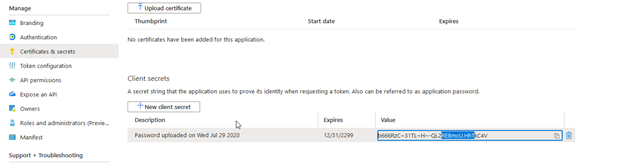
- Under Certificates & Secrets, add a new client secret.
Copy the value of the key, as you will need the value to register the integration in AdaptiveWork.
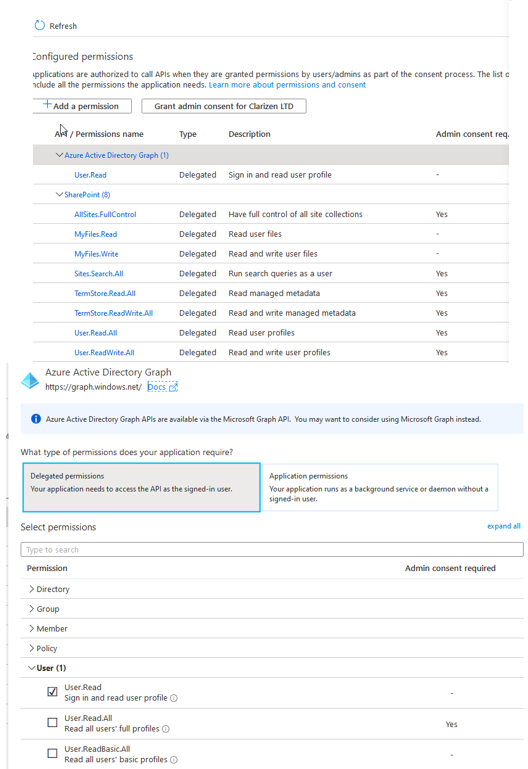
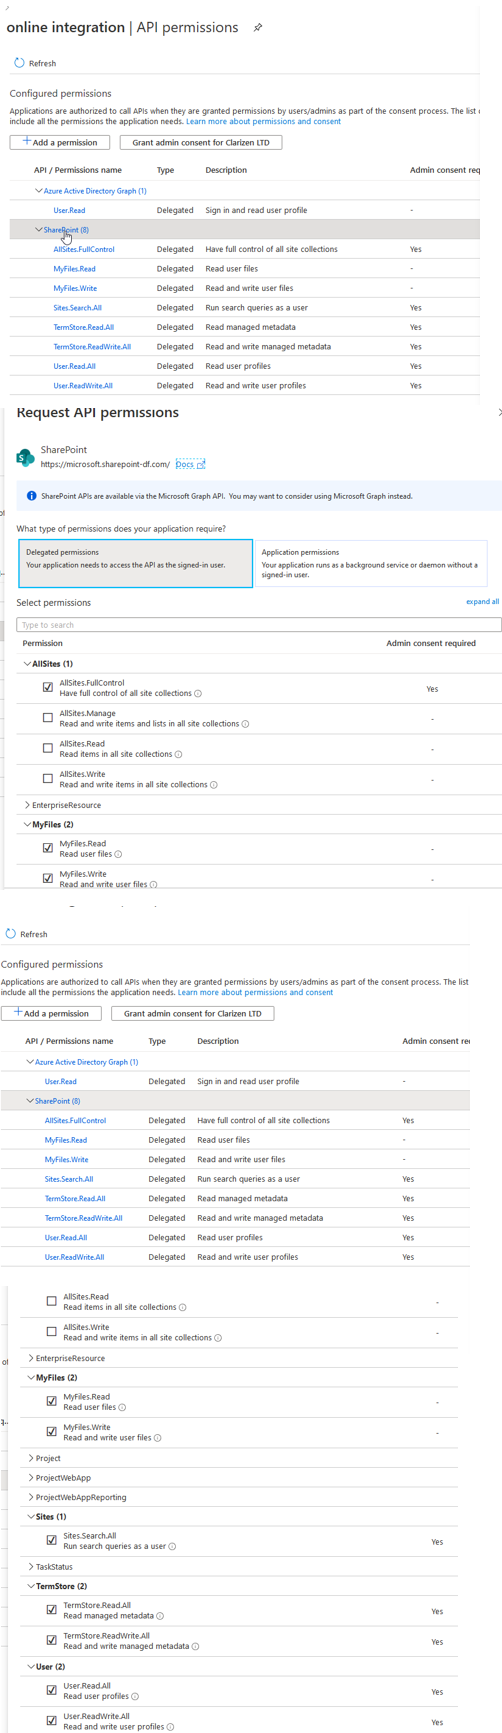
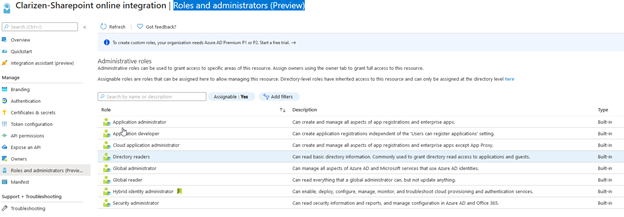
- Under API Permissions, add permissions.
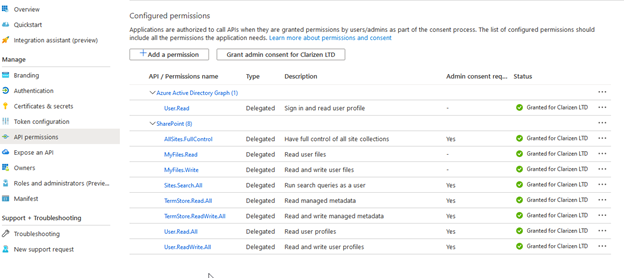
For Azure Active Directory Graph
For SharePoint
-
Roles and administrators (Preview)
2. Registering SharePoint in AdaptiveWork
As a AdaptiveWork administrator, register SharePoint Online in AdaptiveWork.
- Go to Settings > Extensions.
- In the SharePoint section, click Setup.
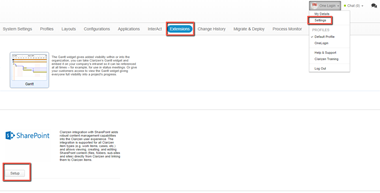
- From the drop-down list, select Online.
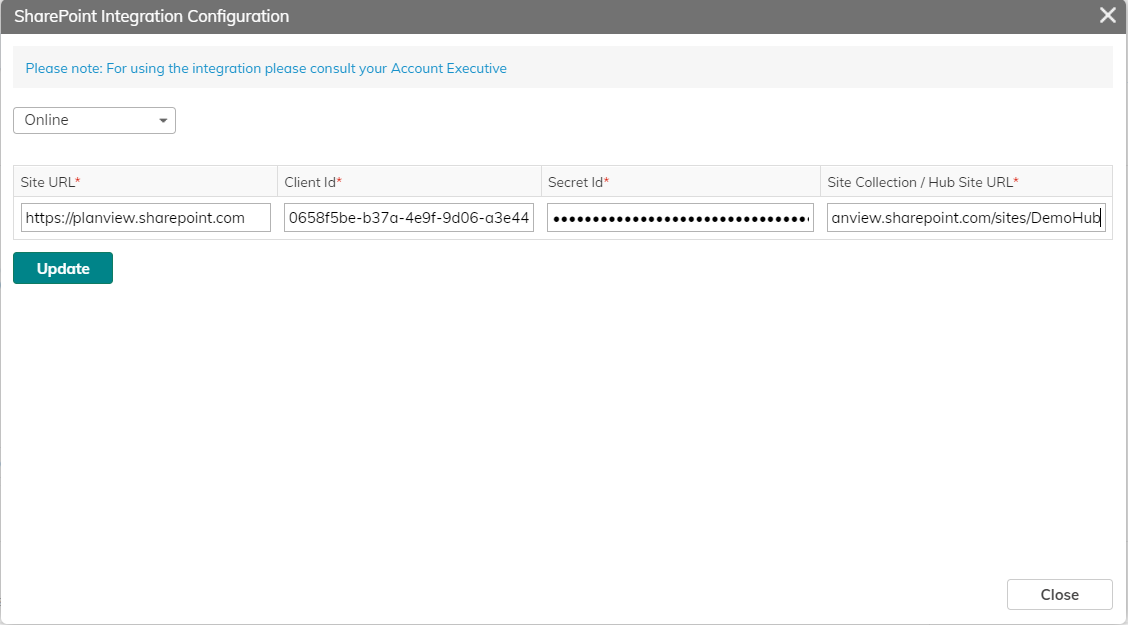
- In the Configuration screen, enter values for the following parameters:
- Site URL: URL of your Share Point site
- Client ID: The “Application (client) ID” value that you saved when registering the AdaptiveWork application with Azure ActiveDirectory.
- Secret ID: The key value that you saved when registering the AdaptiveWork application with Azure Active Directory.
- Enter one of the following the URLs:
- Site Collection URL: The URL of the SharePoint Site Collection.
- Hub Site URL: The URL of the Hub Site that contains Site Collections.
- Click Update.
Authenticate User’s AdaptiveWork Account with SharePoint
There are two ways to authenticate AdaptiveWork users in SharePoint:
- By editing the Integration Settings in the user's details. Once the integration settings are configured, users are not prompted to authenticate with SharePoint when attempting to open SharePoint content from AdaptiveWork.
Note: You can also automate the process using a workflow rule. - At the run-time, when a user clicks SharePoint content in AdaptiveWork, the user is prompted to enter their SharePoint credentials. Users are required to authenticate only when they access SharePoint content from AdaptiveWork for the first time.
Editing integration settings for users
To edit integration settings for yourself:
- Click your name in the top menu > My Details.
- In the Personal Details section > click Edit for the Integration Settings property.
- In the Integration Setting pop-up window, click Associate with SharePoint Account button.
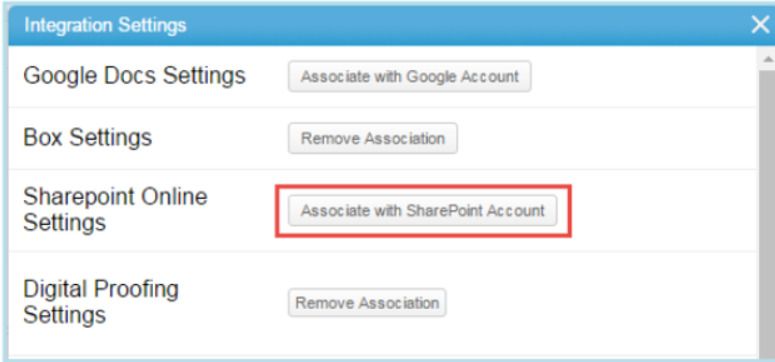
- A new tab opens where you can log into your Microsoft account, which authenticates your AdaptiveWork account with SharePoint.