
Recycle Bin
Recycle Bin Overview
Deleted items go to the Recycle Bin and can be restored if needed.
Items are kept in the Recycle Bin for 45 days and then automatically deleted.
The Recycle Bin supports the scenario of finding a deletion error and recovering the lost data. Each user can find and restore deleted items. A super-user can find and restore items that others deleted.
Note: Users cannot be deleted; only suspended. However Custom Fields are supported in a separate Recycle Bin in the customization area, visible for the organization's Admin user.
Jump to:
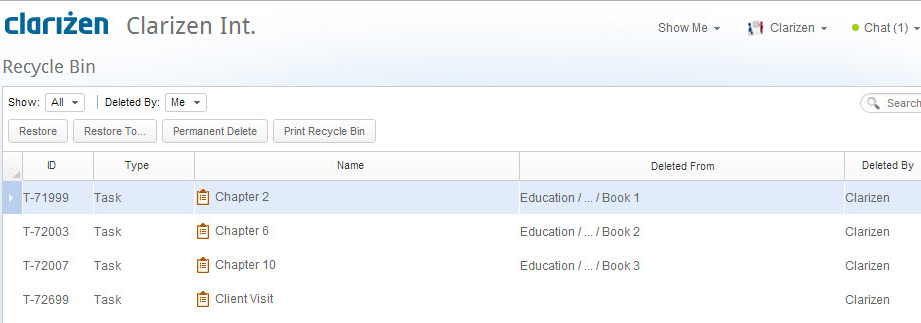
When an item is deleted, it is shown as a read only line in the Recycle Bin. The grid shows lines for all the deleted items of all item types as a flat list. Each line item contains all the sub-items it had before the deletion.
For example deleting a project or milestone moves all its sub-tasks, Collaboration items, Timesheet hours and references in issues to the Recycle Bin. These become visible again if the item is restored.
Deleting in the Recycle Bin
You can select a single line item in the Recycle Bin at a time.
You can then use Restore, Restore To and Permanent Delete on the selected item:
- Permanent Delete: Permanently Deletes the item
- Deleted From Column: Shows a shortened path with the place the item was deleted from. Hovering with the mouse above the Deleted From column for any item opens a box that enables you to click Show Path.
Finding Items
Several options are available for finding any item in the Recycle Bin:
- Show: The Show drop-down filter enables filtering the items in the Recycle Bin according to Item types.
- Search: The Global Search located in the Navigation Panel enables searching for items containing text of interest in the ID, Type and Name.
- Grid Filter and Sort: Use column filtering and sorting to filter and sort the line items according the values in that column.
Restoring Items from the Recycle Bin
Restore items from the recycle bin directly or to a specific (different) location.
Restore
If the location that the selected item was deleted from has subsequently been deleted, you can choose a new item location.
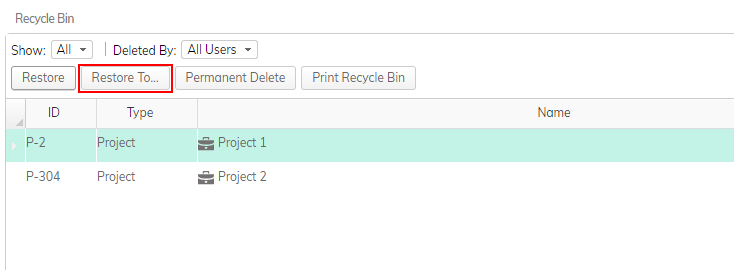
- On the Navigation Panel , click the Recycle Bin, and then select the item to be restored.
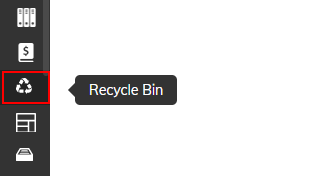
- On the ribbon , click Restore.
The item is restored to its original location.
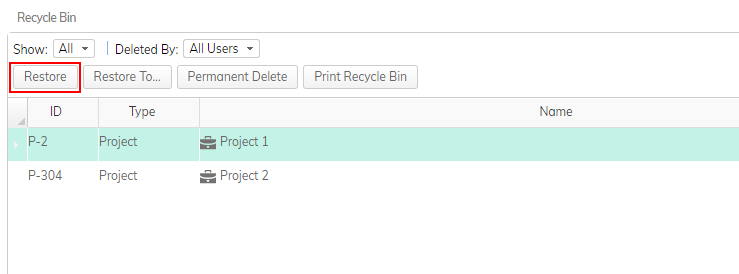
Restore To
The Restore To option opens a dialog box that provides choices of a new location or new parent for the restored item. A different dialog box opens per item type in accordance with the places its items can be restored to. Some item types have a Restore Detached option which enables restoring items to the top level without a parent item.
- On the Navigation Panel , click the Recycle Bin, and then select the item to be restored.
- On the ribbon , click Restore To.
- If the project location to restore the item to is not in the list of items, from the drop-down menu, select a project status.

- Enter the project title into the search field.
- Select the project row and click Restore.
Deleting Items Permanently
You can delete items permanently .
To permanently delete an item:
- Select the item to be permanently deleted.
- On the ribbon, click Delete.
- On the Navigation Panel, click the Recycle Bin.
The Recycle Bin module opens. - Select the item to be permanently deleted.
- Click Permanent Delete.
About Recycle Bin in API
- When deleting items using API, there will be more items in the Recycle Bin compared to what you would see in the AdaptiveWork interface, because children items are also accessible, such as sub-Projects and tasks.
- Items with references to them may be available in API for more than 45 days.