Customize Grid settings
The Grid view lists all items that are currently on your board. You can group the items by state, importance, or any Picklist fields. Some examples of how you can use the grid include:
-
Create a Sprint picklist for your Task module, where you can view the Tasks grouped by Sprint on the Team board.
-
Group board data for a specific period (such as a sprint or specific month) by importance so that your team members can quickly identify the most important tasks to be worked on when they’re available.
-
Create a list of future items, to use as a backlog to track tasks that you want to do in the future, which helps your team prioritize their work and cleans up your board’s to-do column.
The Grid can only be set by the Owner or Editor for the board. Viewers cannot configure the View settings, but they can add columns and modify the default columns set by the Board owner. The current user's settings are saved during their session.
The grid is supported in the following boards and entities:
| Board list | Board item Details |
| Portfolios, Project, Milestones, Tasks, and Cases | Portfolio, Project |
Configuring the View
-
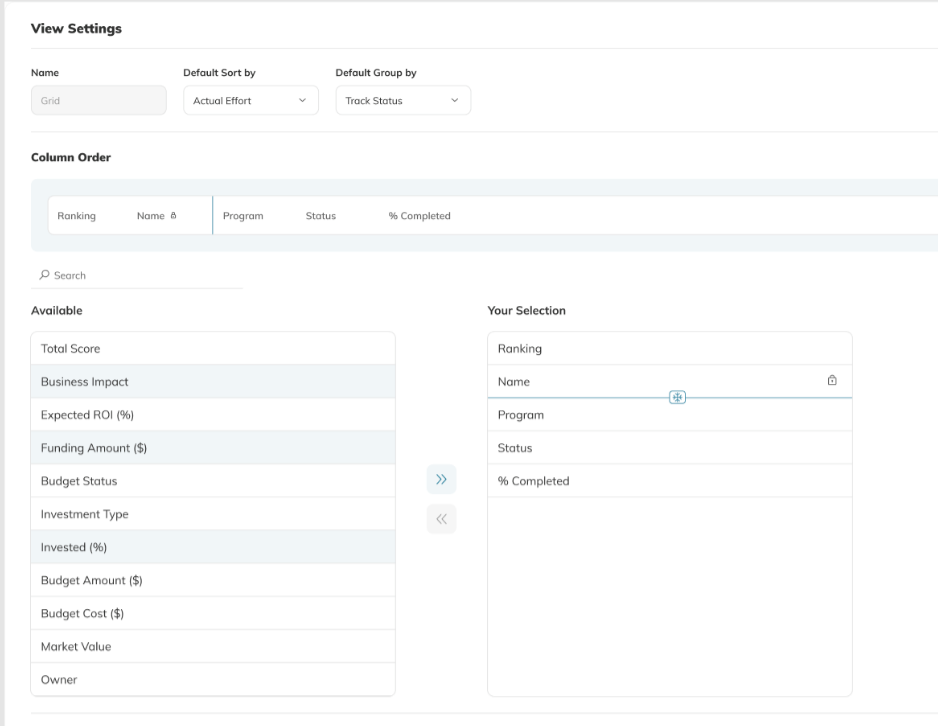
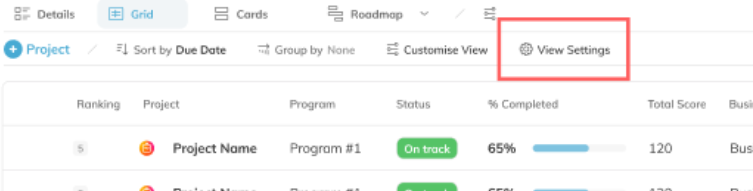
In the Grid view, click the View settings button.
- In the View settings popup, set the default sorting and grouping for the view. Note that you can group the rows by any Picklist custom fields.
- In the Column Order, select one or multiple columns and move them to Your selection area.
- Drag the Freeze bar so that you can define how many columns are frozen for the board. To remove the freeze column option, simply move the Freeze bar to the top of Your selection area.