Grid view overview
You use the grid to manage work in a more Agile way. You can group items, and drag and drop between groups. The changes the user makes to the columns, sizing, sorting etc will be kept for the logged User.
New Lists are available for Portfolios, Projects, Tasks, and Cases, as well as for Portfolio and Project details (Programs and Projects under the Portfolio, and Tasks under the Project).
Grid features
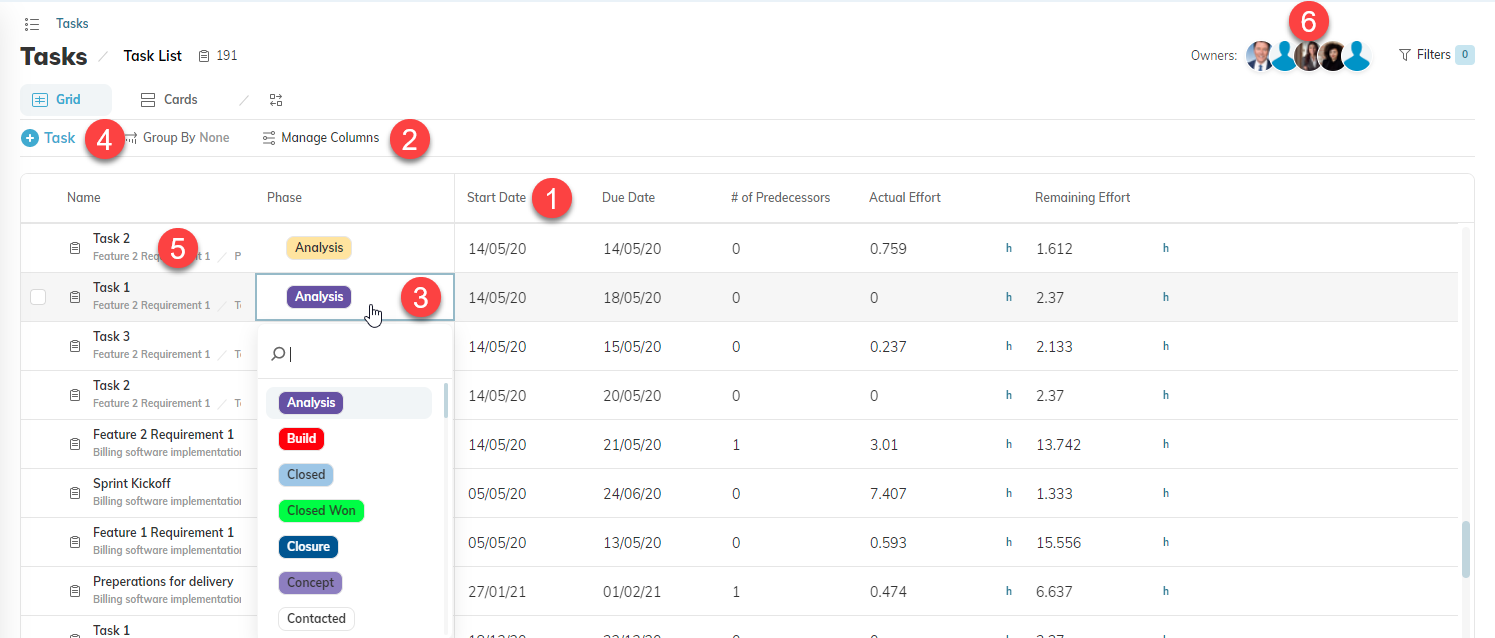
- Sort the order of the columns using drag and drop, and each column ascending or descending.
- To add or remove columns:
- Click Manage Columns.
- To add columns to the grid, in the Available list, select one or more columns and then click the double right arrows >>.
- To remove columns from the grid, in the Your Selection list, select the columns to be removed and then click the double left arrows <<.
- The order of the columns in the grid from left to right is determined by the order of the columns in the Your Selection from top to bottom. To change the location of a column in the grid, click the column and move it to the desired location.
- To have columns remain displayed in the grid even when scrolling, in Manage Columns, move the column above the Frozen Area in the Your Selection list.

- Click Save.
- Edit inline.
- Add another item.
- Click on an item to see more details.
- Filter the list by clicking on an avatar to view only their items.
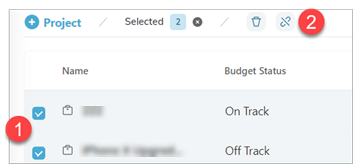
- Use multi-edit to update or delete selected items. For Portfolio details, you can use this option to unlink Projects.