
Sharing Information
Introduction
This page describes sharing information capabilities in AdaptiveWork and includes the following sections:
- About Sharing Information
- Share Action Availability
- Share Links
- Share Widgets
- Showing Financial Data in Widgets
- Widgets in Social
- Widgets in Extensions
View also: Quick Reference Card (QRC) for Sharing views in AdaptiveWork.
About Sharing Information
Sharing information via links or widgets in AdaptiveWork makes purposeful collaboration a breeze inside and outside of the company.
Share any view, report, roadmap, or Gantt with licensed or unlicensed users. Embed Widgets in a web site for clients so they can see real-time updates.
Sharing is easily accessible from the following sections: Projects modules, Roadmaps, Interactive Gantt, Reports and Dashboards module, Social module, and Extensions.
Share links can be sent to licensed users only since it uses AdaptiveWork permissions. Widgets can be sent to licensed or unlicensed users.
Share Action Availability
Administrators need to provide access to the Share button in Profiles via the Ribbon for users.
In the Profile settings for appropriate profiles add the the Share action to the Common section of the Ribbon. For more detailed information review Action Availability.
Share Links
- Click on the Navigation Panel
- Click on the Projects, Reports, or Dashboard module
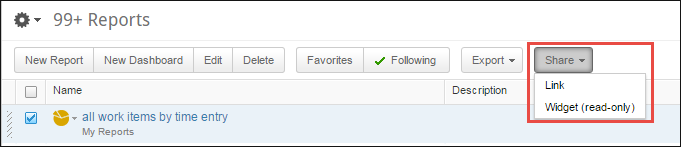
- Select one or more projects, reports, or dashboards
- In the appropriate ribbon click on Share > Link
- Links are sent as an email to licensed AdaptiveWork users and a personalized message can be added
- In Email to click on
 to choose a licensed AdaptiveWork user
 - Optionally
 enter a Subject and message
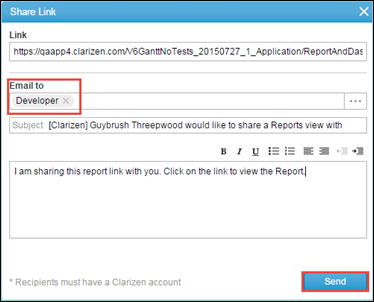
- Click

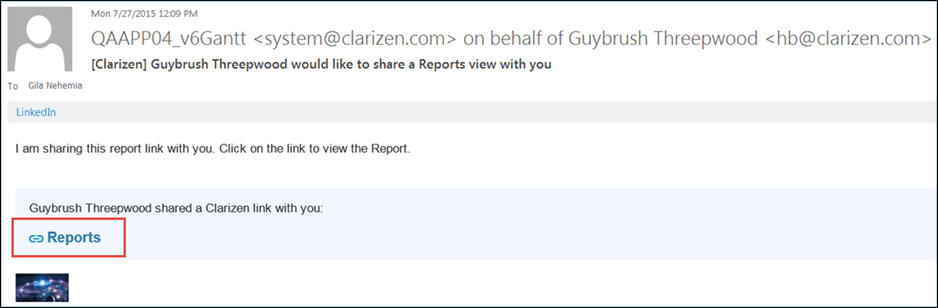
- When the email is received the recipient needs to click on the link to view the project(s), report(s), or dashboard(s)
Share Widgets
Widgets are context-sensitive, and additional related items can be shared depending on the module or view selection.
Widgets are read-only and can be sent to licensed and unlicensed users to view real-time updates.
You can define whether a password for a widget is mandatory or not.
Note: Financial data cannot be shared via widgets.
- Select the relevant Project, Report, Dashboard, Gantt or Roadmap.
- In the Ribbon click Share > Widget.
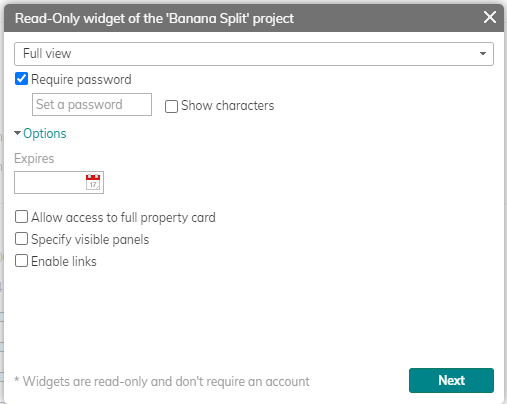
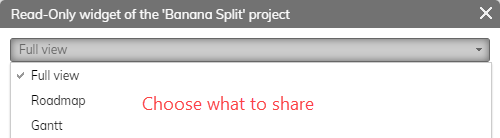
- Depending on the selected item, you can choose which elements to share.
- Enable Require password if needed, and enter the password. See more about security options below.
- Select an expiry date if required.
- More options appear depending on the selected item.
- Click Next.
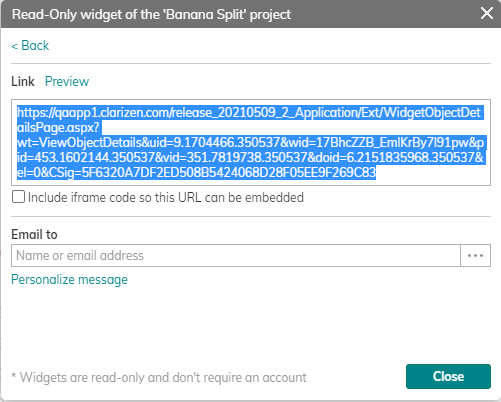
- Click Preview to view the widget before sending it as an email.
-
Enable the Include iframe code check box to Include iframe code tags so the URL can be embedded in a website.
- In Email To click to select a licensed AdaptiveWork user or type in an unlicensed user's email address.
- Click
 to add a subject and message text.
 - Click Send.
Security Options for Shared Widgets
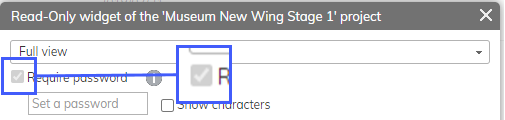
The Require password check box is enabled by default. You can change this behavior using the Enforce widget password entry system setting, found under System Settings > Permissions. 
When this setting is enabled, the entry of passwords is mandatory. Users are prevented from opting out of password entry.
Administrators can bypass the system setting.
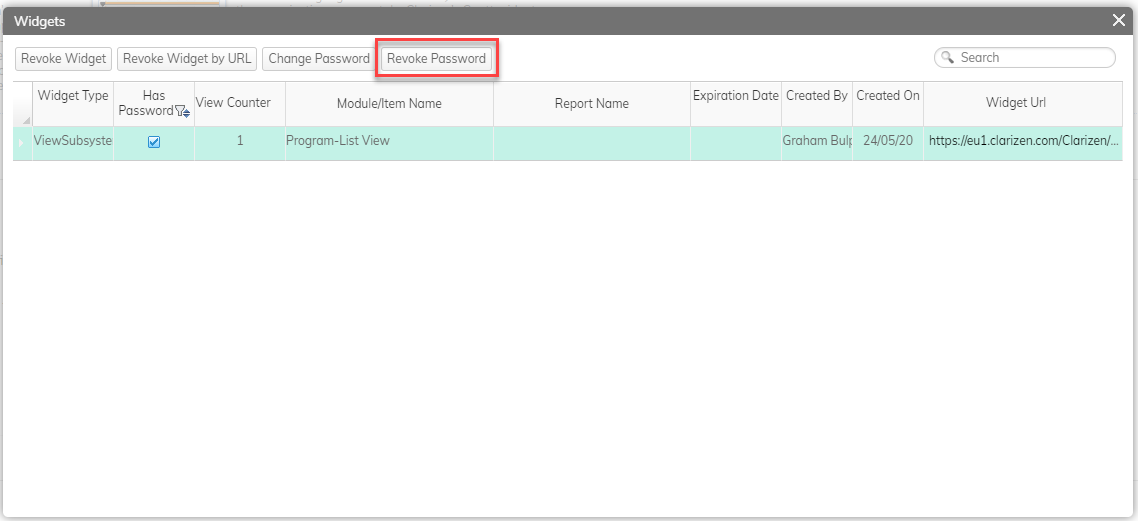
Even if the system setting is on, administrators can still bypass this using the “revoke password” capability in the Widgets administration screen, accessible under Settings > Extensions. To aid visibility, you can add the Has Password column to the Widgets administration screen.

Showing Financial Data in Widgets
Users can show financial data in widgets. The Show Financial Data option in widget settings is available only when the user has Financial Permissions and passwords are required (Require Password check box is checked).
The Show Financial Data option is in the Share Widget dialog under the Options section:

To display the financial fields in the widget, select the Show Financial Data check box.
Note: Enabling the Revoke Password option in the View Widgets Admin Screen (through the Extensions settings) will hide the financial data in the widget.
Widgets in Social
Share the Roadmap or Gantt widget with your team when starting or replying to discussion posts
- Click on the Navigation Panel
- Click on Social
- Click on Start a New Discussion or Reply
- Click on Add Related
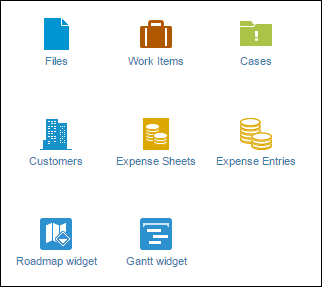
- Select either the Roadmap or Gantt widget
-
In the Roadmap or Gantt widget select project(s) and/or a report.
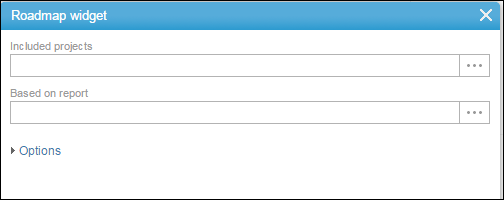
- Select the available options if needed, for more detailed information see Roadmap or Gantt
- Add the Roadmap or Gantt widget
- Enter text in the Discussion post and click Post or Reply.
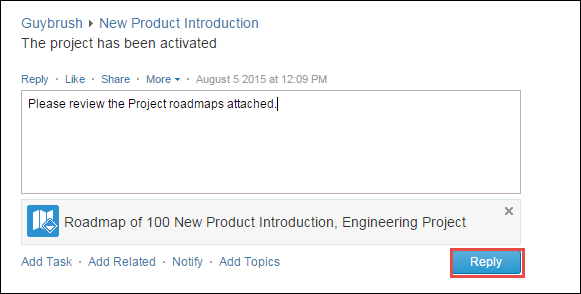
- The Roadmap or Gantt widget is added to the post

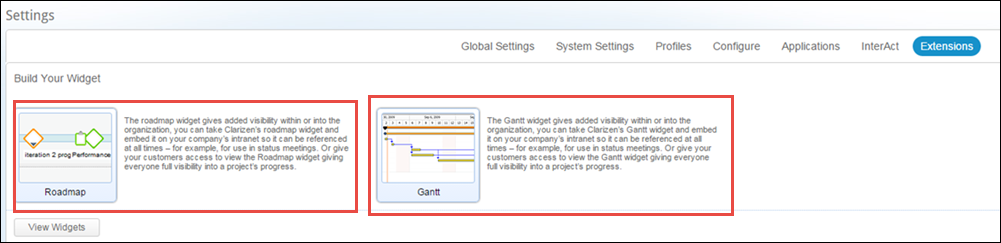
Widgets in Extensions
Roadmap and Gantt widgets can be added and sent from Settings > Extensions
- Click Settings > Extensions
- Select either the Roadmap or Gantt widget
- Follow steps 6 - 9 in Widgets in Social above
- Click Next
- Follow the steps in Share Widgets