
Standard Repository Connection
What is a Repository?
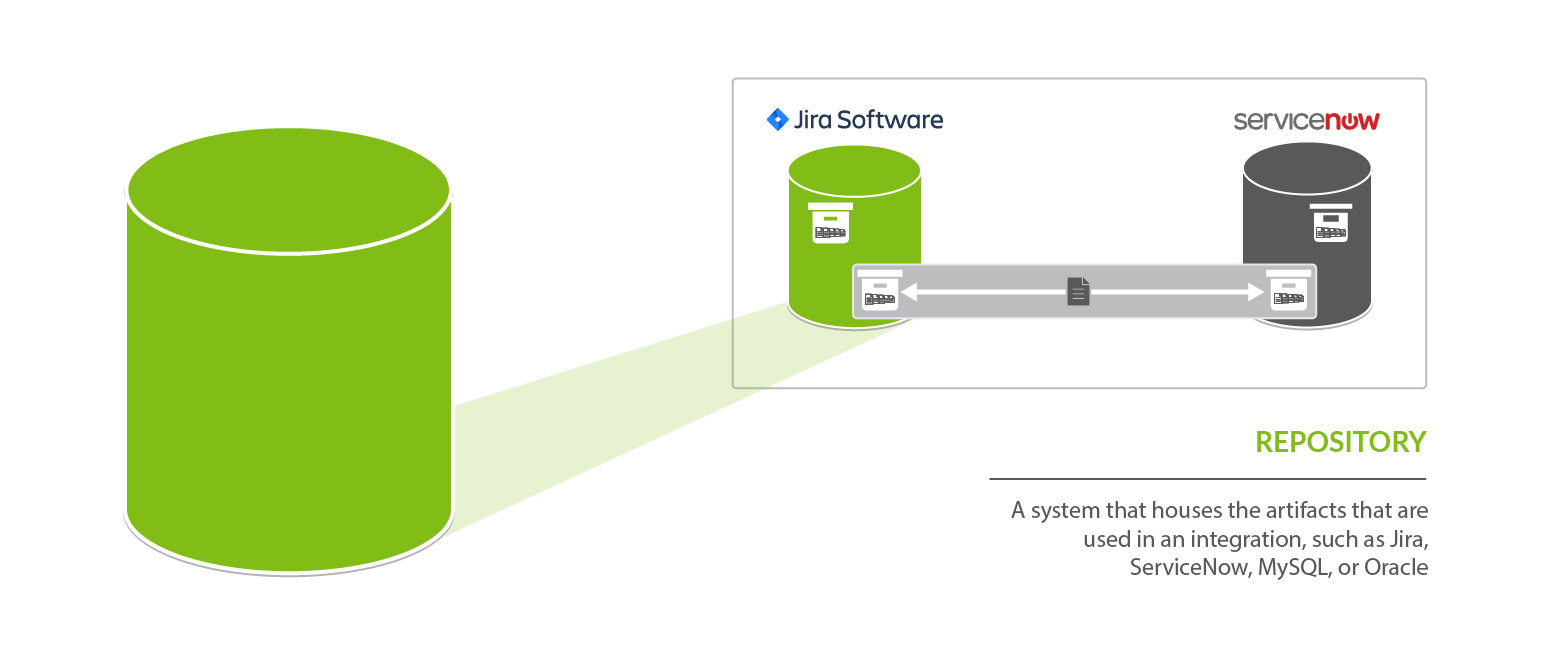
A repository is any system that houses the artifacts that can be used in an integration. Repositories can be systems used as part of the software delivery process, like Micro Focus ALM/Quality Center, Broadcom Rally, Jira, etc., or repositories can be more generic databases, like MySQL or Oracle.
A repository connection is a connection to a specific instance of a given repository that permits Hub to communicate with that repository. To configure a repository connection, users will need to provide base credentials such as a server URL, a username, and a password.
A standard repository is a software lifecycle tool such as Jira or ALM that contains artifacts such as defects or requirements.
Video Tutorial
Check out the video below to learn how to create a new repository connection:
Before you Begin
- Review the User Management section for instructions on how to log in and manage your user accounts.
- Set a Master Password, which will be used to encrypt your repository credentials.
- Apply your License on the Settings screen.
Connecting to a Standard Repository
Creating a New Connection
To create a repository connection, select Repositories at the top of the screen.

Click + New Repository Connection.

Select the logo of the repository you would like to connect to in your integration.

Uploading External Files
For certain repositories, such as Microsoft Azure DevOps Server, external files must be uploaded before navigating to the New Repository Connection screen. If so, you will see a screen similar to the one below. If you do not see this screen, you can disregard this section.

To upload the files, a system administrator (a user with file system access to the machine that hosts Hub) must add the files to the designated directory:
- On Windows, the default folder is
C:\ProgramData\Tasktop\connector-requirements - On Linux, the
connector-requirementscan be found in the Hub installation directory - If needed, the user can change the location in which Hub looks for the files. This is done by changing the system property
connector.requirements.path
Once uploaded, select the file from the options available and click Use File.
New Repository Connection Screen
After selecting the repository, the New Repository Connection screen will appear.
To connect to a repository, you must populate the following fields:
- Name: This is the name you will give to your Repository Connection. This is how it will be referenced throughout the Hub Application.
- URL: This is the URL used to access the repository.
- Authentication Details (see authentication section below for more details).
Note: You may see additional fields on the Repository Connection screen depending on which repository you are connecting to. See our Connector Documentation for repository-specific information. Any required fields will be marked with an asterisk.

Throttling Settings
This functionality should only be used under the guidance of customer care.
On the Repository Connection screen, you'll see a Throttling Settings field. This field can be used to reduce the load placed on a repository when rate limiting or server overload is causing performance delays. It does this by limiting the number of API calls Hub processes per minute for the repository. This field will default to blank/not set unless a value is specified.
Note: Caution should be used when setting this value. The ideal value for Throttling Settings is highly dependent on each customer's unique environment. Determining the appropriate value is best achieved through experimentation, using feedback from performance monitoring to tune the value, and making adjustments as necessary. Setting the value too high can potentially cause significant performance degradation when using the Hub application.
Connection Security
On the Repository Connection screen, you will also notice a Connection Security checkbox. This will default to unchecked (requiring secure connections). If unchecked, your connection must start with HTTPS and have SSL certificate validation enabled. If either condition is not met, Hub will not connect and provide an error message. If you choose to check the Allow insecure connections... checkbox, these restrictions will be lifted.
Note: If allowing insecure connections, please ensure that that configuration aligns with your organization's security policy and the associated risks are understood and accepted.
Planview Hub Cloud users must connect to external repositories via HTTPS.
Installing a Certificate for HTTPS
To install a certificate for HTTPS, please follow instructions below:
- Get the public certificate from the third party tool.
- Copy the certificate to
C:\Program Files\Tasktop\jre\lib\security. - Stop Hub.
- Open a command prompt and navigate to directory
C:\“Program Files”\Tasktop\jre\lib\security. - Type "
keytool -import -file certfilename -alias reponame -keystore cacerts" (e.g., "keytool -import -file c:\somedir\filename -alias Jira -keystore cacerts". - You will be asked for the keystore password which is likely changeit unless it has already been changed.
- You will be asked if you want to trust the certificate to which you reply y.
- You should see a message stating the certificate was imported. If not, something has gone wrong.
- Start Hub.
Authentication
We recommend that you create a new user within your external tool, to be used only for your Hub integration. This is the user information you will enter when setting up your repository connection within Planview Hub. By creating a new user, you will ensure that the correct permissions are granted, and allow for traceability of the modifications that are made by the synchronization.
In general, your Hub user account should have sufficient permissions to create, read, and update artifacts in your repository. However, depending on the use case, your user may need different permissions. For example, if you are only interested in flowing data out of your repository, your user may not need to have full CRUD access, as the create and update permissions may not be needed.
Please see our Connector Documentation for repository-specific information regarding user permissions.
Your user should have a secure password. Please be aware that Hub will not allow you to save a repository connection utilizing a weak password, such as tasktop.
Note: For most repositories, you will see a username and password field in the Authentication section. However, some repositories include additional Authentication options.
Standard Authentication
For most scenarios, you will select Standard Authentication. This is where you will enter the username and password used to access the repository. We recommend creating login credentials specifically for Hub to access your repository.

OAuth 2.0 Client Credentials Proxy Authentication
Note: This Authentication method is not supported for all connectors. Please see the connector documentation for connector-specific information regarding this authentication mechanism.
This method establishes a secure connection through OAuth 2.0 Client Credentials Authentication with the following steps:
- Planview Hub/Viz to Repository Gateway Connection.
- The connection from Planview Hub/ Viz to the Repository Gateway is secured using OAuth 2.0 Client Credentials Authentication.
- To enable this connection, a proxy must be created for the repository, and OAuth 2.0 Client Credentials Authentication should be enabled for this proxy.
- To communicate with this proxy, a client ID and client secret are required. These credentials can be obtained from the Gateway.
- Planview Hub/ Viz will request proxy using client credentials (client ID and client secret) and get the access token.
- Repository Gateway to Repository Connection.
-
The Gateway manages the connection to the repository.
-
The Gateway receives an access token (from Step 1), which is used in all subsequent HTTP requests, included in the Authorization header.
-
Proxy will be authenticated by using this access token and then the value for the authorization header is replaced to the value used by repository authentication.
-
For Example:
-
Planview Hub/ Viz will request Proxy, using client credentials (client ID and client secret) to get the access token.
-
Planview connector will use this access token (from Step 1) and make all subsequent HTTP requests having Authorization Header value being set as this access token.
Authorization: <access-token>
-
Proxy validates the access token then forwards the request to the Repository and replaces the Authorization header with credentials required by the Repository to authenticate.
Authorization: <repository-token>

Prerequisites
To proceed with the OAuth 2.0 Client Credentials Authentication setup, ensure that your Gateway server meets the following requirements:
- OAuth 2.0 Client Credentials Authentication with Proxy – The Gateway server should support enabling OAuth 2.0 Client Credentials Authentication through a proxy configuration.
- Request Header Customization – The Gateway server must have a feature, such as a property or plugin, that allows header replacement (ig updating or modifying request headers as needed).
Required Fields
- Location/Connection URL: Repository proxy URL having OAuth 2.0 Client Credentials enabled.
- Example Format: https://proxyurl.repo.com
- Access Token Endpoint: This is the access token retrieval URL provided by proxy gateway server.
- Example Format: https://proxy.repo.com/oauth2/token
- Client ID: Identifies the application requesting access.
- Client Secret: A private "password" for securely proving the app’s identity.
- Repository URL: Actual Repository URL https://server.repo.com
Optional Fields
- Scope: It defines the level of access, or the specific permissions requested from the authorization server.

Configuring Authentication for Multiple Applications Behind a Single Proxy Server
When authenticating multiple applications behind a single proxy server, it’s recommended to use a unique URL path parameter for each application. This ensures requests are properly routed to the correct application repository. You can configure your gateway settings to route traffic based on these path parameters.
Example:
If you have a proxy server at https://proxy.my-organization.com and want to authenticate Atlassian Jira and Planview AgilePlace through this server, you can add distinct path parameters for each application:
- For Atlassian Jira, use the path parameter "/JIRA", e.g., https://proxy.my-organization.com/JIRA.
- For Planview AgilePlace, use the path parameter "/AGILEPLACE", e.g. https://proxy.my-organization.com/AGILEPLACE.
You need to update gateway settings to route based on this extra parameter you have added so that your request can be redirected to appropriate repository.
SSO Authentication
If you connect to a repository utilizing SSO authentication, you can select one of the additional authentication options offered.
Hub currently supports the following SSO implementations:
- Script (HTTP cookies)
- X.509 Certificate
Once the URL is entered, Hub will auto-generate the fields that must be populated to connect to the repository.
Script (HTTP cookies)
This method is not available for Hub Cloud instances.
To use the Script (HTTP cookies) authentication method, a system administrator (a user with file system access to the machine that hosts Hub) must add the script(s) to the designated directory:
- On Windows, the default folder is
C:\ProgramData\Tasktop\authentication-scripts - On Linux, the authentication-scripts can be found at the Hub installation directory
- If needed, the user can change the location in which Hub looks for the scripts. This is done by changing the system property
authentication.scripts.path
Once uploaded, select the script from the options available under the Cookie Script field. The script will be executed by the machine that hosts Hub. The script is stored in the Hub database, but is written to disk upon Hub startup and deleted from disk upon Hub shutdown.
Since Hub supports both Windows and Linux, please ensure that your script is able to be executed on the appropriate operating system: .bat for windows or shell script for Linux.
The Cookie Script will be executed and the standard out (and standard error) must read as a \n separated list of key/value pairs themselves separated by Cookie Key/Value Delimiter (default is =).
The Cookie Domain and Cookie Path arguments will then be used in the construction of a cookie for each of those key values pairs.
Note: As Hub creates a copy of the script when the repository configuration is saved, changing the script in the directory will have no direct effect on existing repositories. For changes to a script to take effect, the user must go to the target repository connection and update the configuration.

X.509 Certificate
To use the X.509 Certificate authentication method, select the X.509 Certificate to upload from your local machine. The certificate is stored in the Hub database, but is written to disk upon Hub startup and deleted from disk upon Hub shutdown.
Custom Authentication
Some repositories allow for additional authentication methods. Please see our Connector Documentation for repository-specific information regarding authentication methods.
Proxy Server
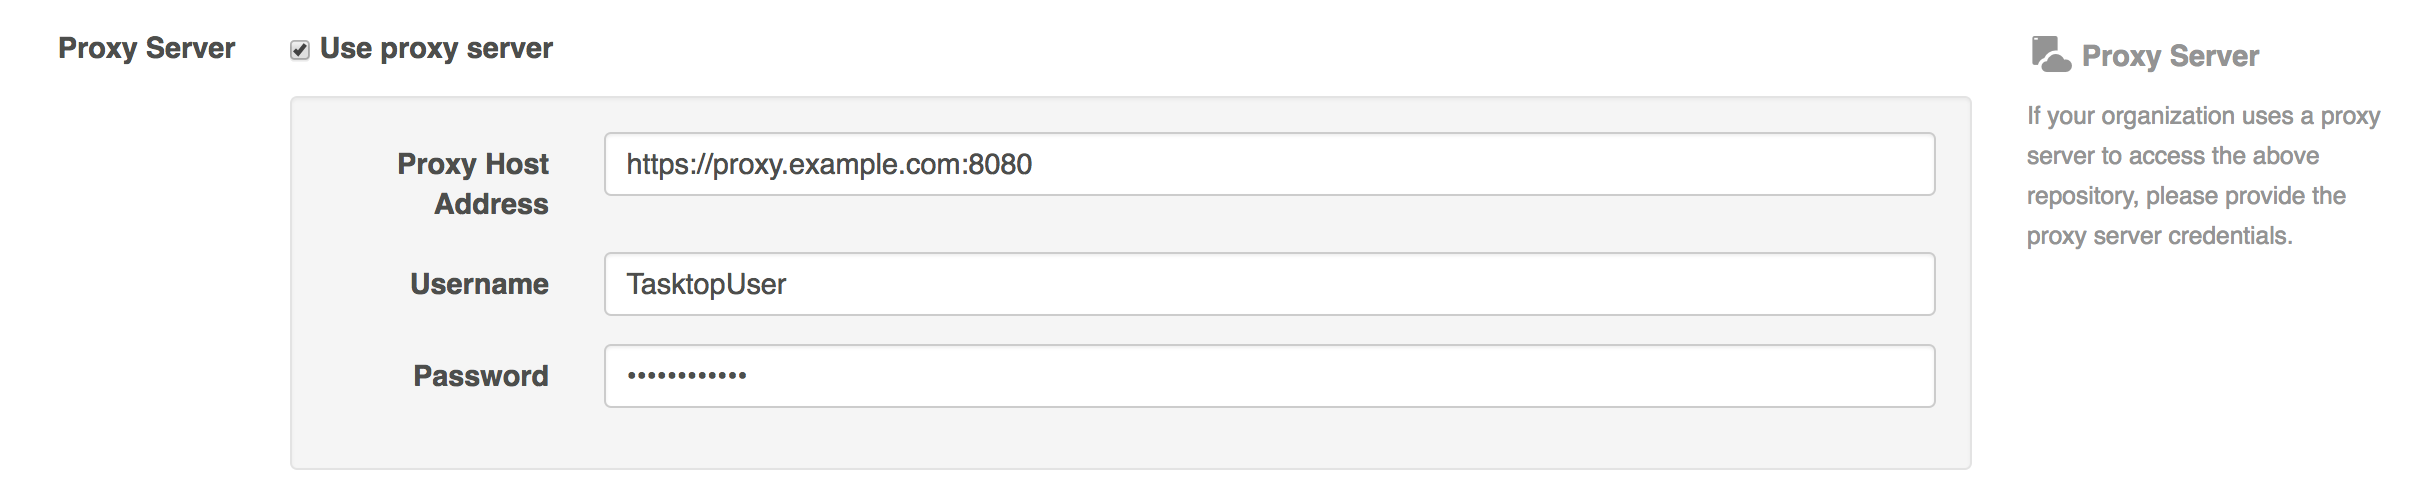
If Hub is installed behind a firewall, you may need to connect to external repositories (e.g., hosted or cloud ALM tools) through a proxy. To create a connection to such external repositories in Hub, you can make Hub connect through your proxy by configuring the proxy settings when creating a new repository connection. It is recommended to create login credentials specifically for Hub on the proxy server.
Note: The Proxy Location must be a URL in order for the proxy connection to work. If a .pac script is used in your browser, you will need to open the script and find the URL/port to enter in the Location field.
To use a proxy server, check the user proxy server box and fill in your proxy details in the Proxy Server section on the New Repository Screen:
Manual Change Detection
Hub's default global change detection settings can be found on the General (Settings) screen. However, if you'd like to override the global defaults, you can configure repository-specific change detection and full scan intervals on this screen.
Note: You can also set integration-level change detection on the Change Detection screen.
- The Change Detection Interval is the time between polling requests to detect only changed artifacts. This defaults to 1 minute on the General (Settings) screen, but can be customized as desired.
- The Full Scan Interval is the time between polling requests to detect changed artifacts, in which all artifacts that have previously synchronized in the integration are scanned.
Note: For Planview Hub Cloud instances, we recommend setting the change detection interval to at least 1 minute and the full scan interval to at least 24 hours.
When configuring change detection settings, integration-level change detection has the highest precedence, followed by repository-level change detection, and then global change detection. This means that if integration-level change detection is configured, the integration-level setting will always be used (even if repository-level or global settings are configured). If no overrides are set, change detection will default to the global settings.
You can learn more about change detection and full scan styles in our FAQ here.
Additional Settings
Note: In general, we recommend that you do not configure the Additional Settings unless you have consulted with customer care.
Additional settings you can configure on the Repository Connection screen include:
- Connection Toggle
- Repository Query
- Event Rate Limit
- Concurrency Limit
Note: Some additional settings (i.e., Repository Query, Event Rate Limit, Concurrency Limit) will not be available to configure until the repository connection is saved.

The Connection Toggle can be used to disable individual repository connections, stopping all traffic going into a repository. Additionally, you can use this option to schedule your repository connections to be disabled during mandatory credential updates to prevent user lockout.
Learn more in the section below.
Repository Query
If you plan to utilize a repository query, select the Repository Query checkbox.
Note: Repository Queries are advanced functionality, and should only be used when you are truly unable to filter as desired using the built-in Hub functionality of Repositories, Collections, and Artifact Filtering. You can learn more about repository queries here.
Event Rate Limit
The Event Rate Limit can be used to mitigate scenarios where an external repository is temporarily receiving an excessive API call rate over short periods of time. It does this by limiting the number of events processed per minute by Hub for that repository. Events include Hub processes such as artifact retrieval, artifact update, and change detection queries. On average, an event consists of about 3-10+ API calls, but this is highly dependent on the specific repository.
When setting an Event Rate Limit, you can choose to limit:
- All events
- Only full scan events: If this is selected, only low priority events occurring during a full scan will be limited. High priority events, such as artifact updates, will continue without impact.
- Creation events: If this is selected, only events occurring during an artifact create transaction will be limited. Other events, such as artifact updates and full scans, will continue without impact.
Note that the rate set is a maximum rate; Hub may process items at a lower rate depending on the event load.
Hub's default event rate limit is applied to full scan (observe) events only, at 200 events per minute.
Note: Caution should be used when setting this value. The ideal Event Rate Limit is highly dependent on each customer's unique environment. Determining the appropriate value is best achieved through experimentation, using feedback from performance monitoring to tune the value, and making adjustments as necessary. Setting the value too low when there is a large number of projects configured in your collections and a low Change Detection Polling Interval setting can potentially cause Hub to be unable to process artifact changes.
Concurrency Limit
The Concurrency Limit is set at the Repository level, and it limits how much work Hub can do in parallel in that repository. It does this by limiting the number of concurrent tasks where the connection is used. We recommend leaving this field blank/set to the default (having no specified limit).
If you notice that Hub is placing too high a load on your repository, we recommend first modifying the Event Rate Limit. If that is insufficient, or if the source of the high server load is specifically due to having too many open connections on the external repository, the Concurrency Limit can be modified. We recommend starting with a value between 3-10 and engaging with support to determine an appropriate value for your unique environment.
Note: Caution should be used when setting this value. The ideal Concurrency Limit is highly dependent on each customer's unique environment. Determining the appropriate value is best achieved through experimentation, using feedback from performance monitoring to tune the value, and making adjustments as necessary. Setting the value too low when there is a large number of projects configured in your collections and a low Change Detection Polling Interval setting can potentially cause Hub to be unable to process artifact changes.
Understanding the Relationship Between Throttling and Concurrency
As a general rule, Throttling and Concurrency Settings should not be configured without consulting customer care, as the ideal values are highly dependent on each customer's unique environment.
When both Throttling Settings and Concurrency Limit are configured, they must be balanced to avoid congestion and performance degradation.Recommendation:
Ensure Throttling Settings allow for at least 5 times the calls per second as the Concurrency Limit.
Why is This Important?
-
Concurrency Limit controls how many tasks are executed simultaneously.
-
Throttling Settings restricts how often tasks can proceed by limiting API calls.
-
If the Throttling value is too low relative to Concurrency, requests will be in queue, leading to delays and congestion.
Example:

Toggling your Repository Connection
To enable or disable a repository connection, click the toggle on the Repositories screen or on the Repository Connection screen.

On the Repository Connection screen, you can also schedule a repository connection to be disabled on a certain date or time.
Note: The entered date/time should be in the following format MMM DD, YYYY hh:mm A (e.g., Apr 01, 2022 05:00 PM)

If you choose to disable a repository connection, a pop-up will appear confirming you'd like to proceed.
Once confirmed, all elements associated with the repository connection will be disabled until the connection is enabled.
Note: This pop-up will not appear if scheduling the repository connection to be disabled.

Once the connection has been disabled, the repository must be up and running to enable the connection again. If not, you'll see an error message at the bottom of the screen.
Testing your Repository Connection
To test your repository connection, click the Test Connection button on the Repository Connection screen, or click the icon on the Repositories screen.


You will see a success or failure message to confirm whether Hub was able to connect to your repository.

When your repository fails to connect, you will also see an error message at the bottom of the screen with additional details on the source of the failure.

Viewing Associated Configuration Elements
To view associated configuration elements (such as collections or integrations that utilize the repository connection you are viewing), click the Associated Elements tag in the upper right corner of the screen.

