
Upgrading
This page is not applicable to Planview Hub Cloud.
Notes
When upgrading from a Hub version older than 23.4:
-
First upgrade to 26.1 as a checkpoint release, then proceed with any further upgrades. This ensures that Keycloak user management data is properly persisted and migrated.
When upgrading from a version earlier than 23.2.0 with Keycloak customization:
- Refer to the properties table here to update the Keycloak Jboss properties.
When upgrading from earlier versions to 21.1.x:
- As 21.1.x is a checkpoint release, be aware that you must upgrade to version 21.1.x before upgrading to a later version.
- If you do not follow instructions here, you may encounter issues with artifact association management that prevent you from viewing and deleting artifact pairs.
- Note: Be aware that upgrading to 21.1.x from an earlier version may take longer than usual.
When upgrading from earlier versions to 24.4.x:
- Keycloak and hub property may need to get updated for production instances. Refer to notable changes here to update the Keycloak related settings and properties.
- Enhanced authentication measures have been implemented since 24.4. All external inbound API calls must utilize a Bearer token generated by Keycloak. Follow steps here to automate Hub API with your internal system.
Upgrading
Before you Upgrade
Before upgrading Planview Hub, be sure to do the following:
- Shut down Hub and afterwards follow the backup instructions. The first time that Hub restarts after an upgrade, the internal database will be migrated to the new version and it will no longer be possible to return to the prior version without the backup.
- Additionally, ensure that backups are made of the Tomcat, Catalina, and Keycloak configuration files that have been customized. The upgrade process will overwrite these configuration files and customizations will need to be re-applied.
- When Hub is upgraded, a service-downtime for the Hub service is required in order to upgrade the database. Note that a second instance cannot be running while the first instance is attempting to upgrade the database.
- To understand implications of Hub downtime, please see here.
- Please review the release notes for all Planview Hub versions that have been released after the version you are upgrading from. Ensure that any upgrade steps outlined in the release notes are followed.
Windows
-
Ensure a copy of the old installer is available in case a roll-back is required.
-
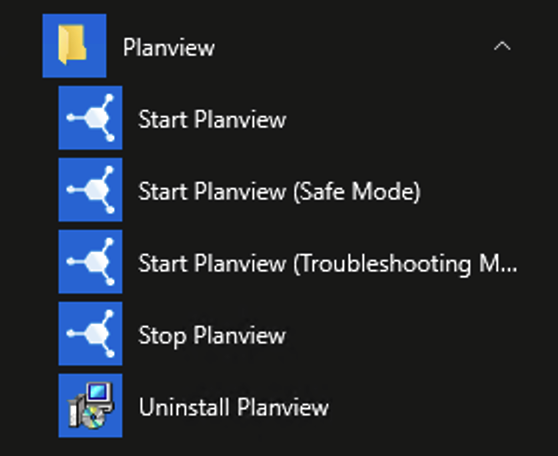
Click the Stop Planview button on your desktop, and make sure services are stopped:
-
-
Backup as described here.
-
Run the installer of the new version of Planview Hub.
-
Re-apply Tomcat/Keycloak configurations.
- Upgrading from versions earlier than 20.4:
- Apply all customizations done in (
<install-location>/container/conf/server.xml) to thetasktop-hub.propertiesfile. More details about translating configurations fromserver.xmlto the new properties file can be found here.
- Apply all customizations done in (
- Upgrading from versions earlier than 21.1:
- If any configuration was applied to
exclusion-pathsproperty in theweb.xml, it needs to be migrated to the tasktop-hub.properties file. See the following example:- Copy
/auth/realms/Tasktop/broker/samland/auth/realms/Tasktop/login-actionsfrom theweb.xmlfile. -
<filter>
    <filter-name>CORSFilter</filter-name>
    <filter-class>com.tasktop.servlet.cors.CorsHeaderScrutinyServletFilter</filter-class>
    <init-param>
        <description>A comma or whitespace separated list of paths to exclude from the CORSFilter</description>
        <param-name>exclusion-paths</param-name>
        <param-value>
            /auth/realms/Tasktop/broker/saml
            /auth/realms/Tasktop/login-actions
        </param-value>
    </init-param>
</filter>
Place them in the
tasktop-hub.propertiesfile.-
# A list of paths that will be excluded from the CORS verification.
# This list is separated by comma. Example: /first-path,/second-path
hub.security.cors.exclusionPaths=/auth/realms/Tasktop/broker/saml,/auth/realms/Tasktop/login-actions
Upgrading from version 20.4 and later:
- No action needs to be taken. Tomcat/Keycloak configurations will be applied automatically.
-
- Copy
- If any configuration was applied to
- Upgrading from versions earlier than 20.4:
-
If you have connected to the Microsoft Azure DevOps (formerly TFS) repository in the past:
-
Remove all files and folders, except for the com.tasktop files, under
<install-location>\Tasktop\connectors\microsoft-tfsand<program-data>\Tasktop\libraries\microsoft-tfs. Note that the parent folders (marked in red here) for each location could differ if they were customized during original installation. -
Once Planview Hub is started up again, navigate to the Azure DevOps repository connection screen. There, you will see instructions on how to provide the updated SDK and CLC files to Planview Hub by adding them to the connector-requirements directory on the machine that hosts Planview Hub.
-
Restart Planview Hub after uploading the files.
-
-
Start Planview.
-
Navigate to the Activity screen.
- Review the Background Jobs tab to review status on Integration Data Migration jobs.
- Resolve any associated issues shown here. These issues will need to be resolved and their associated data migration jobs completed before the affected integrations can run (unrelated integrations should continue to process).
- Once the associated issue is resolved, failed Integration Data Migration processes can be prioritized using the 'prioritize' button on the Background Jobs tab. Ensure that these jobs complete successfully.
- Review the Issues tab to resolve any configuration issues.
- If there are configuration migration issues, those will be shown in the Issues tab. They will block affected integrations from running (but unrelated integrations should continue to process). Once the source of the issue is resolved, configuration migration issues can be retried using the 'retry' button on the Issues tab.
- If using Azure DevOps, you may see issues related to unsatisfied connector requirements since you may need to upload new versions of the Azure DevOps SDK and CLC zip files.
- Review the Errors tab to resolve any errors related to specific integration activities.
- Once all issues and errors are resolved, the internal upgrade will complete and information will begin processing for those affected integrations.
- Review the Background Jobs tab to review status on Integration Data Migration jobs.
- If you are upgrading from a version earlier than 19.4.1, please see details regarding the Troubleshooting User here.
Linux
-
Shut down Hub and Keycloak.
-
Back up as described here.
-
Run the Linux installer. Follow the instructions on the Installation page.
-
Re-apply the Tomcat configuration.
- Upgrading from versions earlier than 20.4:
- Apply all customizations done in (
<install-location>/container/conf/server.xml) to thetasktop-hub.propertiesfile. More details about translating configurations fromserver.xmlto the properties file can be found here.
- Apply all customizations done in (
- Upgrading from versions earlier than 21.1:
- If any configuration was applied to
exclusion-pathsproperty inweb.xml, it will need to be migrated to thetasktop-hub.propertiesfile. See the following example:- Copy
/auth/realms/Tasktop/broker/samland/auth/realms/Tasktop/login-actionsfrom theweb.xmlfile:-
<filter>
    <filter-name>CORSFilter</filter-name>
    <filter-class>com.tasktop.servlet.cors.CorsHeaderScrutinyServletFilter</filter-class>
    <init-param>
        <description>A comma or whitespace separated list of paths to exclude from the CORSFilter</description>
        <param-name>exclusion-paths</param-name>
        <param-value>
            /auth/realms/Tasktop/broker/saml
            /auth/realms/Tasktop/login-actions
        </param-value>
    </init-param>
</filter>
-
- Place them in the tasktop-hub.properties file:
-
# A list of paths that will be excluded from the CORS verification.
# This list is separated by comma. Example: /first-path,/second-path
hub.security.cors.exclusionPaths=/auth/realms/Tasktop/broker/saml,/auth/realms/Tasktop/login-actions
-
- Copy
- If any configuration was applied to
- Upgrading from version 20.4 and later:
- If any customization has been applied to the
tasktop-hub.propertiesfile, copy it into the new installation folder<install-location>/tasktop.
- If any customization has been applied to the
- Upgrading from versions earlier than 20.4:
-
Restore Keycloak (user management) configuration. Note that keycloak's database and Hub's database are separate
-
Restore the keycloak database to
<install-location>/keycloak/data/h2/keycloak.h2.dbafter installation.-
Note: If upgrading from 23.1 or earlier, the database used to be found in
<install-location>/keycloak/standalone/data/keycloak.h2.db.
-
-
-
If you have connected to the Microsoft TFS repository in the past:
-
Remove all files and folders, except for the com.tasktop files, under
<install-location>\Tasktop\libraries\microsoft-tfsand<install-location>\Tasktop\connectors\microsoft-tfs. -
Once Hub is started up again, navigate to the TFS repository connection screen. There, you will see instructions on how to provide the updated SDK and CLC files to Hub by adding them to the connector-requirements directory on the machine that hosts Hub.
-
Restart Hub after uploading the files.
-
-
Start Hub.
- Navigate to the Activity screen.
- Review the Background Jobs tab to review status on Integration Data Migration jobs.
- Resolve any associated issues shown here. These issues will need to be resolved and their associated data migration jobs completed before the affected integrations can run (unrelated integrations should continue to process).
- Once the associated issue is resolved, failed Integration Data Migration processes can be prioritized using the 'prioritize' button on the Background Jobs tab. Ensure that these jobs complete successfully.
- Review the Issues tab to resolve any configuration issues.
- If there are configuration migration issues, those will be shown in the Issues tab. They will block affected integrations from running (but unrelated integrations should continue to process). Once the source of the issue is resolved, configuration migration issues can be retried using the 'retry' button on the Issues tab.
- Review the Errors tab to resolve any errors related to specific integration activities.
- Once all issues and errors are resolved, the internal upgrade will complete and information will begin processing for those affected integrations.
- Review the Background Jobs tab to review status on Integration Data Migration jobs.
- If you are upgrading from a version earlier than 19.4.1, please see details regarding the Troubleshooting User here.
Upgrade from Backup File
This feature is only available when upgrading from Planview Hub versions 20.1 and later. To utilize this feature, please see the section below.
To restore Hub to a previous version in cases where integrations were resumed individually during an upgrade, you must use the upgrade backup file available on the Advanced Configuration screen. The downloaded data in the file corresponds to artifacts that may have been modified when migrations were still running to ensure artifact updates aren't duplicated when restoring.
Note: You must download the backup file from your Planview Hub instance before beginning the steps to restore.
To use this feature, you will first need to download the upgrade backup file. This file can be downloaded on the Advanced Configuration screen.

After clicking Download, the following message will appear:
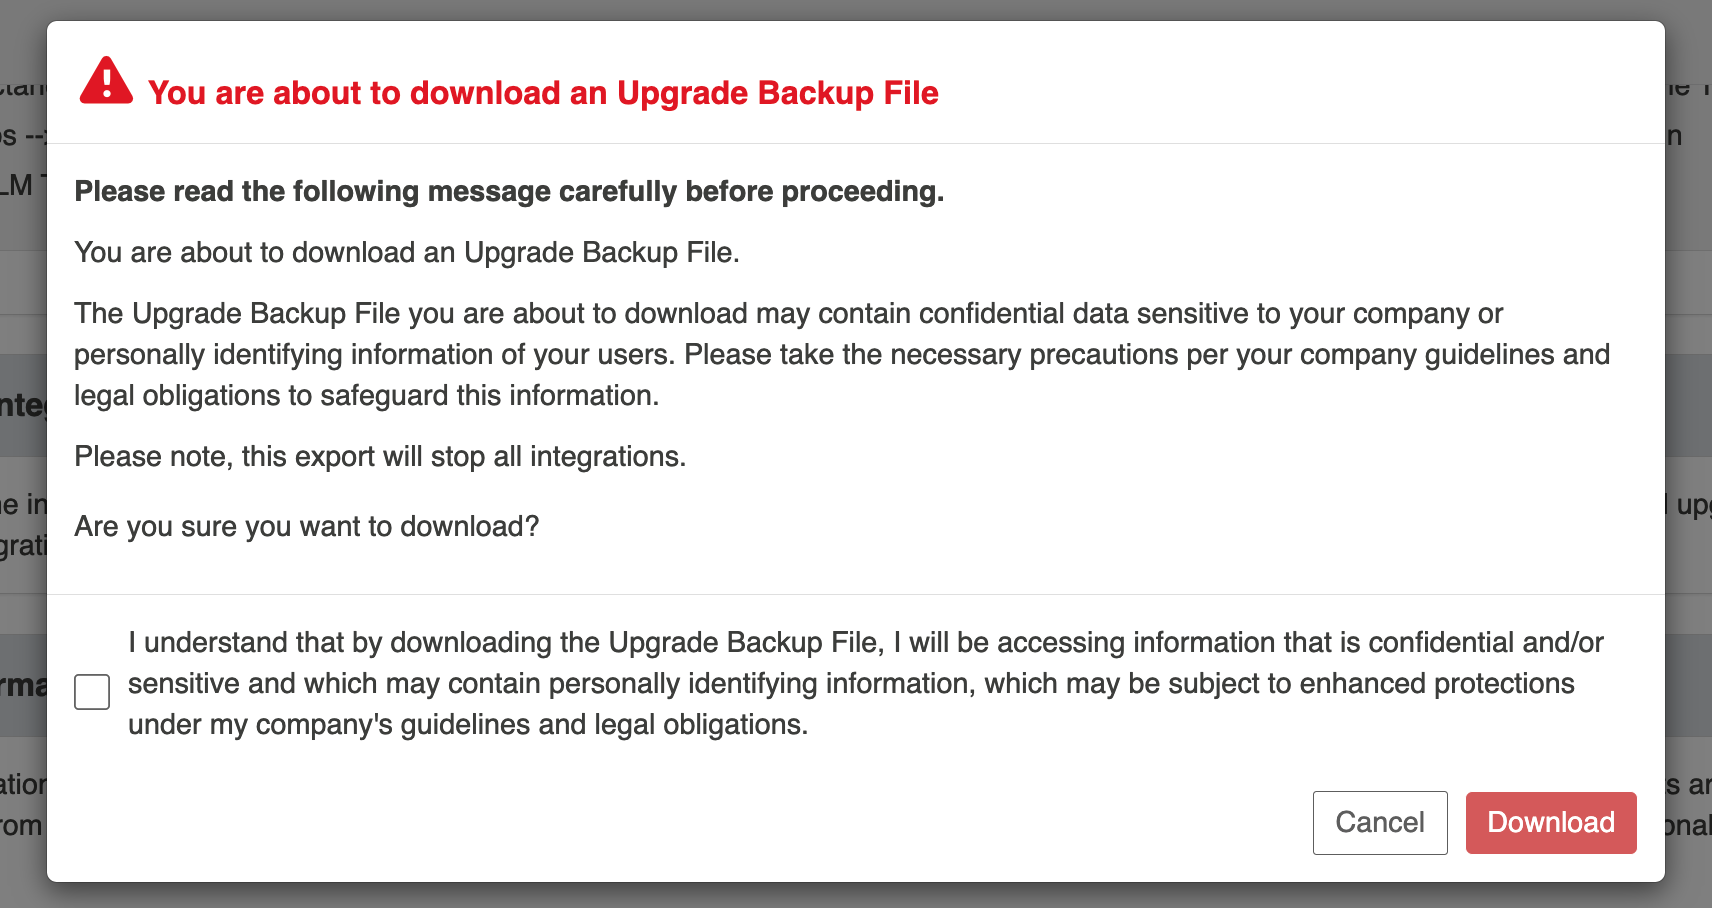
Once the file has been downloaded, you will need to restore Hub to the prior version. Please see here for more details on how to restore to a prior version.
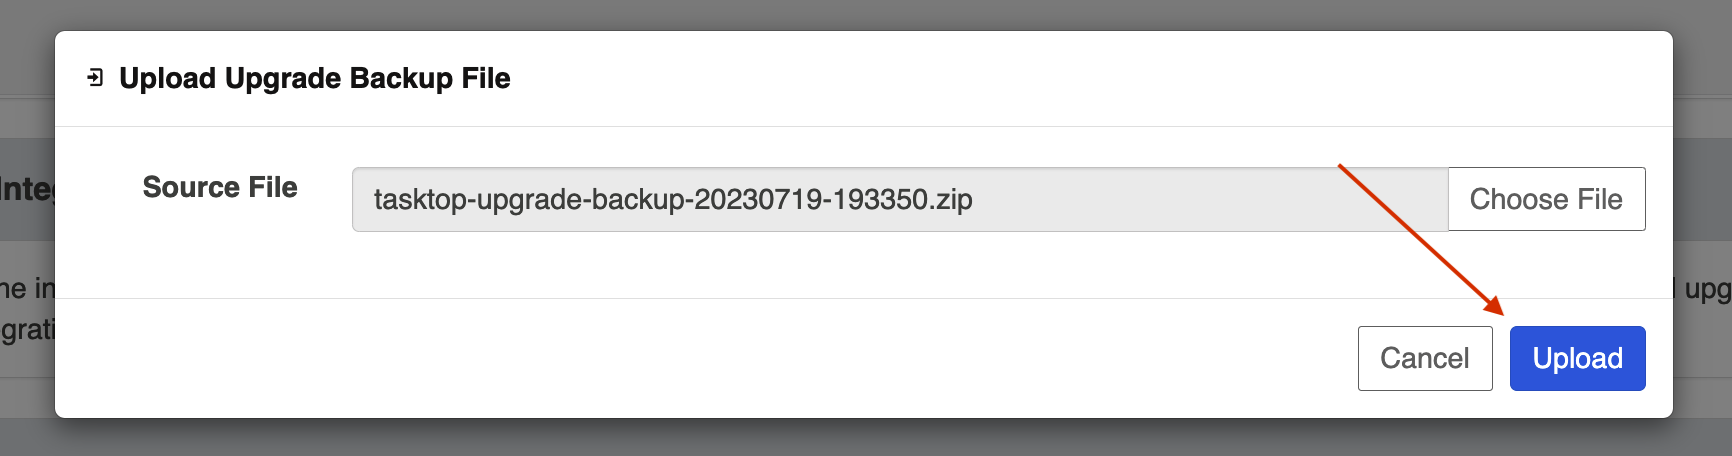
After restoring to the earlier version, you can then select the backup file you would like to import and click Upload.
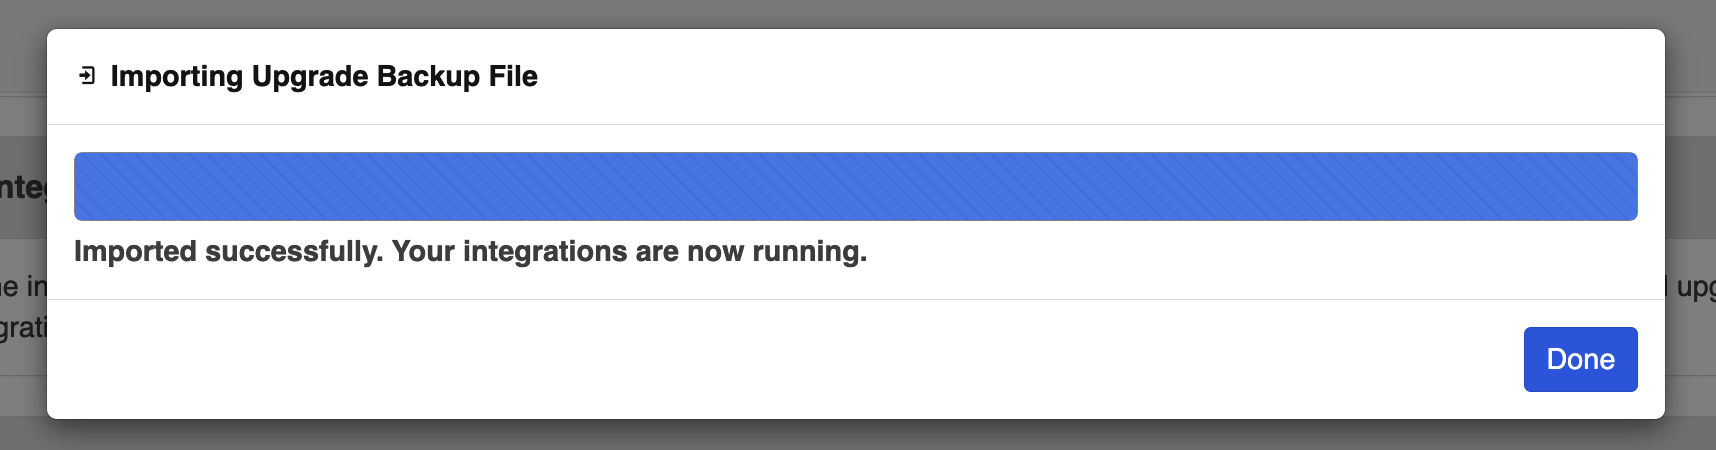
If the backup file is imported successfully, the following message will appear and your integrations will resume.
Note: If the backup file fails to upload, you will need to contact customer care for further assistance.