
How do I configure Hub to Hub client access?
Last Updated: | Applicable Hub Versions: 24.3 and later
Answer
Before using the Hub to Hub feature, the Satellite Hub system administrator should:
- Request admin access to the Keycloak Admin Console of your Hub Cloud instance through the Planview Support team
- PlanviewLinkBridgeUser is required prior to creating HubtoHub Client. Follow create the PlanviewLinkBridgeUser role and map a client to this role if the PlanviewLinkBridgeUser role is not present from your User Admin view.
See the instructions below for how to create the client and map the PlanviewLinkBridgeUser role to it.
Login to Keycloak Admin Console through https://[hub-cloud-url]/auth using a user with admin access.

Select Manage realms from the top-left menu once logged in.

Select Tasktop realm

Select Clients on the sidebar and click Create client.

In the General settings section of create client view, configure the client ID (e.g., “hubtohub”)

In the Capability config section:
-
Toggle Client authentication on.
-
Under Authentication flow, enable the following options:
-
Standard flow
-
Direct access grants
-
Service accounts roles
-

In the Login settings section:
-
Configure the Home URL using the https://<subdomain>.tasktop.net of your Hub Cloud instance.
- Set Valid redirect URLs to: /*

Click Save will create a new Client with the ID you provided. You can find the new client from the Clients list.

Select the created client from the Clients list, then go to the Service accounts roles tab.

Click the username service-account-<client ID> to manage detail and group mappings.

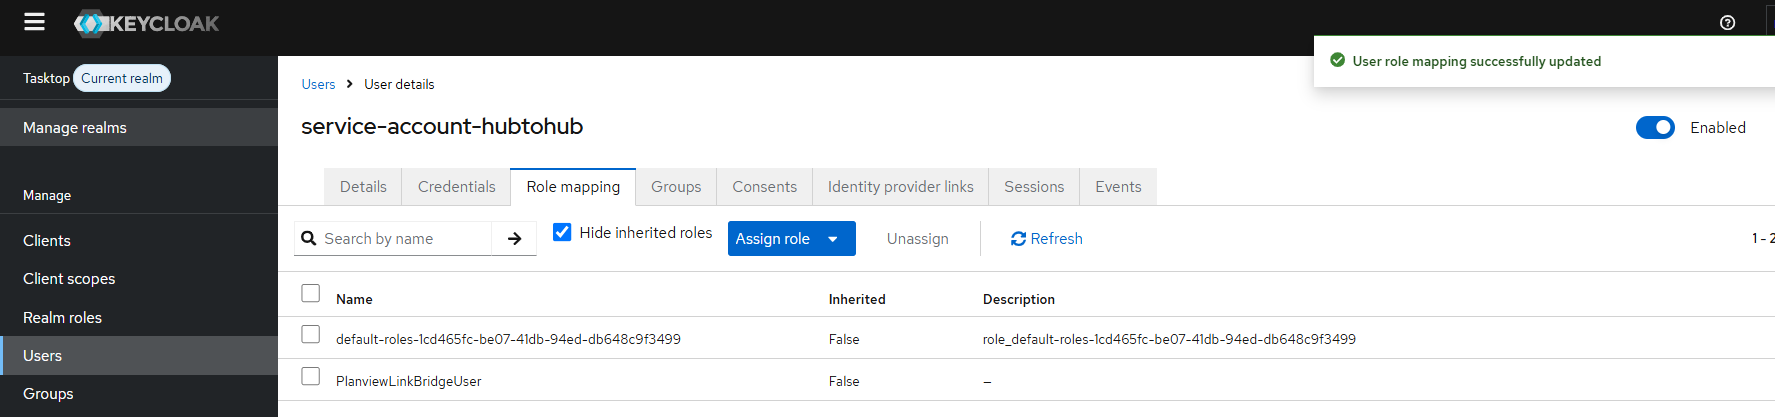
In the user details, click the Role mapping tab then from the Assign role dropdown, select Realm roles.

Select PlanviewLinkBridgeUser from the list of realm roles and click Assign.

PlanviewLinkBridgeUser should now appear in the list of roles for the service-account-<client ID> user.
The service account client for Hub-to-Hub connectivity is now configured.