
Tasktop Customer Portal
Getting Started
Creating an Account
Before you can get started with the Tasktop Customer Portal, you will need to create an account.
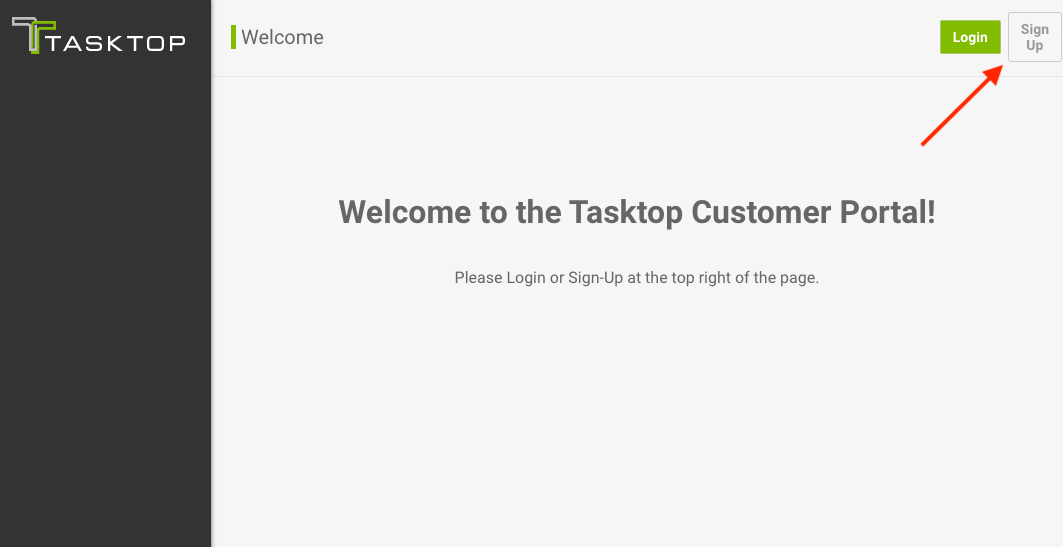
To create an account, navigate to the Tasktop Customer Portal and click Sign Up in the top right corner of the screen.
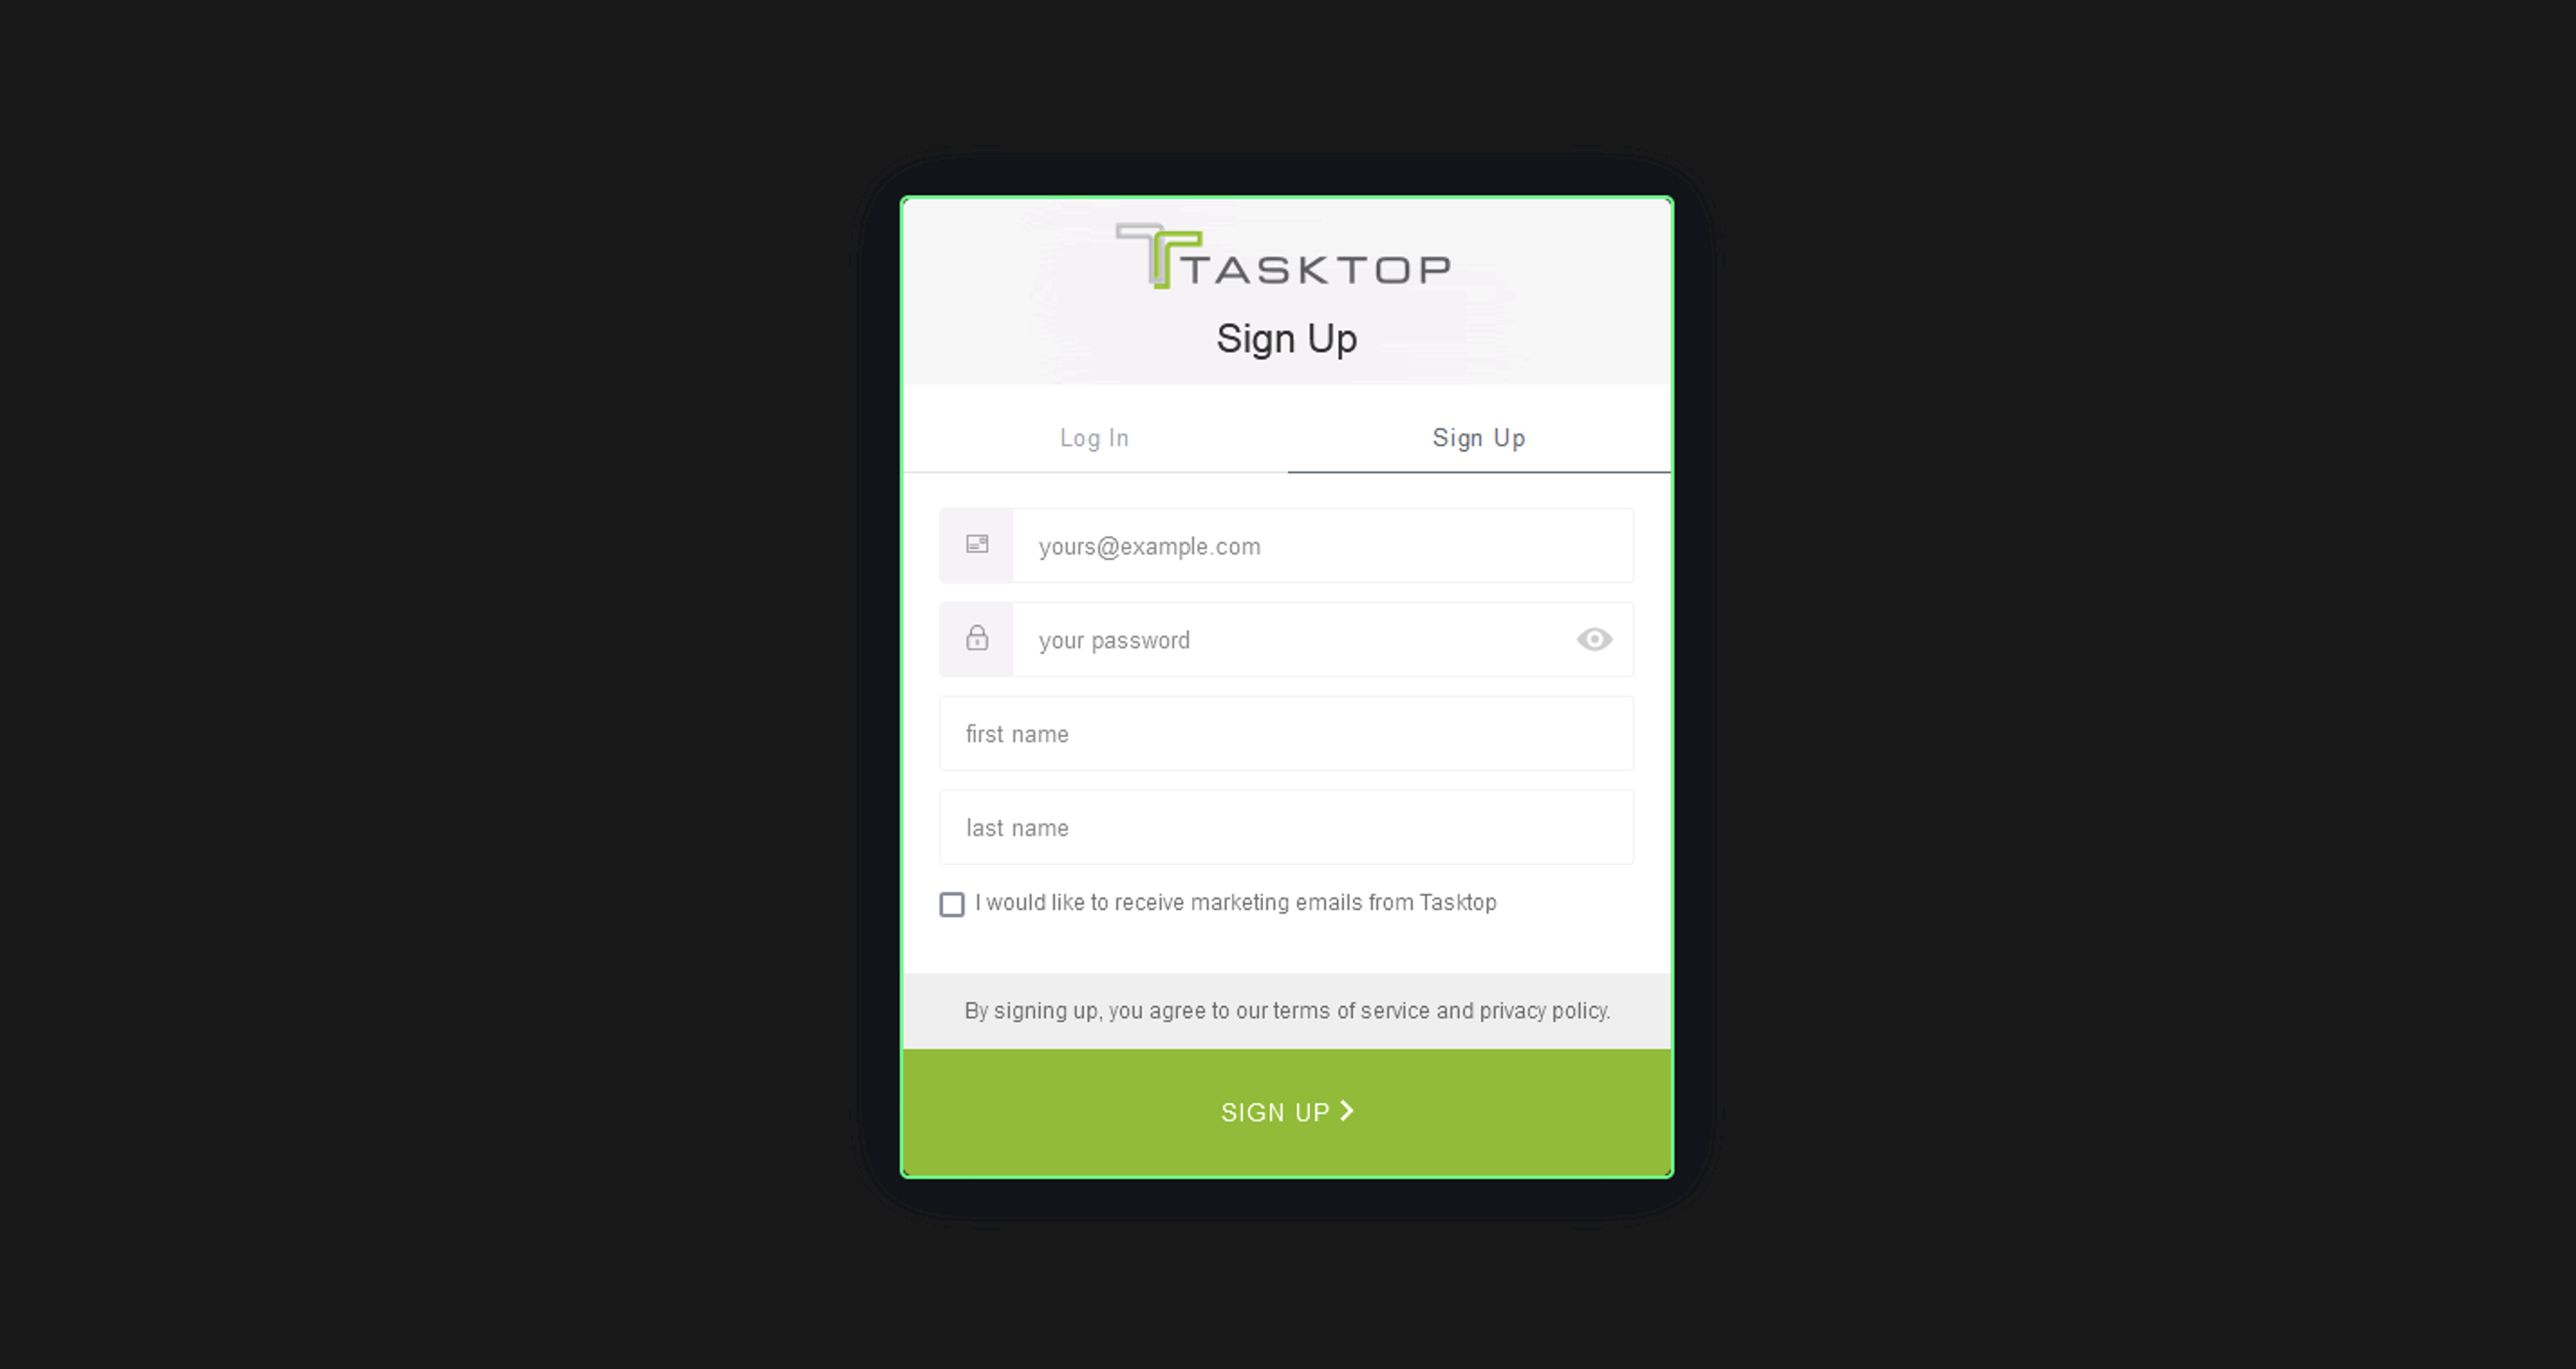
This will bring you to the Sign-Up screen. To sign up for an account, you will need to enter the following information:
-
First Name
-
Last Name
-
Email Address
-
Password
Note: You can also select if you would like to receive marketing emails from Tasktop by checking the checkbox.
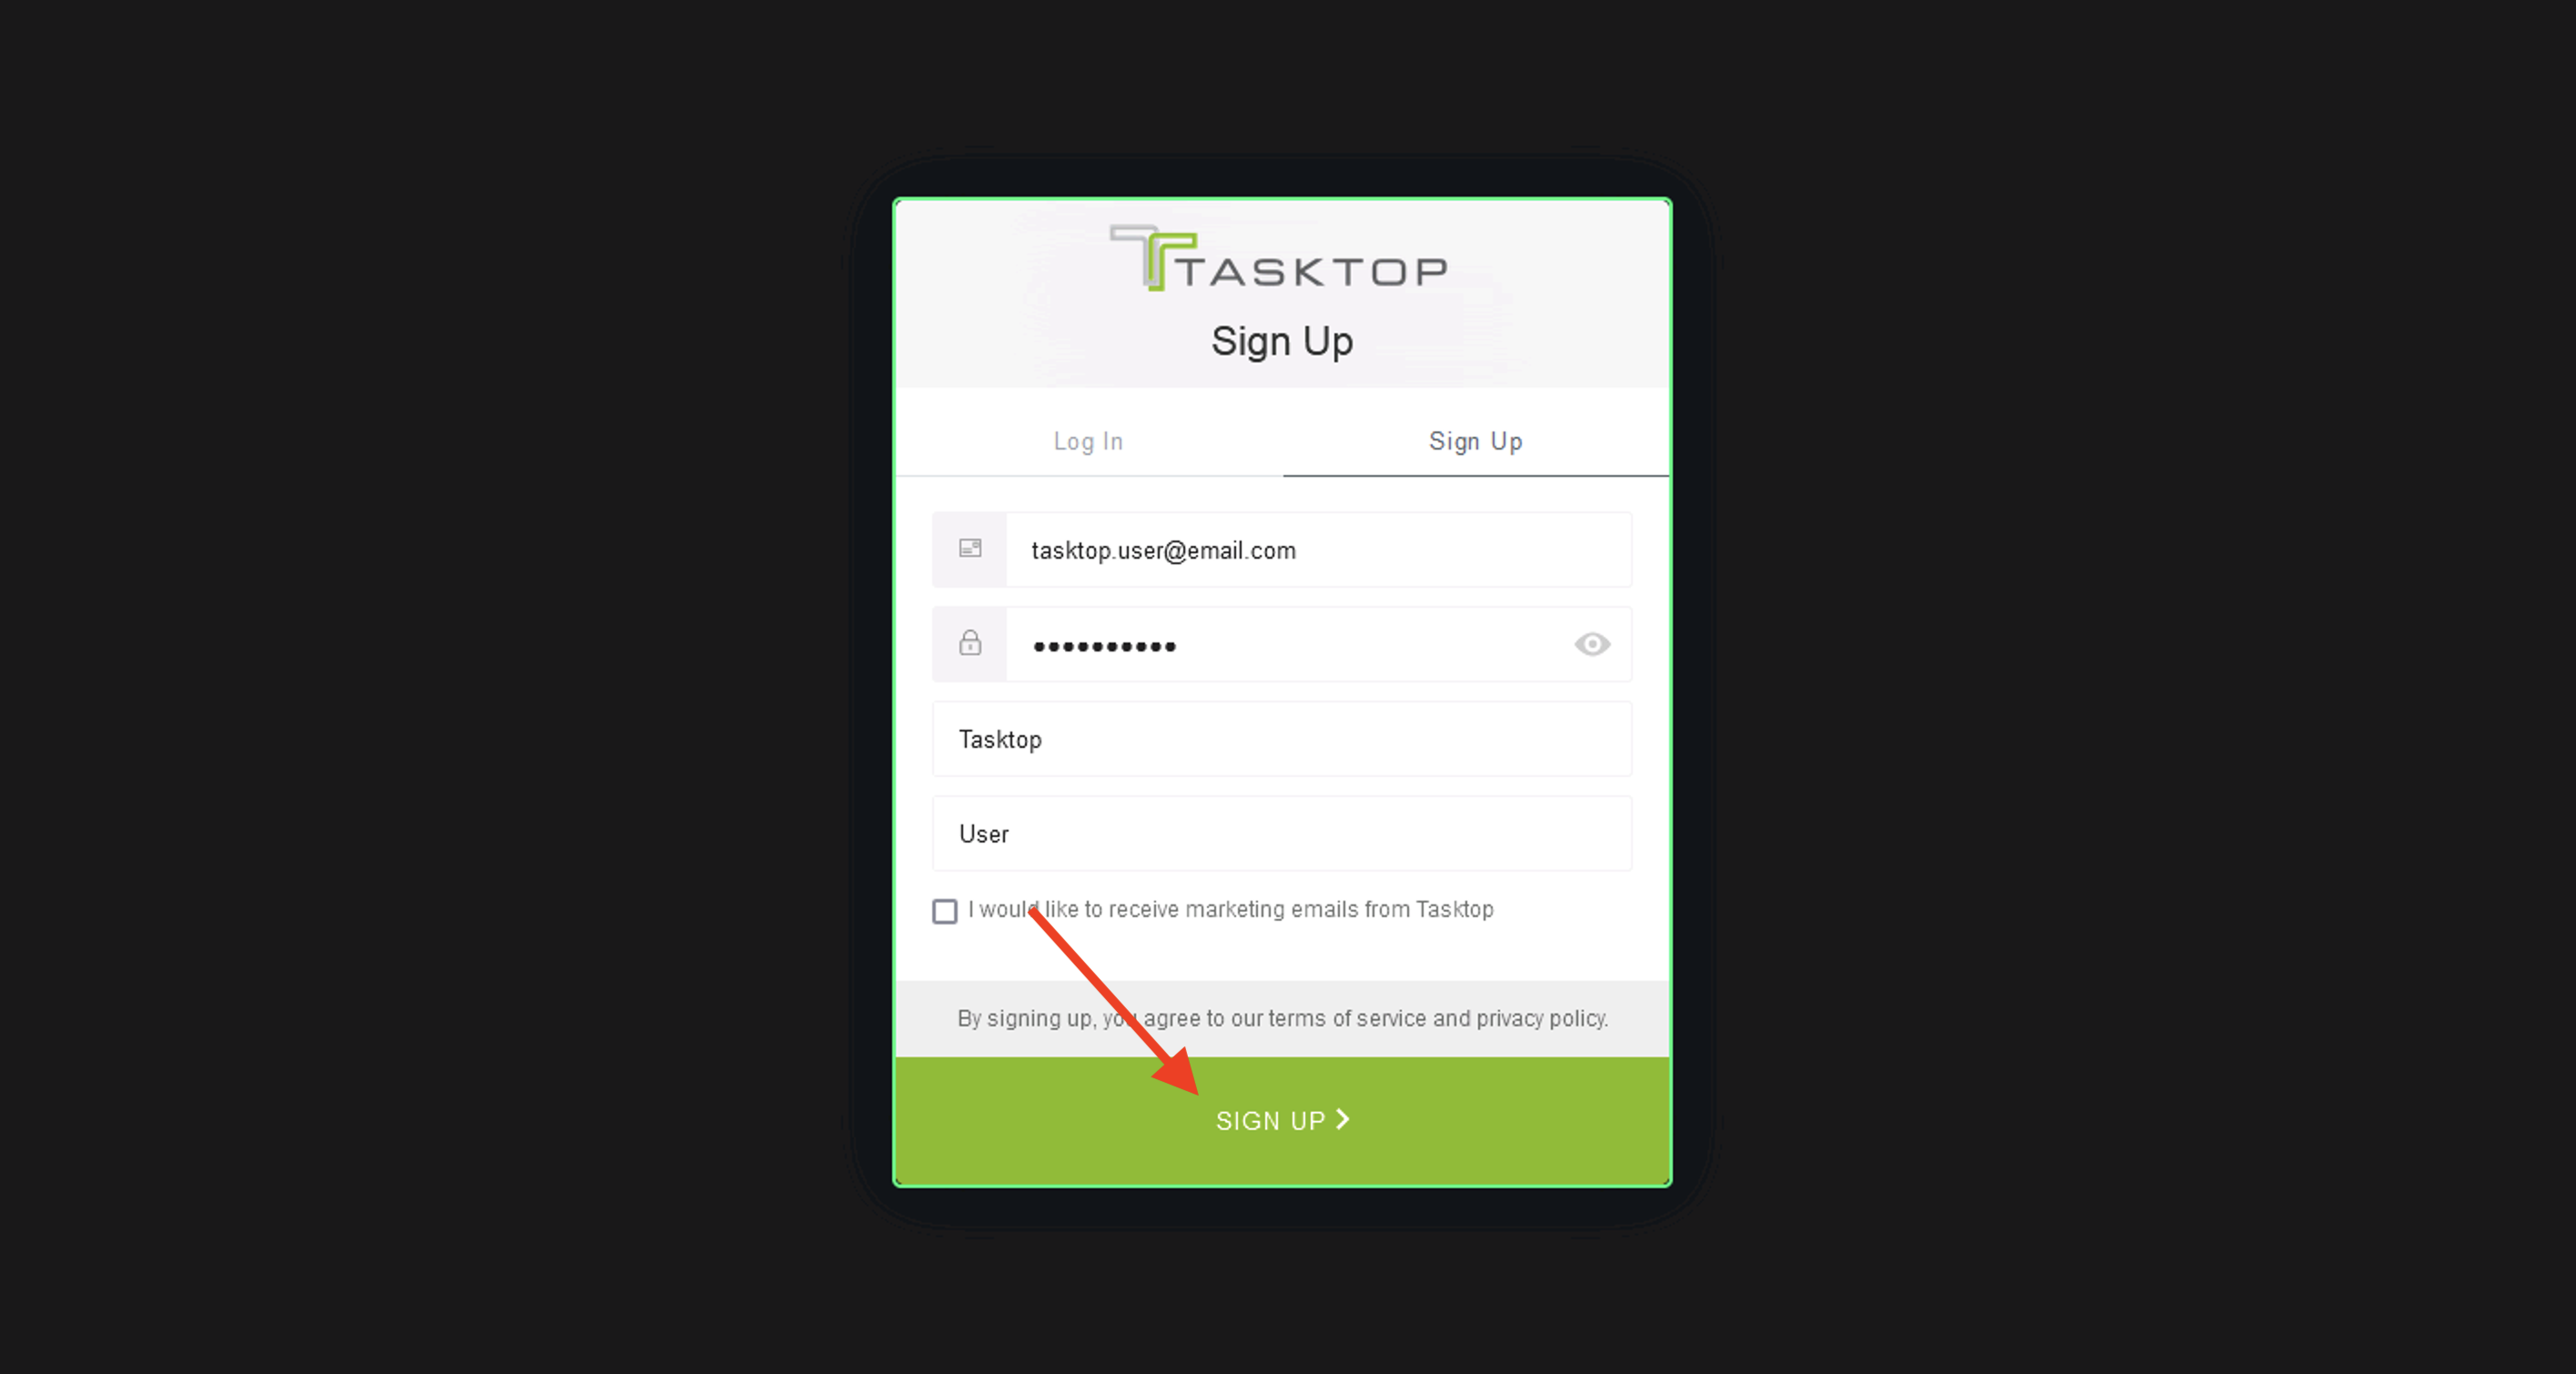
After you complete the form, click Sign Up to register your account. You will then receive an email asking you to verify your email address.
Note: This step is required to log in and interact with the customer portal.
Logging In to your Account
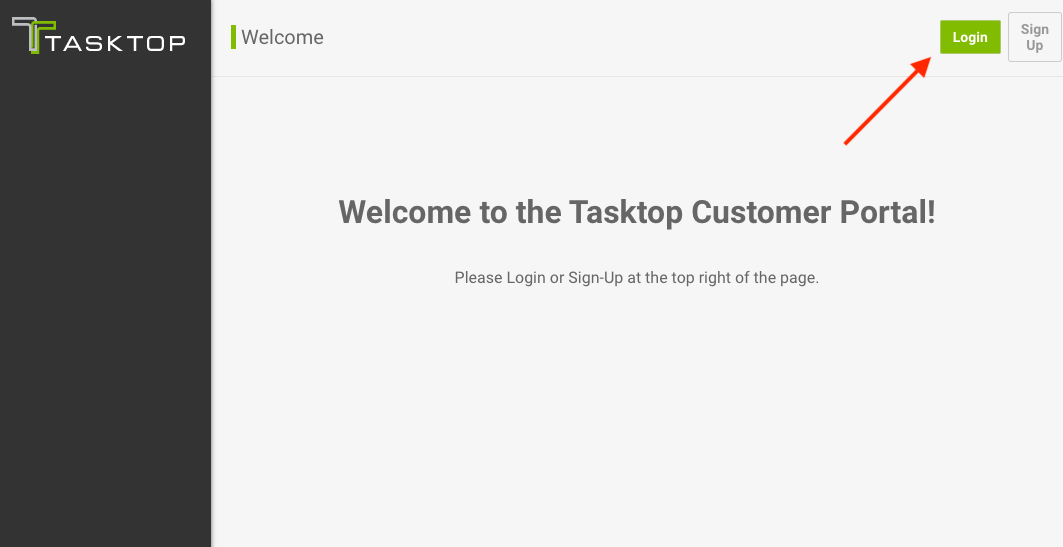
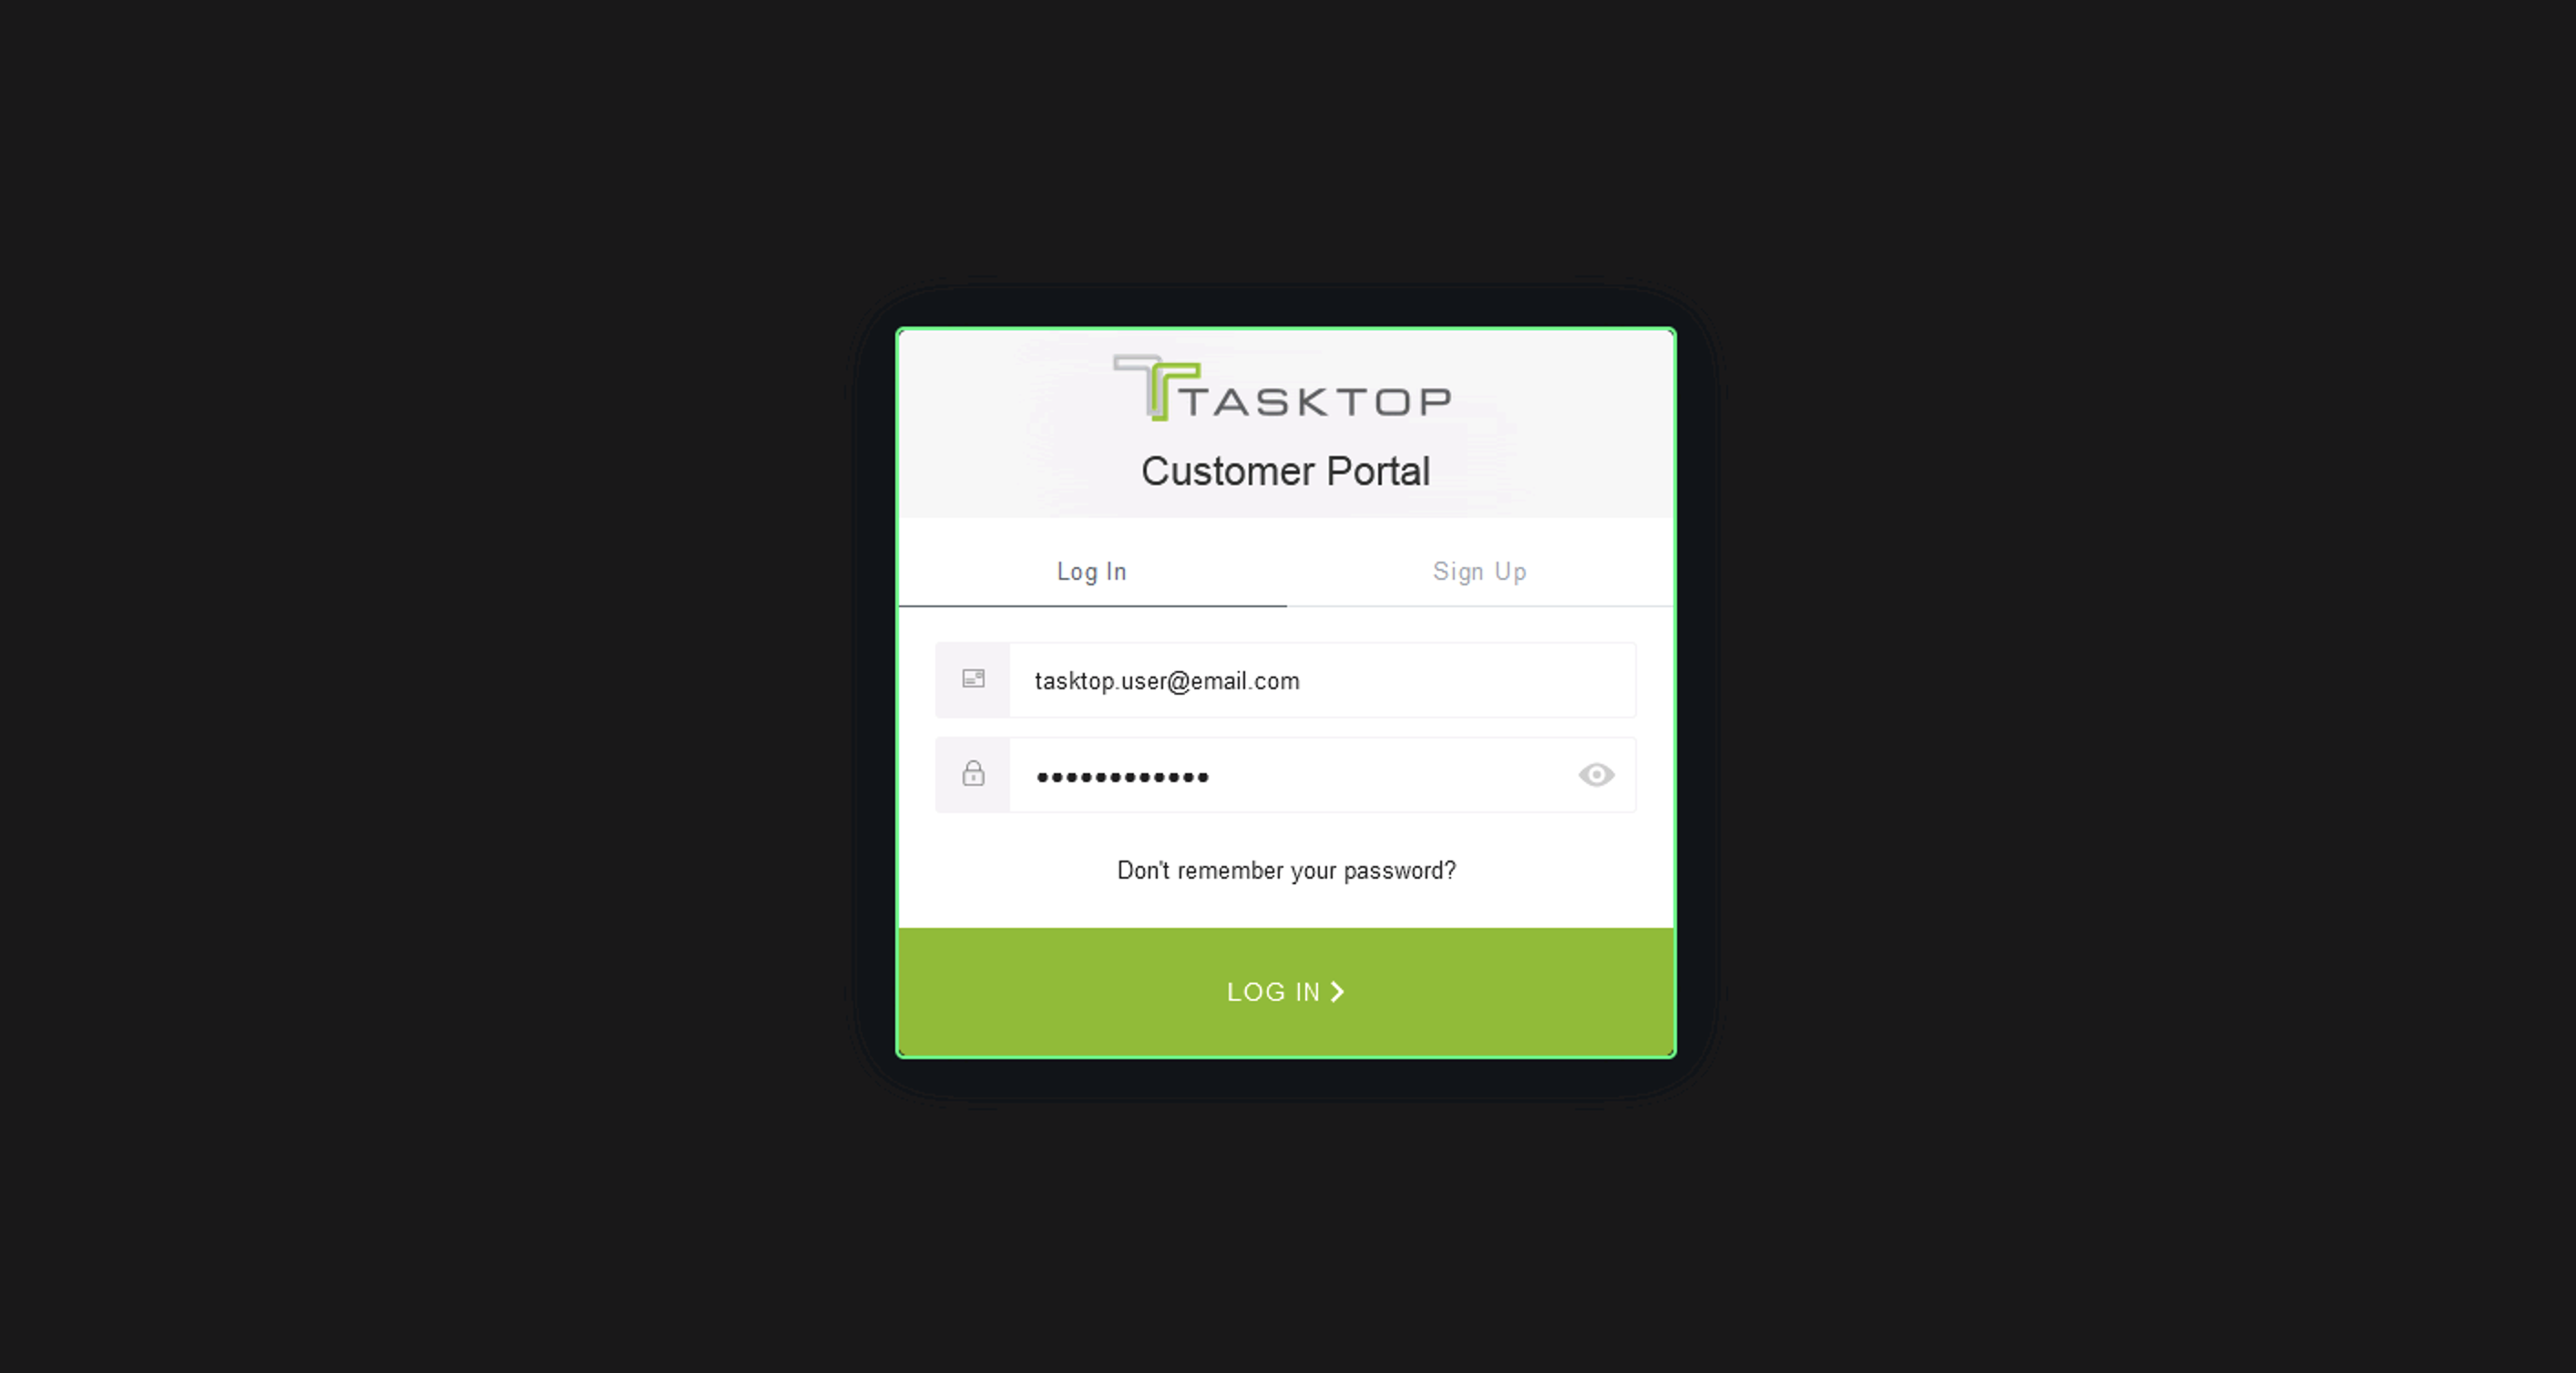
Once you have created an account, you can log in by navigating to the Tasktop Customer Portal and clicking Login on the top right corner of the screen.
This will bring you to the Log In screen where you can login to your verified account.
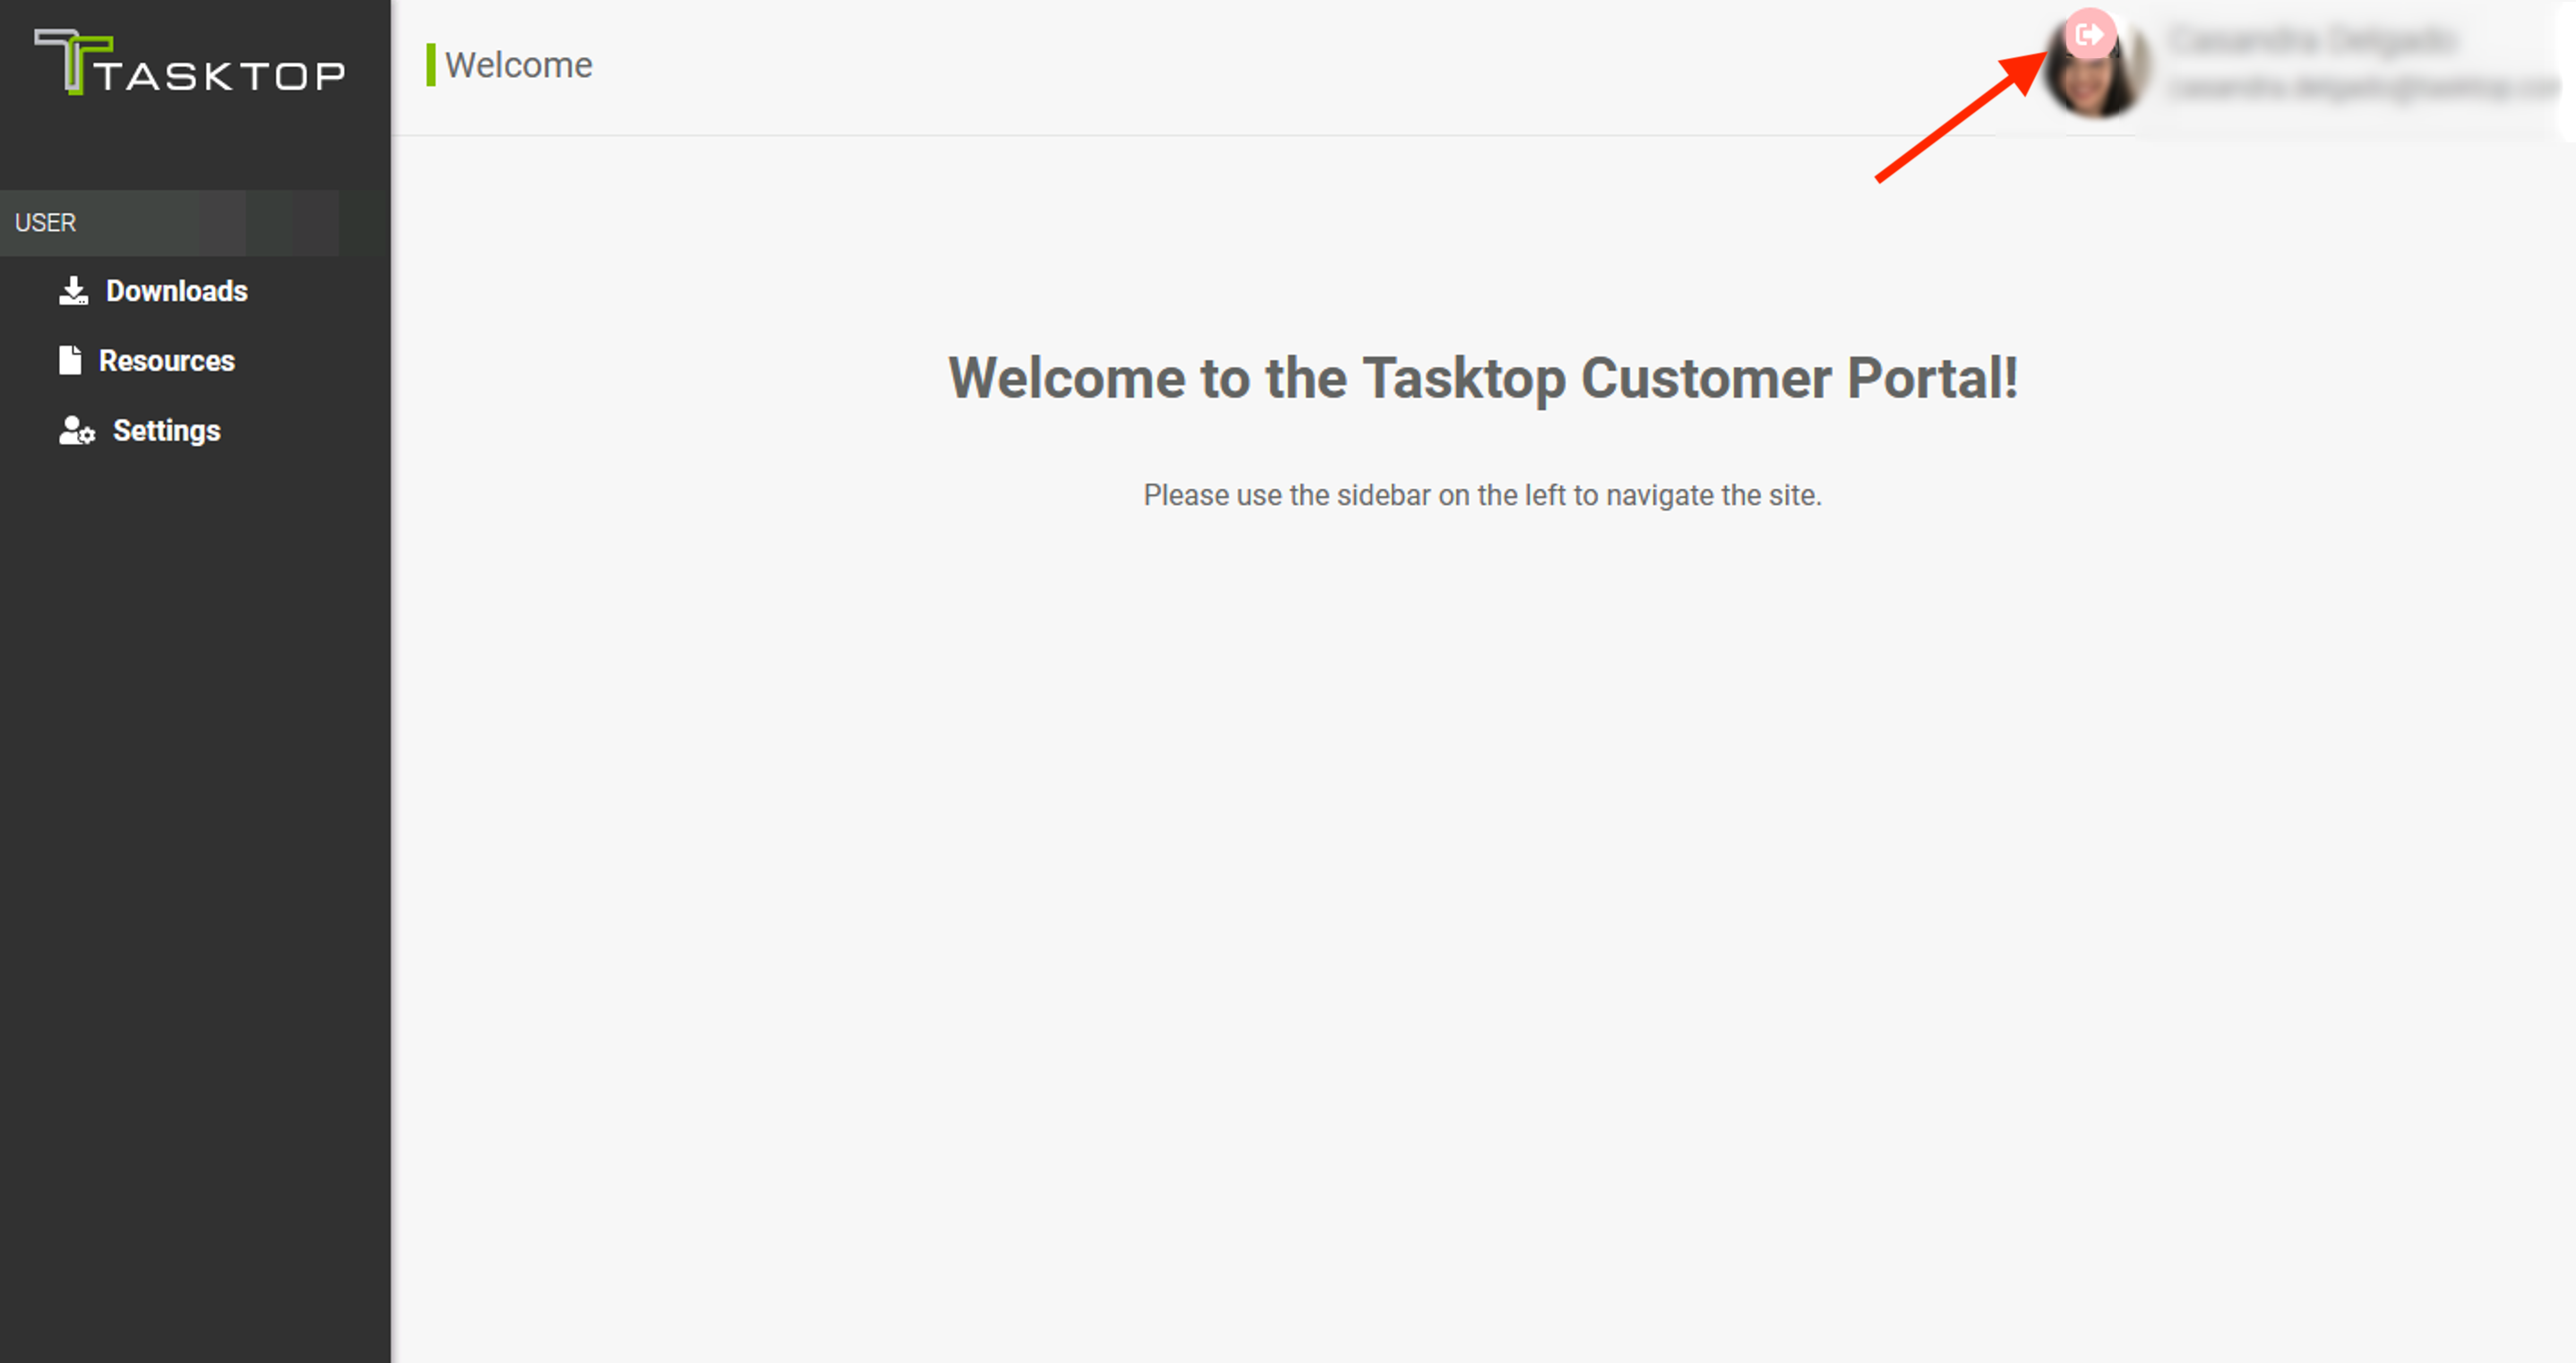
Logging Out of your Account
To log out of the customer portal, click the Log Out button located next to your user profile icon.
User Management
In the User section, you can download Tasktop products, gain access to premium content, and update your account settings.
The User section contains the following subsections:
- Downloads
- Resources
- Settings
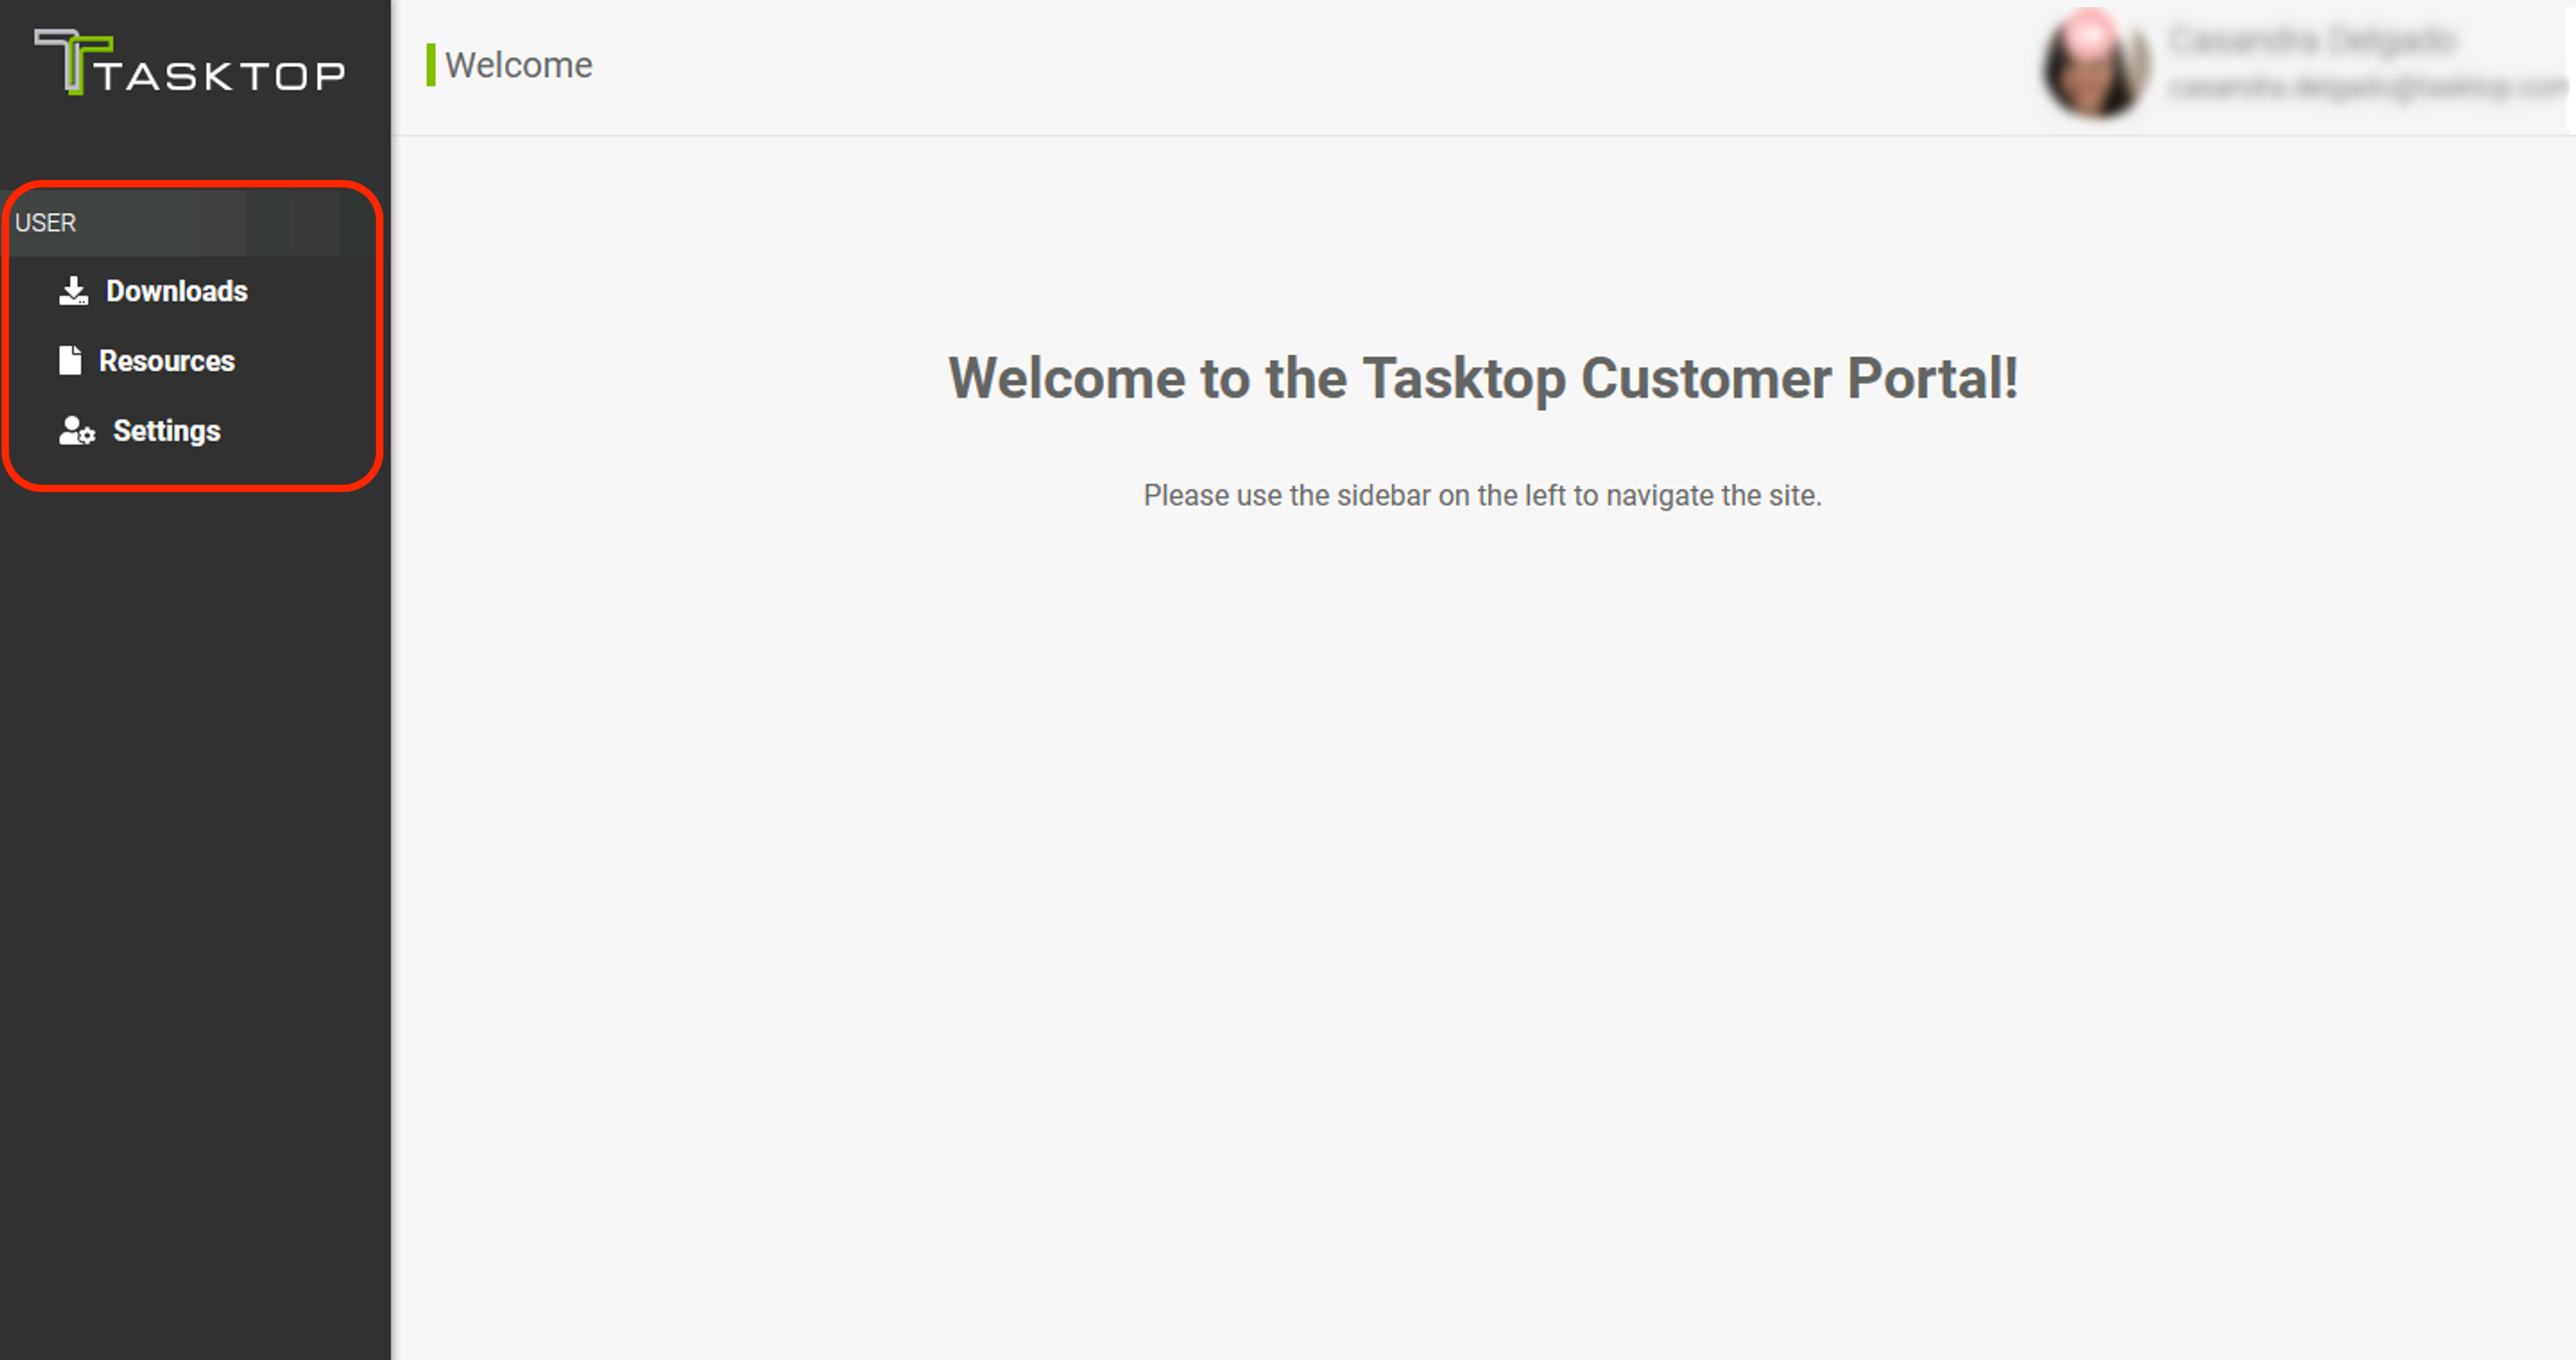
You can learn more about each section below.
Downloads
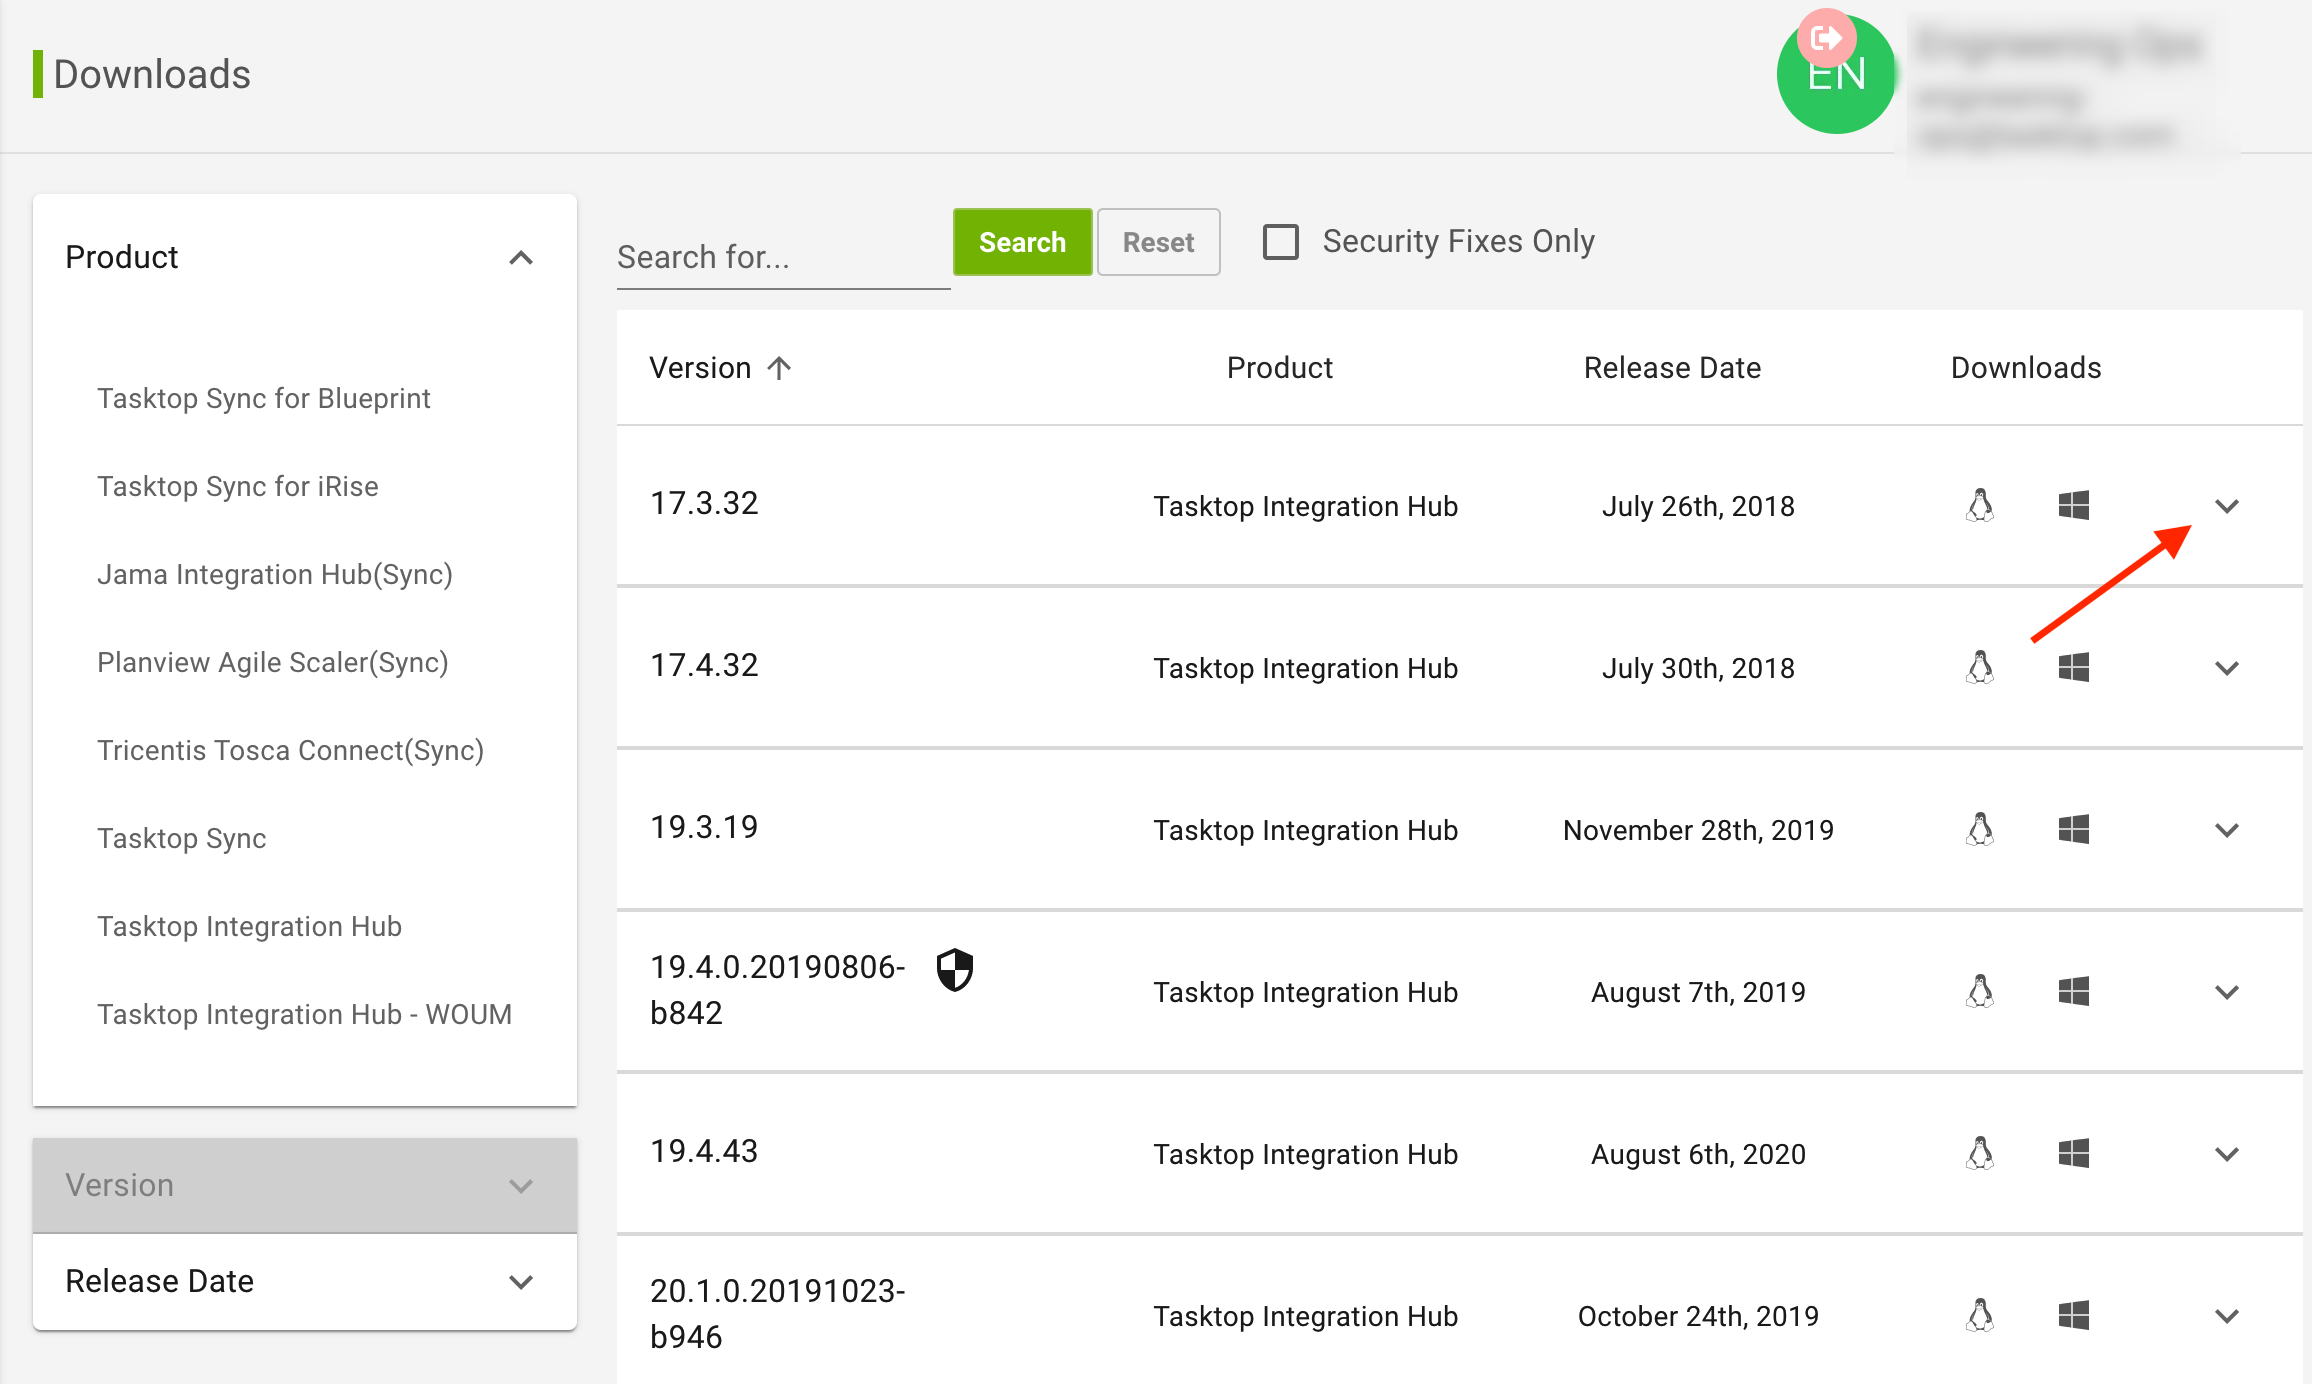
The Downloads screen provides you with a list of all of the Tasktop products and versions you have access to.
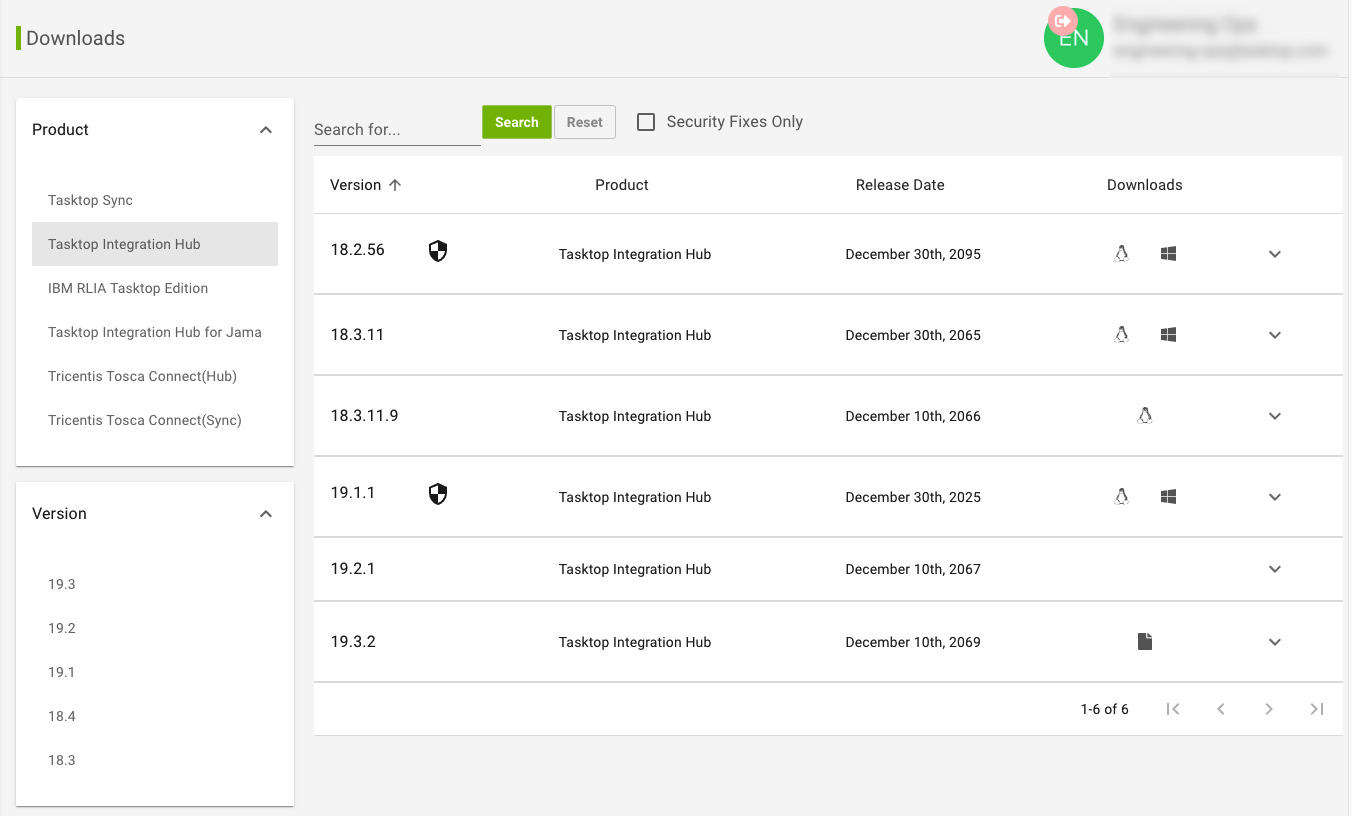
In the Downloads table, you'll see basic information on each download, such as the version, product, release date, and download links.
 .
.
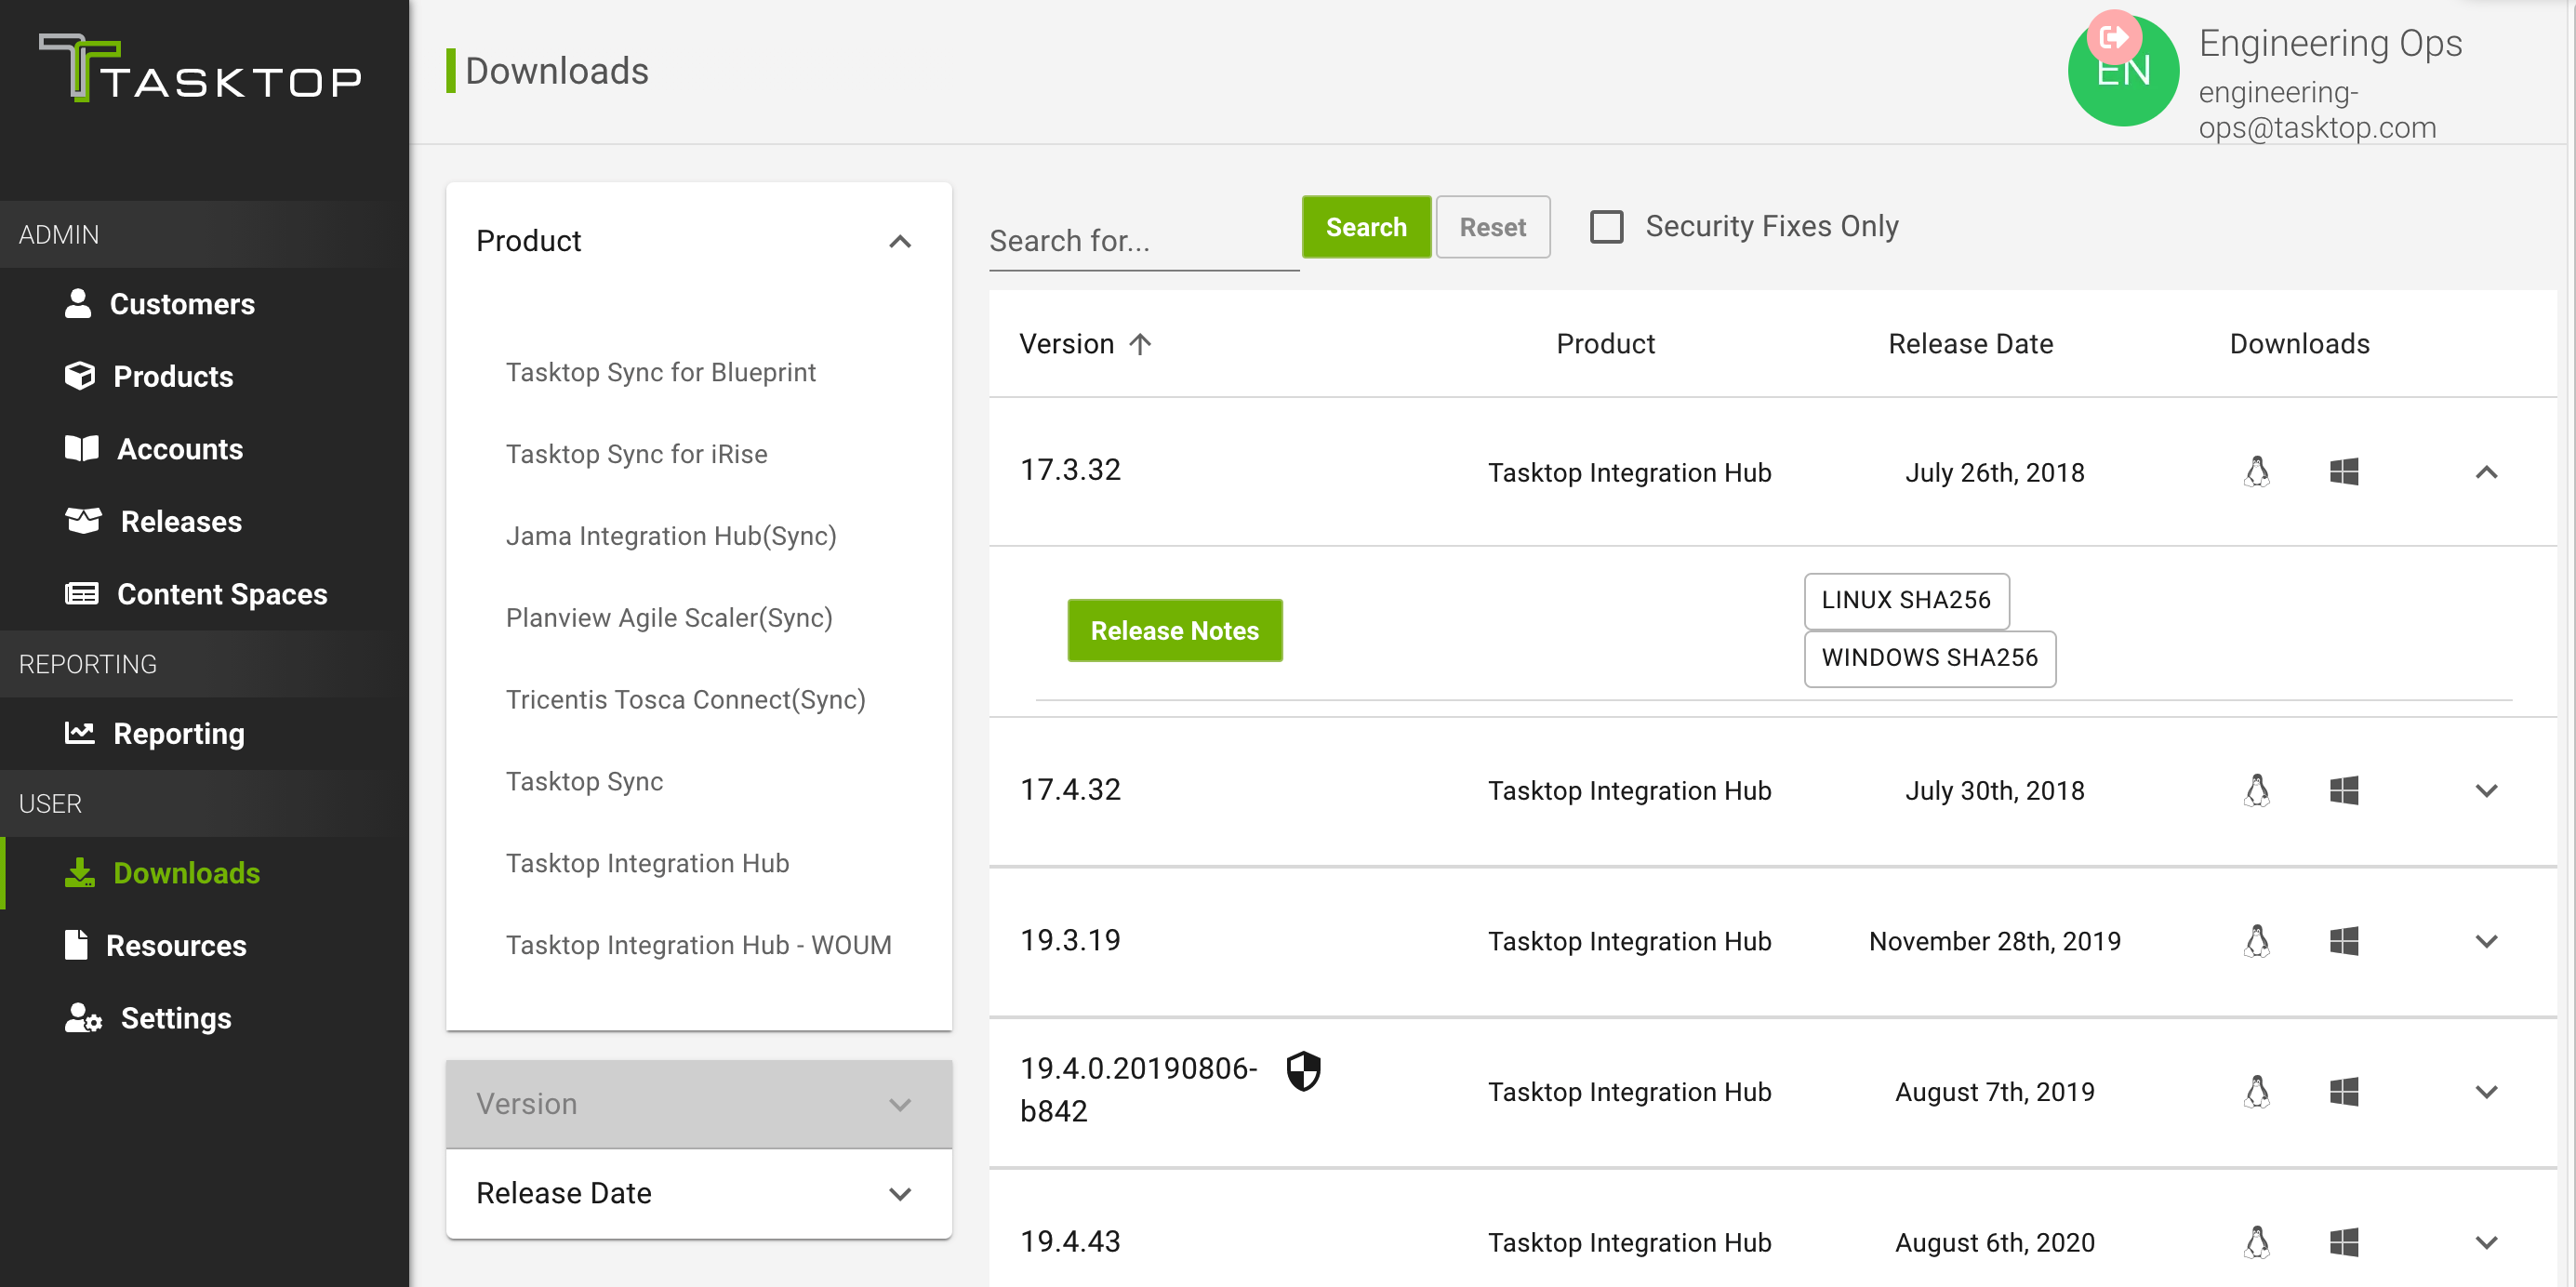
Each row can be expanded by clicking the Expand button at the end of each row.
Expanding the row will allow you to navigate to the release notes for the selected version and view hash sums for each of the downloadable files.
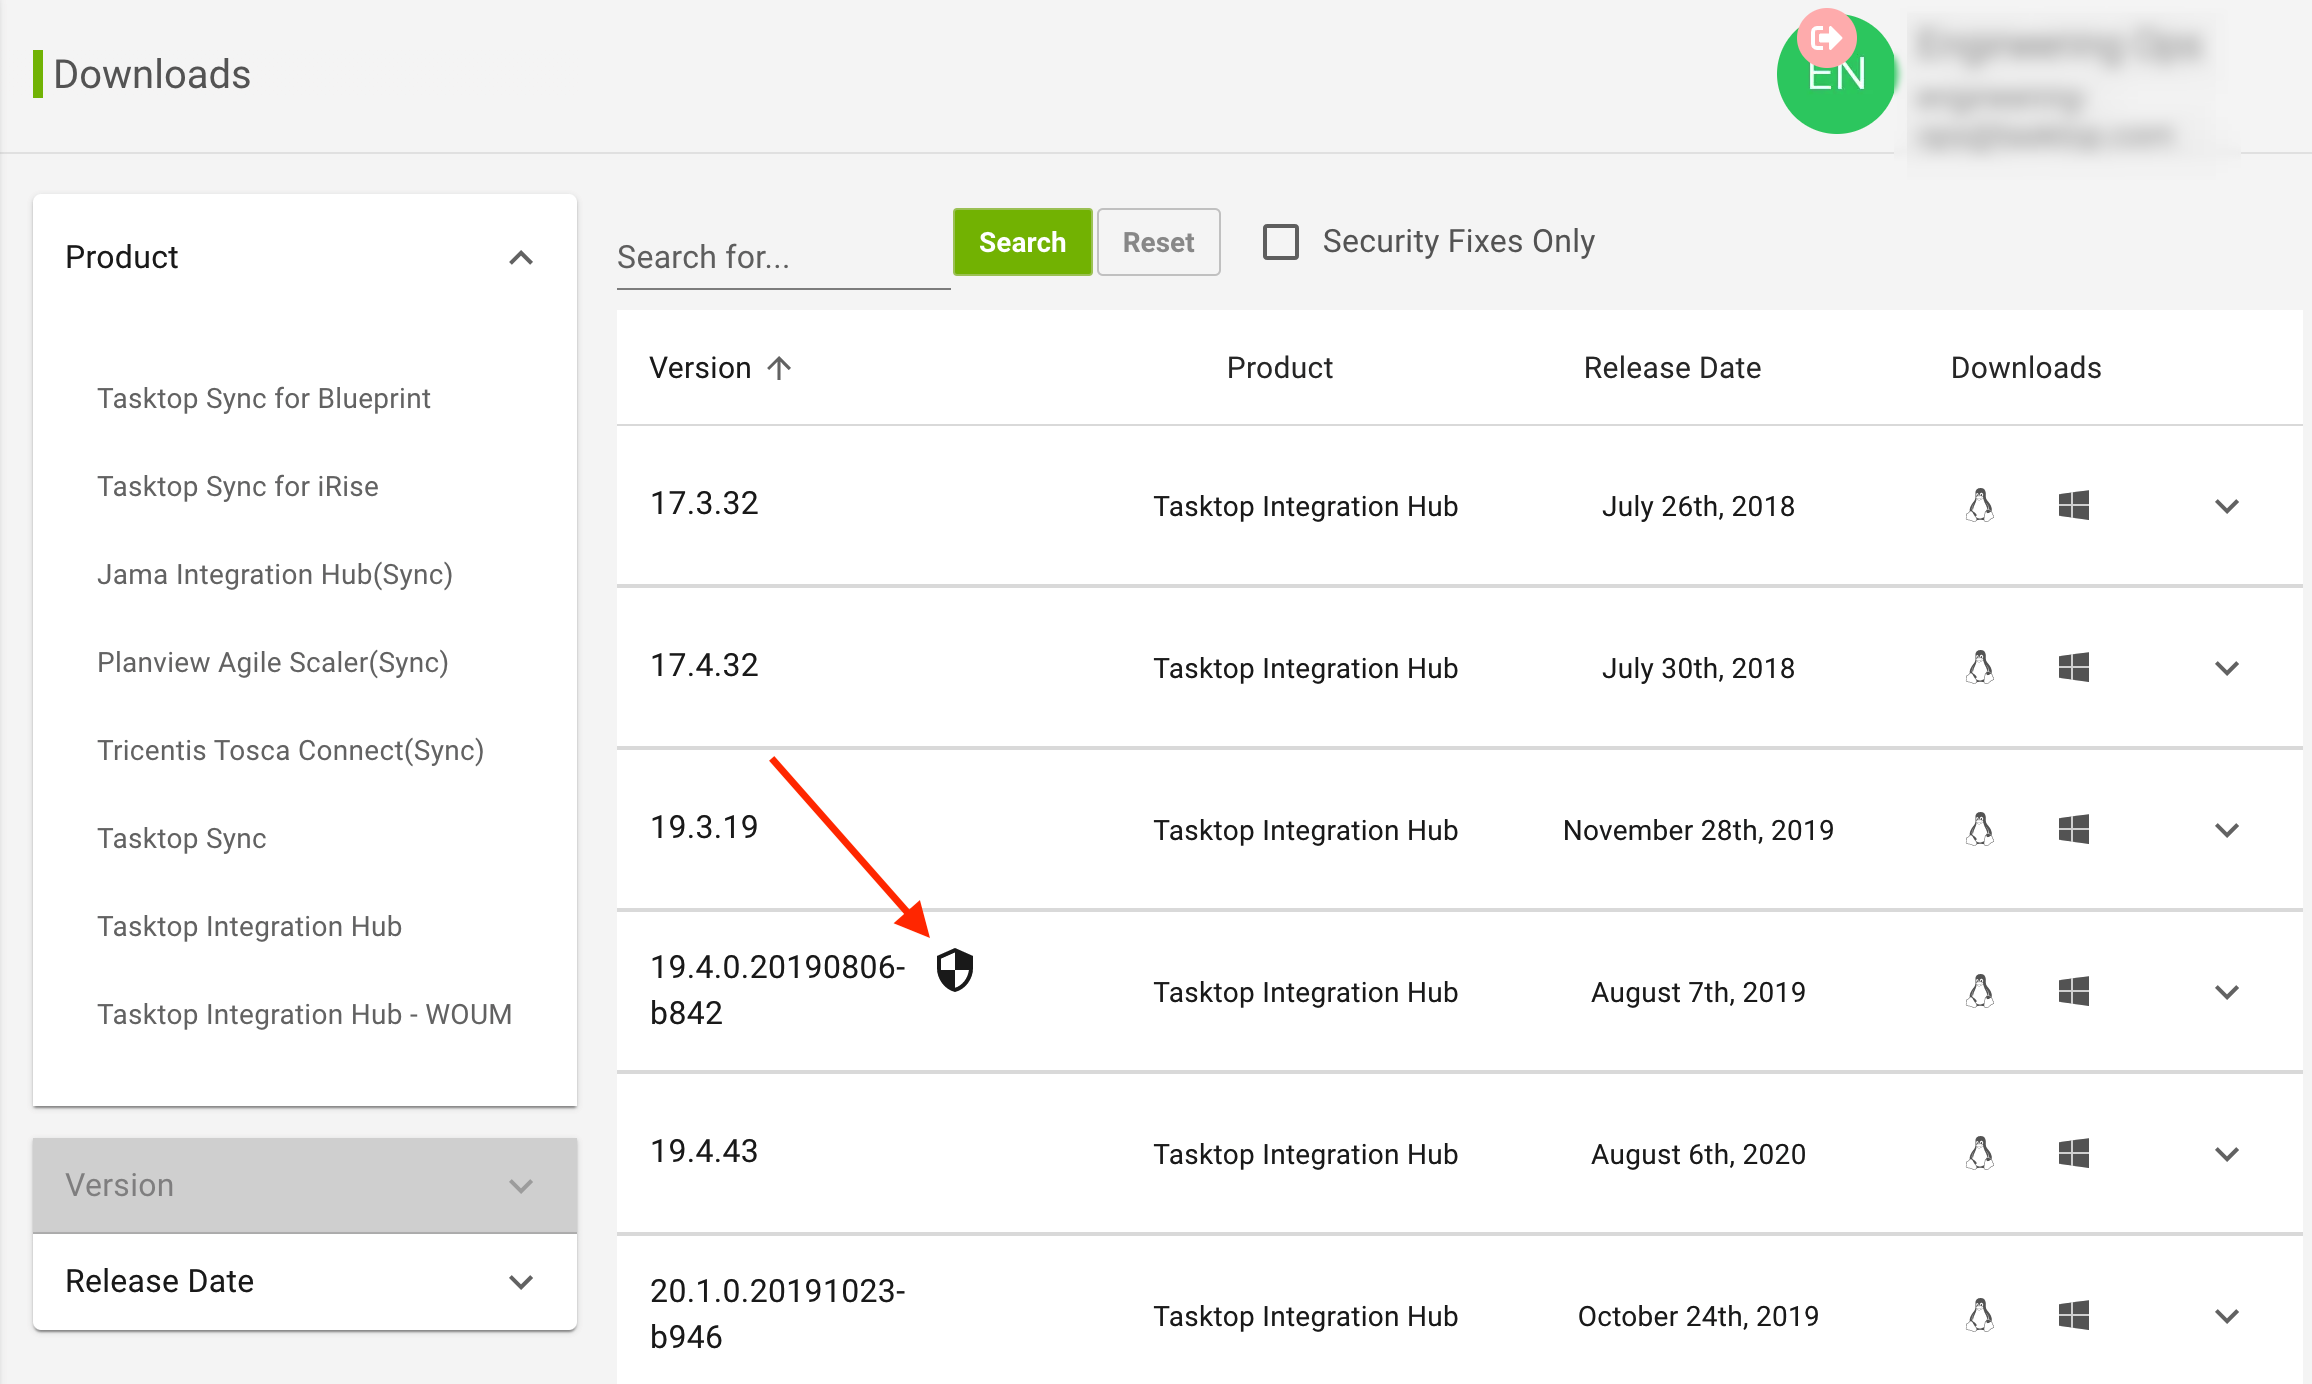
For some downloads, you'll notice a Security Fix icon to indicate that the version contains one or more security fixes.
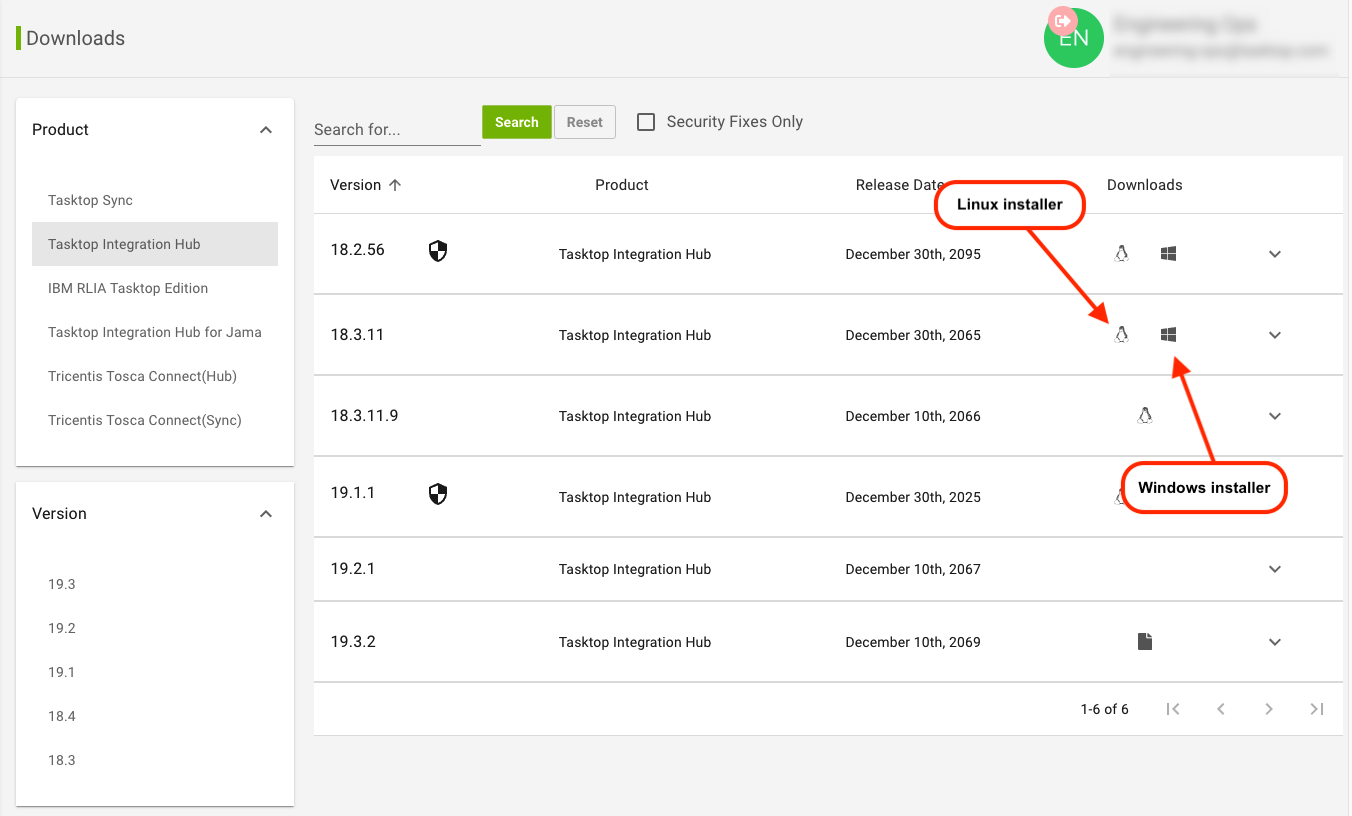
Downloading an Installer
To download an installer for a particular release, select the Download icon that matches your operating system.
Note: Before you can download a product from the customer portal, you must agree to the End User License Agreement.
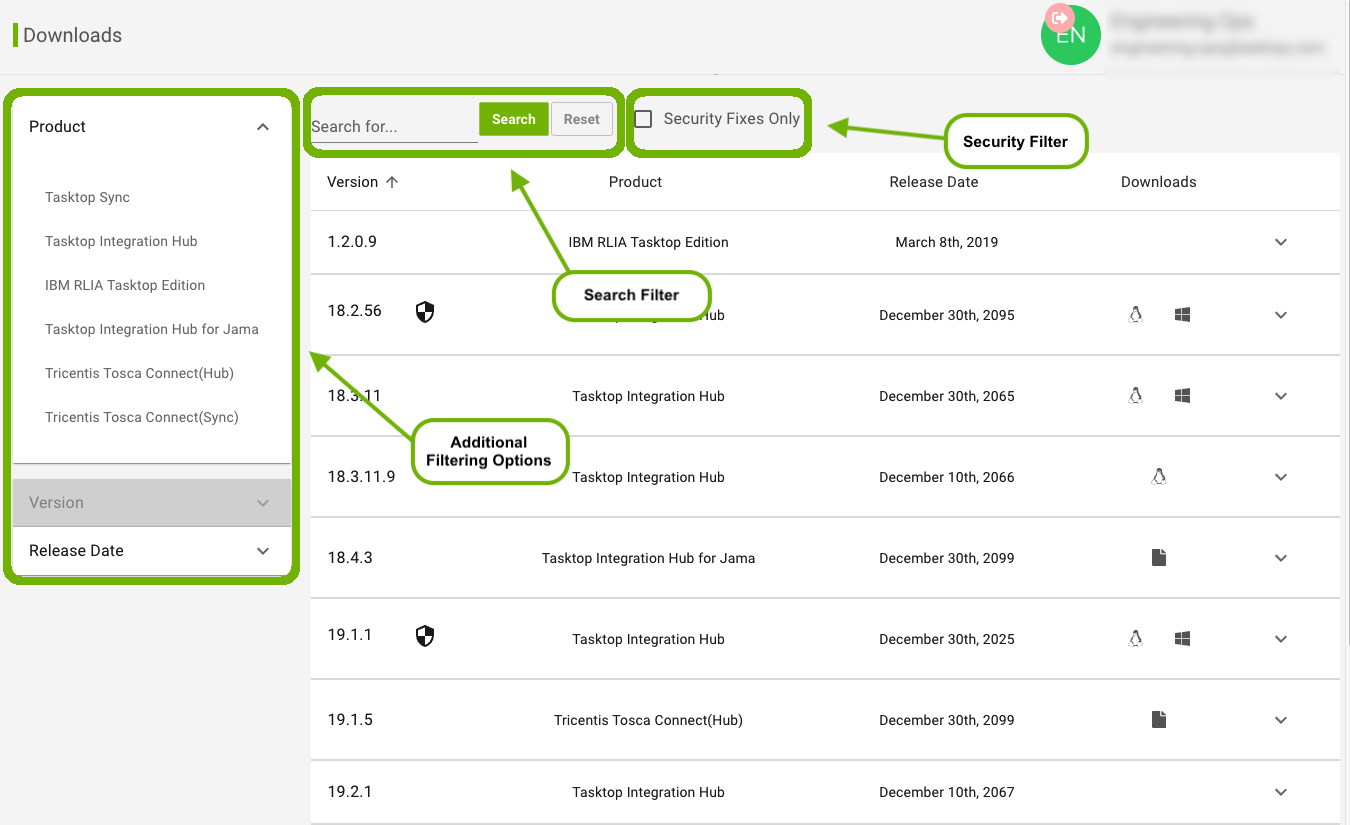
Filtering Downloads
The Downloads screen also contains several filtering options to help you refine your available product downloads.
-
Search Filter: This filter allows you to search by version or product.
-
Security Filter: This filter allows you to limit results to only security fixes by checking the checkbox.
- Additional Filtering Options:
-
Product Filter: This filter allows you to see all of the releases for one specific product.
-
Version Filter: This filter is activated when a product is selected in the Product filter. When selected, this filter will display the five most recent major versions for the selected product. Note that if this filter is in use, selecting a product in the Product filter will reset this filter.
-
Release Date Filter: This filter allows you to specify the date when the product was released.
-
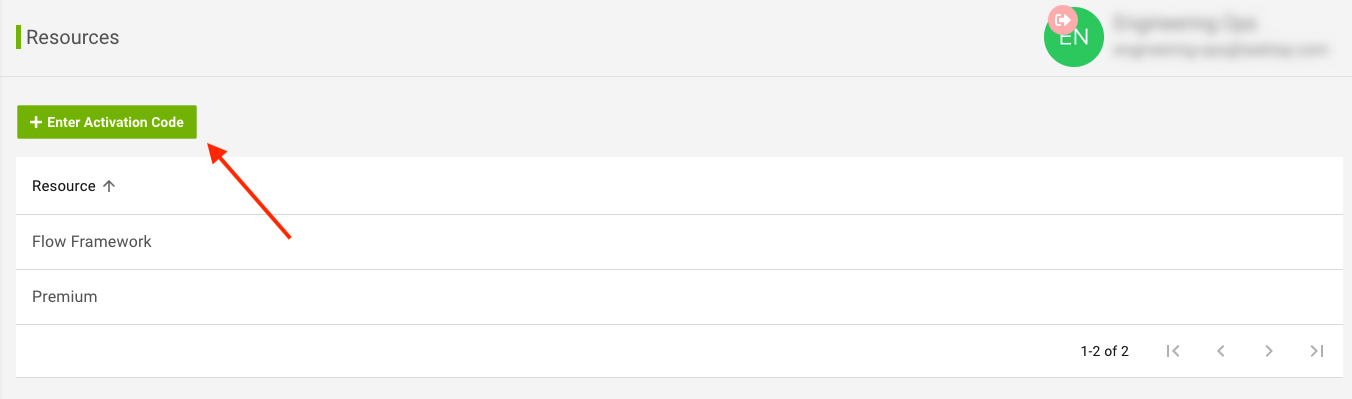
Resources
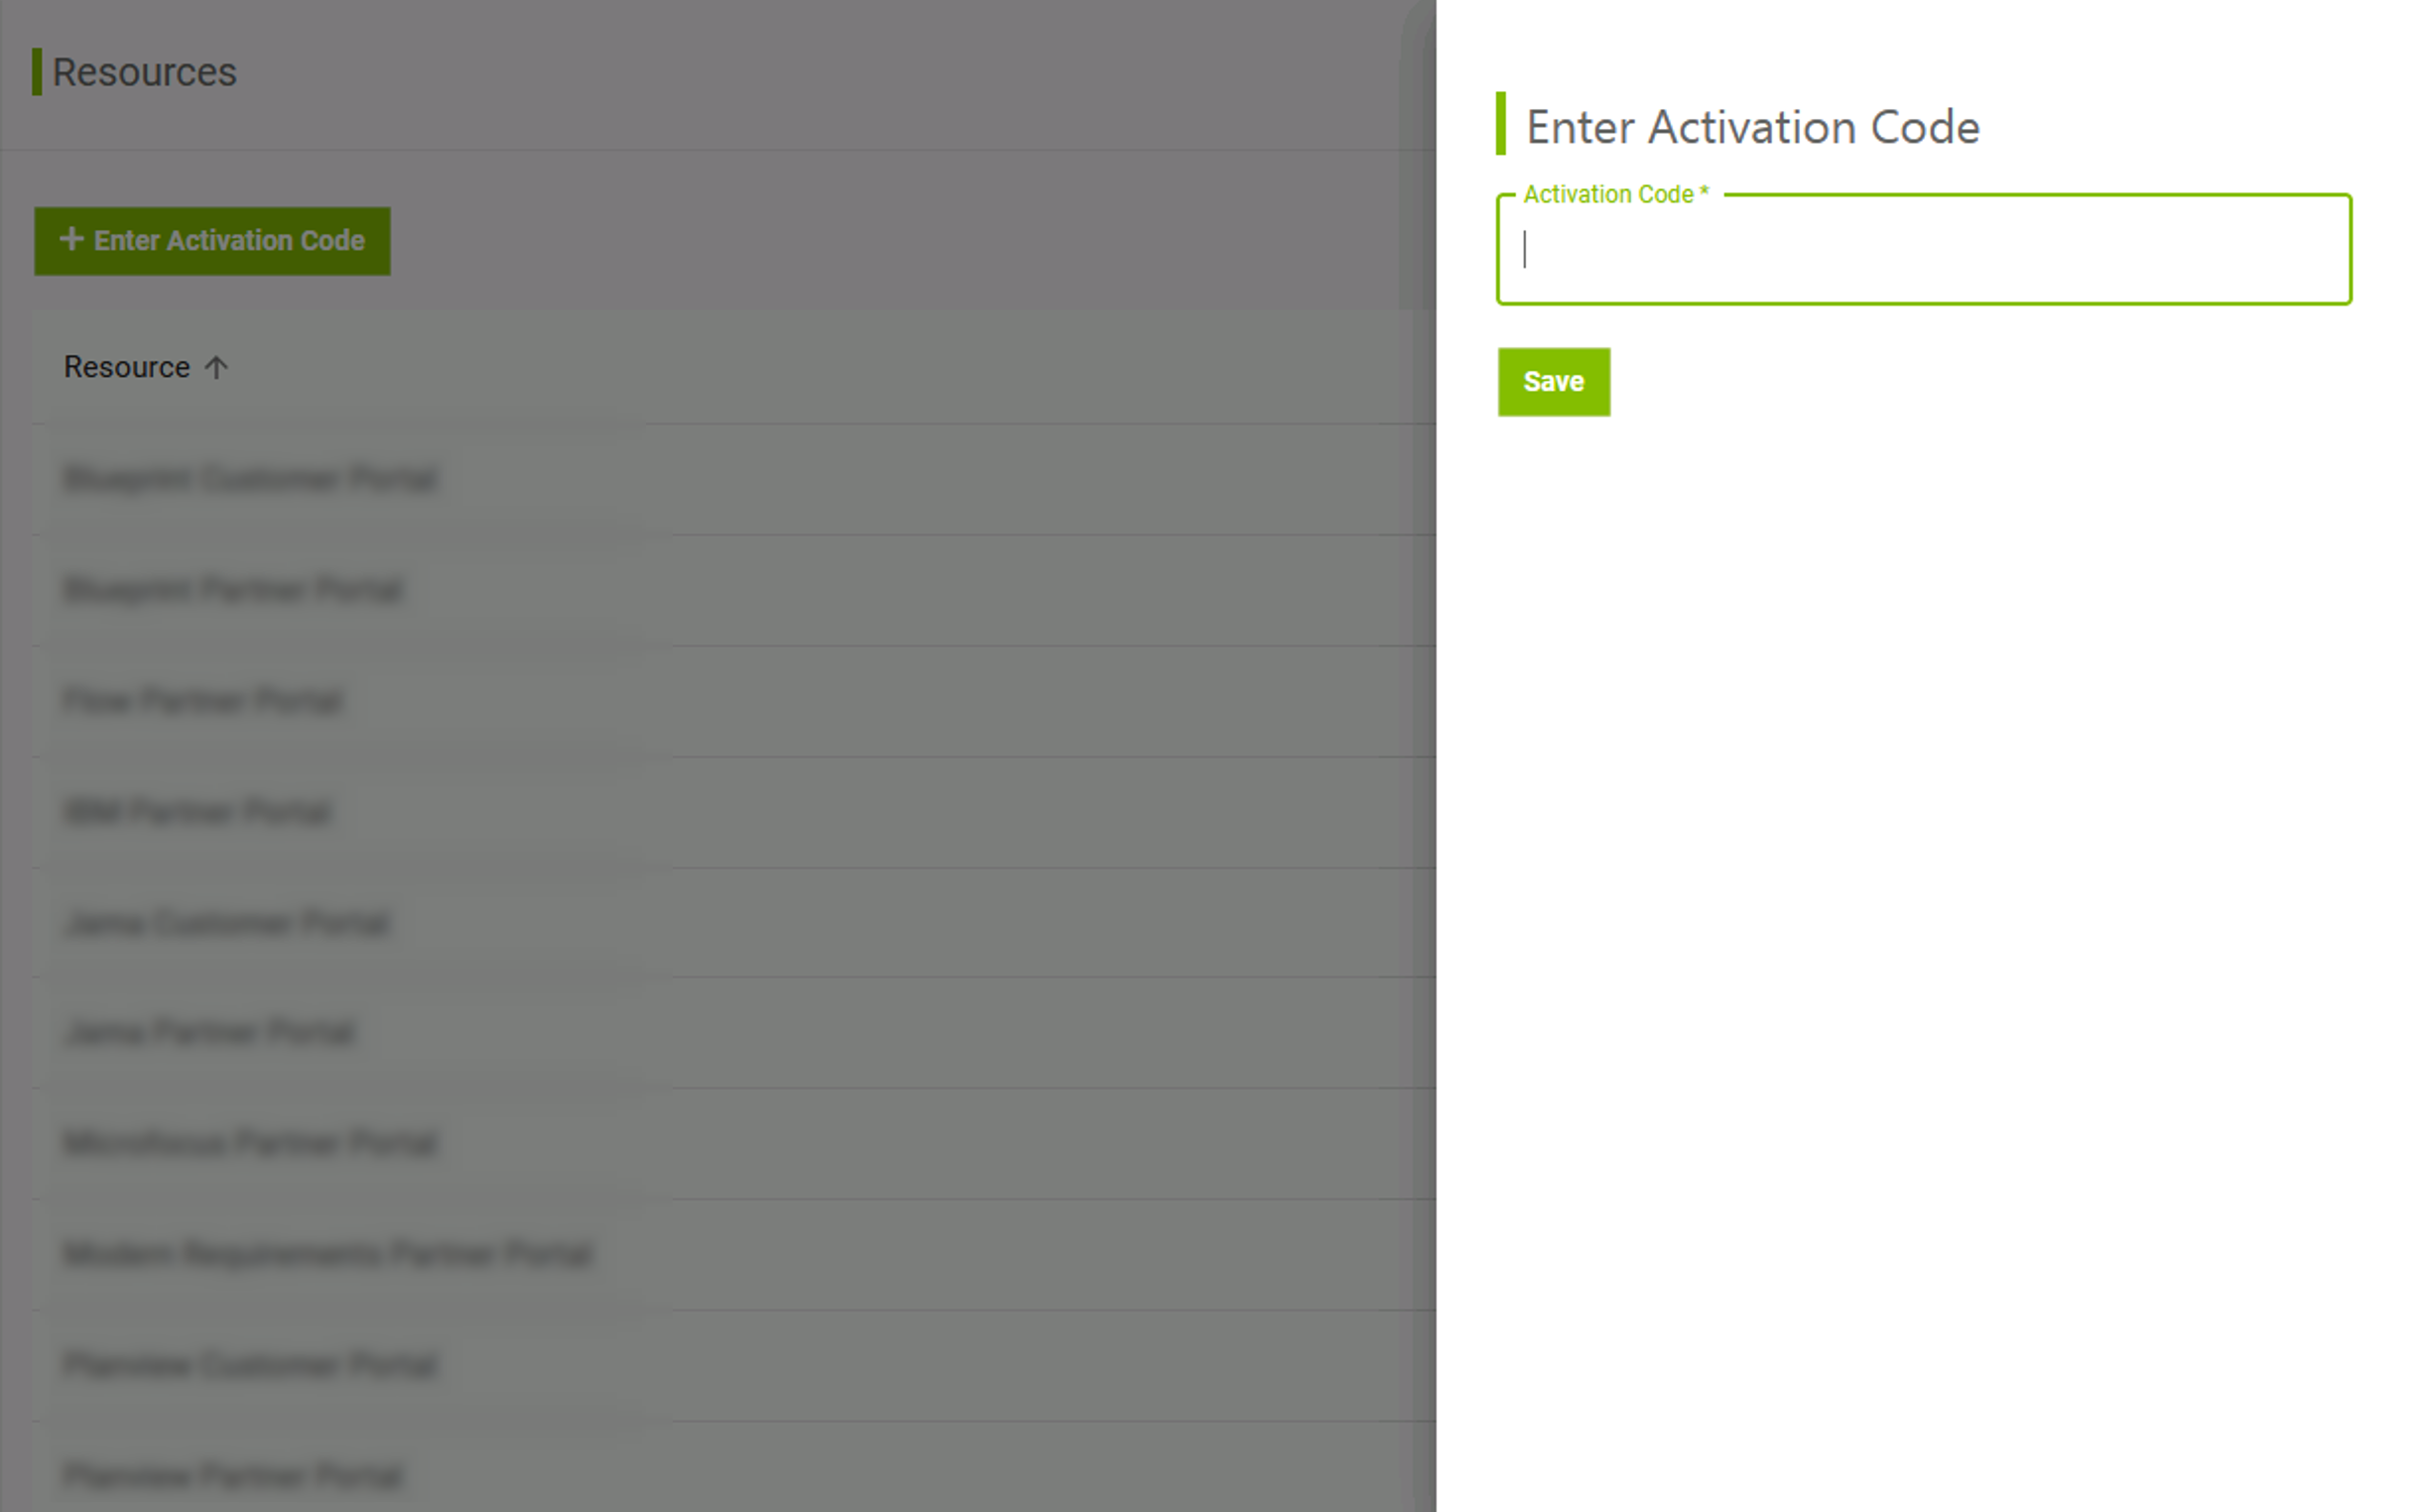
The Resources screen contains all of the content spaces that you have access to. On this screen, you can enter an activation code to gain access to gated content in the documentation.
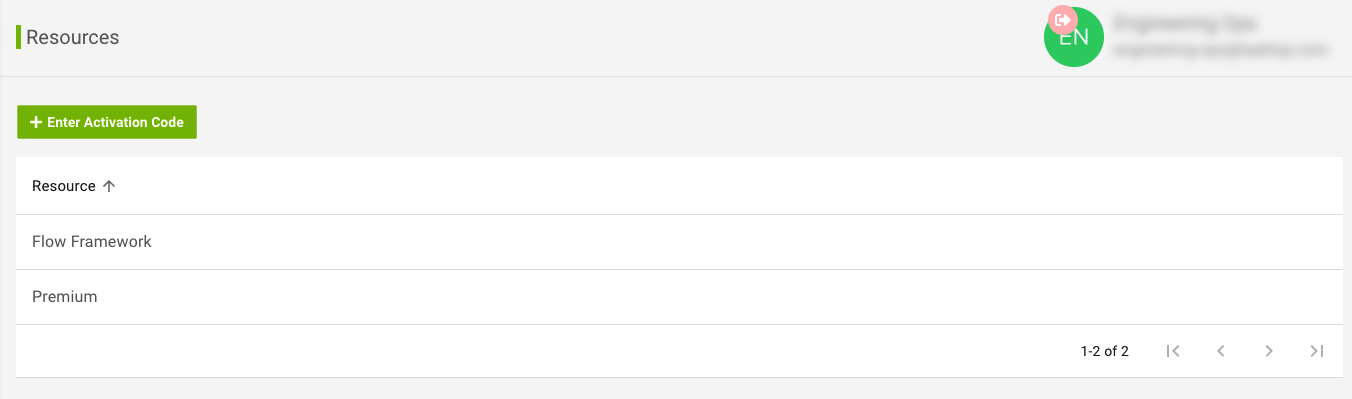
To enter an activation code, click Enter Activation Code and a drawer will appear where you can enter the activation code.
Settings
The Account Settings screen displays your account information, marketing and security email preferences, and an option to reset your password.
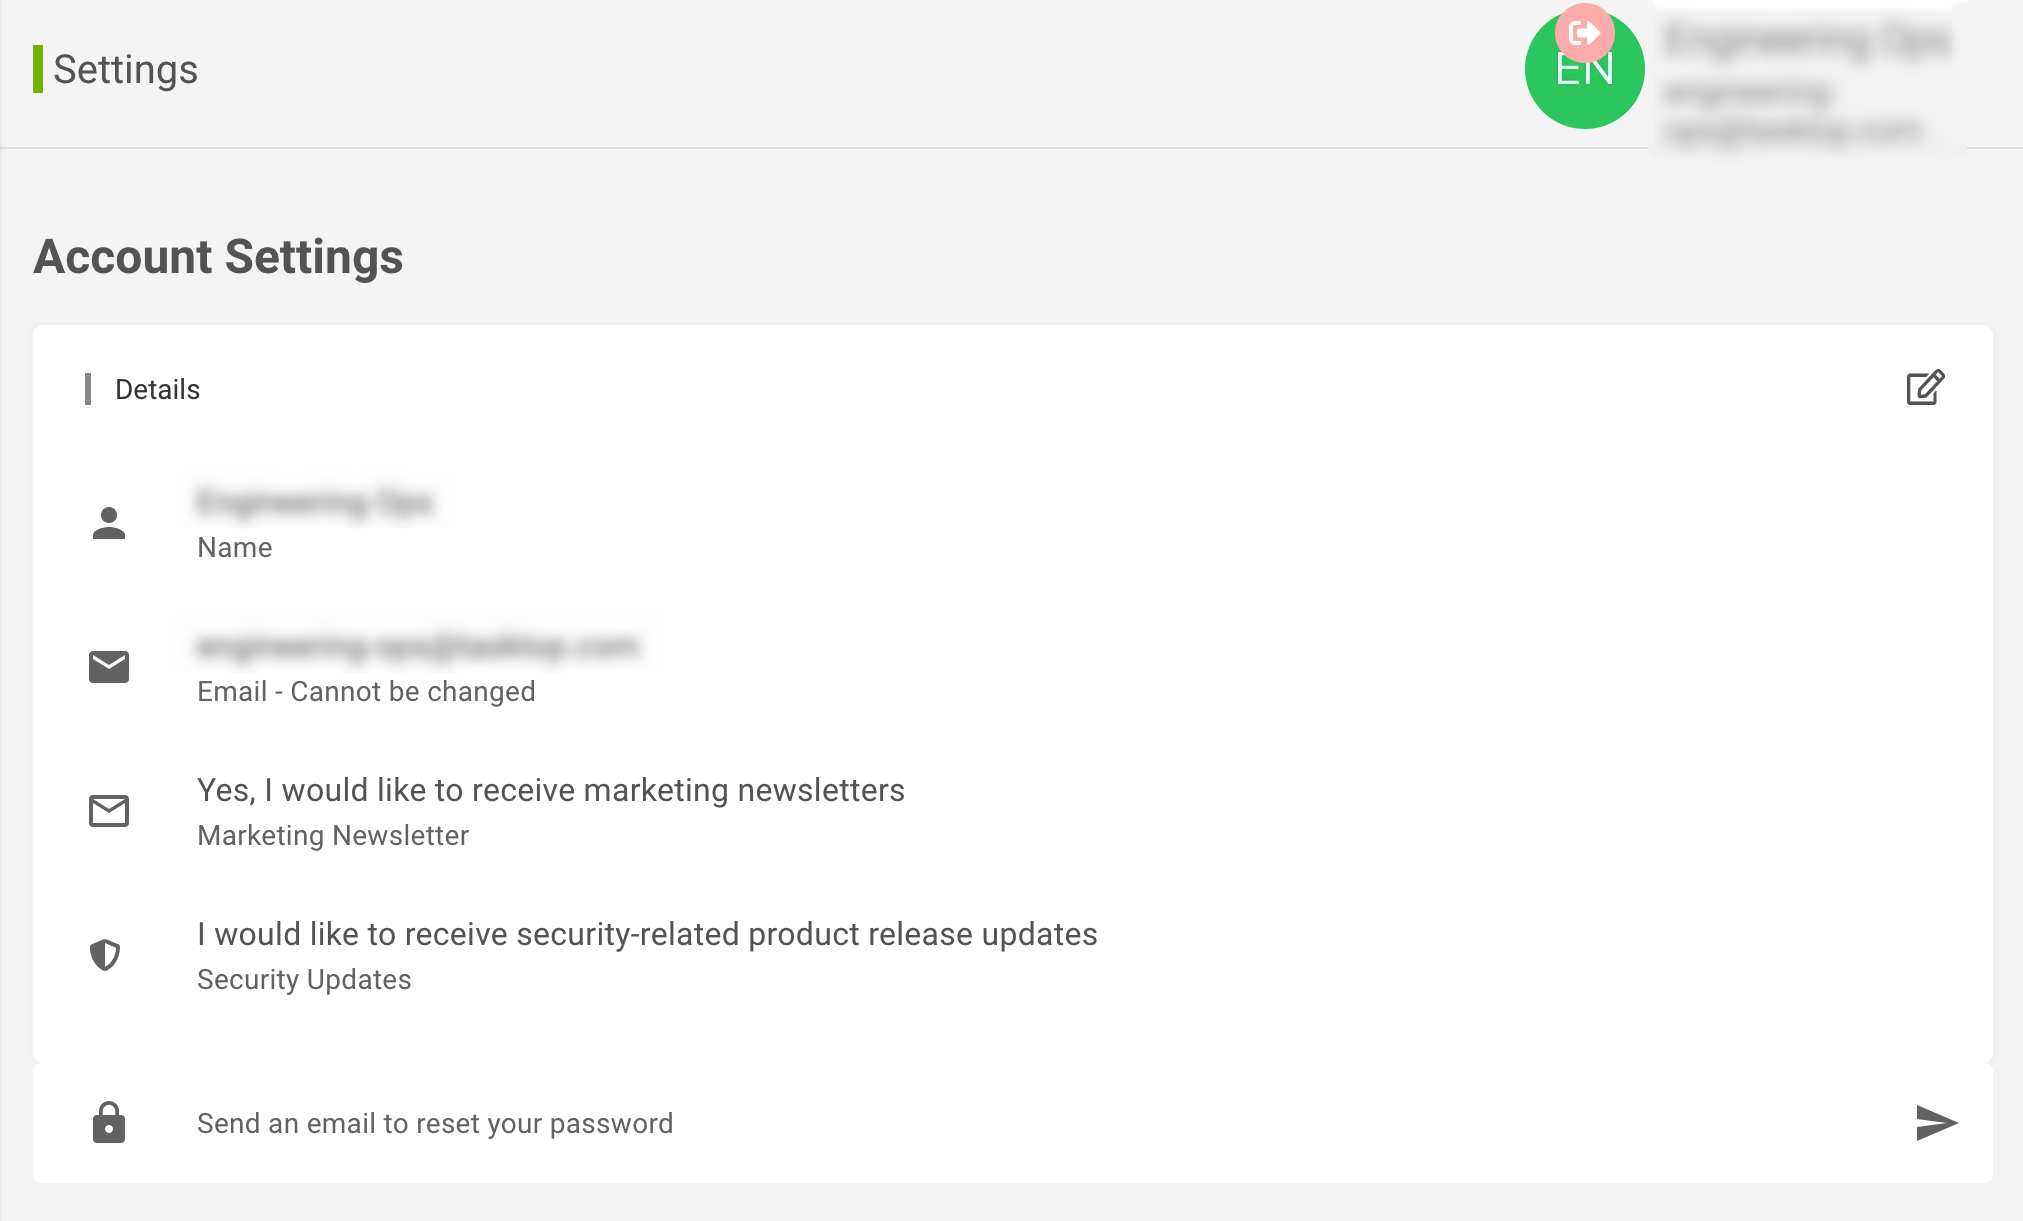
To update your account settings, click the Edit button.
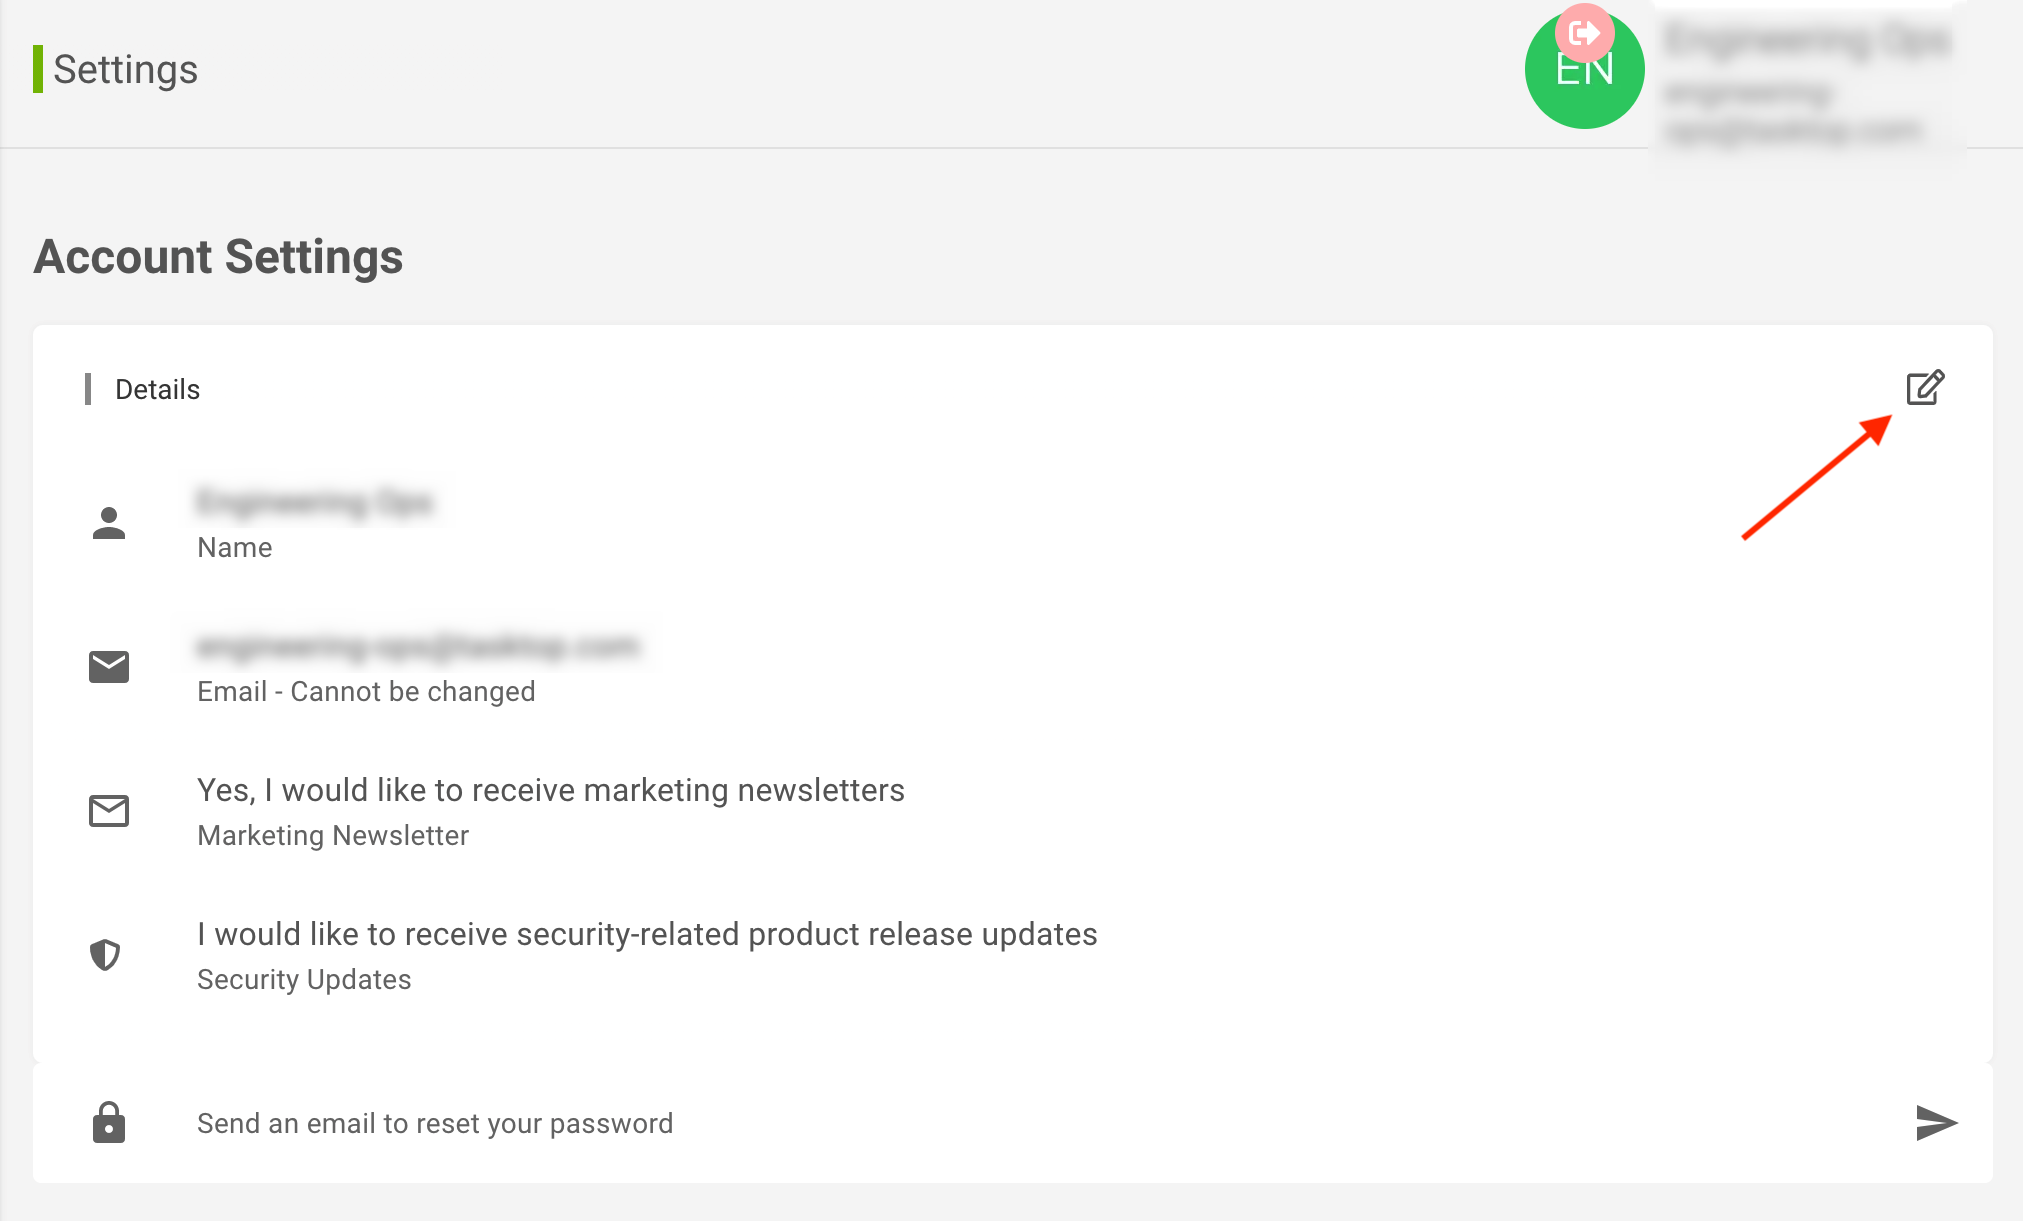
A drawer will appear where you can update your account settings.
Note: You cannot update your email once your account has been created.
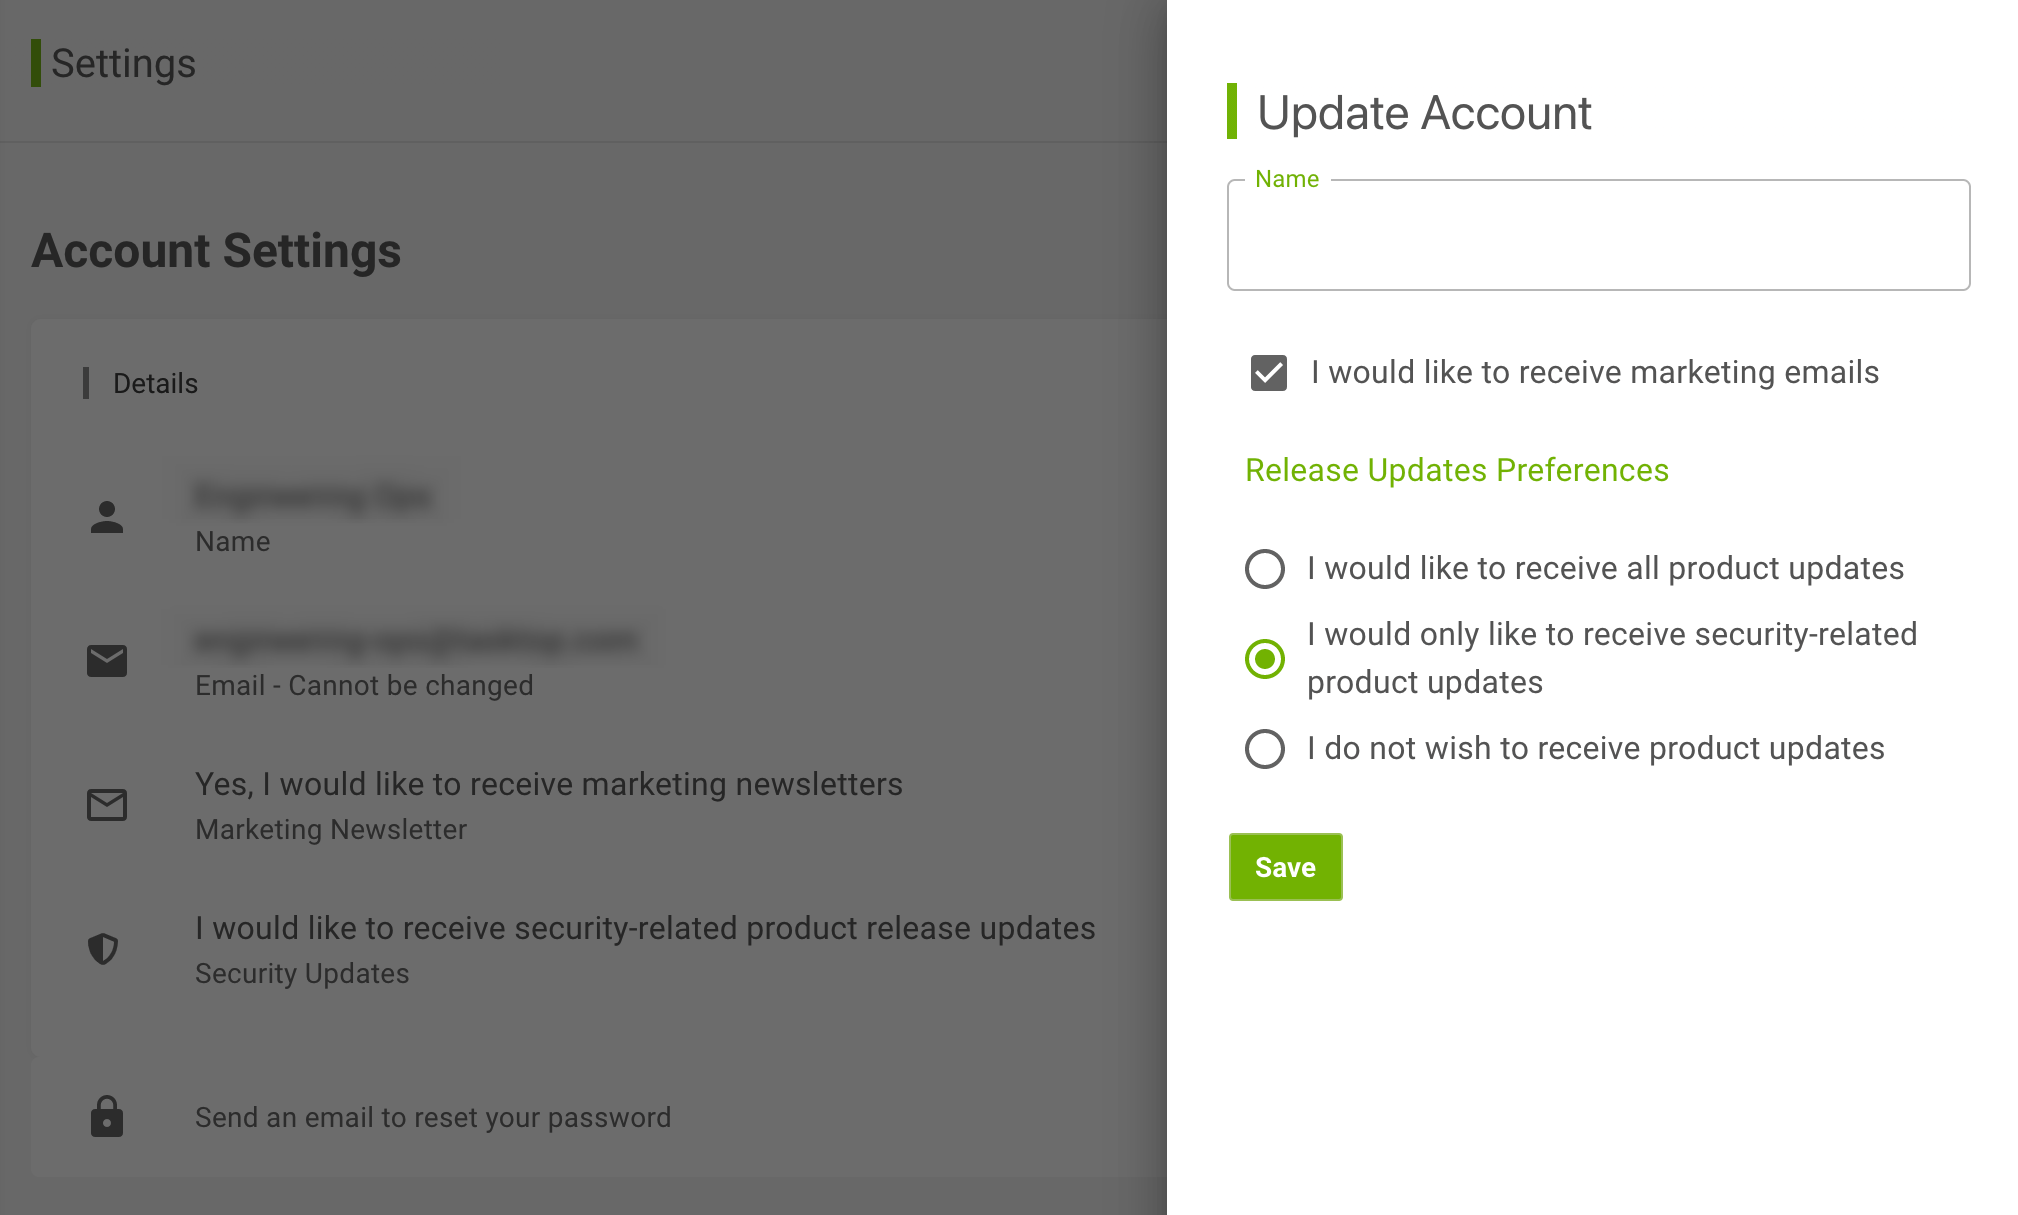
To save your updated account settings, click Save.
