
About Barometer SPM
Barometer SPM is a module for the Daptiv tool designed to help portfolio managers plan, organize, and track the progress of projects in their portfolio. It consists of three boards that are hosted on the barometerIT engine:
Setting Up Barometer SPM
In order to use the boards to manage your strategic portfolio, you may need to complete the setup for SPM. Setup consists of the following steps:
- Inviting users
- Creating projects and strategies
- Associating projects with strategies
- Creating tags (Optional)
- Creating SPM Boards
- Configuring the SPM Boards
Inviting Users
Inviting a user to Barometer SPM is a two-stage process. First, you need to create a Person record for the user. Then, you need to invite the user to your tenant.
To invite a user to Barometer SPM:
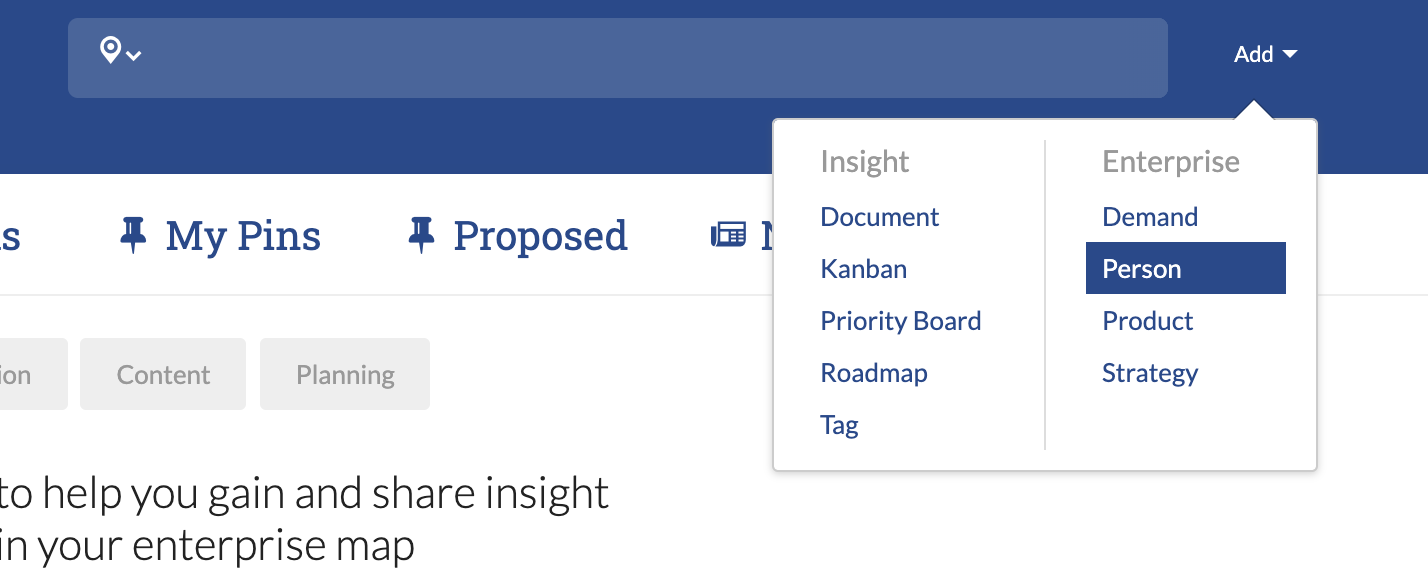
- Create a new Person entity.
- Open the Add menu to the right of the main search bar.
- Under Enterprise, click Person.
- Enter a name and a valid email address.
- Click Create. A new Person record appears on the screen.
Invite the user to your tenant.
- In the Person record, click the Gear icon.
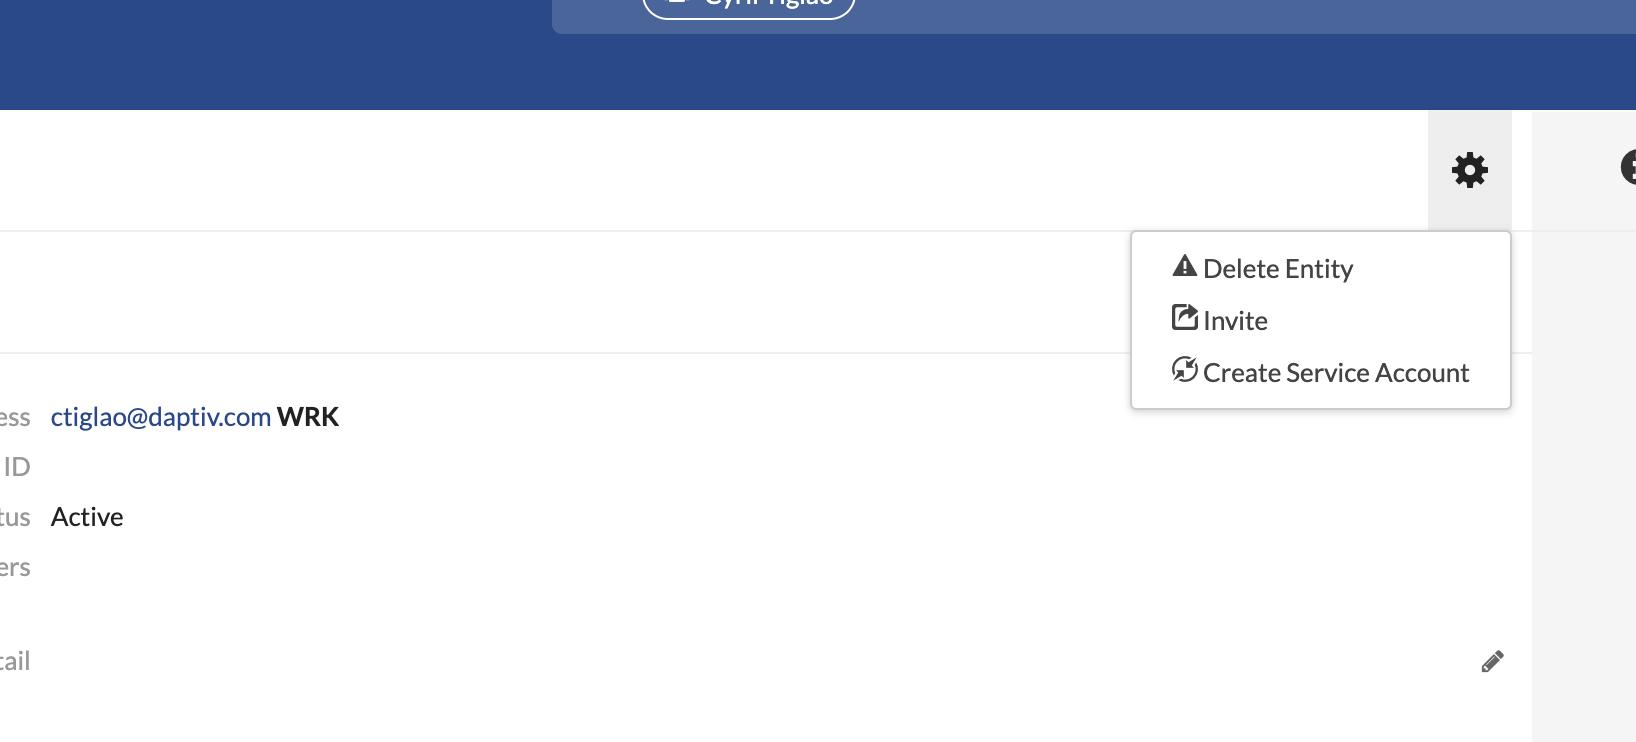
- Click Invite.
- Enter a message into the modal that appears. This is a required field.
- Click Send.
The user can use the invitation you sent to complete their registration and start using SPM. Once the new user completes registration, you can adjust their user role to give them additional permissions.
To change a user’s role and permissions:
- Open the main navigation menu by clicking the Barometer icon in the upper left corner.
- Under Administer, click Users.
- Locate the user in the list and click on their name.
- Click the Settings icon, which is next to the Gear icon.
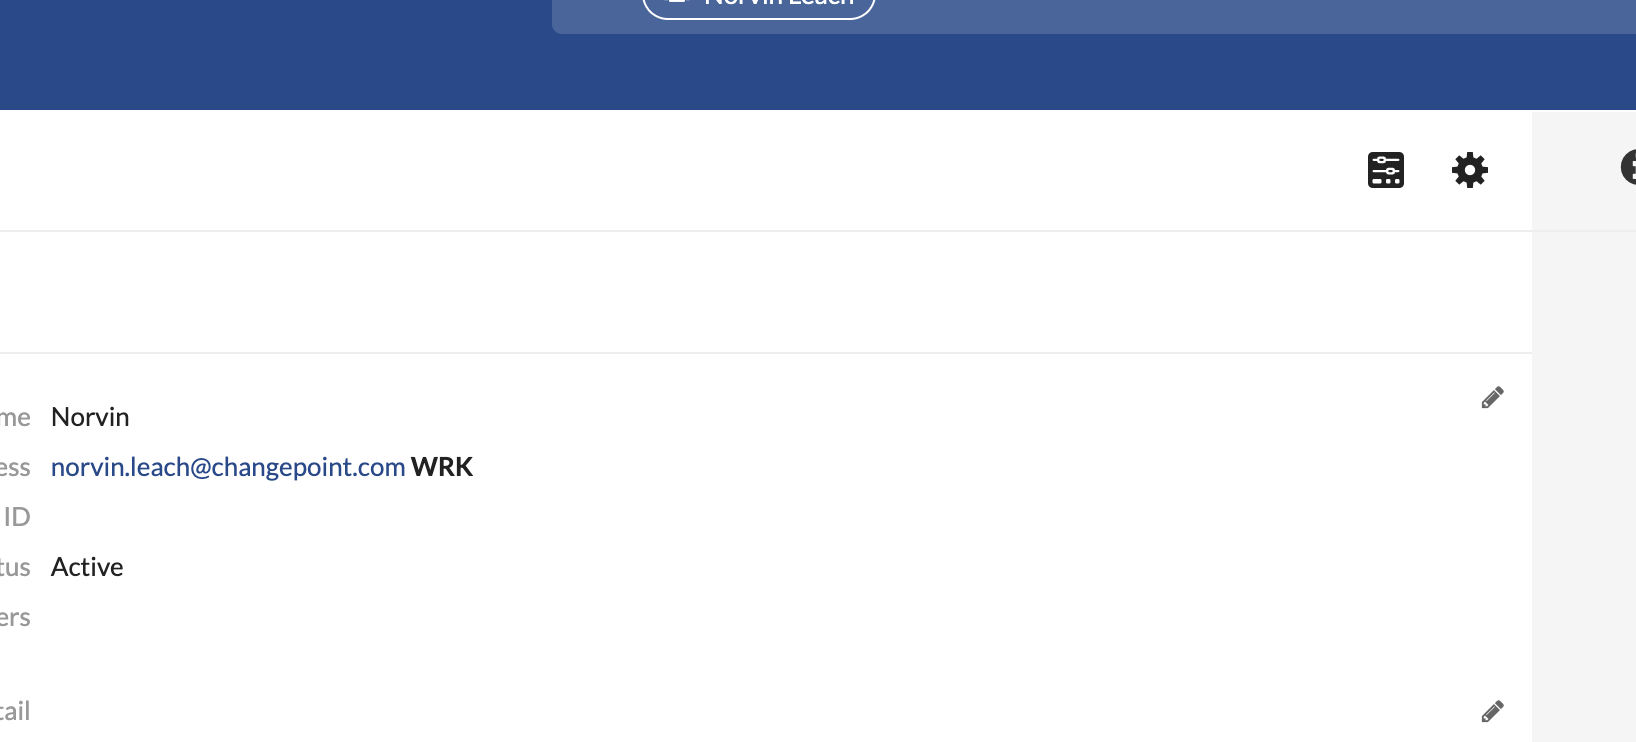
- Click on the Roles tab and click the check boxes for the roles you want this user to have. You selections will be saved automatically.
NOTE
Giving a user all Administrator roles, the Super Editor role, and the Data Import role will give that user the ability to manage all Barometer SPM features.
Creating Projects
SPM allows you to create and manage several types of entities. The main type of entity that you’ll be dealing with is the demand. A demand is an idea of any size or importance, from a broad program to a small project.
To create a new demand entity:
- Open the Add menu to the right of the main search bar.
- Click Demand.
- In the modal that appears, fill in the required fields.
- Click Create.
You can also create demands on any board by clicking the + icon in the leftmost column and entering the demand name on the card. Note that each card that you create in SPM must have a unique name.
Once you’ve created a demand, you can click on its card to fill out additional information. Demands in Barometer have several native fields. You can also create custom fields for Demands.
By default, most of these fields are hidden from the cards. To show these hidden fields on the cards, select the Card Details link in the configuration dialog. You can learn about demand entities in Demands.
Bulk importing demand entities
The easiest way to create multiple demand entities is to bulk import them. To import entities, you create a CSV file that includes the entity field names as column headers, and the field values in the rows. All of the available field names, descriptions, and values for the selected entity type are displayed in the Import Entities view. The required fields are highlighted in bold font.
To import entities:
- Create a CSV file that includes the entity data. To view the list of available fields for the entity:
- From the main menu, click Bulk Import, under Administer.
- Click Import Entities.
- In the Select Entity Type field, select the entity. The list of available fields appears.
- To import the CSV file:
- In the Choose a CSV file to upload field, click Choose File and then locate and select the CSV file.
- Click Import Entities. A message appears to confirm that the entities were imported.
Creating Strategies and Products
Strategy entities represent corporate strategic imperatives. Like demands, they are entities with a fixed set of native fields and support for custom fields.
To create a new strategy entity:
- Open the Add menu to the right of the main search bar.
- Click Strategy.
- In the modal that appears, fill in the required fields.
- Click Create.
Product entities can represent any of your company’s deliverables.
To create a new product entity:
- Open the Add menu to the right of the main search bar.
- Click Product.
- In the modal that appears, fill in the required fields.
- Click Create.
Associating Entities
SPM is built on the Barometer engine, which can create and map associations between entities. In SPM, you can create associations between Demands and Strategies or Demands and Products.
As you plan and prioritize your demands using the Kanban, Roadmap, and Priority boards, you’ll also be able to create these associations and view your demands in categories, grouped by their associated strategies or products.
To associate a demand to a strategy, open the demand’s card, and click the + icon next to Strategies. Select one or more strategies from the drop-down and save the card.
On the Kanban board or Roadmap (but not on the Priority Board), you can group your demands by category, using the switch in the upper right.
Once the categories are visible on the board, you can change a demand’s association by dragging it vertically from one category to another.
Creating Tags
Tags are used to group things that are not necessarily based on relationships in the enterprise map. Each tag has a page where you can view all tagged items.
To create a tag:
- Open the Add menu to the right of the main search bar.
- Click Tag.
- In the modal that appears, fill in the required fields.
- Click Create.
Once the tag is created, you can add it to entities. You can add the tag to the entity through its detail card in any of the SPM boards.
To add a tag to an entity:
- Click on the entity’s minicard. If you are in the Roadmap, double click the timeblock.
- In the detail card, click the Add icon (+).
- Search for a tag or choose one from the dropdown list. You can repeat this step to add multiple tags.
- Click Save.
The tag will be added to the entity and the entity will appear in the list of related entities.
Creating SPM Boards
If there are no existing boards in your instance of SPM, you’ll need to create a new one. To create a board, use the Add link in the upper right portion of the screen.
To create a new Kanban Board, for example:
- Open the Add menu to the right of the main search bar.
- Under Insight, click Kanban.
- In the modal that appears, fill in the required fields.
- Click Create.
Configuring SPM Boards
Each board type has a set of unique capabilities that you can configure using the gear icon in the upper right corner of the board. For example, you can add, edit, or remove columns from the Kanban Board or adjust the weights of priority criteria in the Priority Board. Configuration options are listed in the help center page for each board: