
KeyedIn Mobile App – Entering an Expense
User guide to explain how to enter expenses into the mobile application.
Using the main menu select ‘Expenses’

This will bring up the ‘Expenses’ screen:

This will bring up the ‘Add Expense’ screen to enter data into all the required fields.
If you wish to add an expense receipt it is possible to take a picture of the receipt that can be added to the expense from your phone gallery.

Once the expense has been entered then please select ‘Save’
The expense will now be shown in the expenses list:

To edit an expense select the expense from the list and this will open the ‘Expense’ screen, then select ‘Edit’ which will allow the expense to be edited.
The expense can also be deleted from this screen.

The expense can also be claimed by selecting the expense and selecting the ‘Claim’ option:

Claiming the expense will show the following screen which allows a description to be entered for the claim.
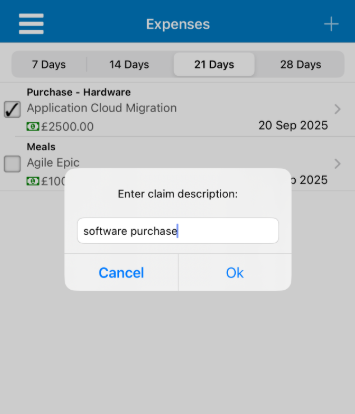
Once the claim description has been entered select ‘Ok’
If the claim has gone through successfully then a notification will show at the bottom to confirm the expense has been successfully claimed.