
Expense Data Load
The Expense data load can be used when you want to load batches of expense entries into the KIP system. A data load will allow you to import these expenses all at once without the need to manually enter them.
It is recommended that the data loads templates have a maximum of 500 rows in the data template so that the upload performance is not compromised.
Enabling the Data Load Feature:
To set the permission to allow the data load, go to the Login Profile, General tab and enable the “Access Data Load” feature.

Once this setting has been enabled you can now begin to data load.
Please note the screenshots have been taken from a non-workflow enabled system.
To perform a data load:
1) Go the search screen and select Expenses

2) On the Expense search screen select ‘Create Data Template’

3) This will present the following screen and you can select the fields you wish to use as part of the data load
The fields which do not have a checkbox next to them will be included in the template as these are
required fields.

4) Select ‘Generate Template Spreadsheet’
This will download the excel data template which will be ready for use
5) Open the data load excel template, this will consist of three tabs:
- Summary: Gives you information regarding the data load template
- Expenses: this is where you will create a list of expenses you need to data load into Keyedin Application
- Notes: Any notes you want to input regarding the data load

Required fields in the template are marked in yellow and these fields are required to be populated
6) Click on ‘Expenses’ tab
7) Enter Expense data
Things to note:
- Resource code, Project code and Expense Type code must be already setup in the system; if these codes are not set up the data load will fail to load the data.
- The data load will not update existing expense entries, the data load will only insert new records
Please note that for some fields, such as Treatment Type, you must use the dropdown selection of the field and not enter the value manually. If entered manually this may cause the dataload to fail.

Below are two example expense entries which are ready to be uploaded.
Generally all yellow fields are required to be filled in, but if an Expense Type is unit based, the Gross Amount will be calculated by the system based on the units therefore should be left blank.
The same goes for if an expense type is not Unit Based, only the Gross amount will need to be filled in and Units left blank.
As you can see in my example below, the Expense Type of 'MILAGE' is unit based therefore the Gross Amount has been left blank.

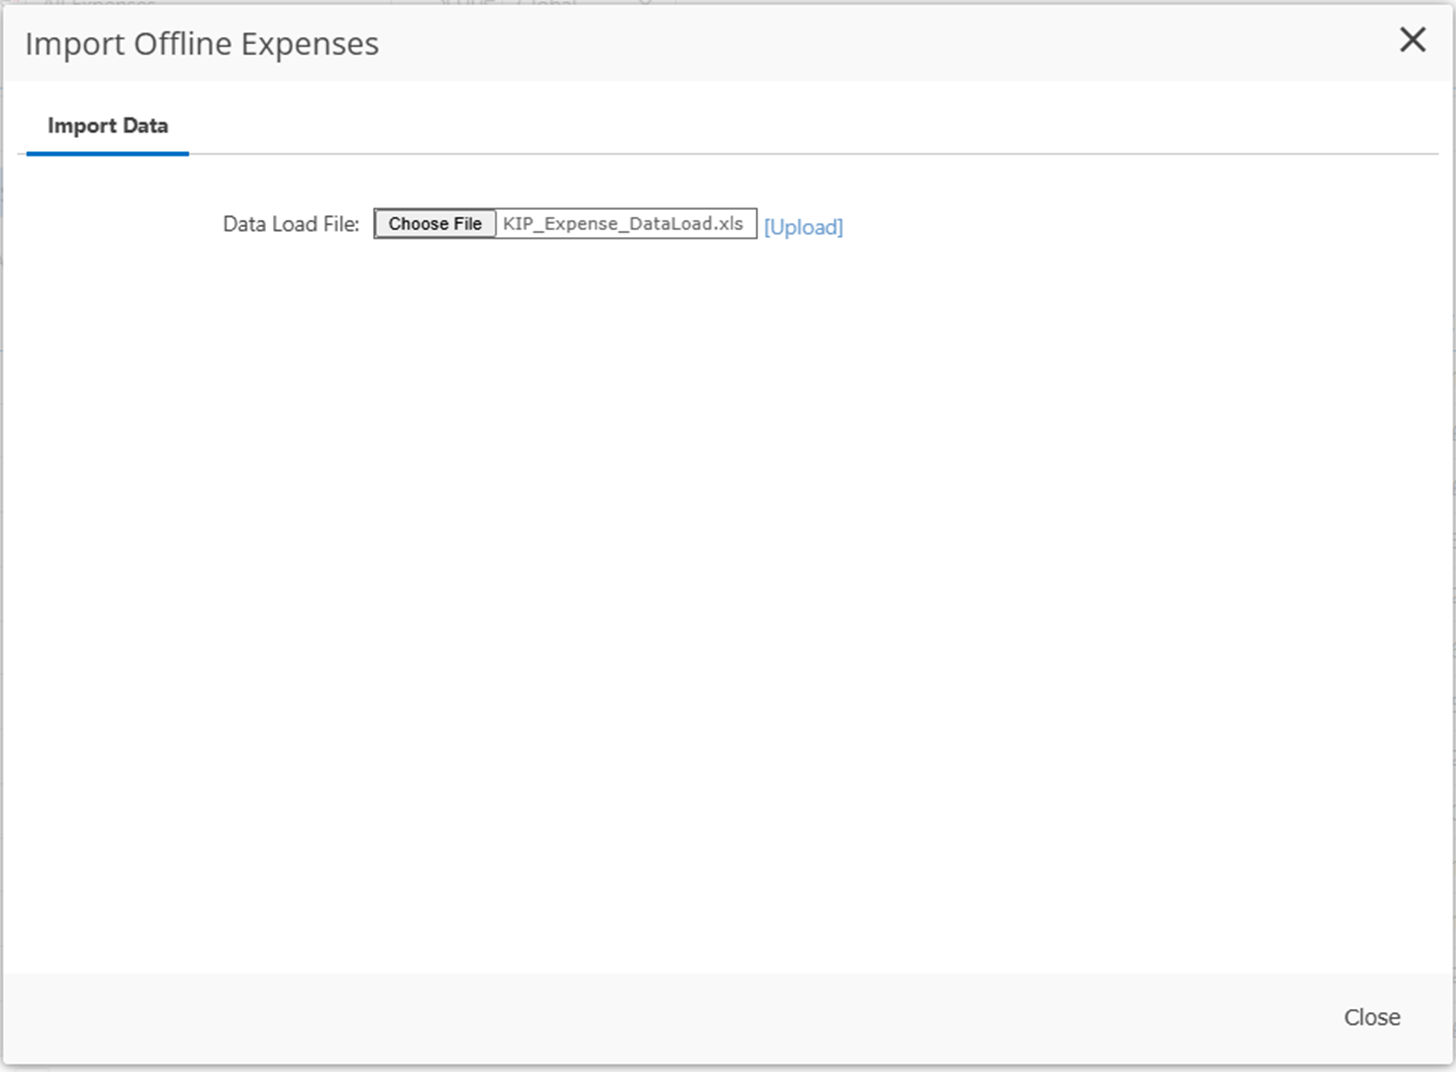
8) In KeyedIn navigate to the Expense search screen and click on ‘Import Data’

9) Choose the data load file and click on ‘upload’:
10) This will then show the following, if it finds the records then it will report “There are ‘XX’ rows to import”

11) Select ‘Import’ - this will start the data import. Once the import has finished then it will show the results for the import which will highlight which ones have successfully uploaded and which ones have failed.
As you can see both rows entered on the data load have been successfully uploaded:

Any failed expenses can be changed again from the same template which was downloaded earlier.
Any expenses which have been uploaded successfully should be removed from the data load template otherwise it will upload these expenses again which will result in duplicated expenses.
Screenshot below shows the time entry which had been successfully imported:

Data load of expenses has been completed.