
Manage Subsystems Instances
Introduction
You can edit the status of Subsystem instances and update the current Build configuration of each Subsystem to show what versions are currently running on the Environment
NOTE
Subsystems can only be added or removed from an Environment by adding or removing Subsystems on the selected Systems page.
For more information, see Manage Subsystems
Pre-requisite
You must have the Update Environment user permission.
Navigation
Environment > Manager
Access Subsystems tab
To access the Subsystems tab:
- Navigate to the ‘Environment’ page.
- Search for the Environment in which you want to manage the Subsystem instances. You can use the filter options available on this page.
- Open the Environment by clicking on the Environment Name.
- On the ‘Subsystems’ tab.
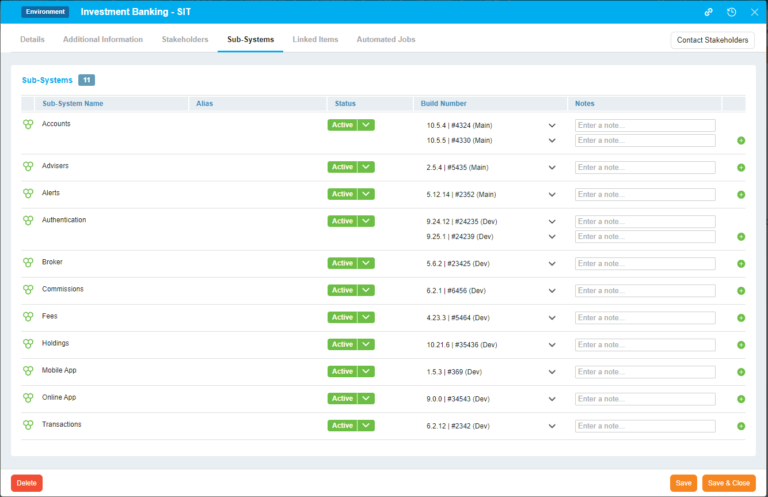
Edit Subsystems
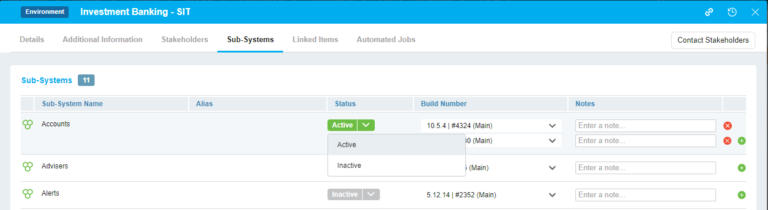
You can update the Status of each Subsystem to Active or Inactive to indicate if that particular Subsystem is actually available on the Environment.
Update the Status of one or more Subsystems and Click .png?revision=1) .
.
Add, Edit and Remove Build & Notes
You can select the current Build using the Build drop down field and update the Note fields for each Subsystem to show what version is currently deployed to the Environment.
If you have multiple versions of a single Subsystem running on the Environment you can add multiple Build and Notes.
To add additional Build and Notes click  icon.
icon.
To remove an existing Build and Note, click the  icon next to the relevant Build and Note
