Introduction to Change
Introduction
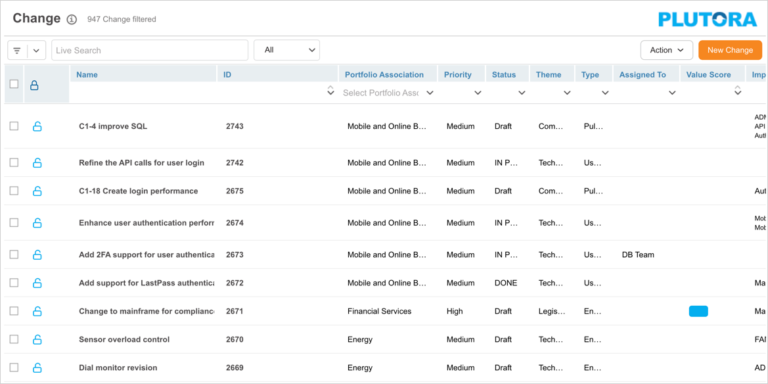
Changes represent any features, change requests, enhancements, and additional scope items that are developed and deployed to Systems within your organization. It is a request to deliver new functionality or to make updates to existing functionality, within a Release or Project. A Change lists the technical aspects of a functional change to a System and includes impacts, timings, approvals, and Stakeholders.
The Change page allows you to view, search, and filter your Changes.
Pre-requisite
You must have the ‘Change Manager’ user permission to be able to view the ‘Change’ menu
Navigation
Release > Change
Change Grid Layout and Features
On the ‘Change’ page, you can:
- View, search, and filter Changes
- Add and edit Change
- Manage Change Stakeholders
- Manage Change Systems
- Manage Delivery Release
- Duplicate Changes
- Bulk update Changes
- Delete a Change
- Bulk lock/unlock Changes
Search and Filter Options
Filter by Query Builder
Query Builder allows you to create and save your private searches and use public searches.
You must have the ‘Create/Delete Release Public Query Builder’ user permissions to create, edit or delete public queries.
To use Query Builder, click .png?revision=1) on the ‘Change’ page. See Query Builder for more information. Clicking
on the ‘Change’ page. See Query Builder for more information. Clicking .png?revision=1) opens the quick access menu, which lists private and public queries.
opens the quick access menu, which lists private and public queries.

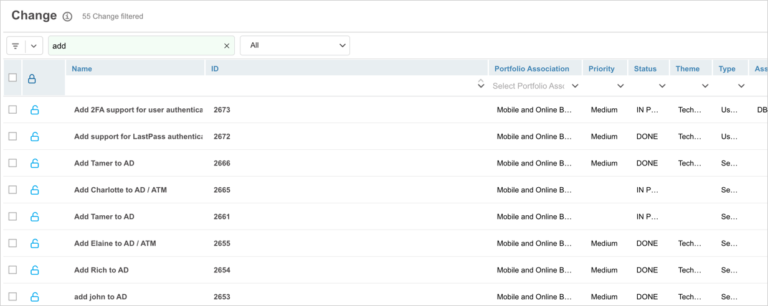
Live Search
In the ‘Live Search’ box you can search a Change by its Name. Enter the Change name into the Live Search field. Your search results appear as you type.
Filter by ‘My Filter’ Dropdown
Click on the ‘All’ drop-down to view the ‘My Filter’ options.
- All: Show all Changes.
- My Portfolio Association: This shows Changes related to your portfolio association. You can check which Portfolio Association you belong to in Profile.
- I’m a Stakeholder: Show Changes for which you are a stakeholder.

Grid Filter
The grid filter is the set of search fields and menus at the top of the data columns, under the column headers.
To filter Changes using the Grid Column,
- Search field: Type a search term.
- Drop-down menu: Click to select a list item.
- Combo box: Click to select one or more checkboxes.
- Date field: Select a date and click Done.
Press the Enter key to run the filter. To clear the filter, click the cross or select Action > Clear Grid Column Filtering to clear all the filters.

View Change
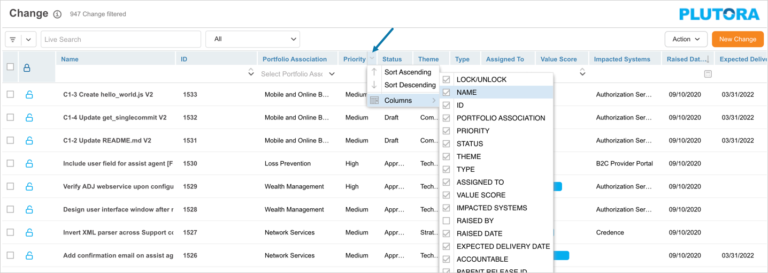
Show/Hide Columns
The ‘Change’ grid has a number of default columns, you can show or hide these columns using the grid column selector. Hover your mouse cursor over the column header to see  .
.
Click the button and select Columns. The list of columns available on the ‘Change’ grid will be displayed. Select or deselect the checkboxes to show or hide columns.
Manage Custom Fields Columns
To add custom field columns to the Change page:
- Click
.png?revision=1) .
. - Click Grid Column Selector.
- On ‘Select Additional Columns’ pop-up drag and drop custom fields into Selected Columns.
- Click
.png?revision=1) .
.
The selected custom fields will appear as new columns on the grid.
Fields in Grid Column Selector containing 
mean that they are locked by administrators using Change Custom Fields.
To remove custom fields columns, drag and drop custom fields from the ‘Selected Columns’ to ‘Available Custom Fields’ on the pop-up and click .

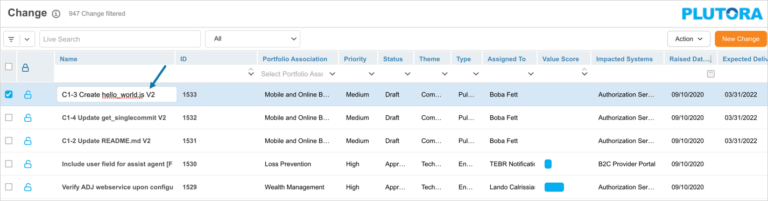
Edit Fields on the Grid
Change standard fields can be edited by clicking on the cells, similar to Microsoft Excel.
All the functionality associated with Change fields will occur when they are updated in this way, including sending emails through the Email Template Wizard.
The editable columns (unless the Change is locked) are:
- Portfolio Association
- Priority
- Expected Delivery Date
- Theme
- Value Score: You cannot delete a value, only select a replacement value.
- Name
- Assigned To
- Status
- Type: Only editable when Change workflow is disabled, as having a workflow-enabled forces an association between Type and Status.
- All the custom fields
To update columns on the grid click a cell in one of the Change field columns. The cell can be edited and saved, just like a cell in Microsoft Excel. Once done, click outside the cell to save your update.
The usual user permissions still apply.
Export your Changes to XLS
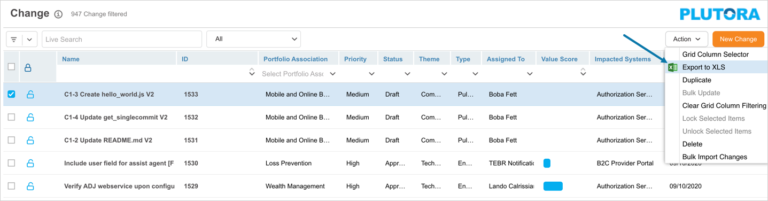
To export your Changes to XLS, click  and then click Export to XLS. Only currently displayed Changes will be exported. Filter your Changes if you do not want to export them all.
Your Excel file should start downloading immediately. If it doesn’t, check your pop-up blocker settings. Save the file to your hard drive if prompted.
More Information
The total number of filtered Changes are displayed next to the ‘Change’ header.
