Creating and Deleting Gates
A request gate is a building block of a workflow that offers the opportunity to add more information, or review information before moving to the next segment of the workflow. While gates are powerful and sometimes essential, a request does not have to be part of a workflow: a request can simply be a form for capturing information that can then be copied (or not) to other entities. Or, you can configure a request category to have 1 to n gates.
Every gate you configure will have an approver; approvers have implicit permission to approve/reject/place on hold/place back in progress/send request back to prior gate, and creators and requesters have implicit permission to place a request on hold or place a request back to In Progress status (read more about request statuses). While approvers and requesters/creators have implicit permissions, you can also grant these permissions to other users by using permission profiles. See Setting Up Permissions for Requests.
You create gates on the request Categories page (Admin/Setup/All Entities/Requests/Categories). While gates are discrete items, they are associated with a category. When creating a category you configure a few settings that apply to any gate associated with the category. These category-wide gate properties are:
- Whether to include guidelines as the first step for a new request
- Whether the request is eligible to be sent back to a prior gate
- Whether to send a notification to the requestor if the person submitting the request is not the requester
See Creating Categories for Requests for more information. Next, you create the gates themselves, which includes choosing whether or not to include any of the sections provided by the category.
Once you have created a gate, which includes specifying one or more approvers, and optionally setting up notifications, you can:
- configure which fields show up on the new request and each gate, and whether they are editable or read only (Variable Properties)
- map gate fields to fields on associated entities (Mappings)
- view information about the field, including whether any common restrictions (across categories) apply to the selected field (Other)
Deleting Gates
If a request category has one or more requests In Progress or On Hold, then you cannot delete any of that category's gates. In other words, you can only delete gates if all requests are Approved or Rejected.
Trick of the trade: if you have a gate that you wish to delete (perhaps it is no longer part of your workflow), but it can't be deleted because there are outstanding requests at that gate (either In Progress or On Hold), you can employ gate-skipping logic to instruct the request to skip over the gate, allowing the gate to be deleted. See How to Skip Gates.
Status and Gate Status Fields
There are two "status" fields that are in play for requests: Status and Gate Status.
- The Gate Status standard field is provided by PPM Pro and is part of the gate flow process - it is required if you are using gates. Gate Status reflects the request's status as it moves through the approval process: New, In Progress, Approved, Rejected, On Hold. See About Gate Status.
- The general Status lookup list is provided by PPM Pro and can be placed on a request Details tab if so desired. You can add/remove/edit list values for this simple Status. If there are no gates configured for a request, then the simple Status field can be used on the request Details, and the Gate Status field is not required (even if you put it on the grid it will not work without gates). It is not recommended to use the general Status list along with the Gate Status list when a request category has gates, as having two statuses might confuse users.
Note: If you are not using gates and "Show" for new request is No, then only Details will appear in the Create New Request dialog and other Show on New sections will not appear until the request simple Status field is set to something other than Proposed.
Creating a Gate
To create a gate you must already have at least one category that provides the gate's potential sections (See Creating Categories for Requests). You can configure the general gate settings located in the New/Edit Request Category modal before you have created any gates.
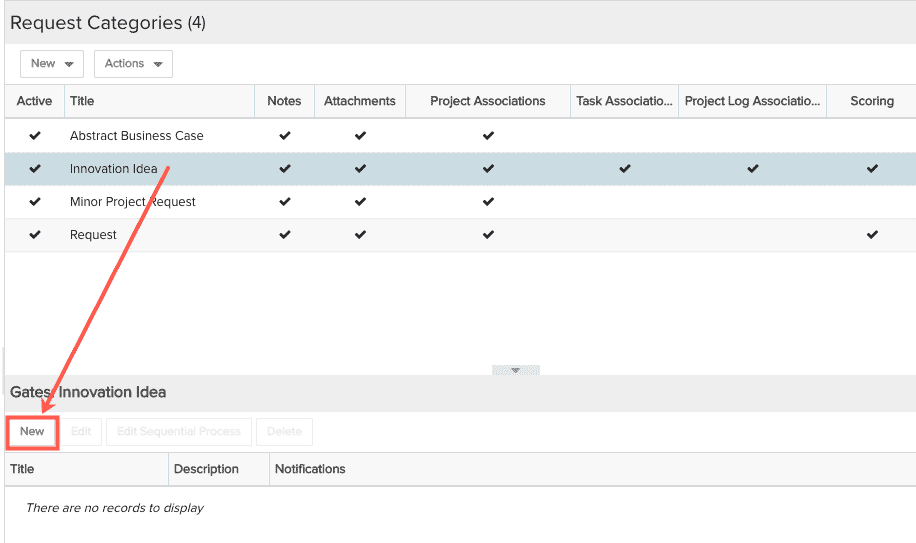
- Navigate to Admin/Setup/All Entities/Requests/Categories and select the category for which you wish to create the gate.
- Click the New button in the Gates: <selected category> section in the lower half of the screen.
The New Gate modal appears. This modal consists of 3 tabbed areas: General, Gate Approver, Notifications.
General
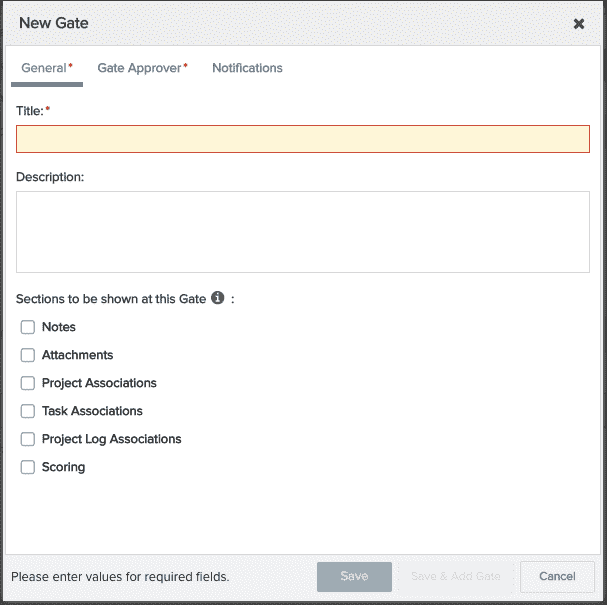
The General tab is where you name the gate and select which sections will appear at that gate (different gates can have different sections as needed). The sections presented in the New Gate modal are the same sections configured for the Category the gate is related to. For example, if the Category includes Note and Attachments only, then the sections presented in the New Gate modal will be Notes and Attachments; you can decide per gate whether or not so show them.
- (Required) Enter a Title for the gate.
- (Optional) Select the sections you wish to appear as tabs on the request at that gate.
- (Optional) Enter descriptive text in the Description field.
- Click the Gate Approver tab.
Gate Approver
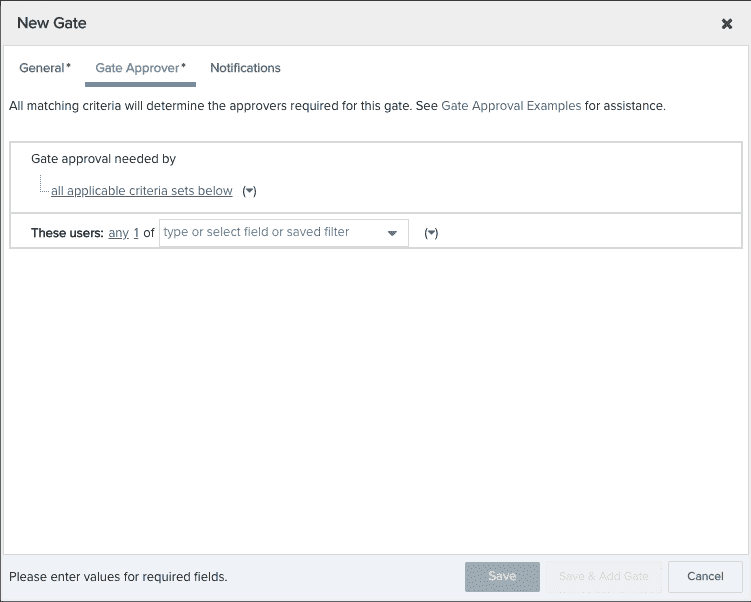
The Gate Approver tab is where you specify who can approve the request at this gate.
- (Required) At least one gate approver is required. See Configuring Gate Approvers for information about creating approval logic. If you want to create a simple criterion as a placeholder and then go back later and update, select All Resources from the drop list and then create a Who Have element and then select your own name. This allows you to save the gate definition and you can update the approval criteria when you are ready.
- (Optional) Click the Notifications tab to configure a notification.
For illustration purposes, screenshots below show the Notifications panel with 0 or 1 notification selected. You can enable both notifications at the same time and configure them both on the Notifications panel.
 |
 |
 |
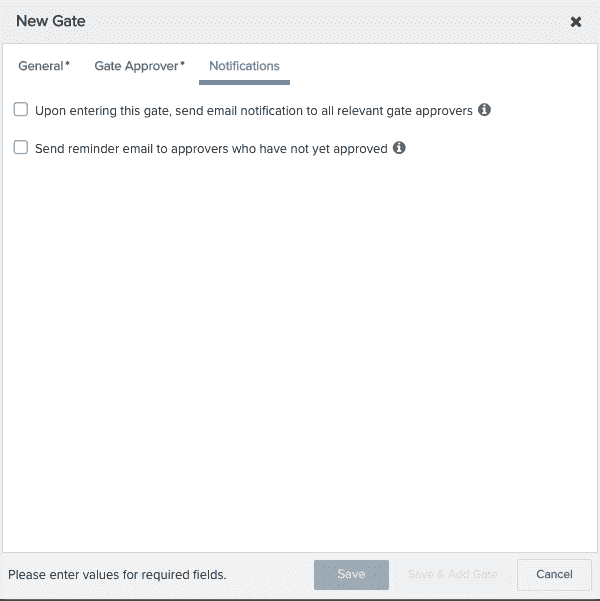
The Notifications tab is where you configure 2 types of notifications:
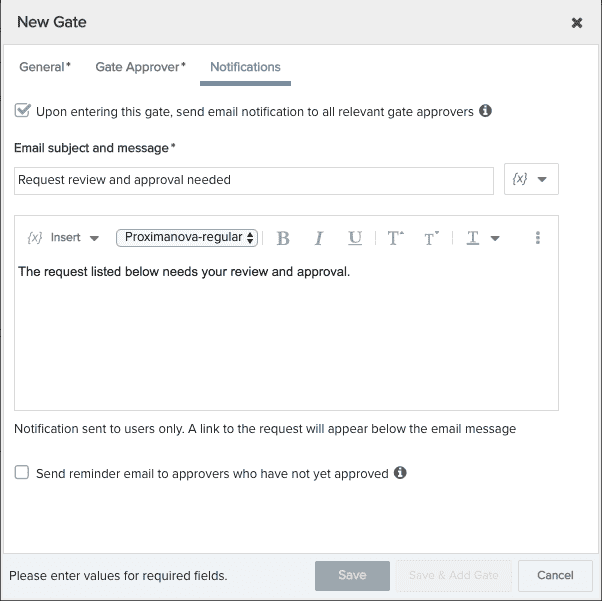
- Upon entering gate - This notification is sent to all relevant approvers configured for a gate when the request enters the gate - either when the request moves forward sequentially as the result of a gate approval, or if the request moves backward because the "Send Back to Prior Gate" action was selected (single approver currently supported).
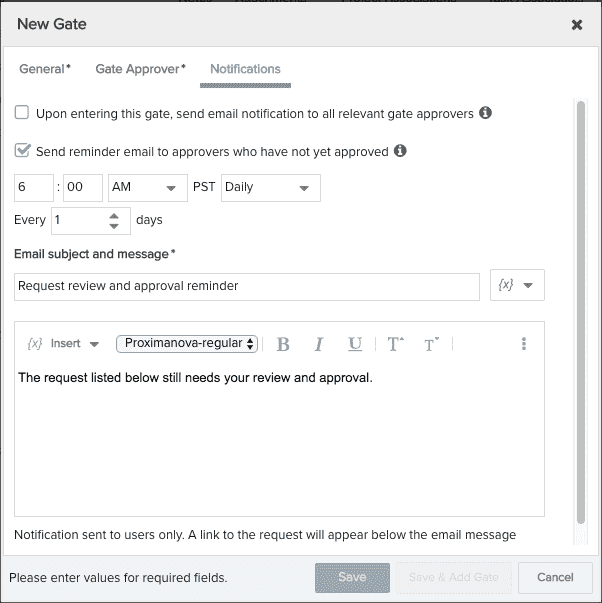
- Approval reminder - This notification is sent to all approvers who have not yet approved the gate.
One additional notification is created at the category level: Send notification to requester upon submission (see Category-level Notifications). There are additional notifications that you configure per gate (see Action-based Notifications).
When you click the checkbox enabling either of these notifications, a rich text entry form will appear. You can simply click the checkbox and use the provided default text, or enter your own subject or message.
- Save or Save & Add Gate if you wish to create another gate at this time.
Once you create your gate(s), you can configure the fields to appear on them.
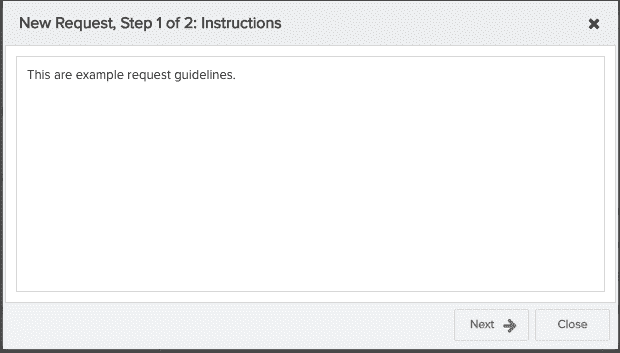
Including Workflow Guidelines
You can optionally show a first step of instructional guidelines when creating a request; if a simple request category would not benefit from guidelines, simply do not configure it to have them. You set this option in the request category - see Creating Categories for Requests. Below is an example step one that is a Guideline; after clicking Next the Details modal will appear: