Product Modeling
Overview
Once provisioning is complete, you are ready to set up your product value streams! Simply log in, and follow our in-application instructions to add your product to Viz or follow the instructions below.
The following instructions will guide you through the steps to create your first product value stream and its associated artifact sets and tool connections.
Adding a Product
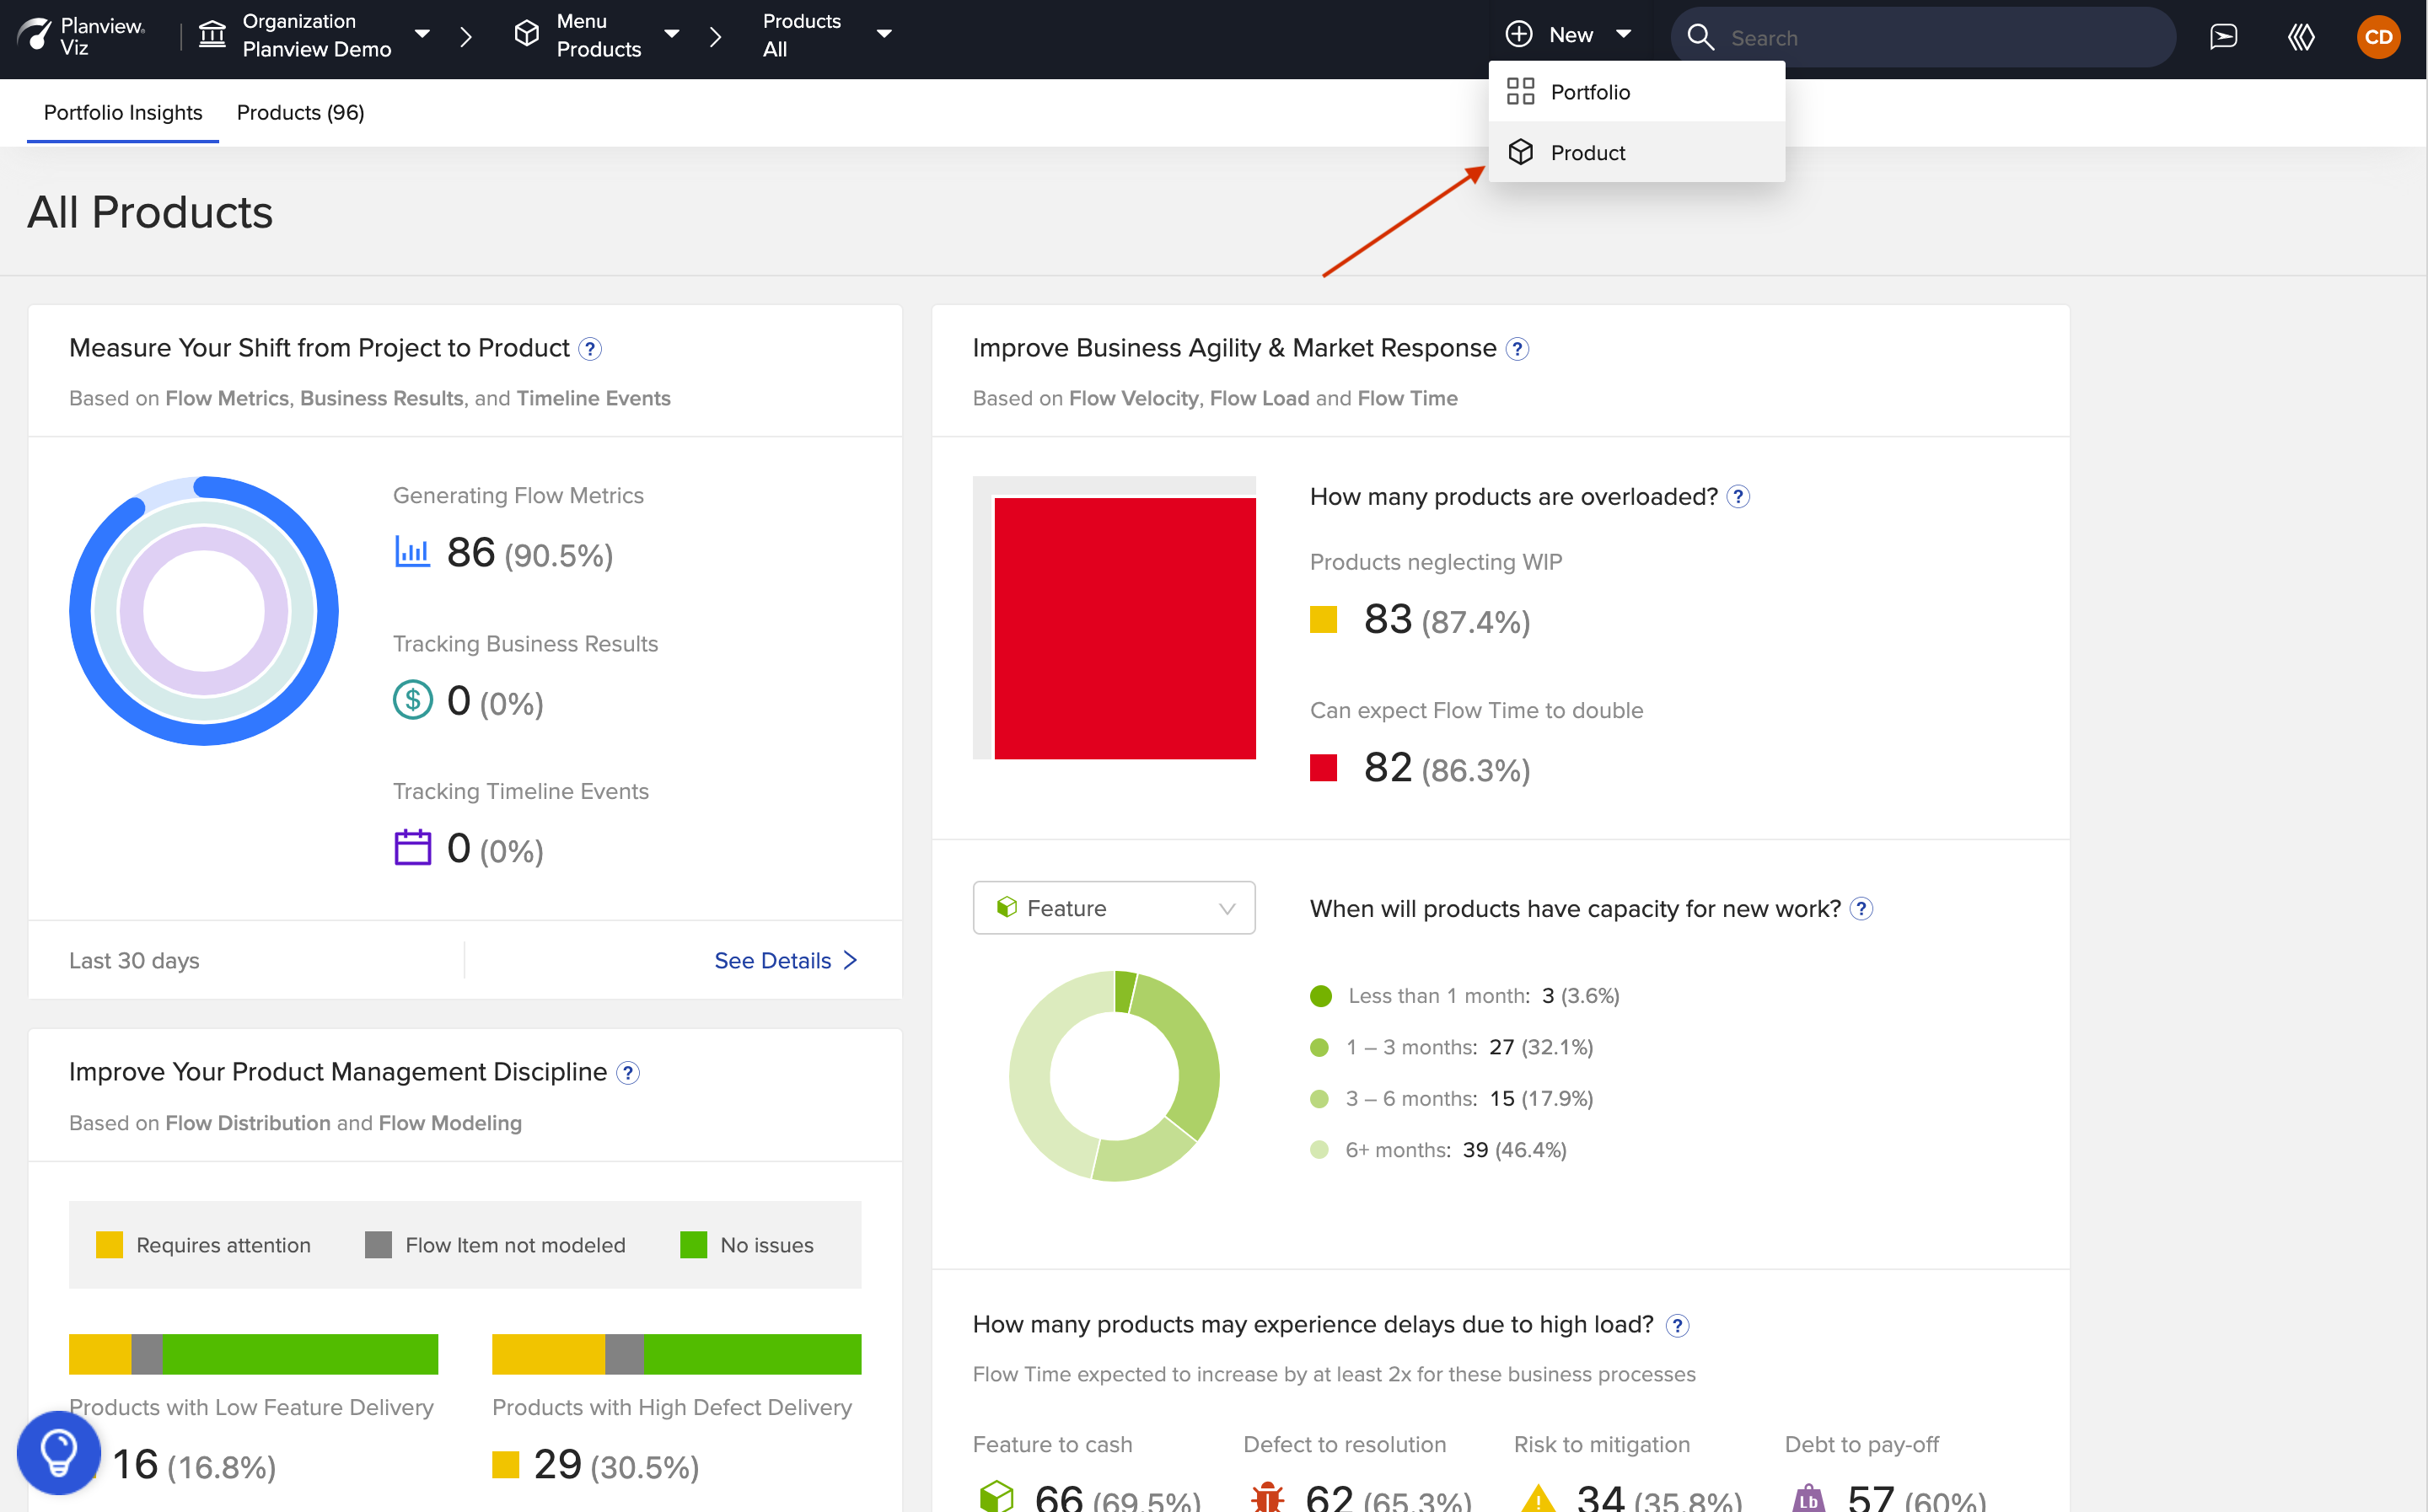
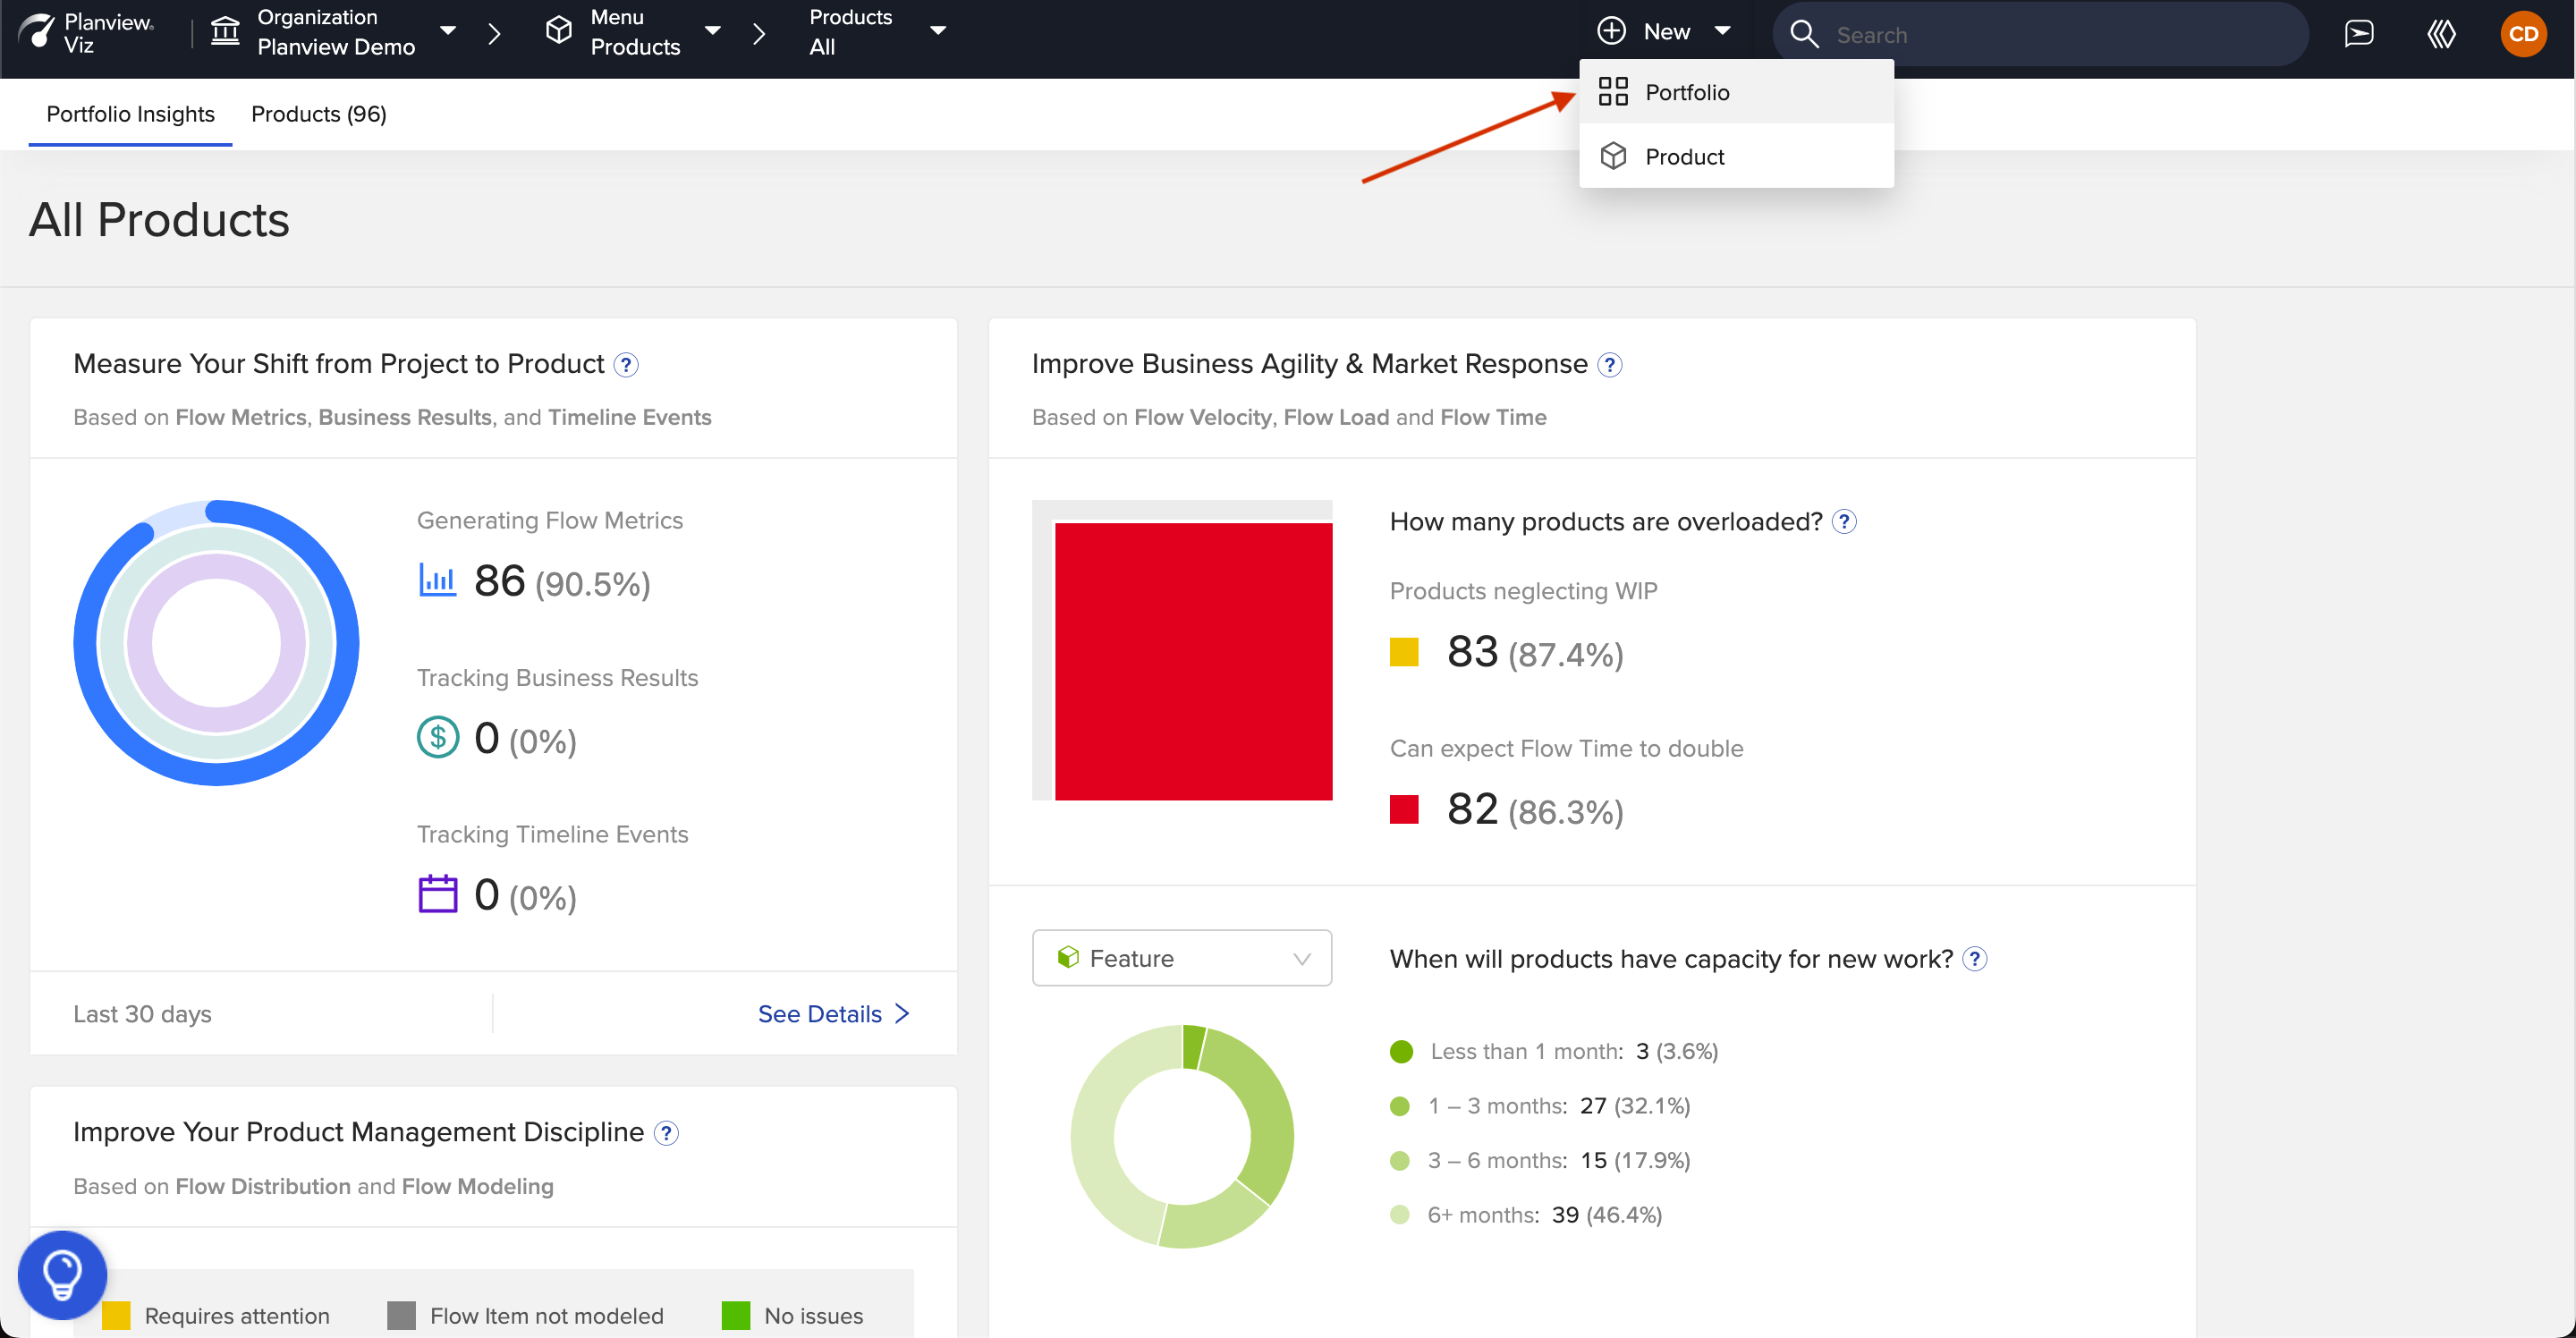
To create a new product, click the + New dropdown and select Product.
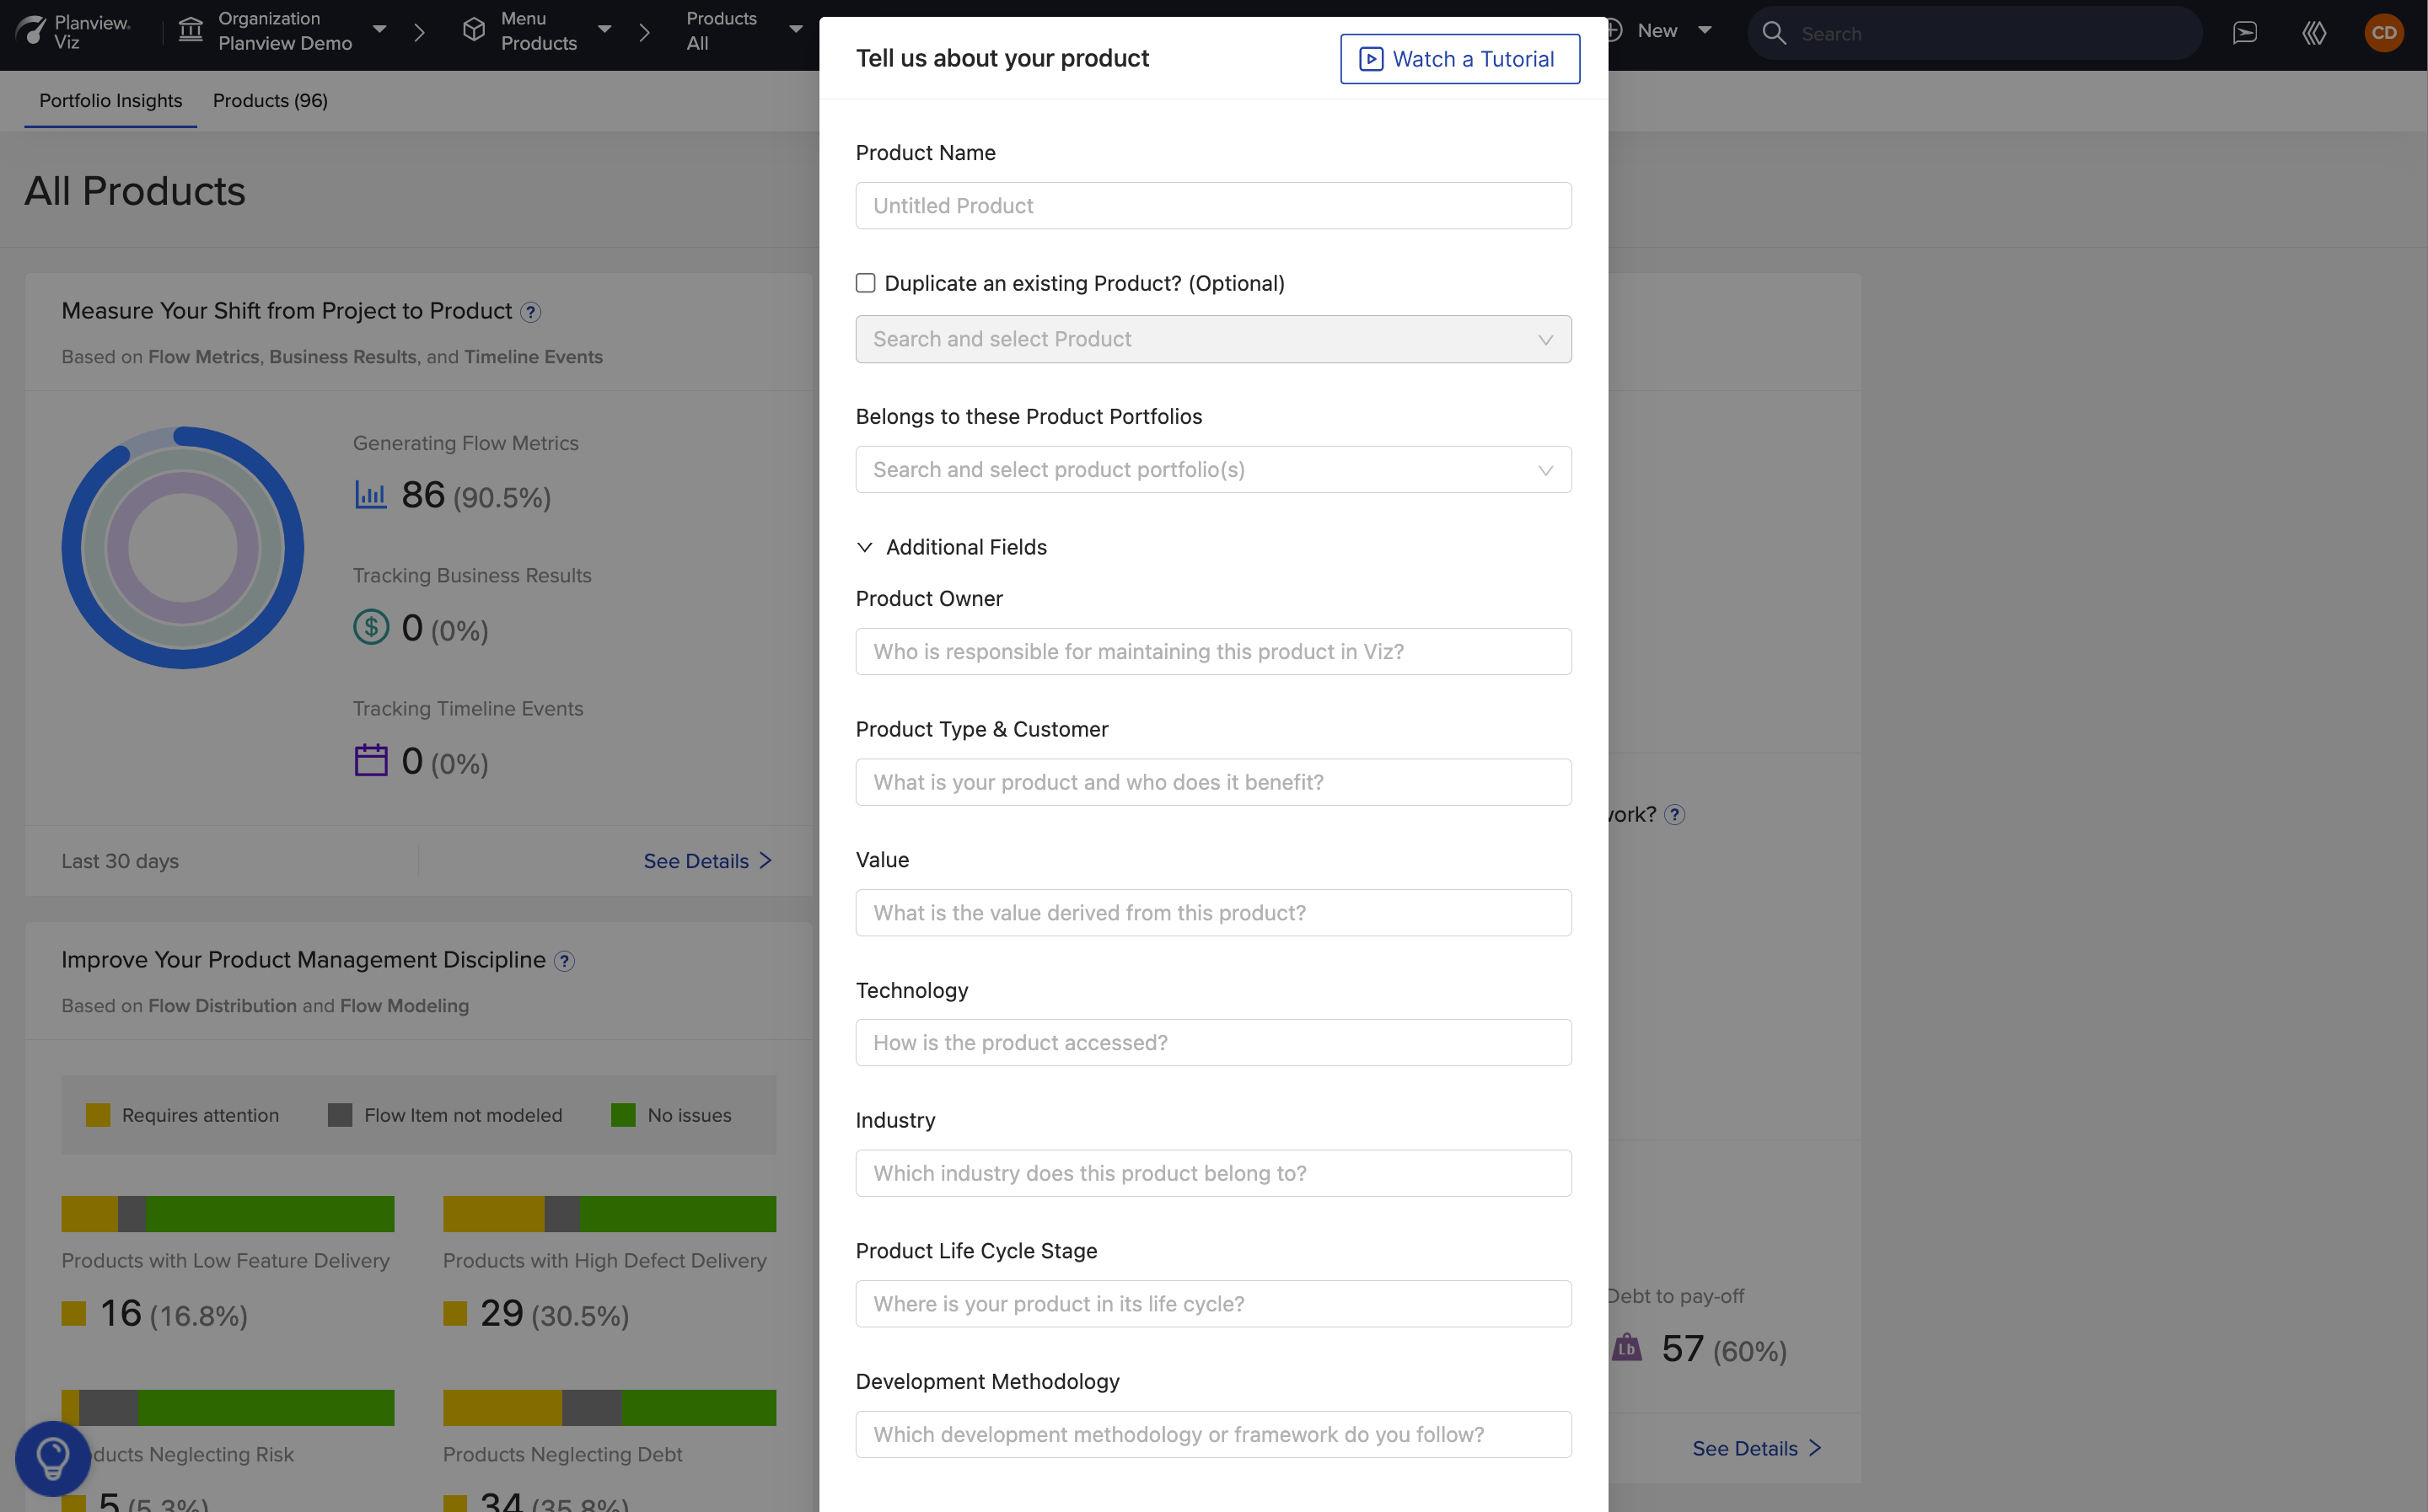
Type in your product’s name and your product's group(s). If your product doesn't have a group yet, that's ok, you can create a product group later.
Next, fill in some basic data around your product. This data will help people in your organization understand what your product does and how your value stream works. This data may also be used for analytics and insights Viz will prepare for you.
Note: You can update this information in the product menu dropdown.
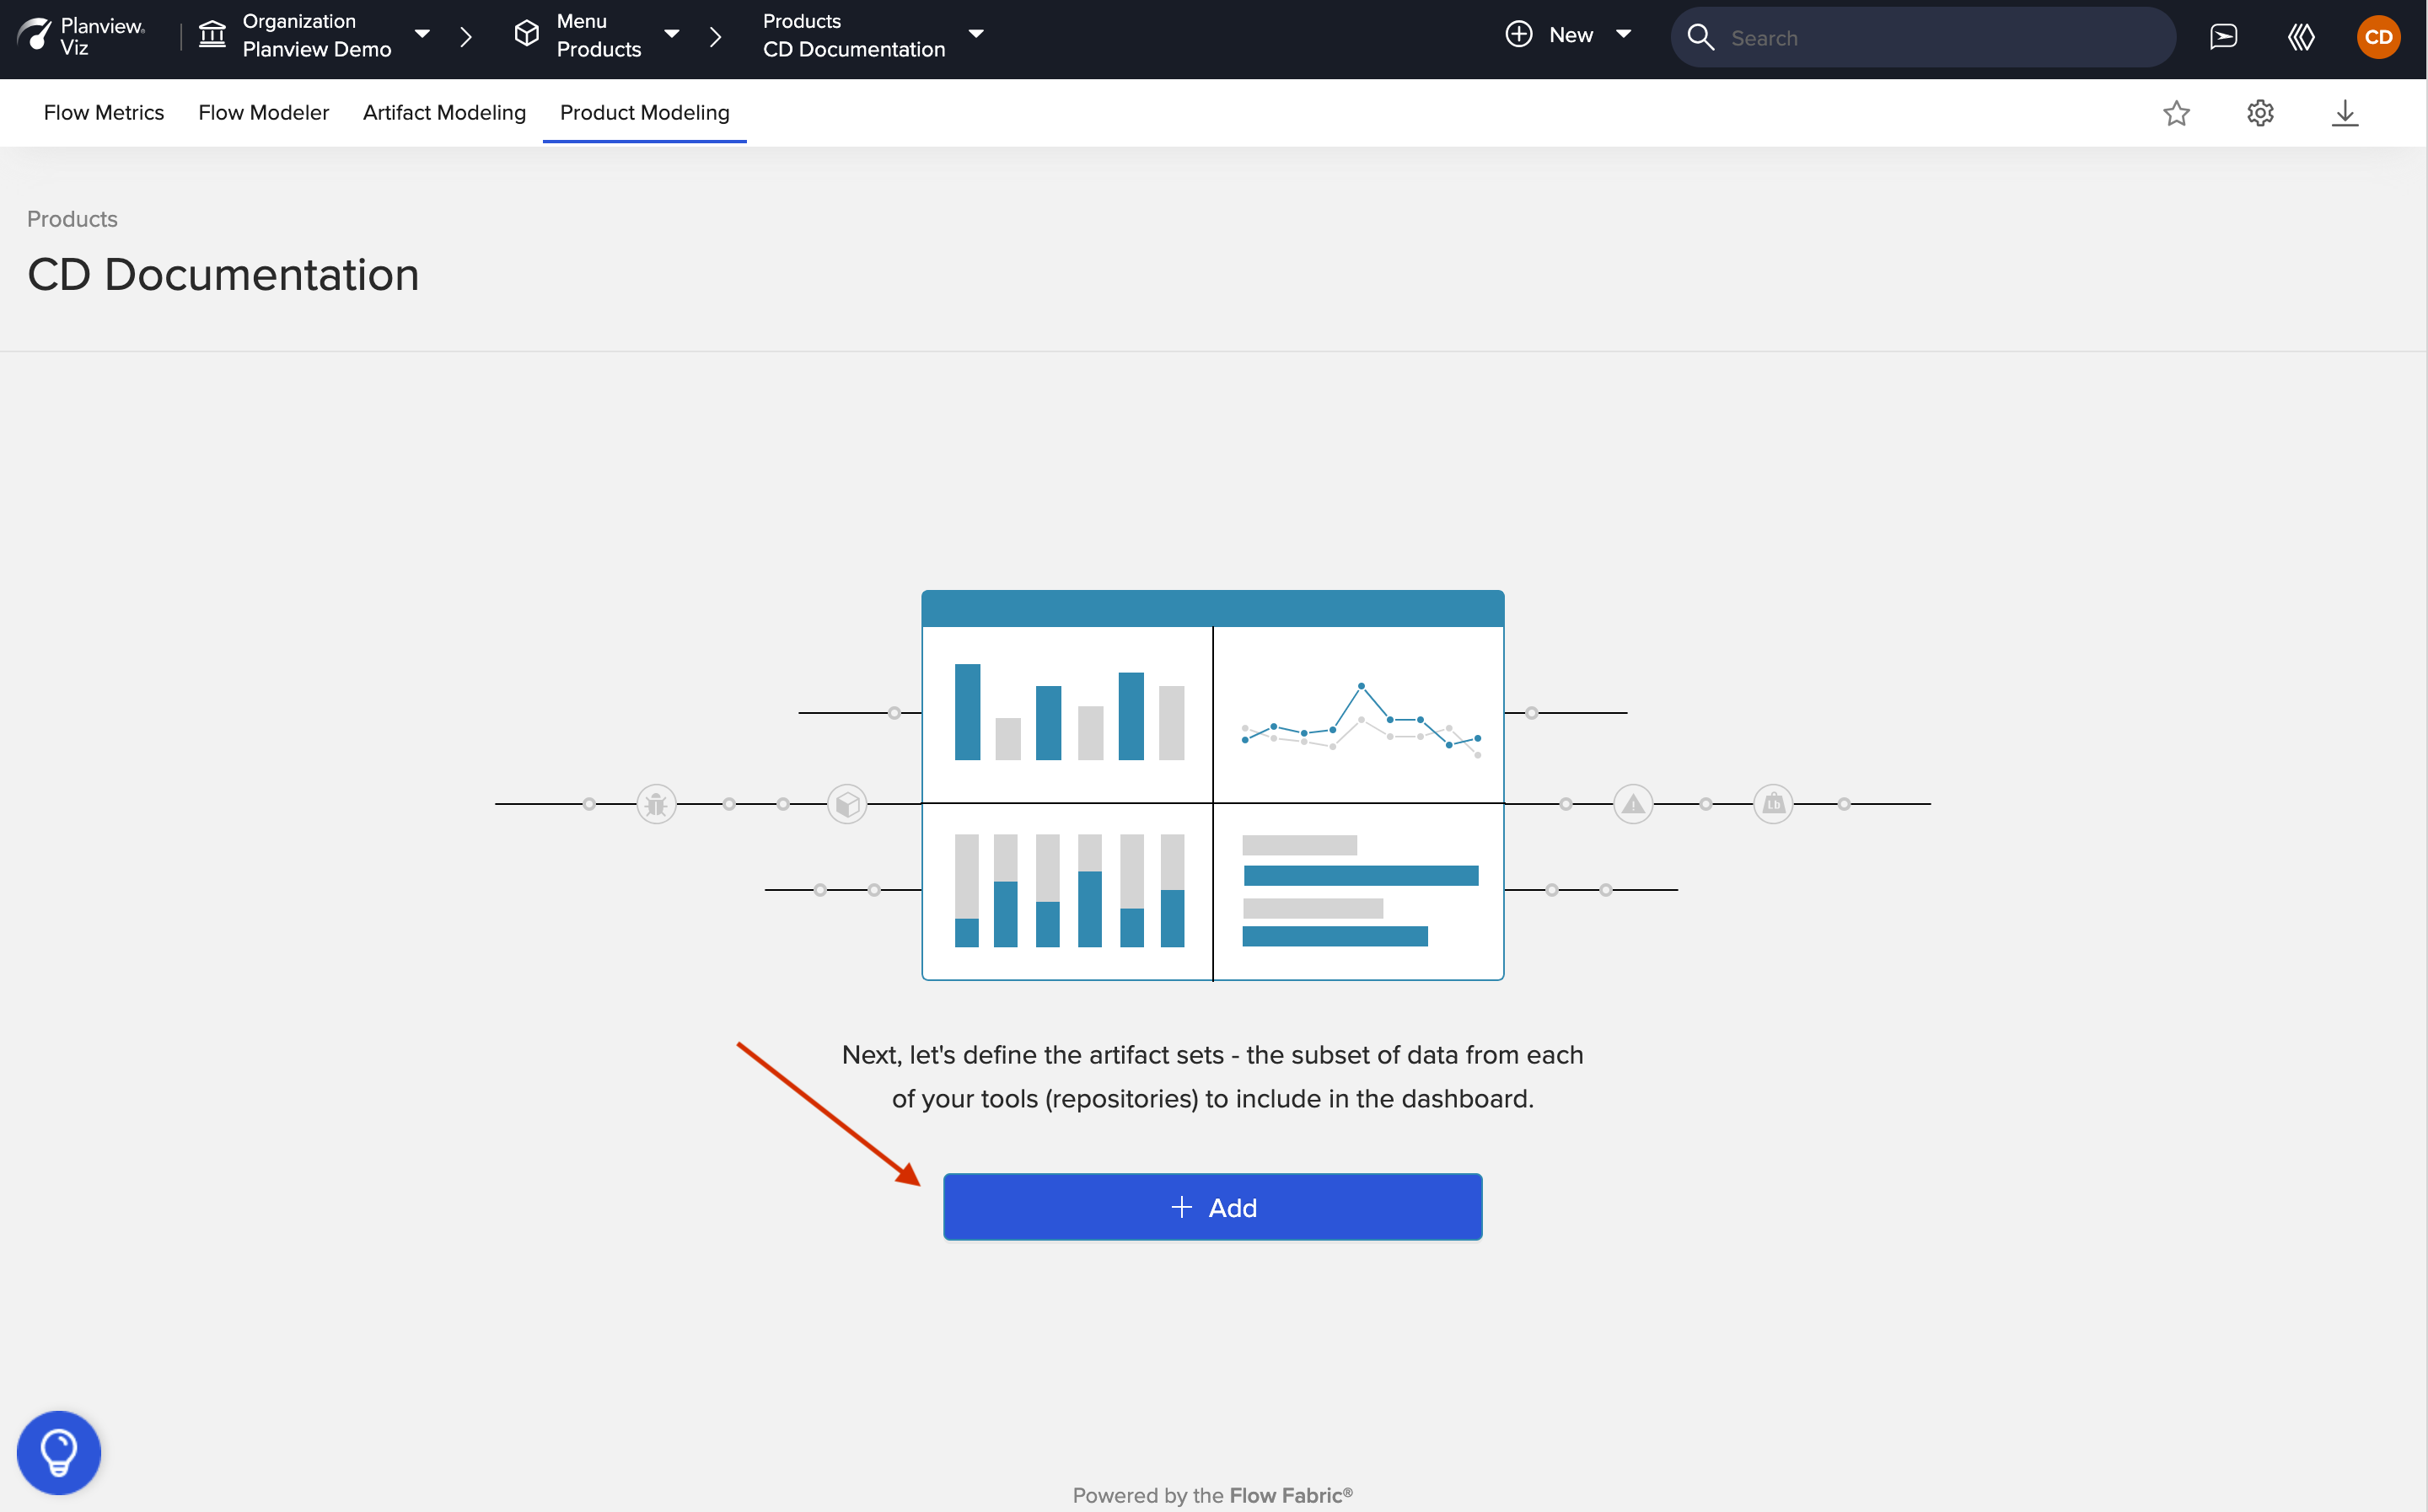
After you've created your product, it's time to start modeling. The first step is product modeling, which is done in the Product Modeling tab.

In product modeling, you’ll point Viz to the relevant tool, and within it — the projects or artifacts that are pertinent to your product.
Note: Viz should already be connected to your software delivery tools. If you see one missing, please reach out to your Viz admin.
To add your first data set, click Add.
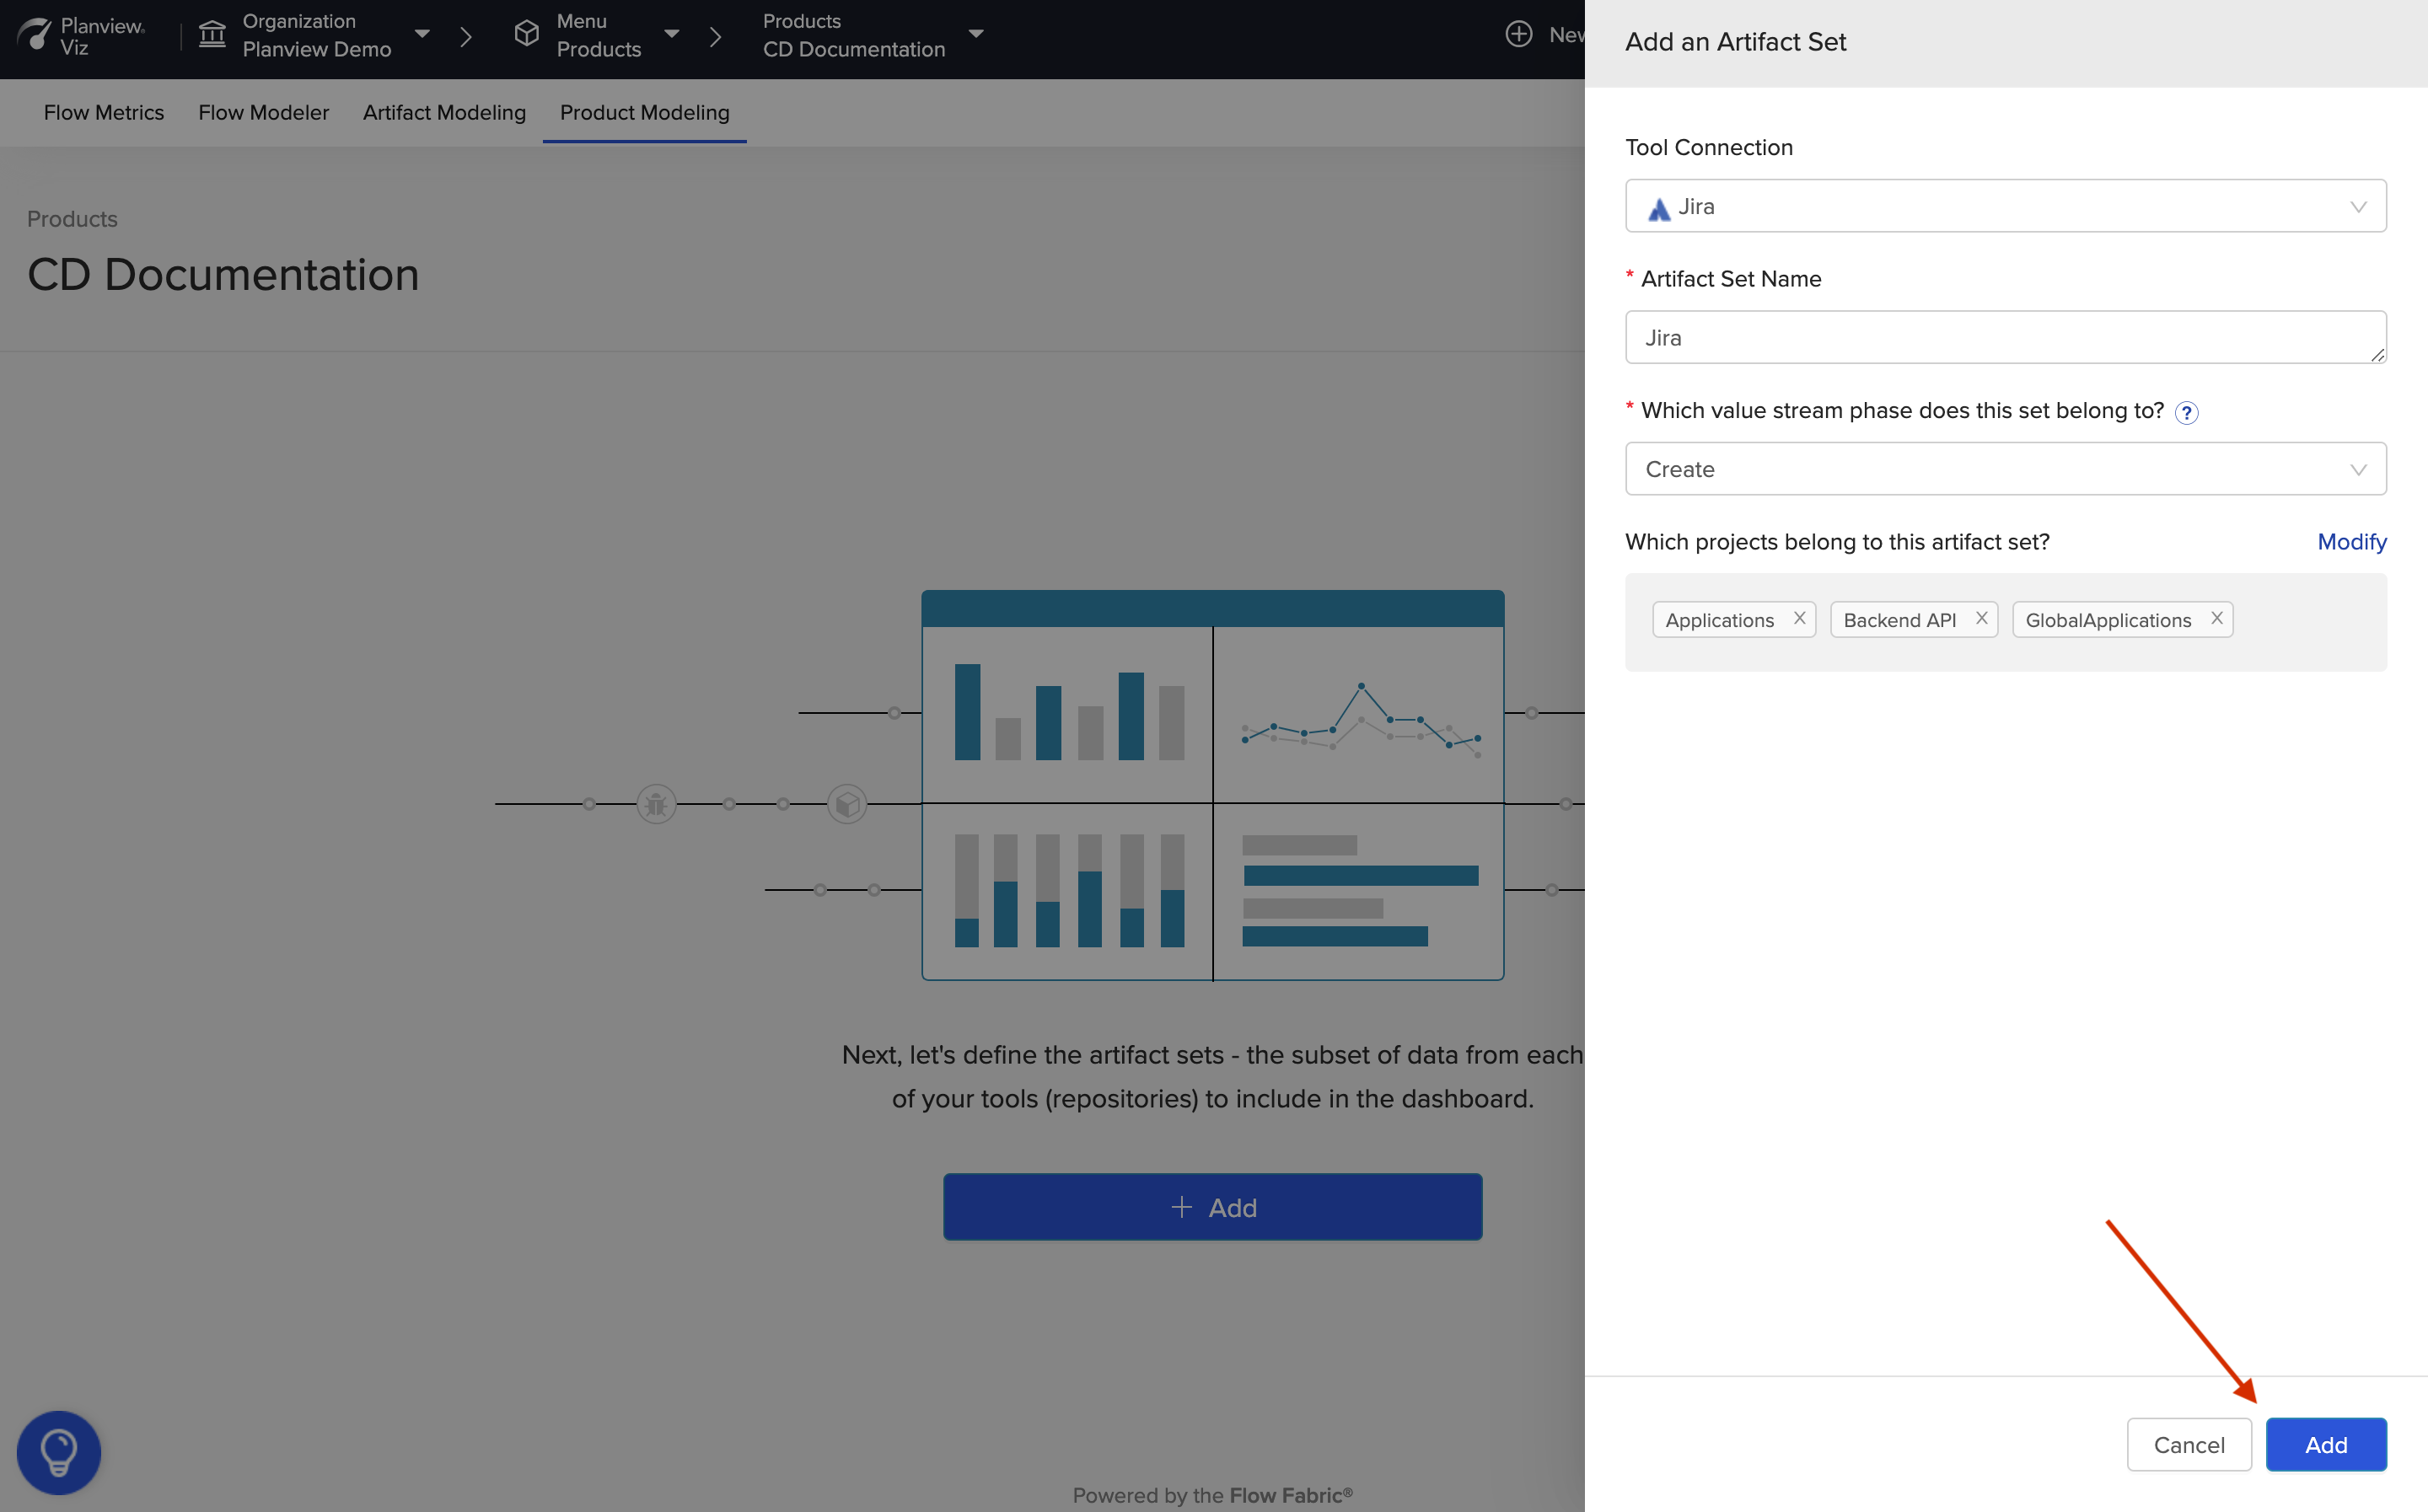
Next, select the tool and relevant projects. Consider also including your dependencies in this modeling, because bottlenecks are often found there.
Note: Before adding a project for modeling, please ensure that the project has been added to Data Capture and at least one at least one change detection has been executed. This is important as schema creation takes time to complete and initial data ingestion needs to process through the system.

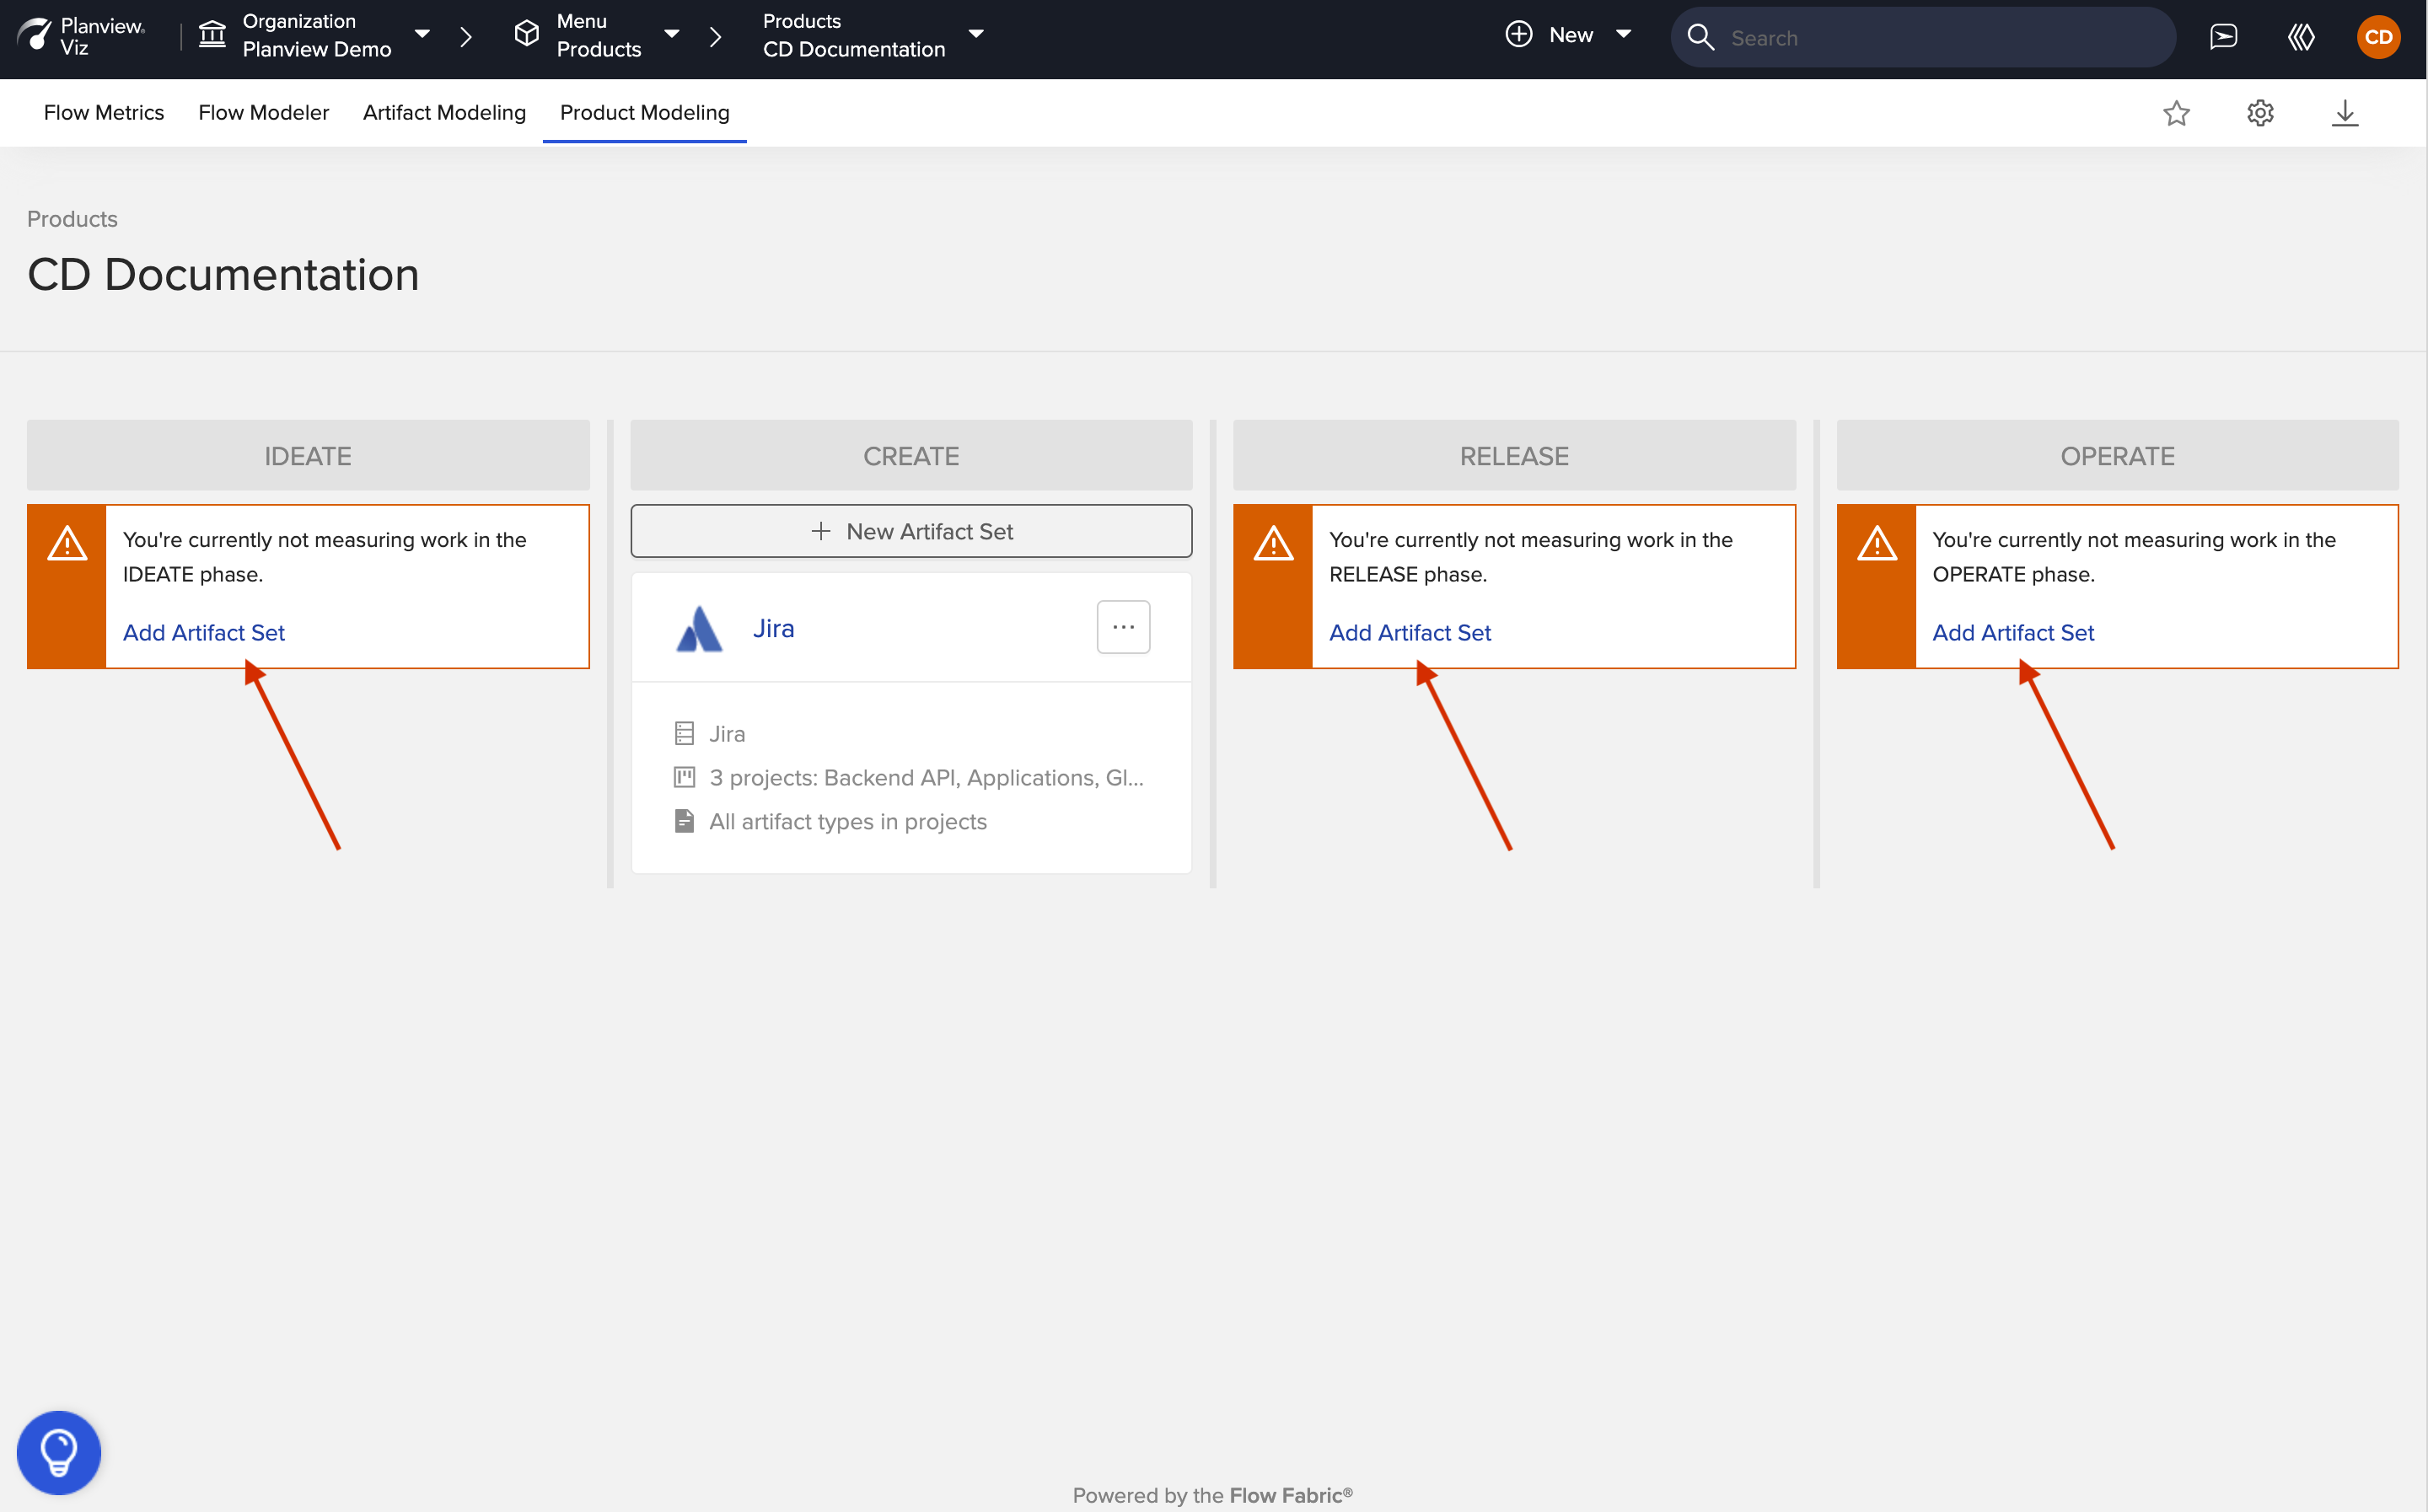
You'll also need to assign your artifact set to a value stream phase so you can measure flow across disciplines. Each value stream phase represents a key stage in the end-to-end software delivery process, from planning to code review to support.
|
Value Stream Phase |
Description |
Examples |
|---|---|---|
|
Ideate |
Tools used to capture customer requests and new ideas, gather requirements, plan roadmaps, define scope, and design a feature. |
|
|
Create |
Tools used to manage the backlog, analyze issues, architect solutions, and write, build, and test code. |
|
|
Release |
Tools used to manage, orchestrate, and automate the release of code changes to production. |
|
|
Operate |
Tools used to operate, support, monitor, govern, and secure solutions running in production. |
|
Once you’ve added the necessary data to your artifact set, click Add.
After you add your first artifact set, you will see it created in the Product Modeling tab. You should add all the relevant artifact sets to cover the remaining phases of software delivery.
In the below sections, you can learn more about copying a product, product groups, and adding favorites. But if you'd like to skip those sections, you can move on to the next step in modeling your value stream — artifact modeling.
Copying a Product
You can create a new product by copying an existing product — allowing you to easily recreate a product in scenarios where the data set is mostly the same, but the modeling is slightly different.
For example, suppose you'd like to create a new product with the same modeling but with a few changes to your conditional modeling. Instead of manually creating a new product with these changes, you can copy an existing product.
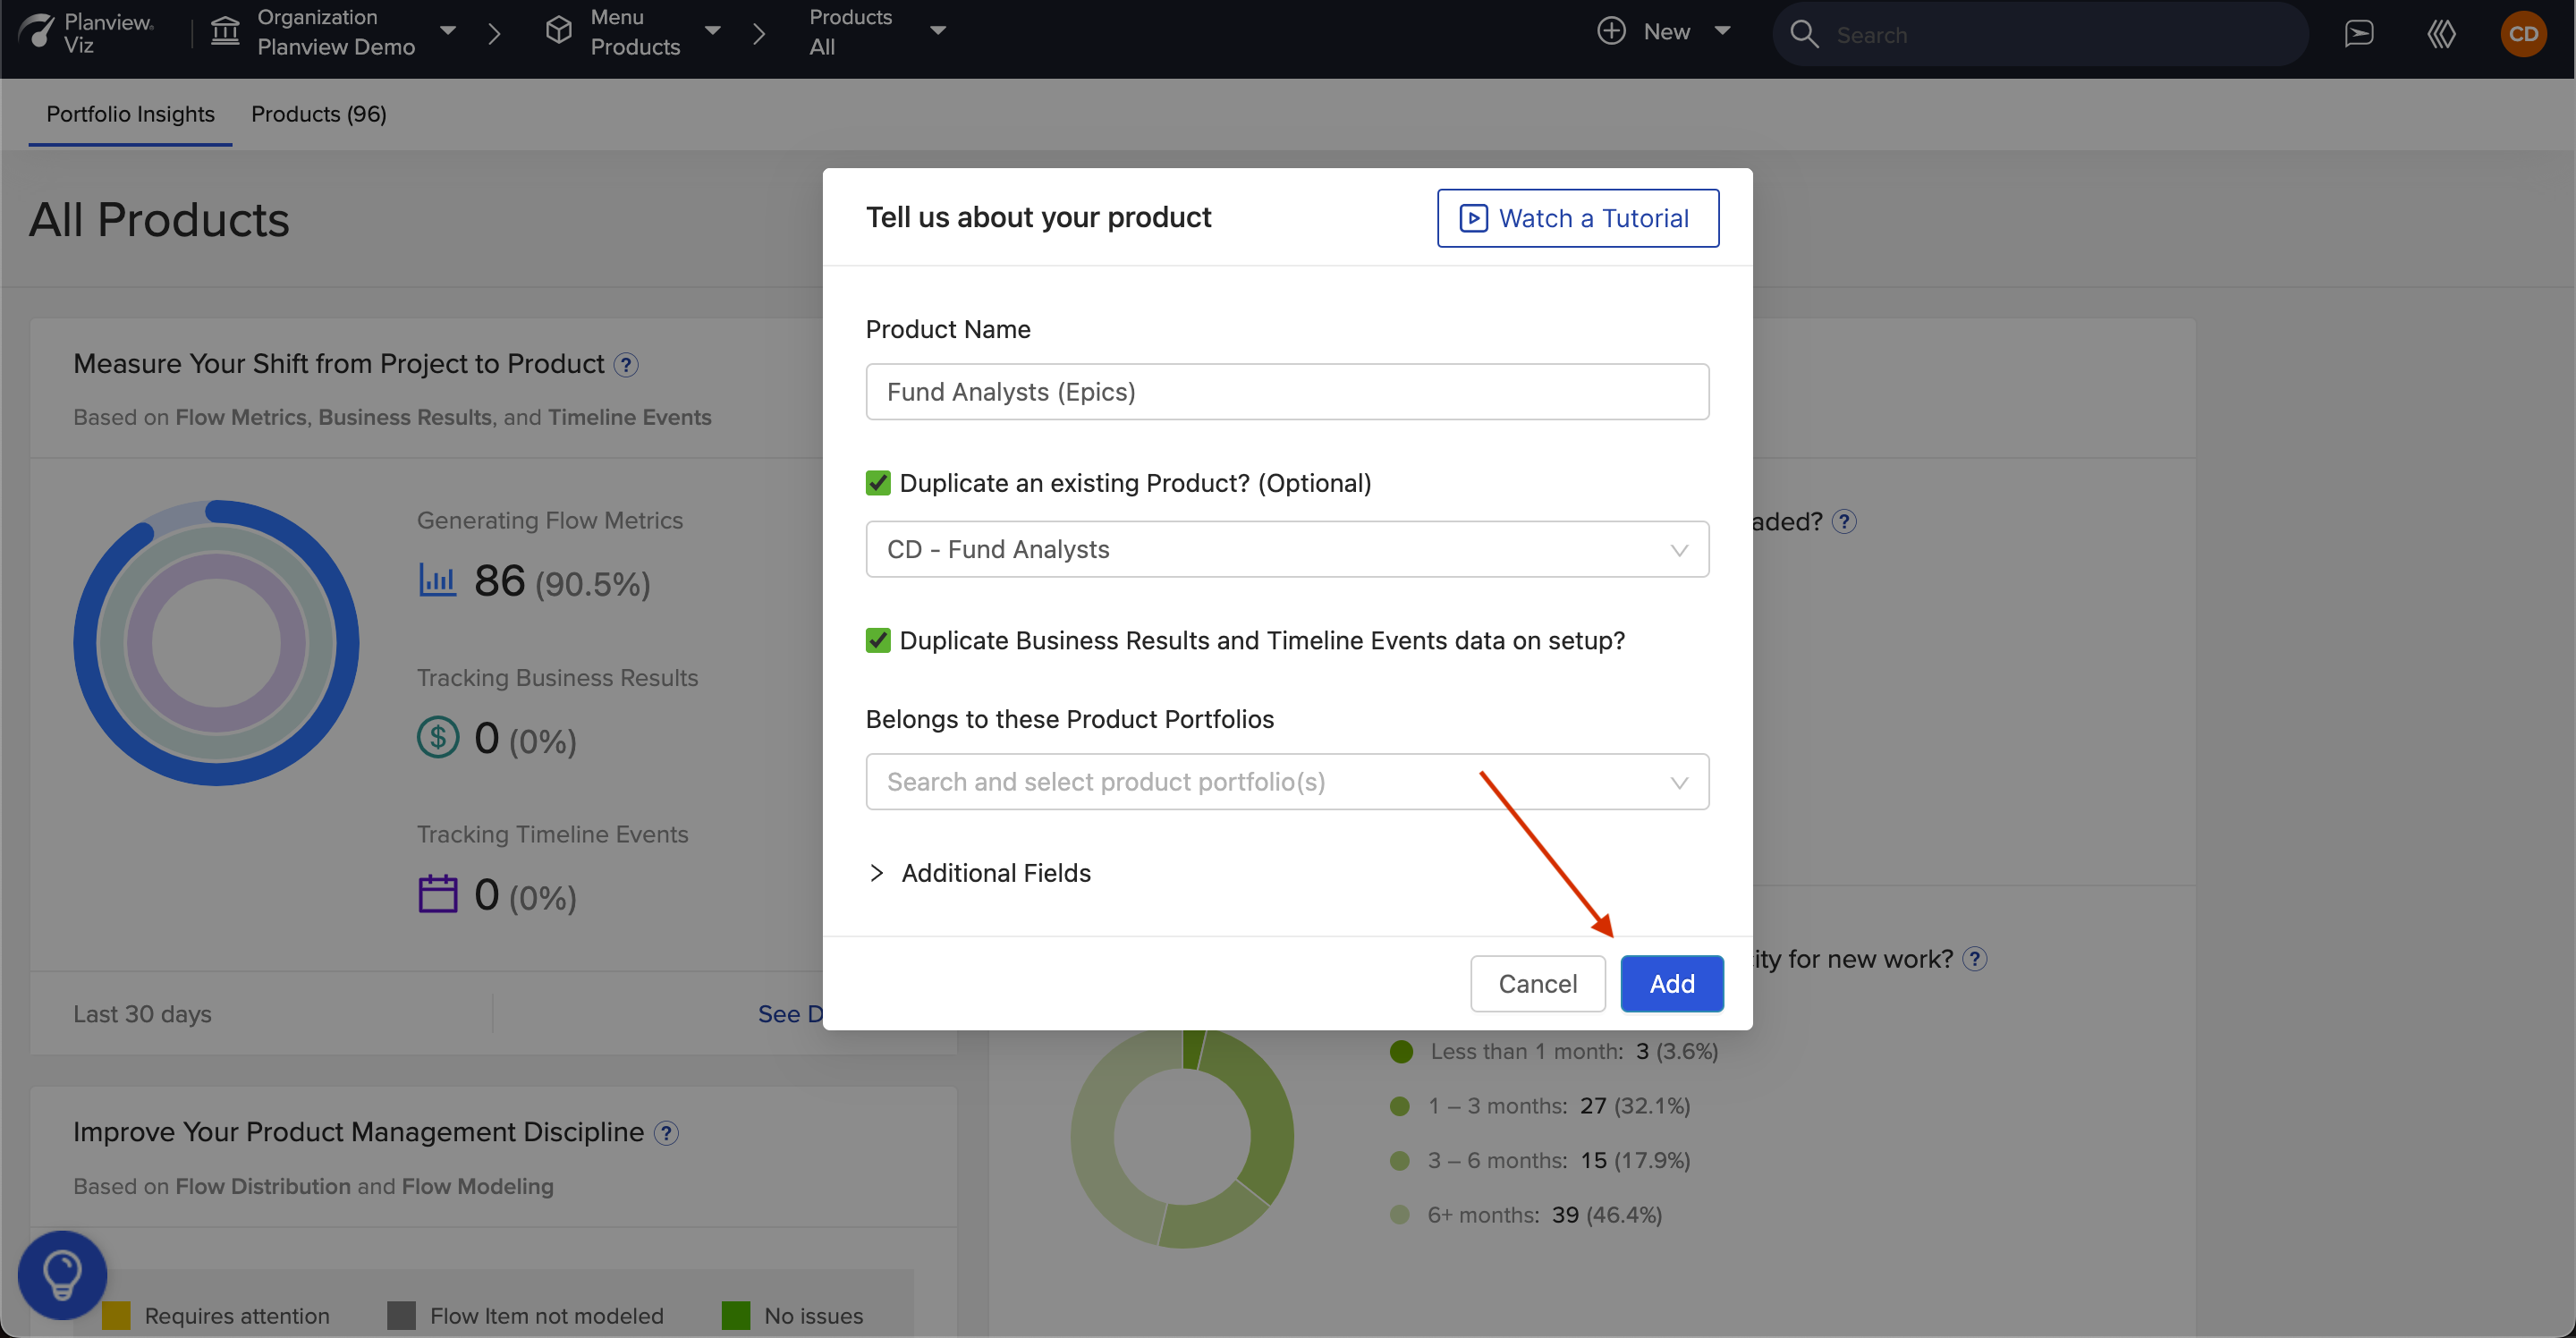
To copy a product, click the + New dropdown and select Product.
On the product details menu, select the Duplicate an existing Product checkbox.
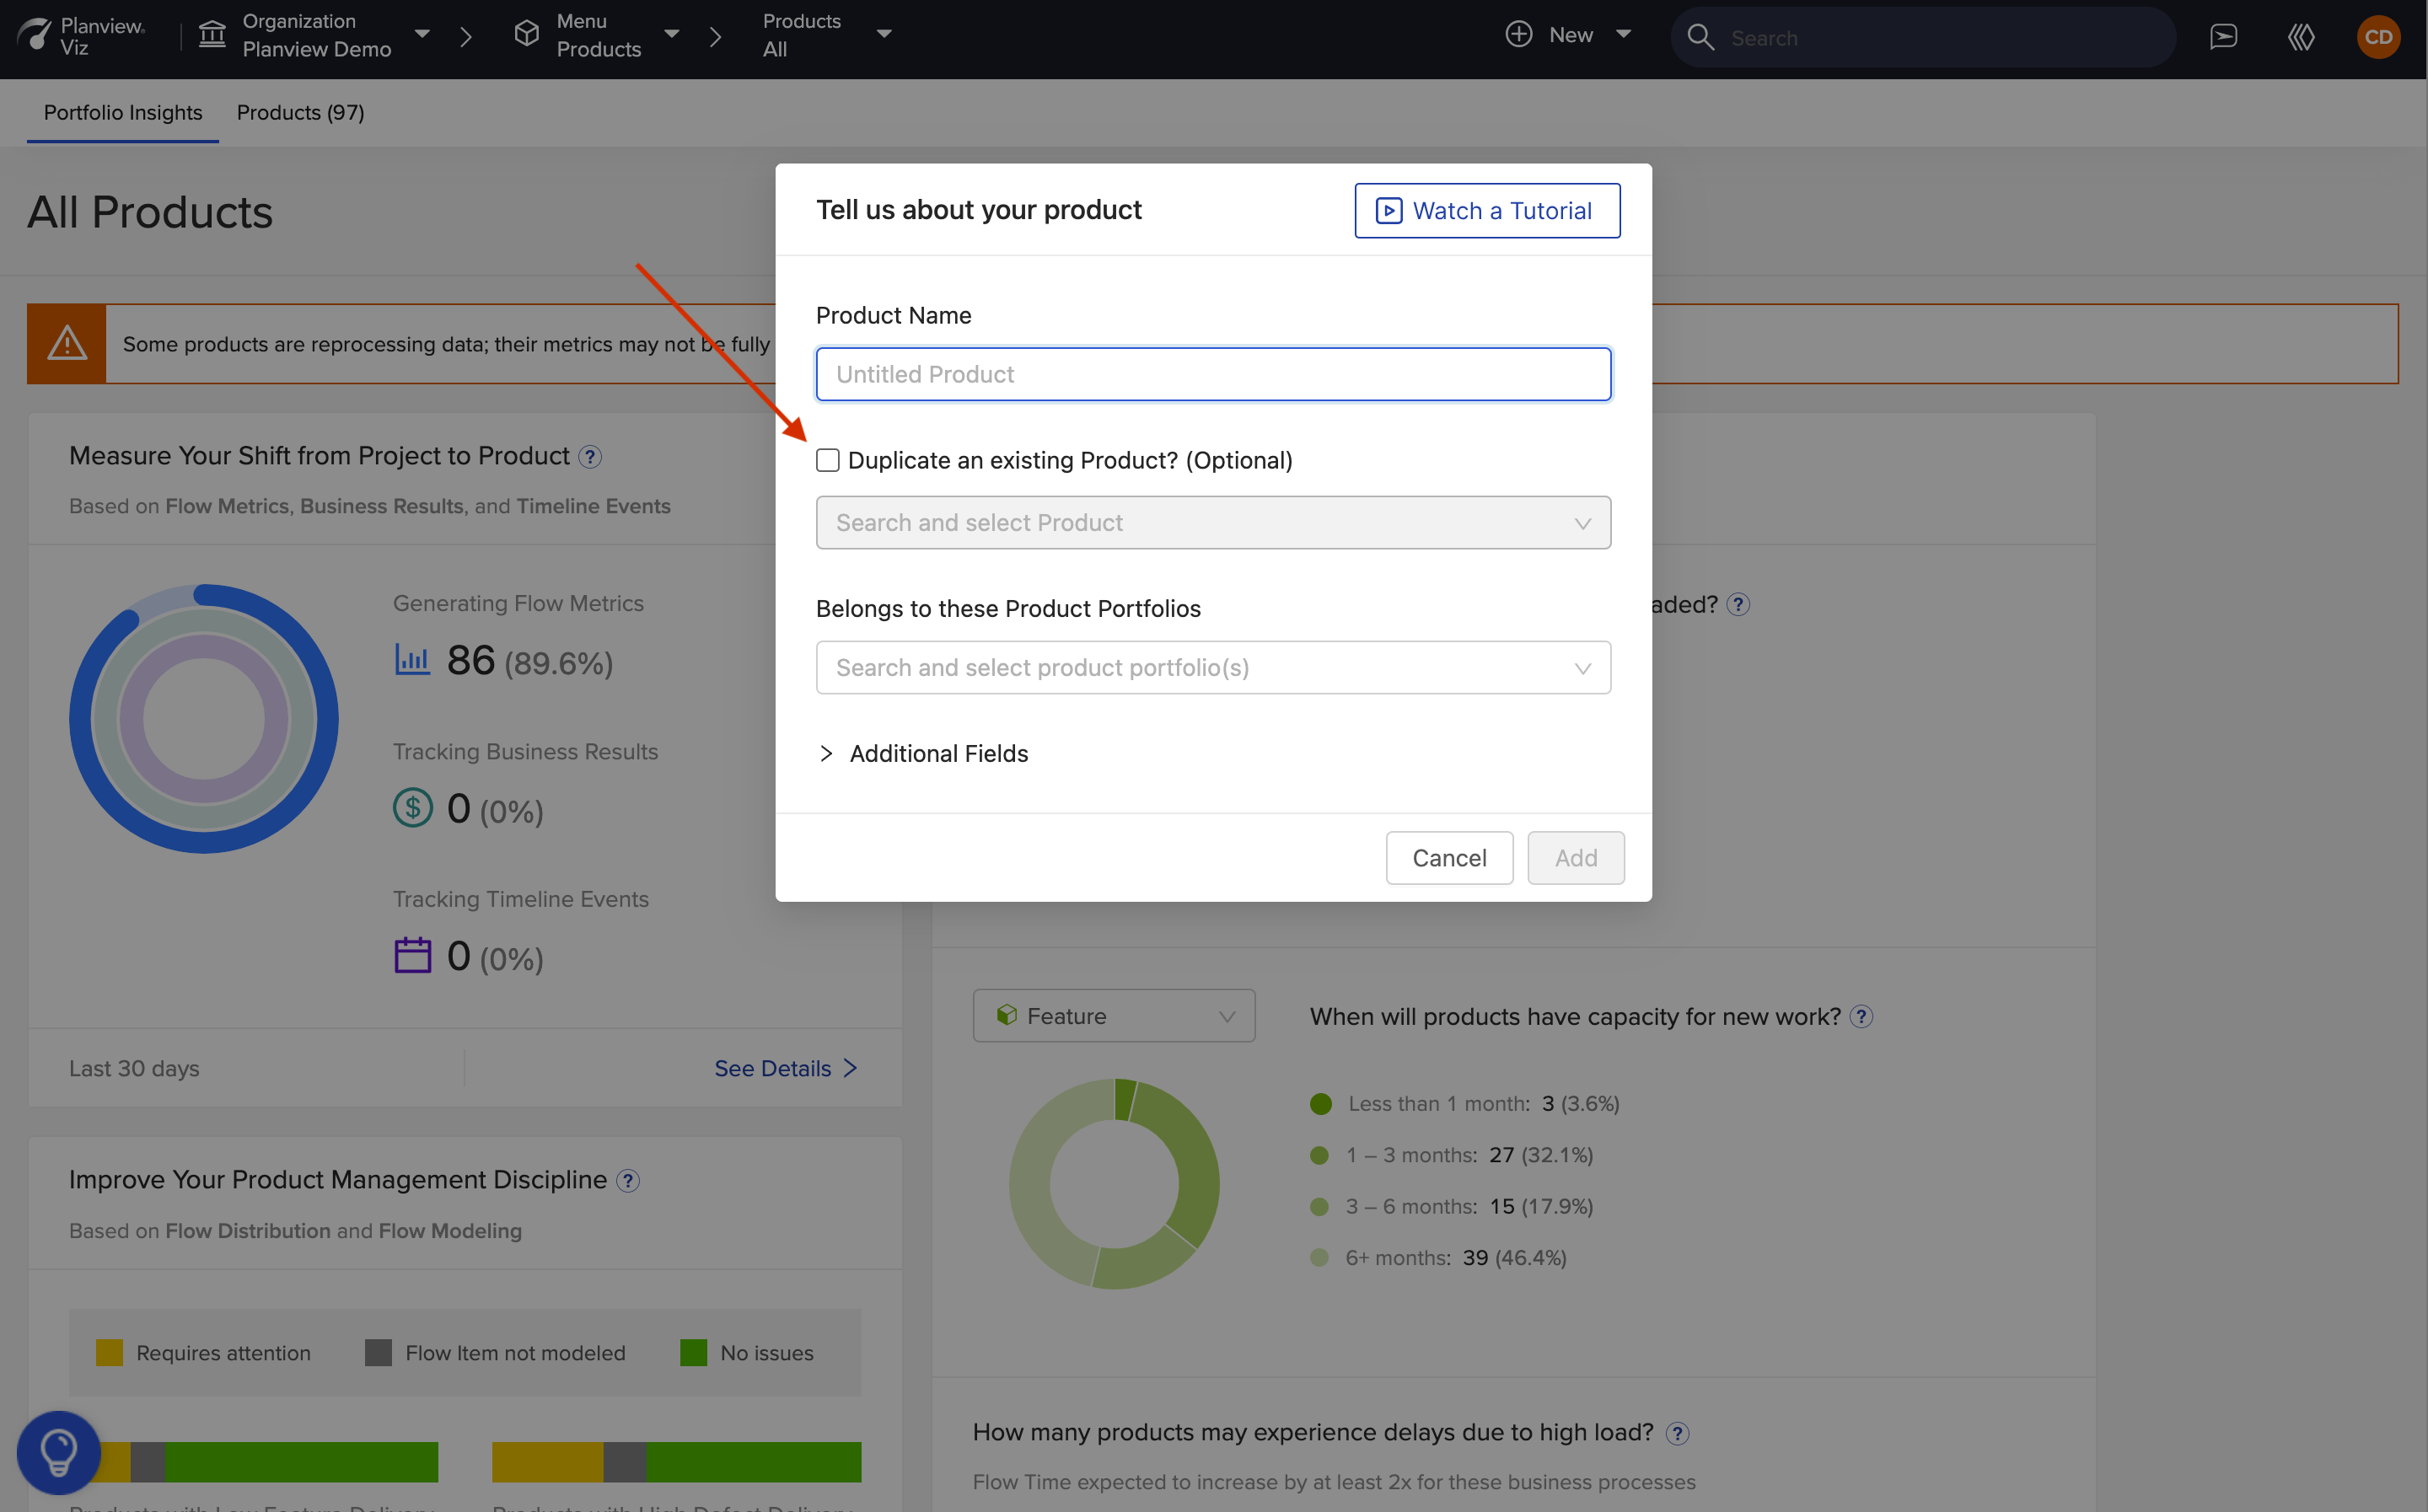
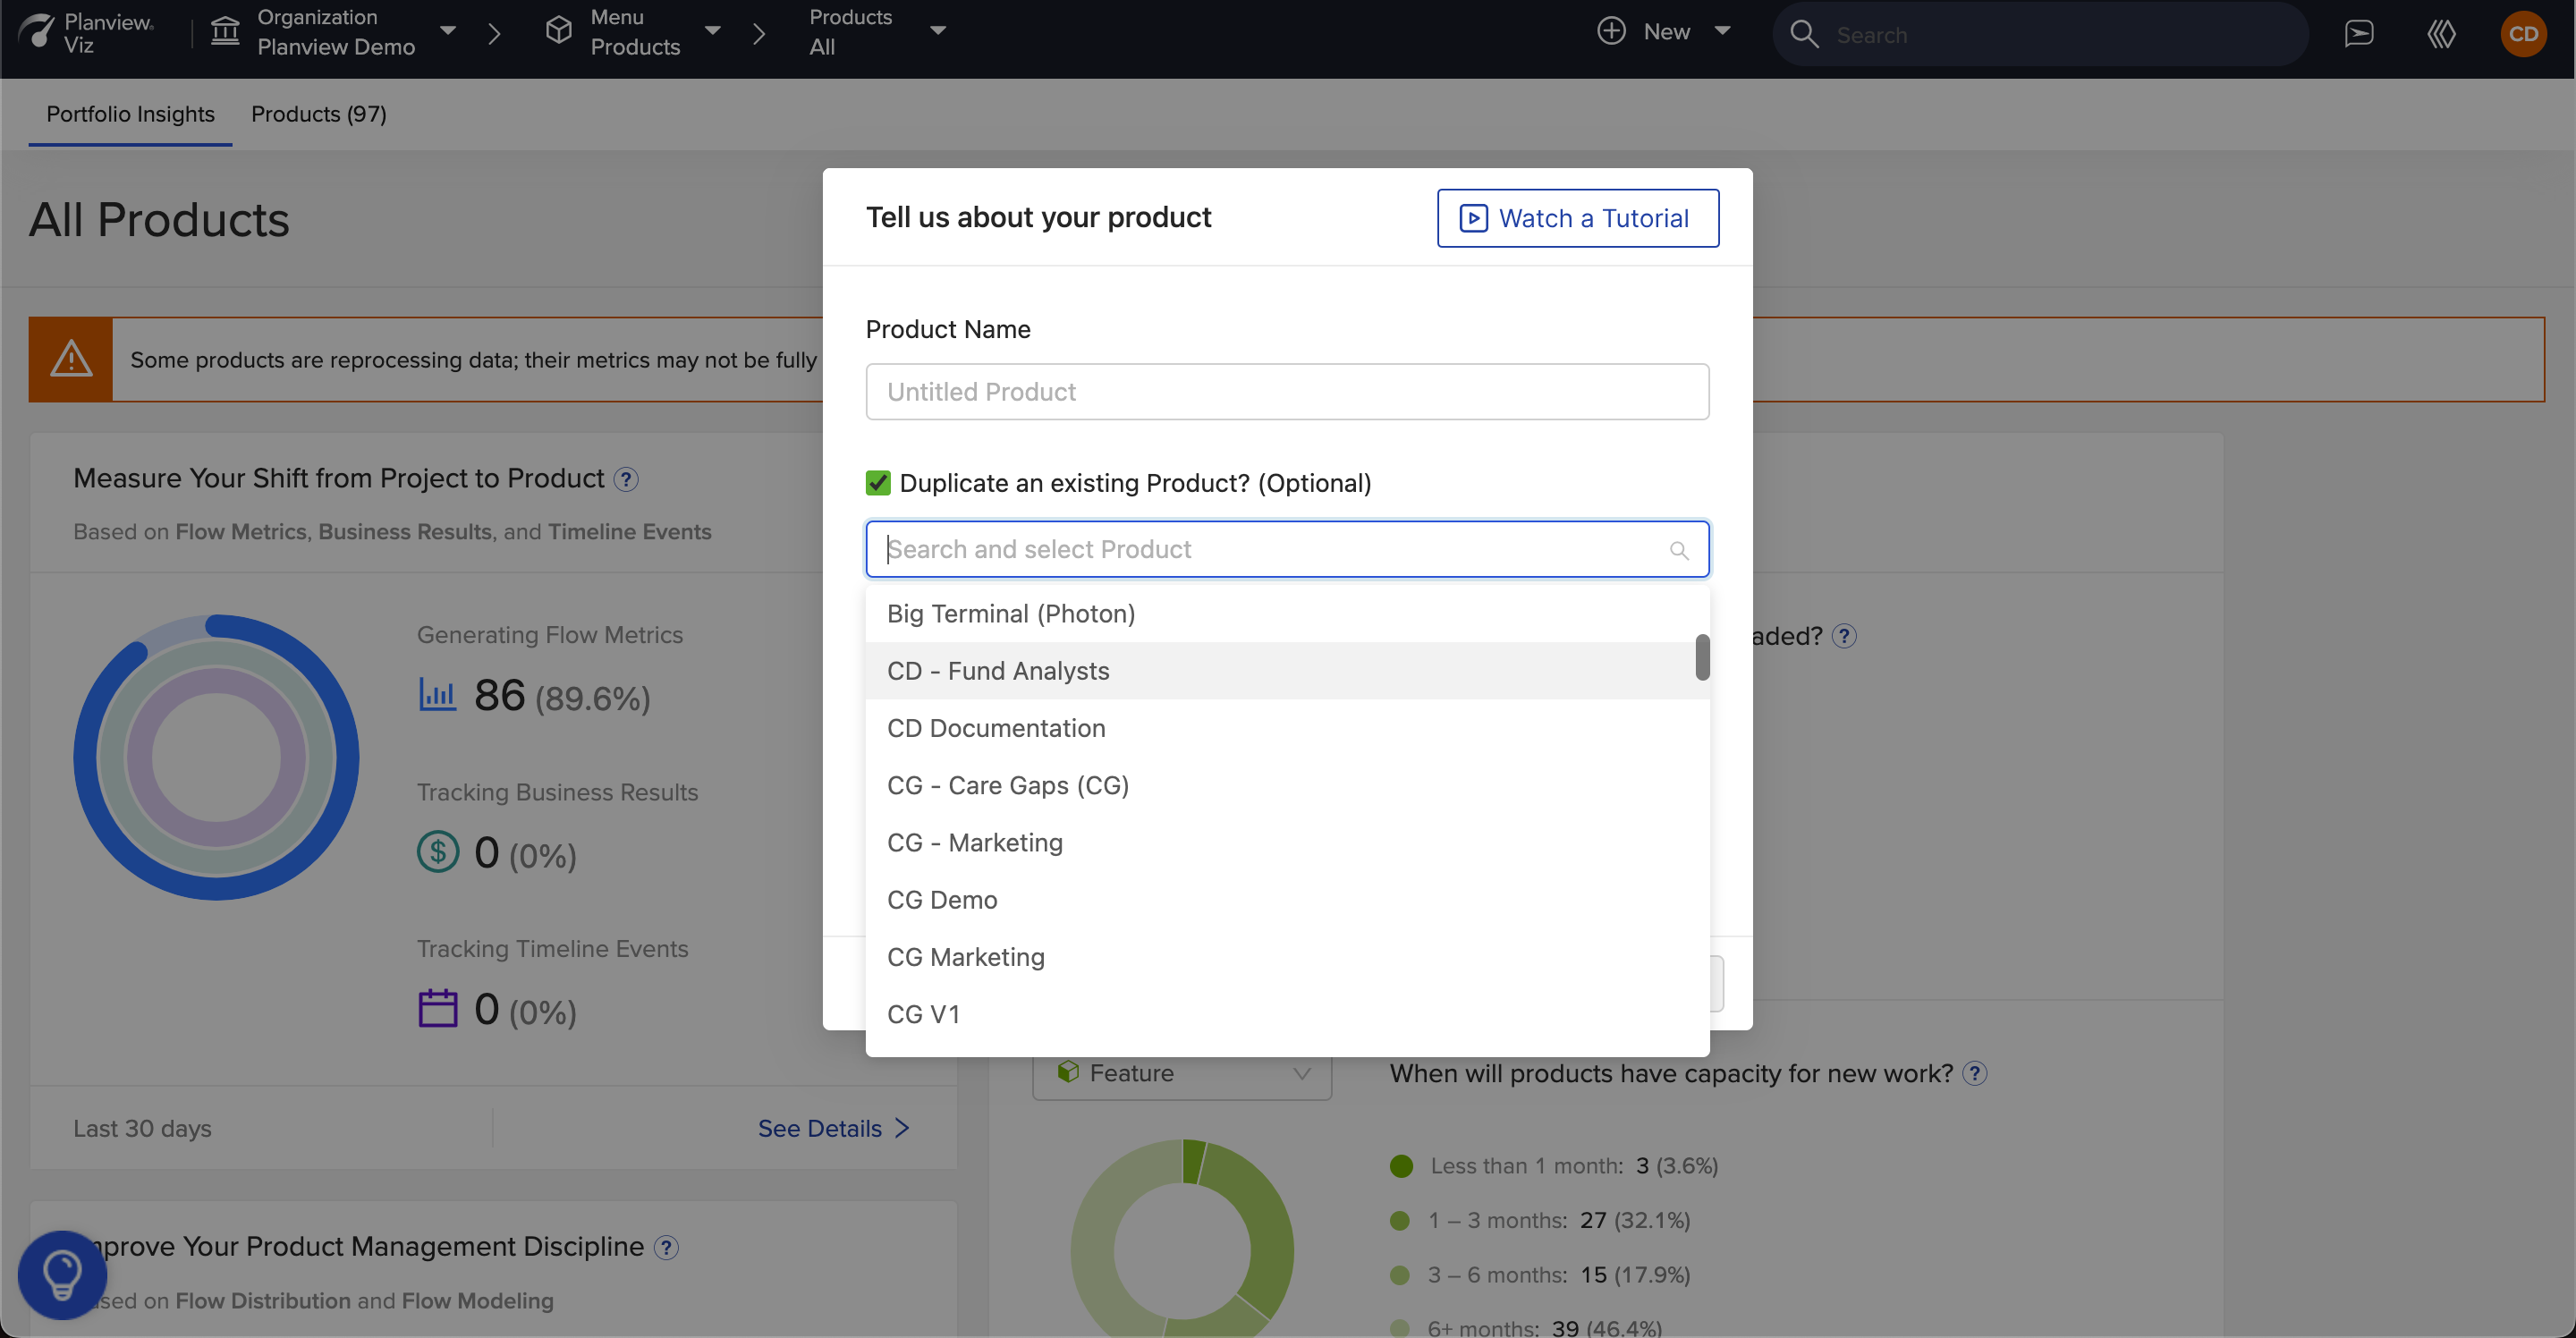
After selecting the checkbox, the dropdown will be available to select an existing product. The following configurations will be copied from the selected product:
-
Product Modeling
-
Artifact Modeling
-
Flow Modeler
-
Business Results and Timeline Events (if selected)
Note: The product groups and product metadata (i.e., Additional Fields data) from the existing product will also be automatically added to the duplicated product. This data can be removed or updated as needed.
If you'd like to copy your Business Results and Timeline Events, select the Duplicate Business Results and Timeline Events checkbox.
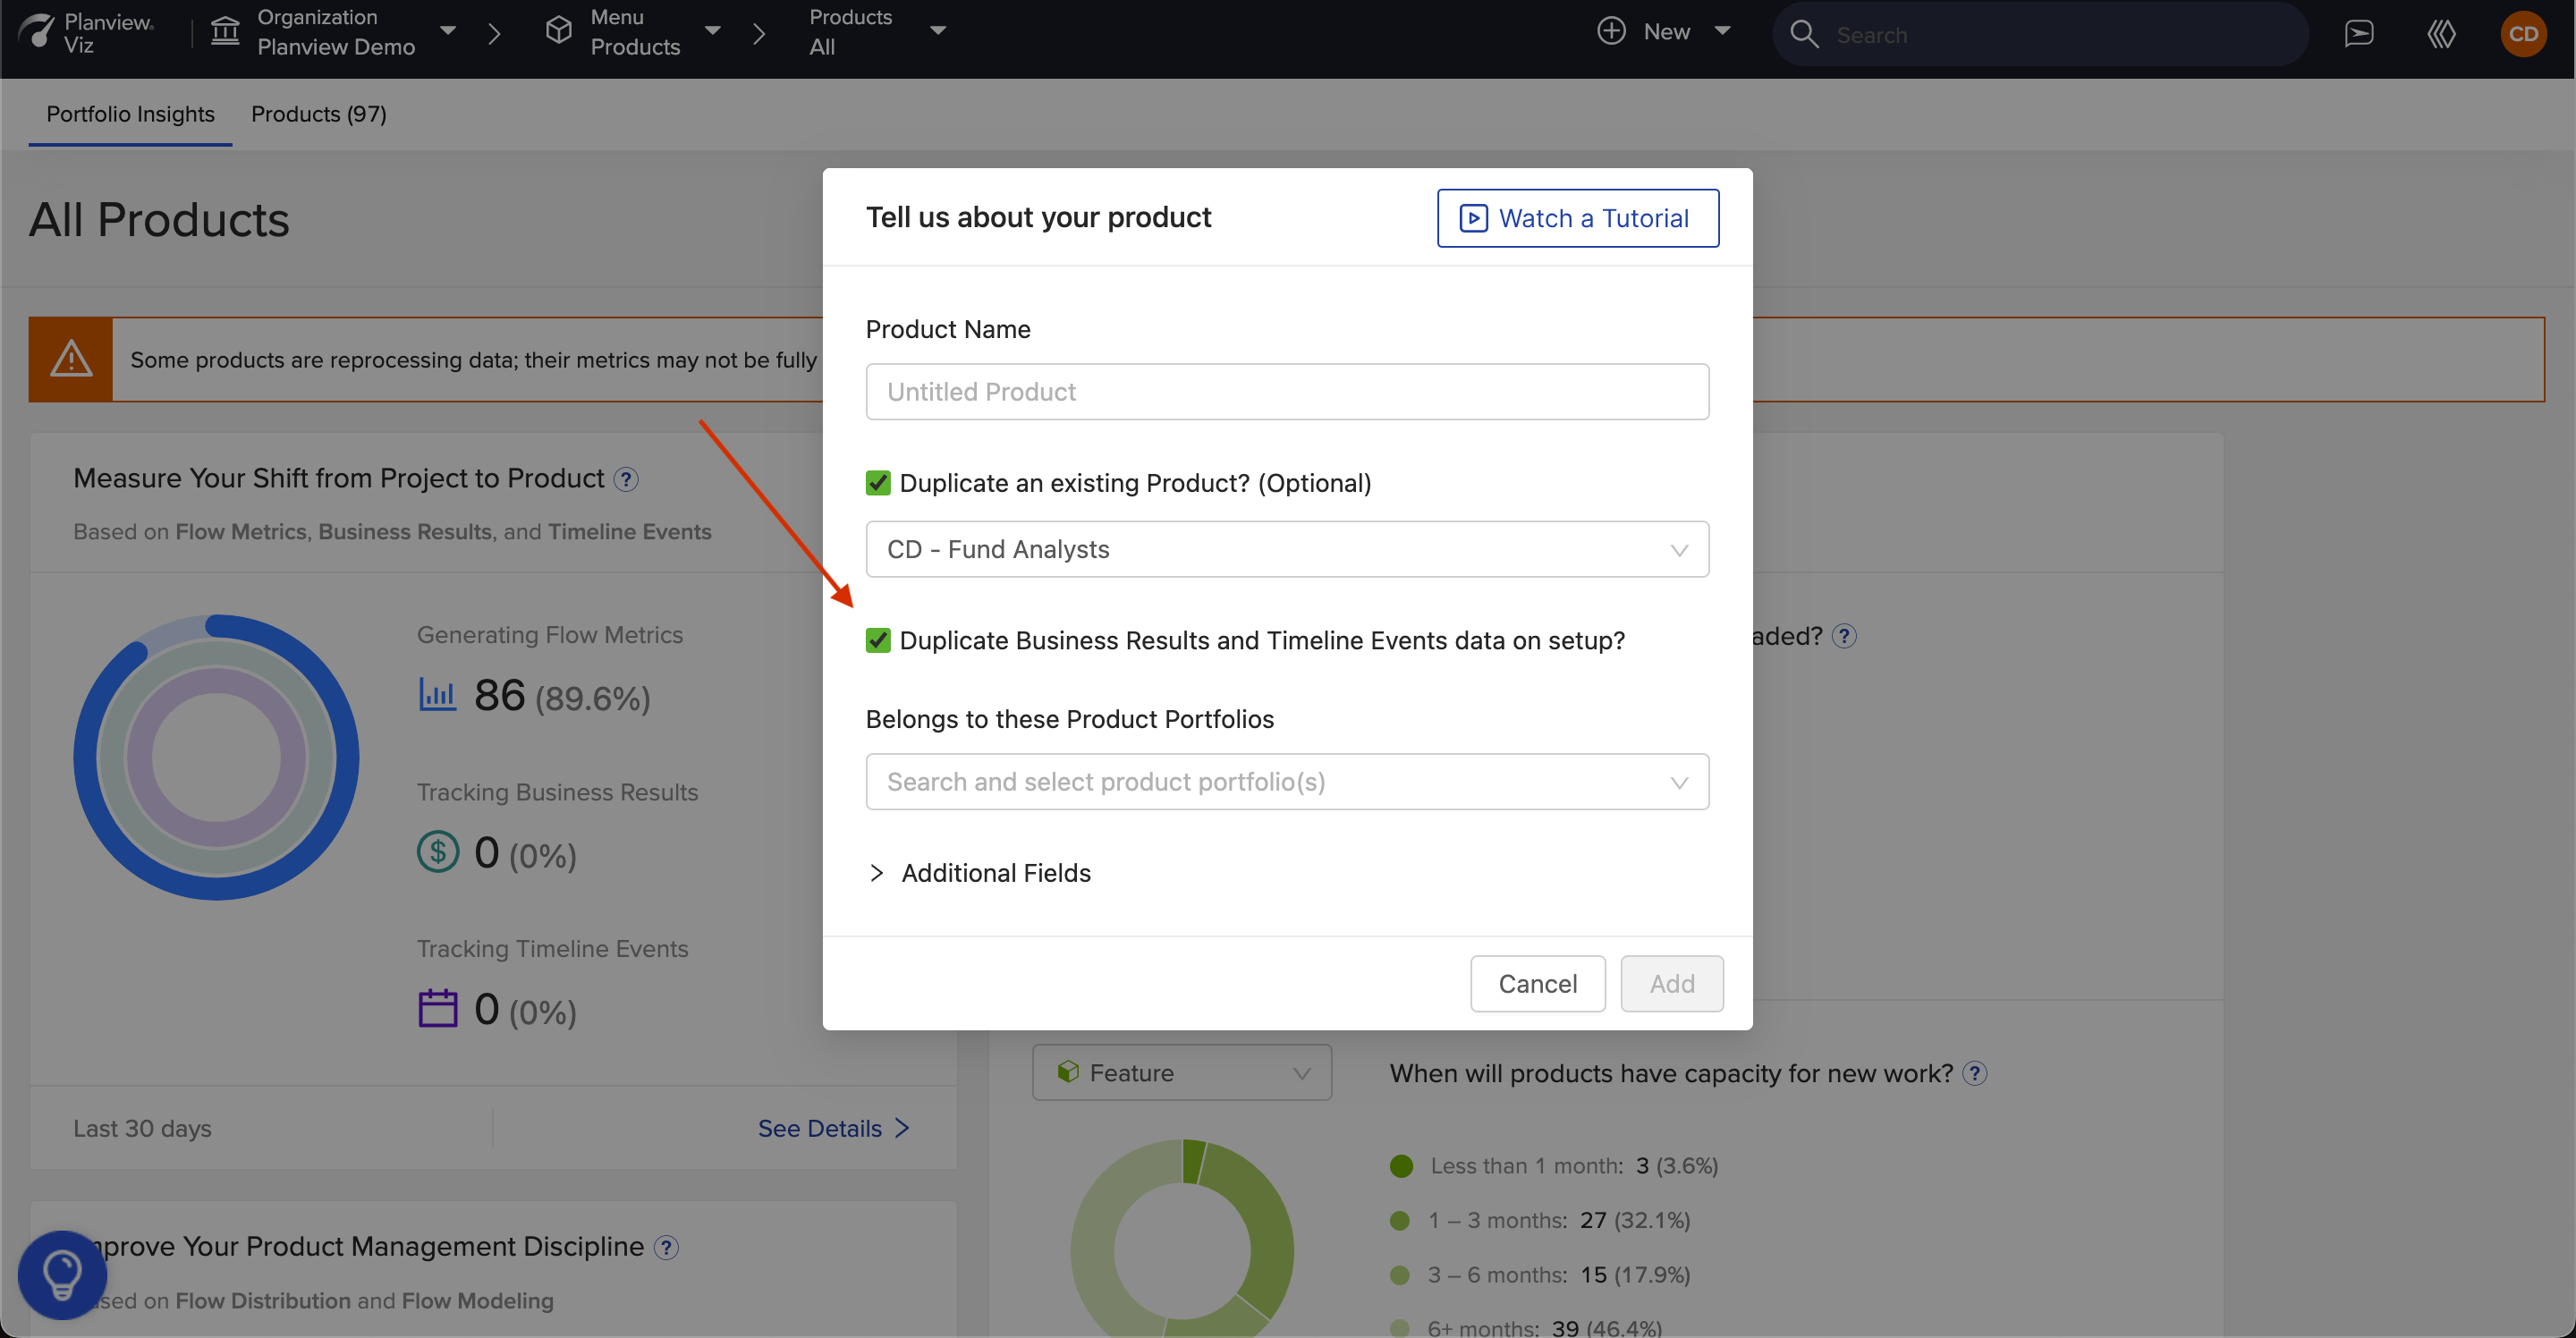
To create the duplicate product, click Add.
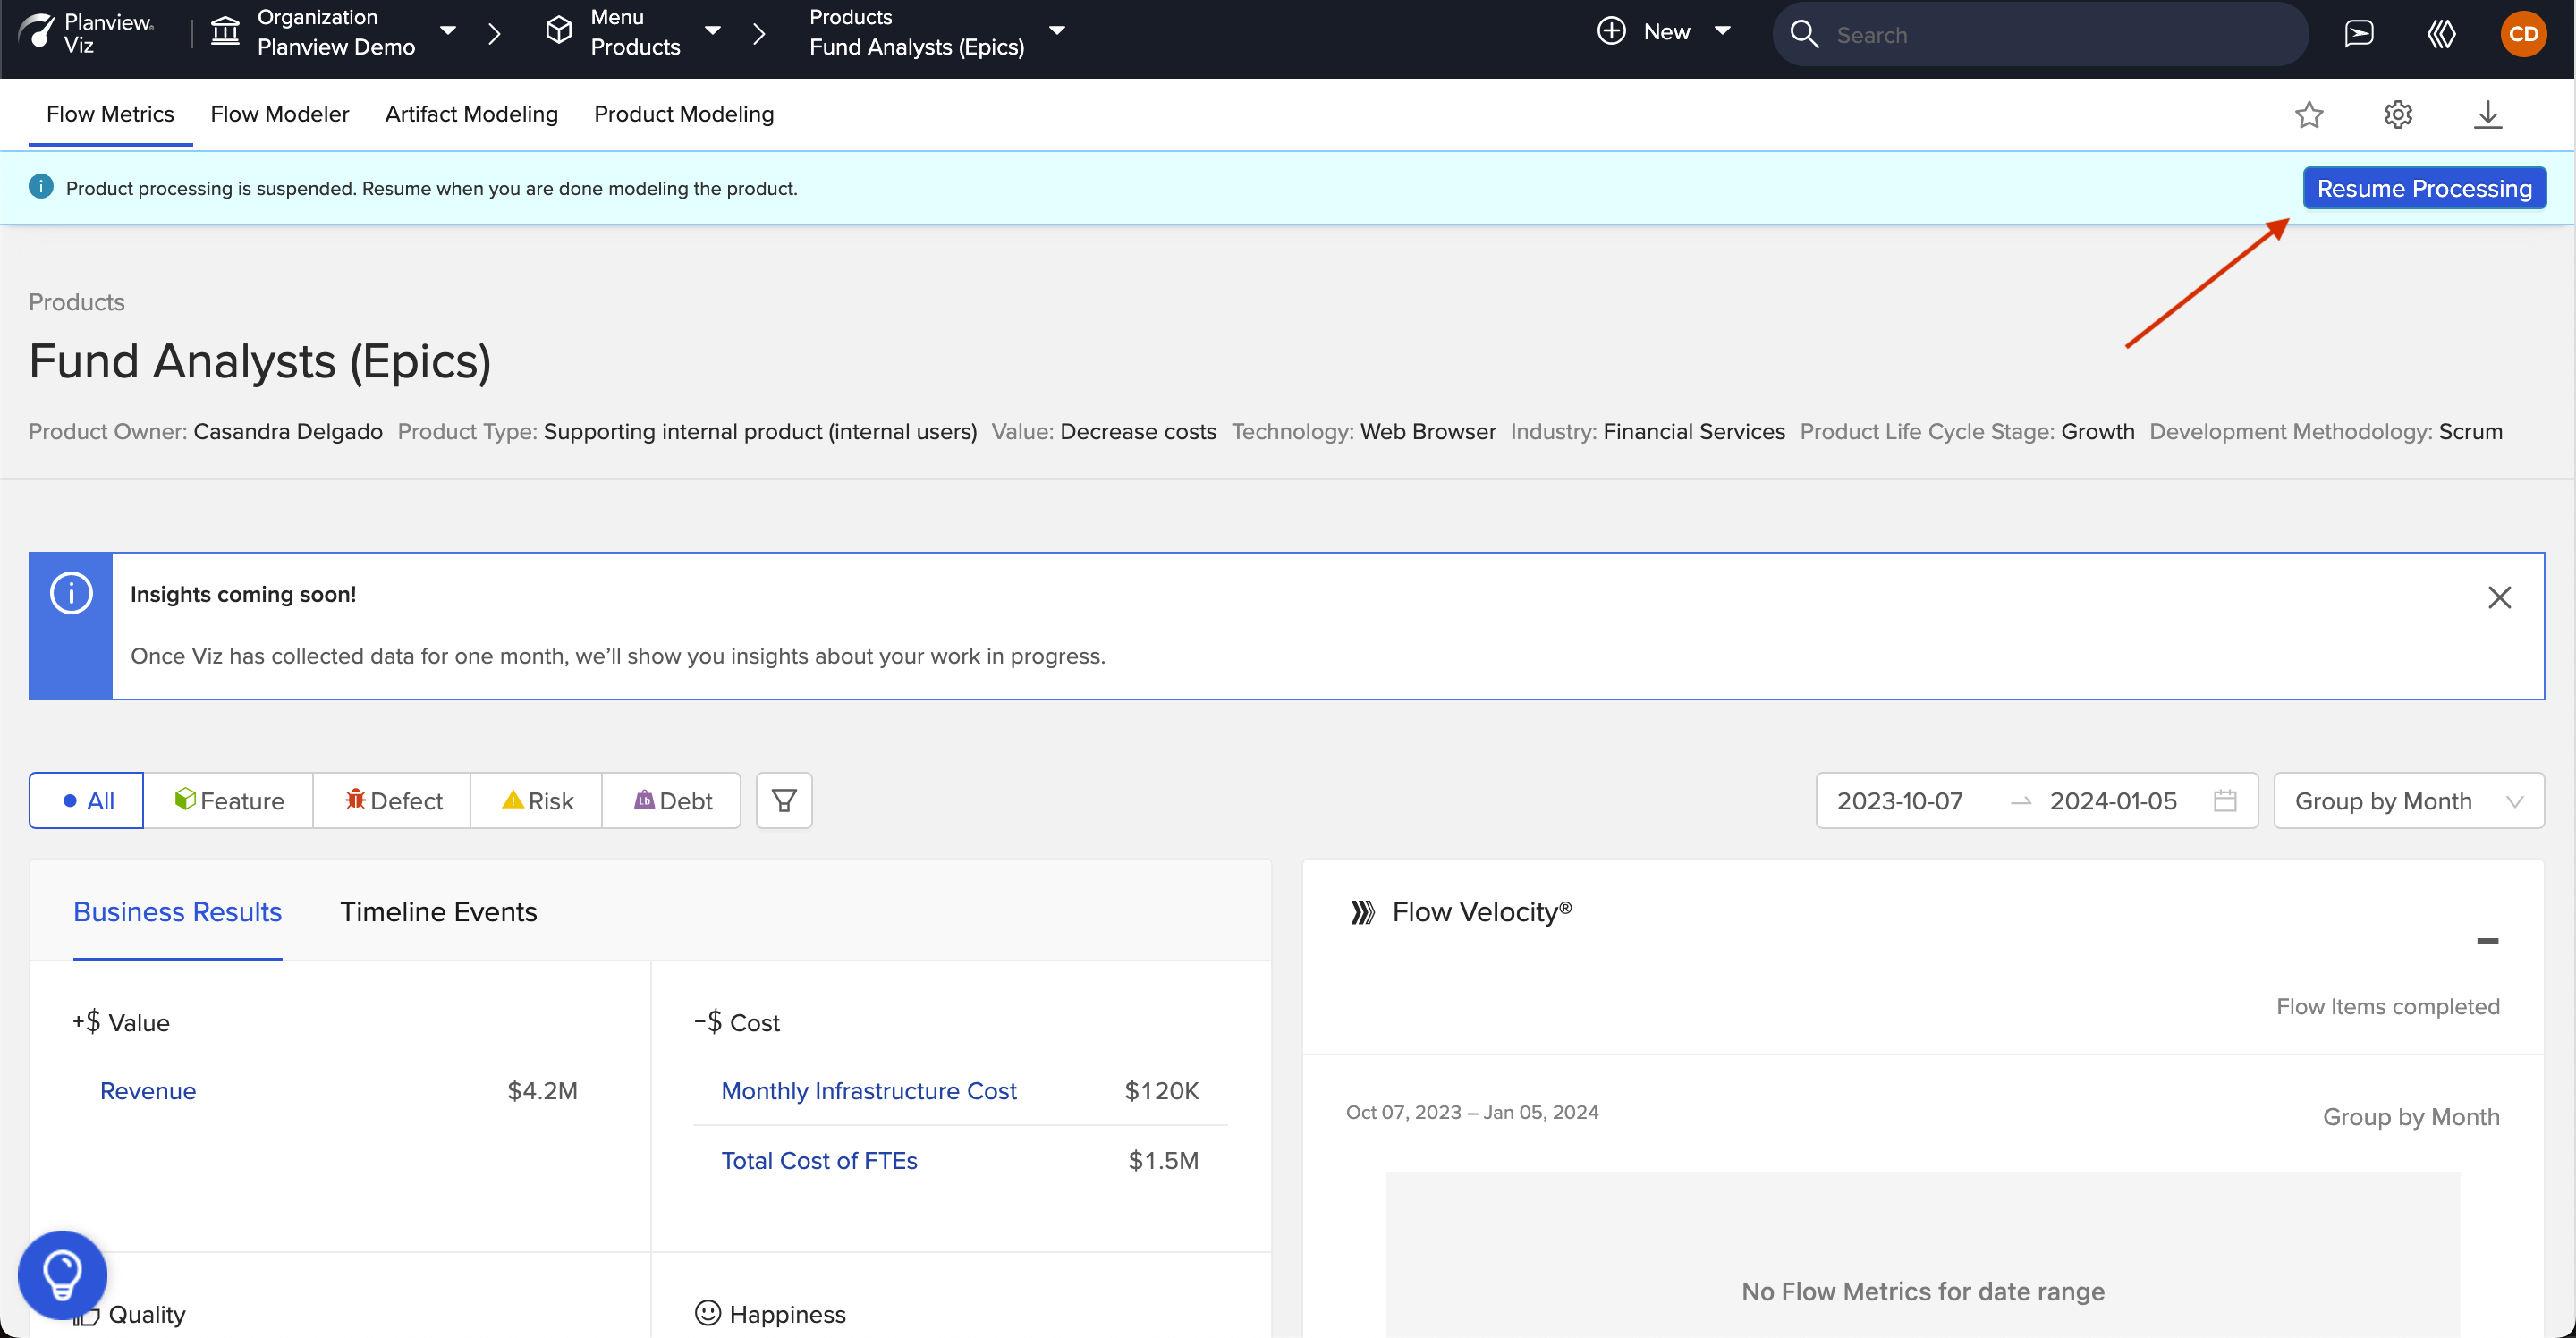
Once you've created the duplicate product, you'll notice a banner at the top of the screen indicating that processing has been suspended. This allows you to make changes to your artifact modeling without triggering a reprocessing event.
Note: Flow Metrics and artifact counts will not appear until processing is resumed.
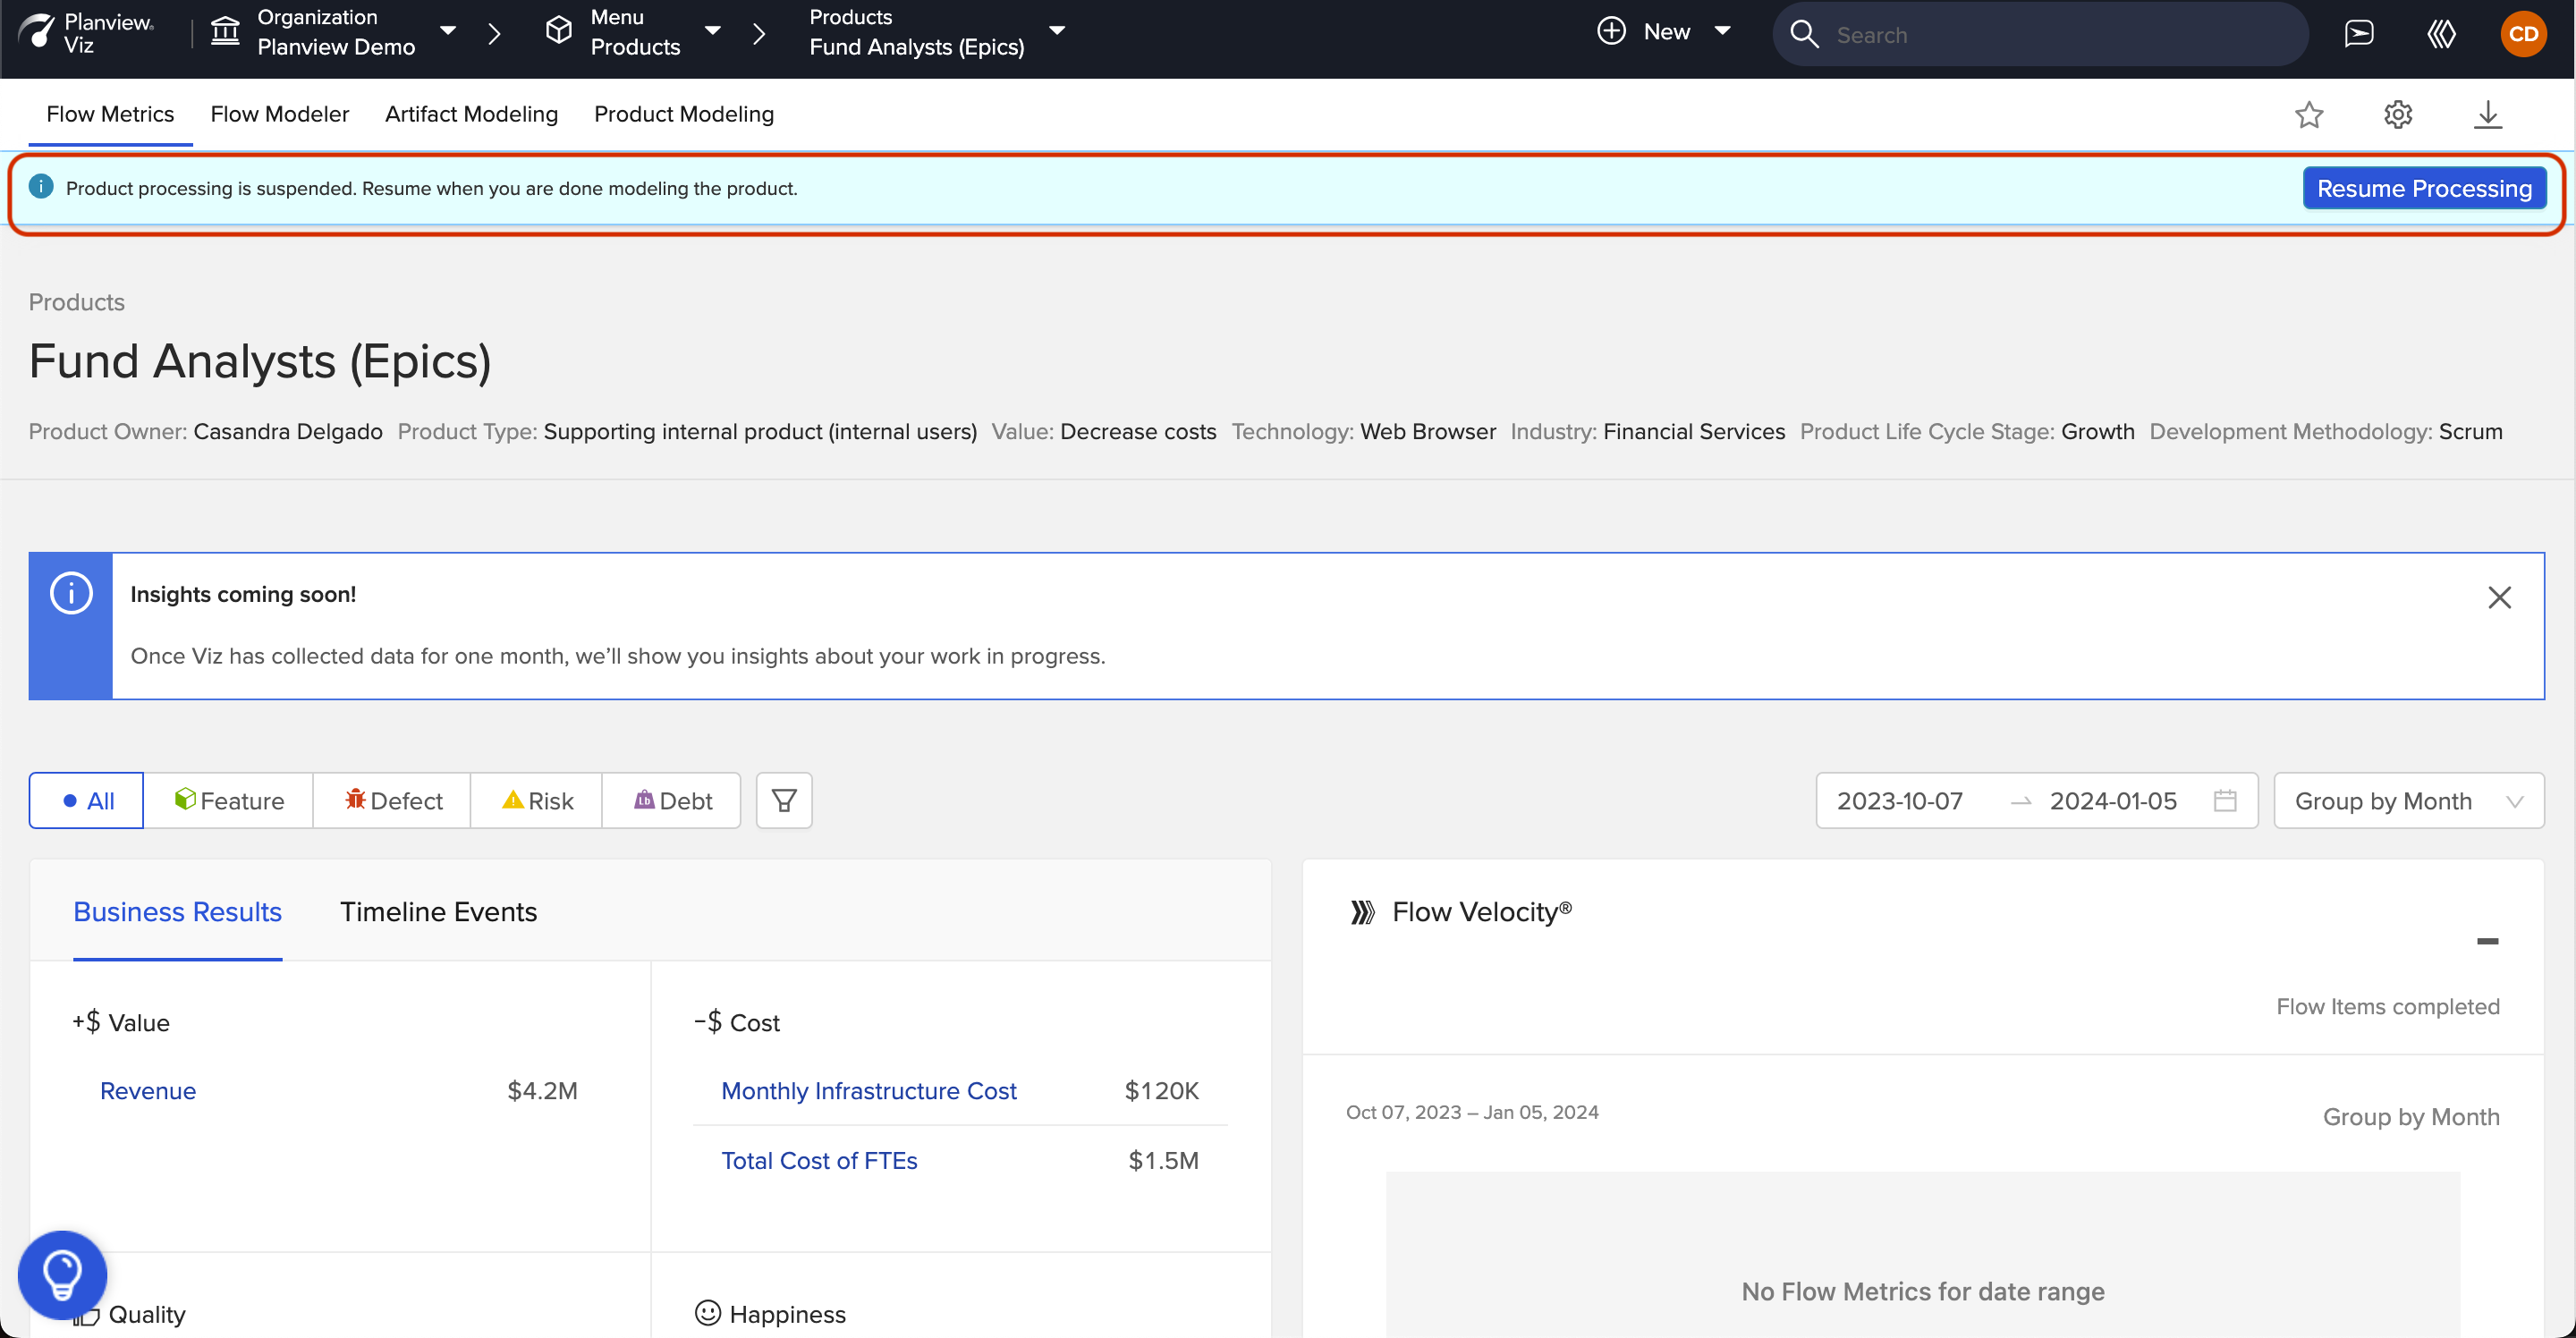
When you're finished making changes, click Resume Processing and reprocessing will begin normally.
Setting a Sandbox Product
You can designate certain products as "sandbox" products, which will exclude them from your portfolio rollup metrics APIs. This allows you to maintain accurate portfolio reporting without manual filtering.
To mark a product as a sandbox, navigate to the product details menu and select 'Sandbox' from the Product Type dropdown.

After saving, the product will be considered a Sandbox product and excluded from your Portfolio Metrics APIs.
Note that it may take around 10 minutes for the change to be reflected in the API endpoint.
Creating a Product Group (Portfolio)
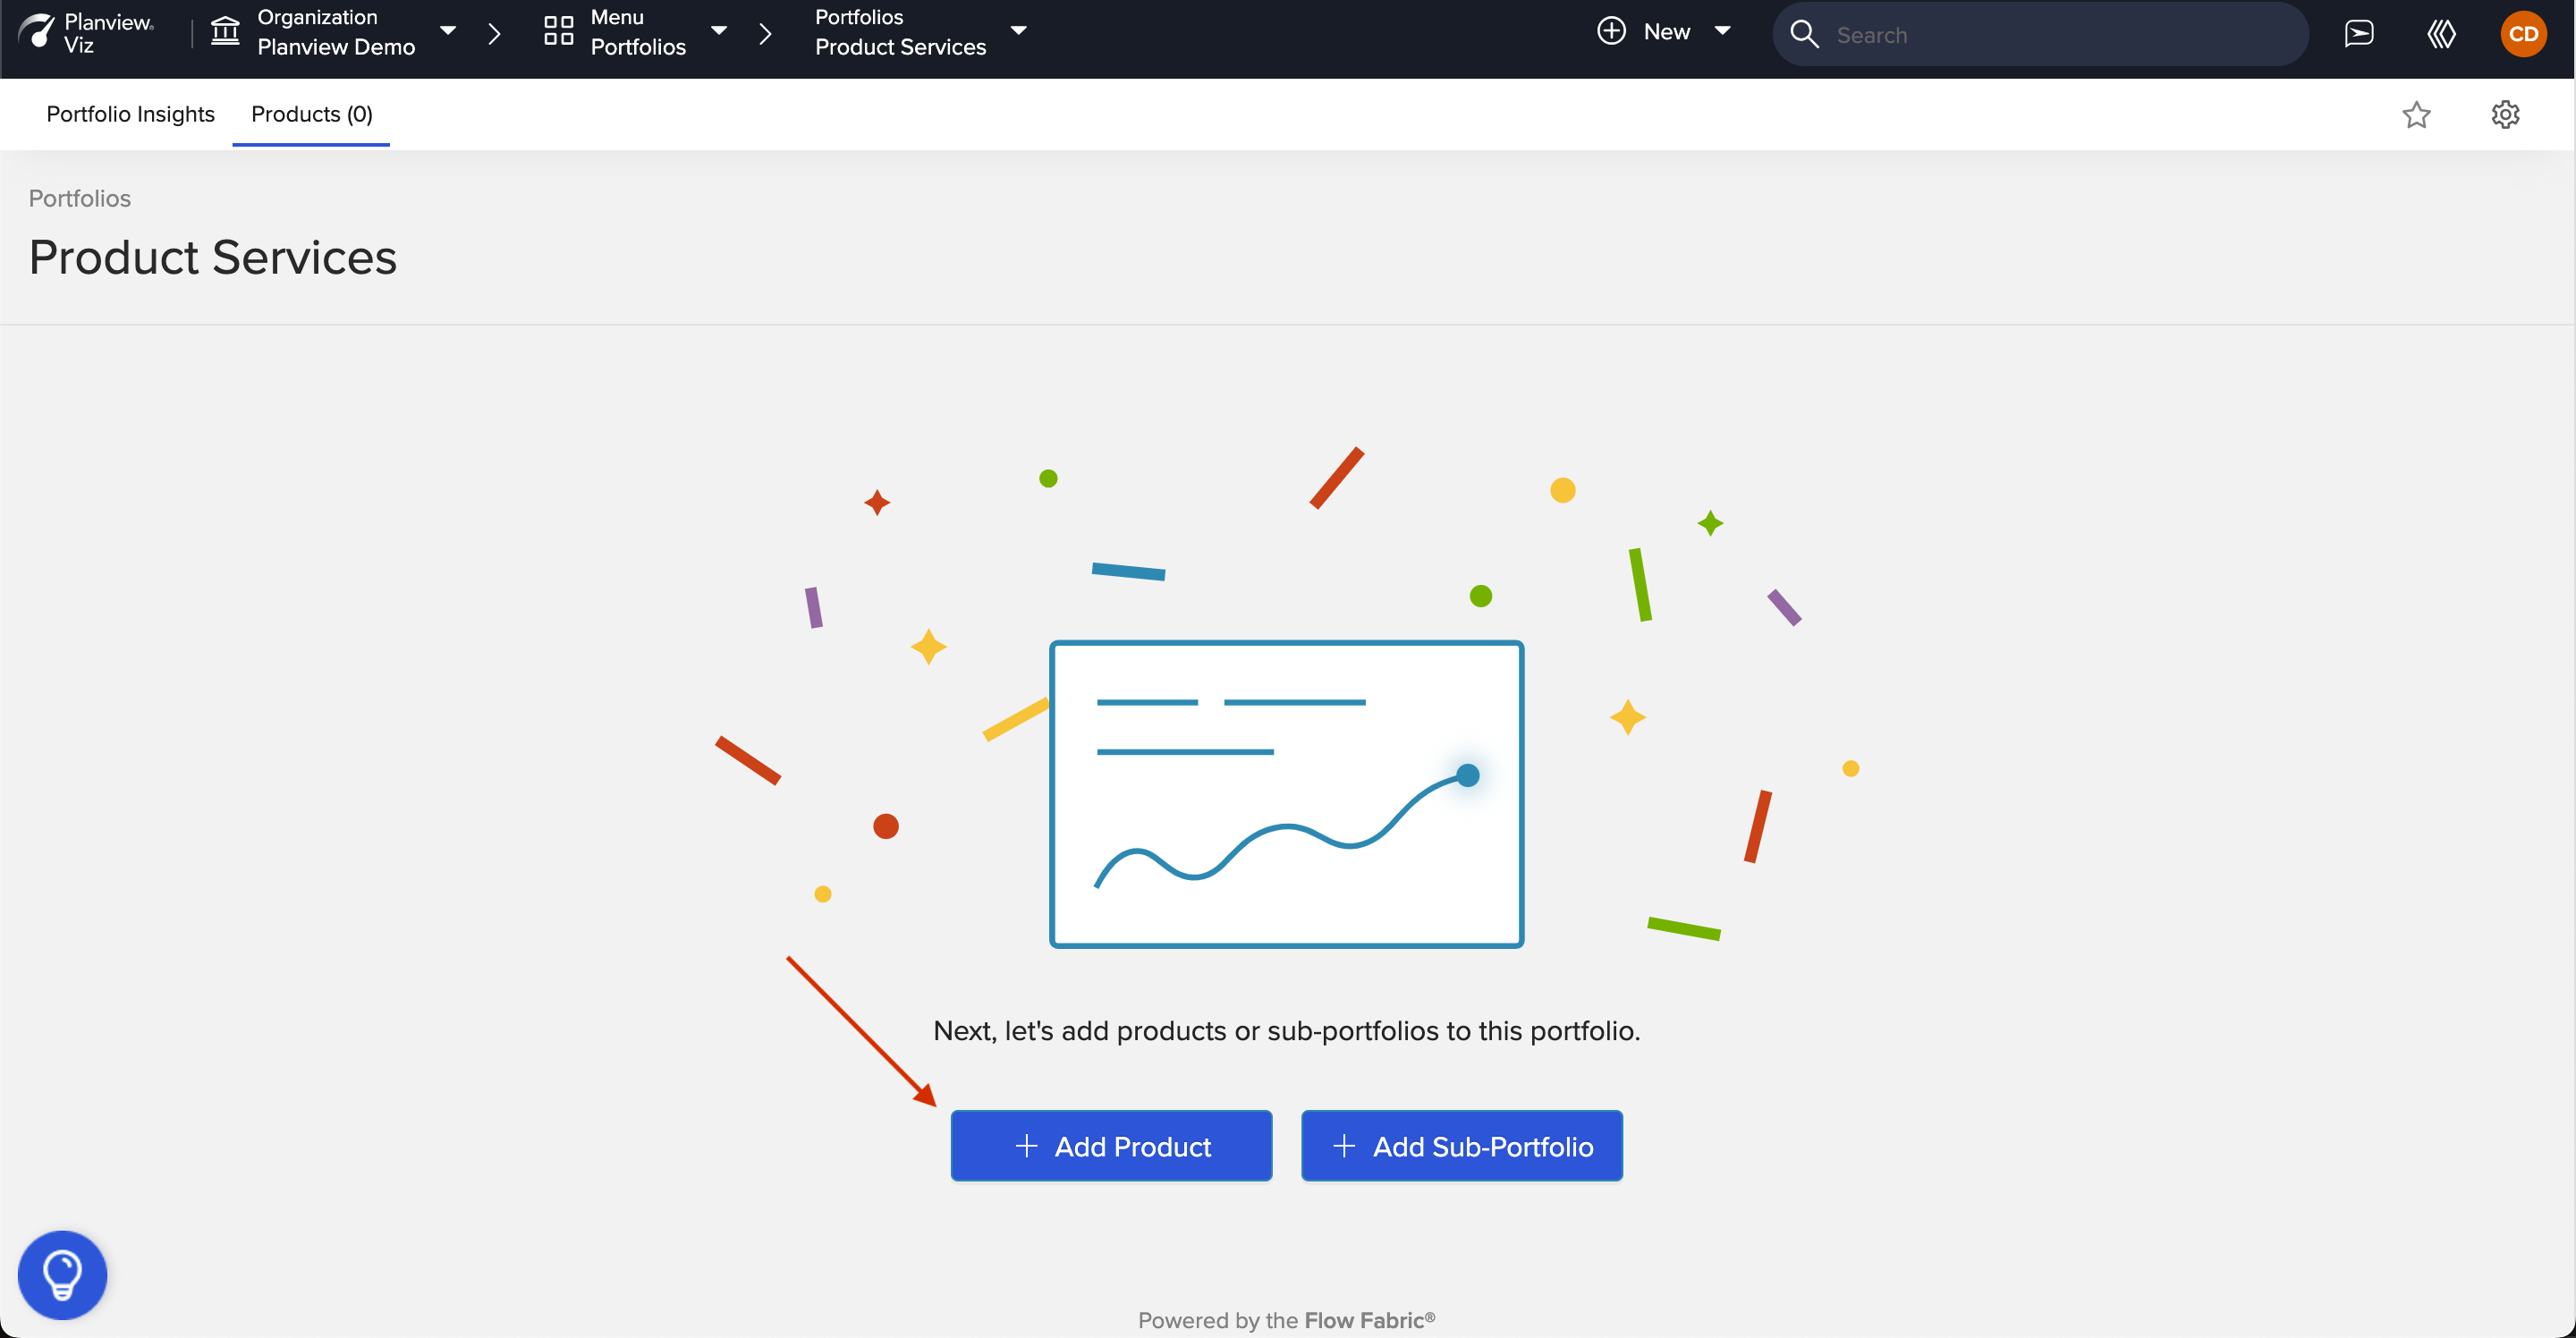
After you have added your product value streams, you can create a group to organize your products in one place for easier navigation. You can add a single product to one group or multiple groups.
Note: You must be an executive user to create or move groups or subgroups, however, all users can add products to existing groups.
Click + Add Product to add products to your group.
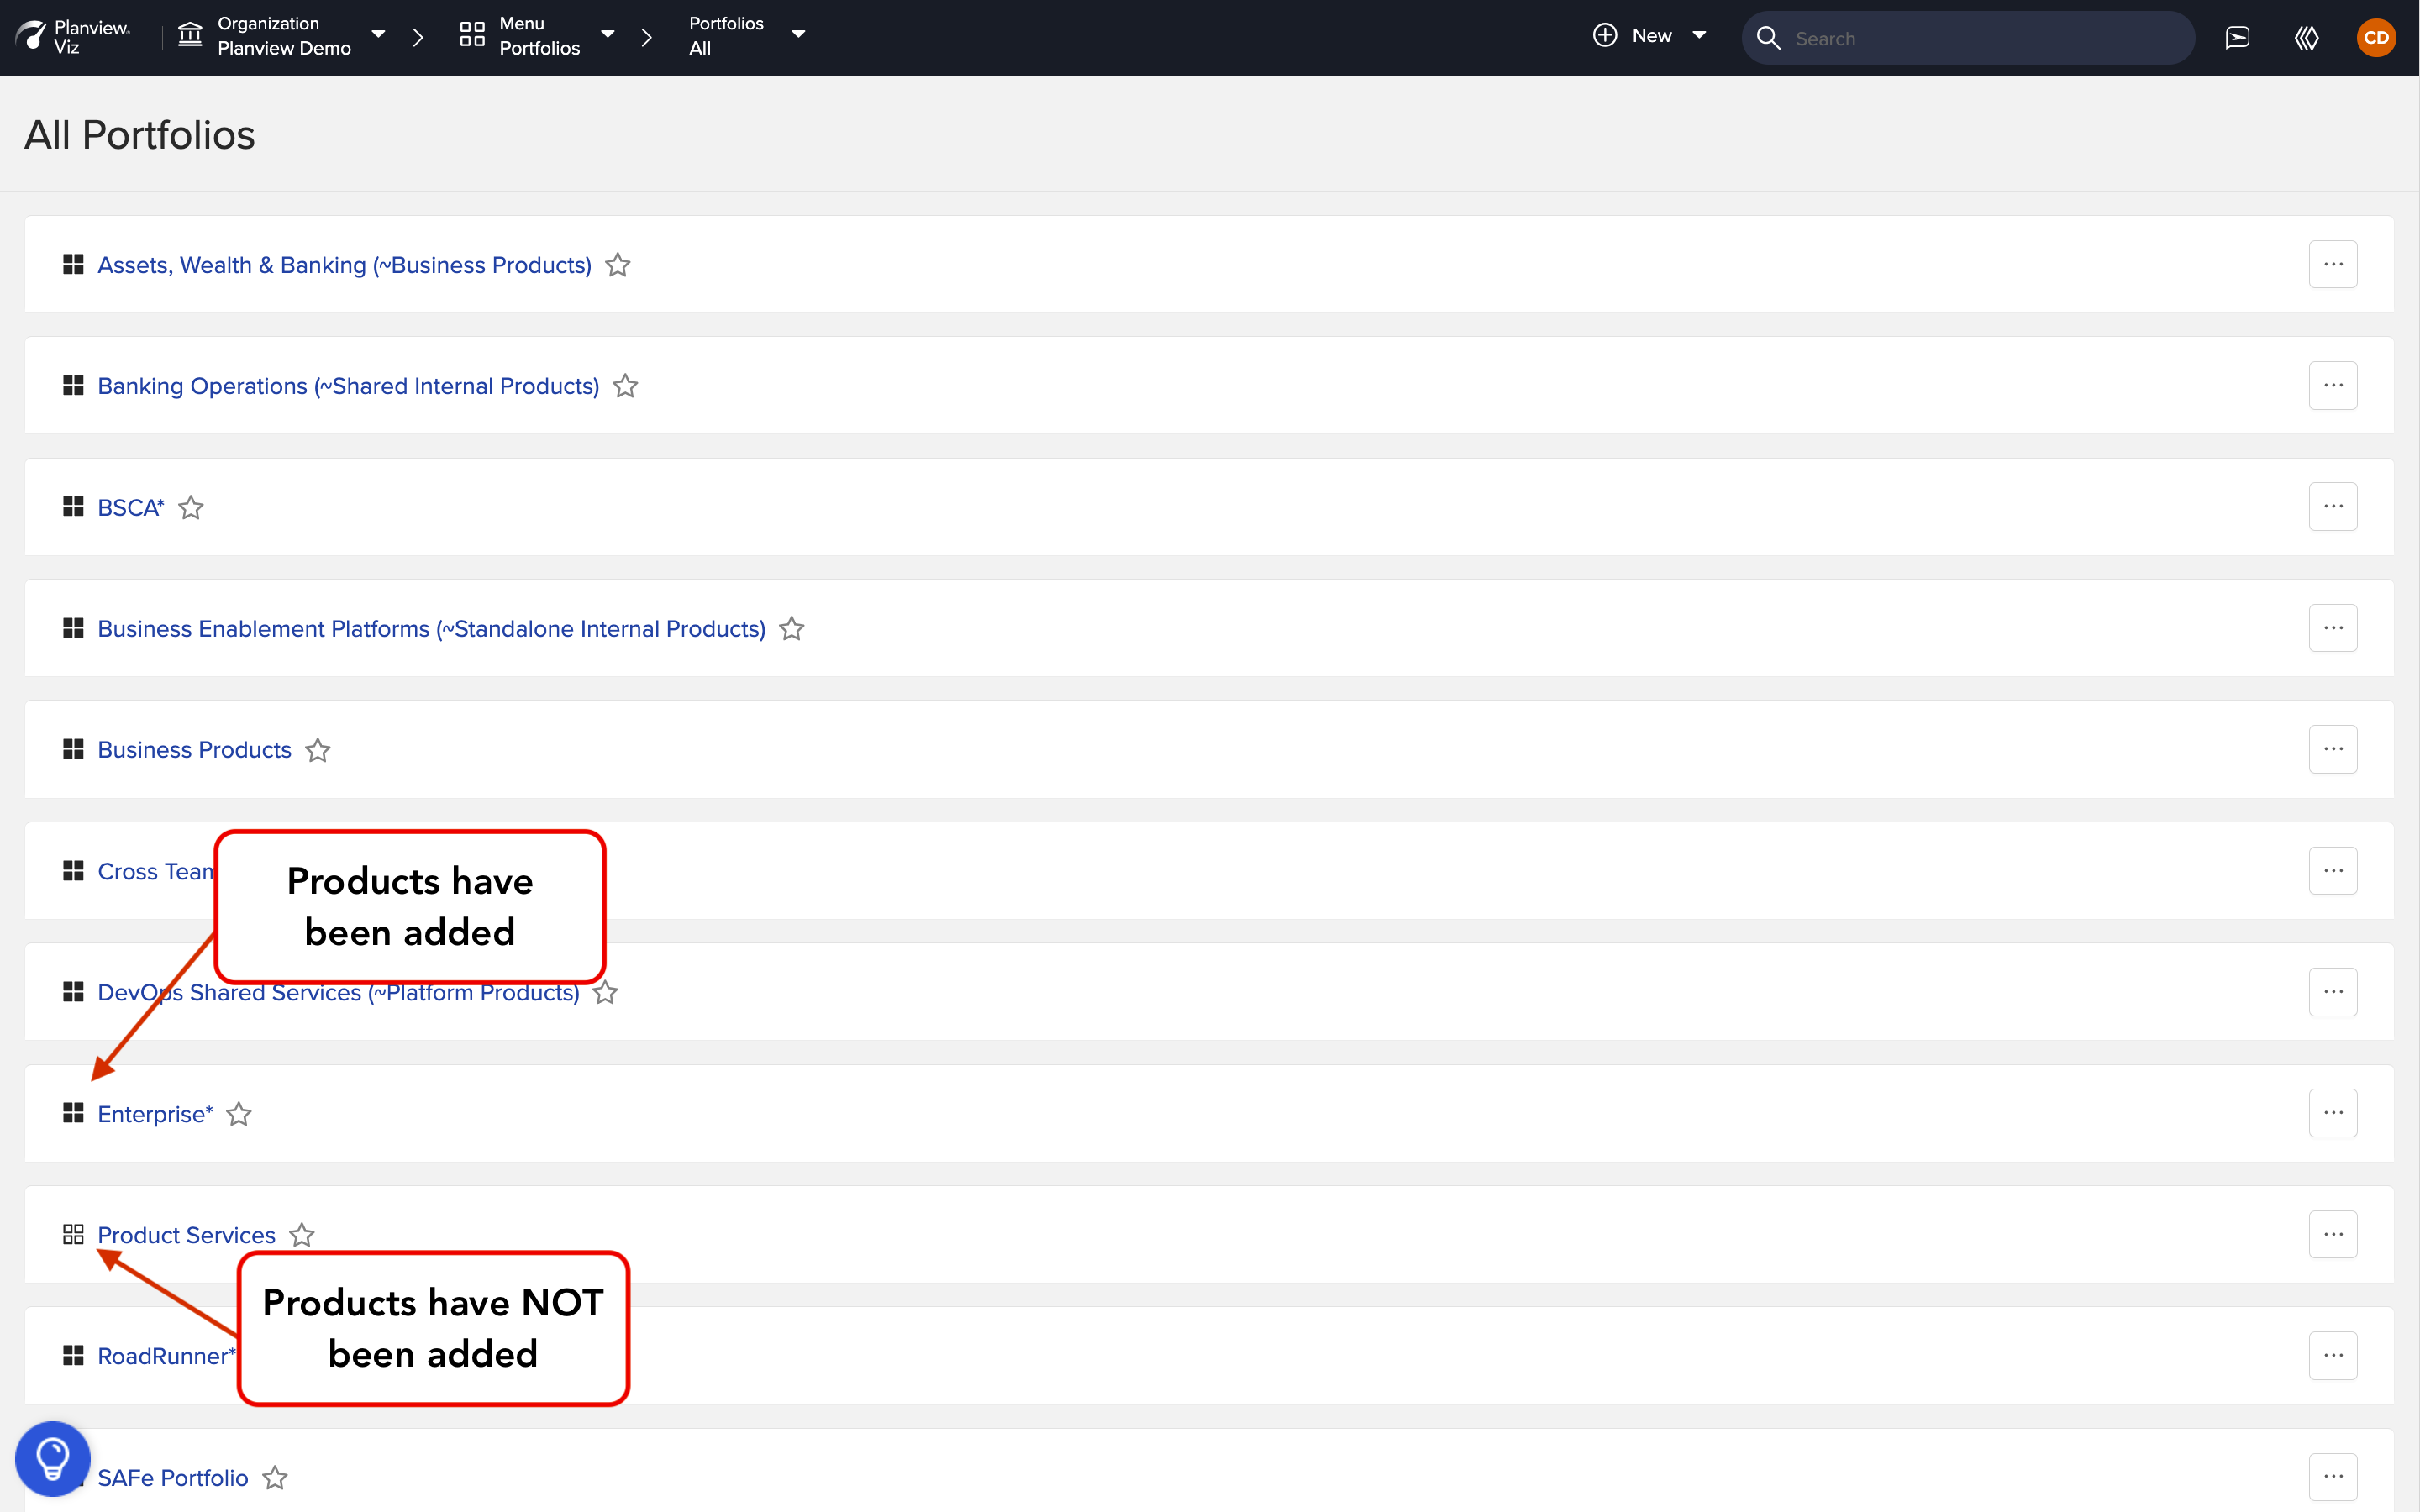
Note: For clarity and ease, all products can be accessed from the products list. This allows you to add individual products to multiple groups, or to find any product regardless of which group(s) it belongs to. You can also use the search bar in the left panel to search by product or group name.
Group your products by business division, portfolio, customer experience, or whatever else you'd like.
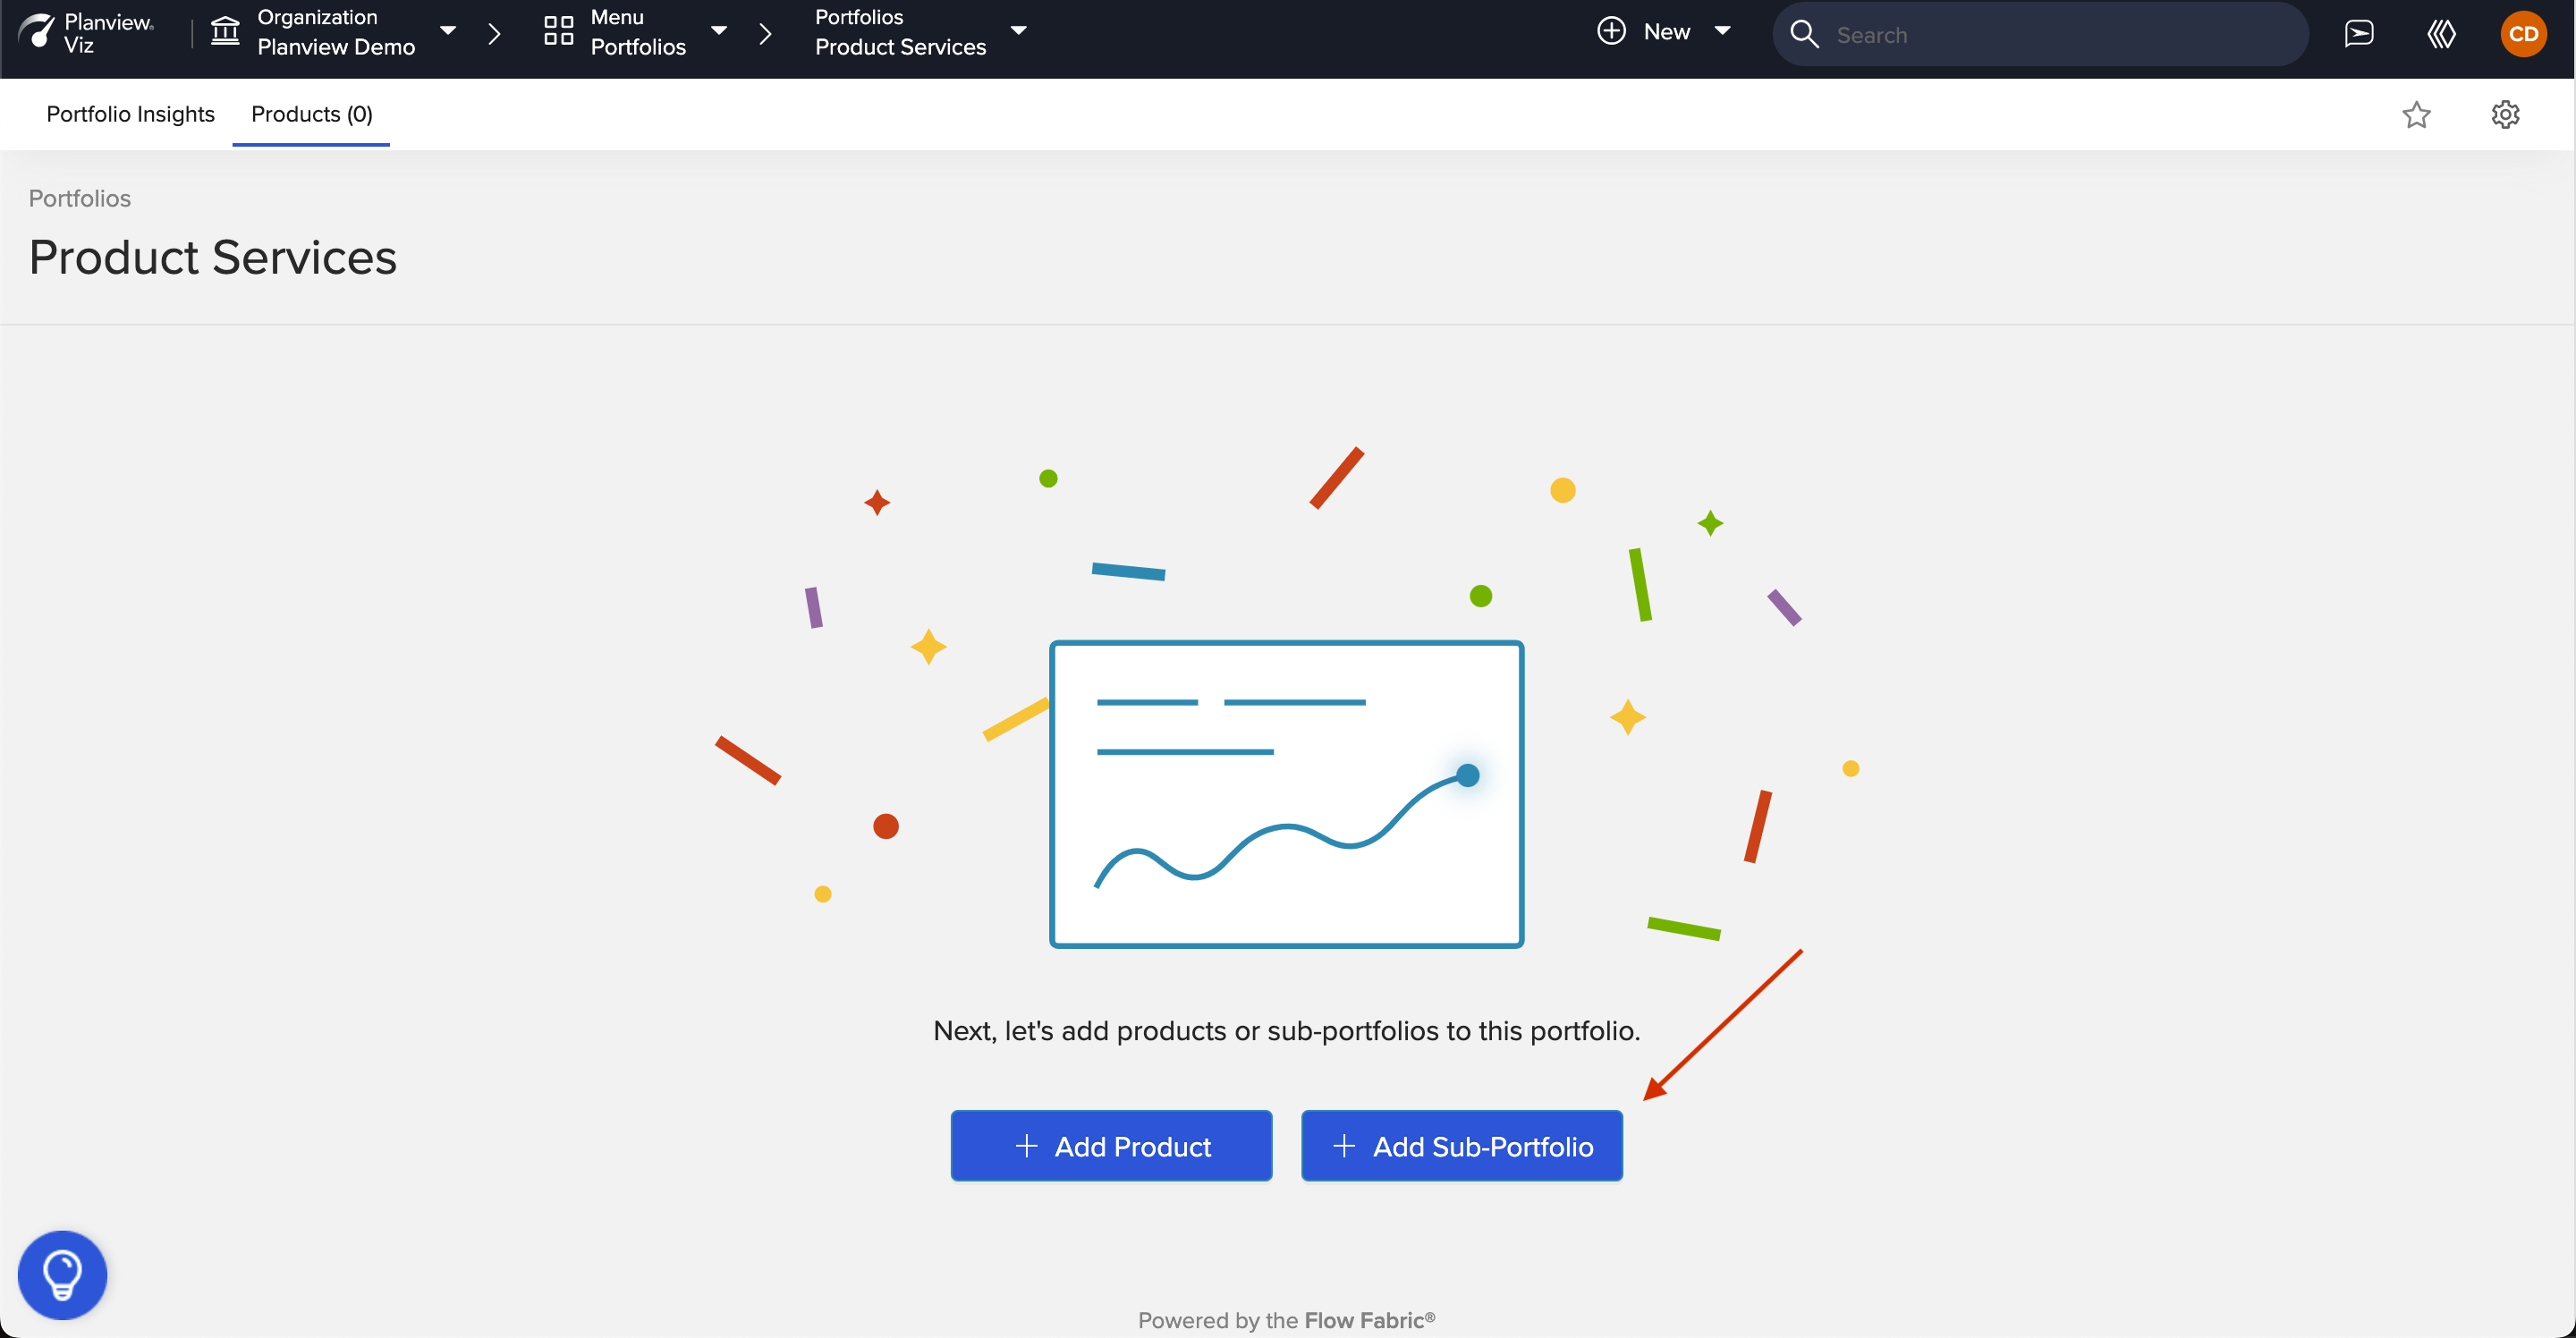
Click + Add Sub-Portfolio to break down your product group into subgroups.
Favoriting a Product or Group
You can also favorite a product, group, or subgroup for easier navigation. Favorites are customizable for each user — so your favorites won't impact the favorites view for other users at your organization.
To add a favorite, simply click on the star next to the product or group you'd like to favorite.
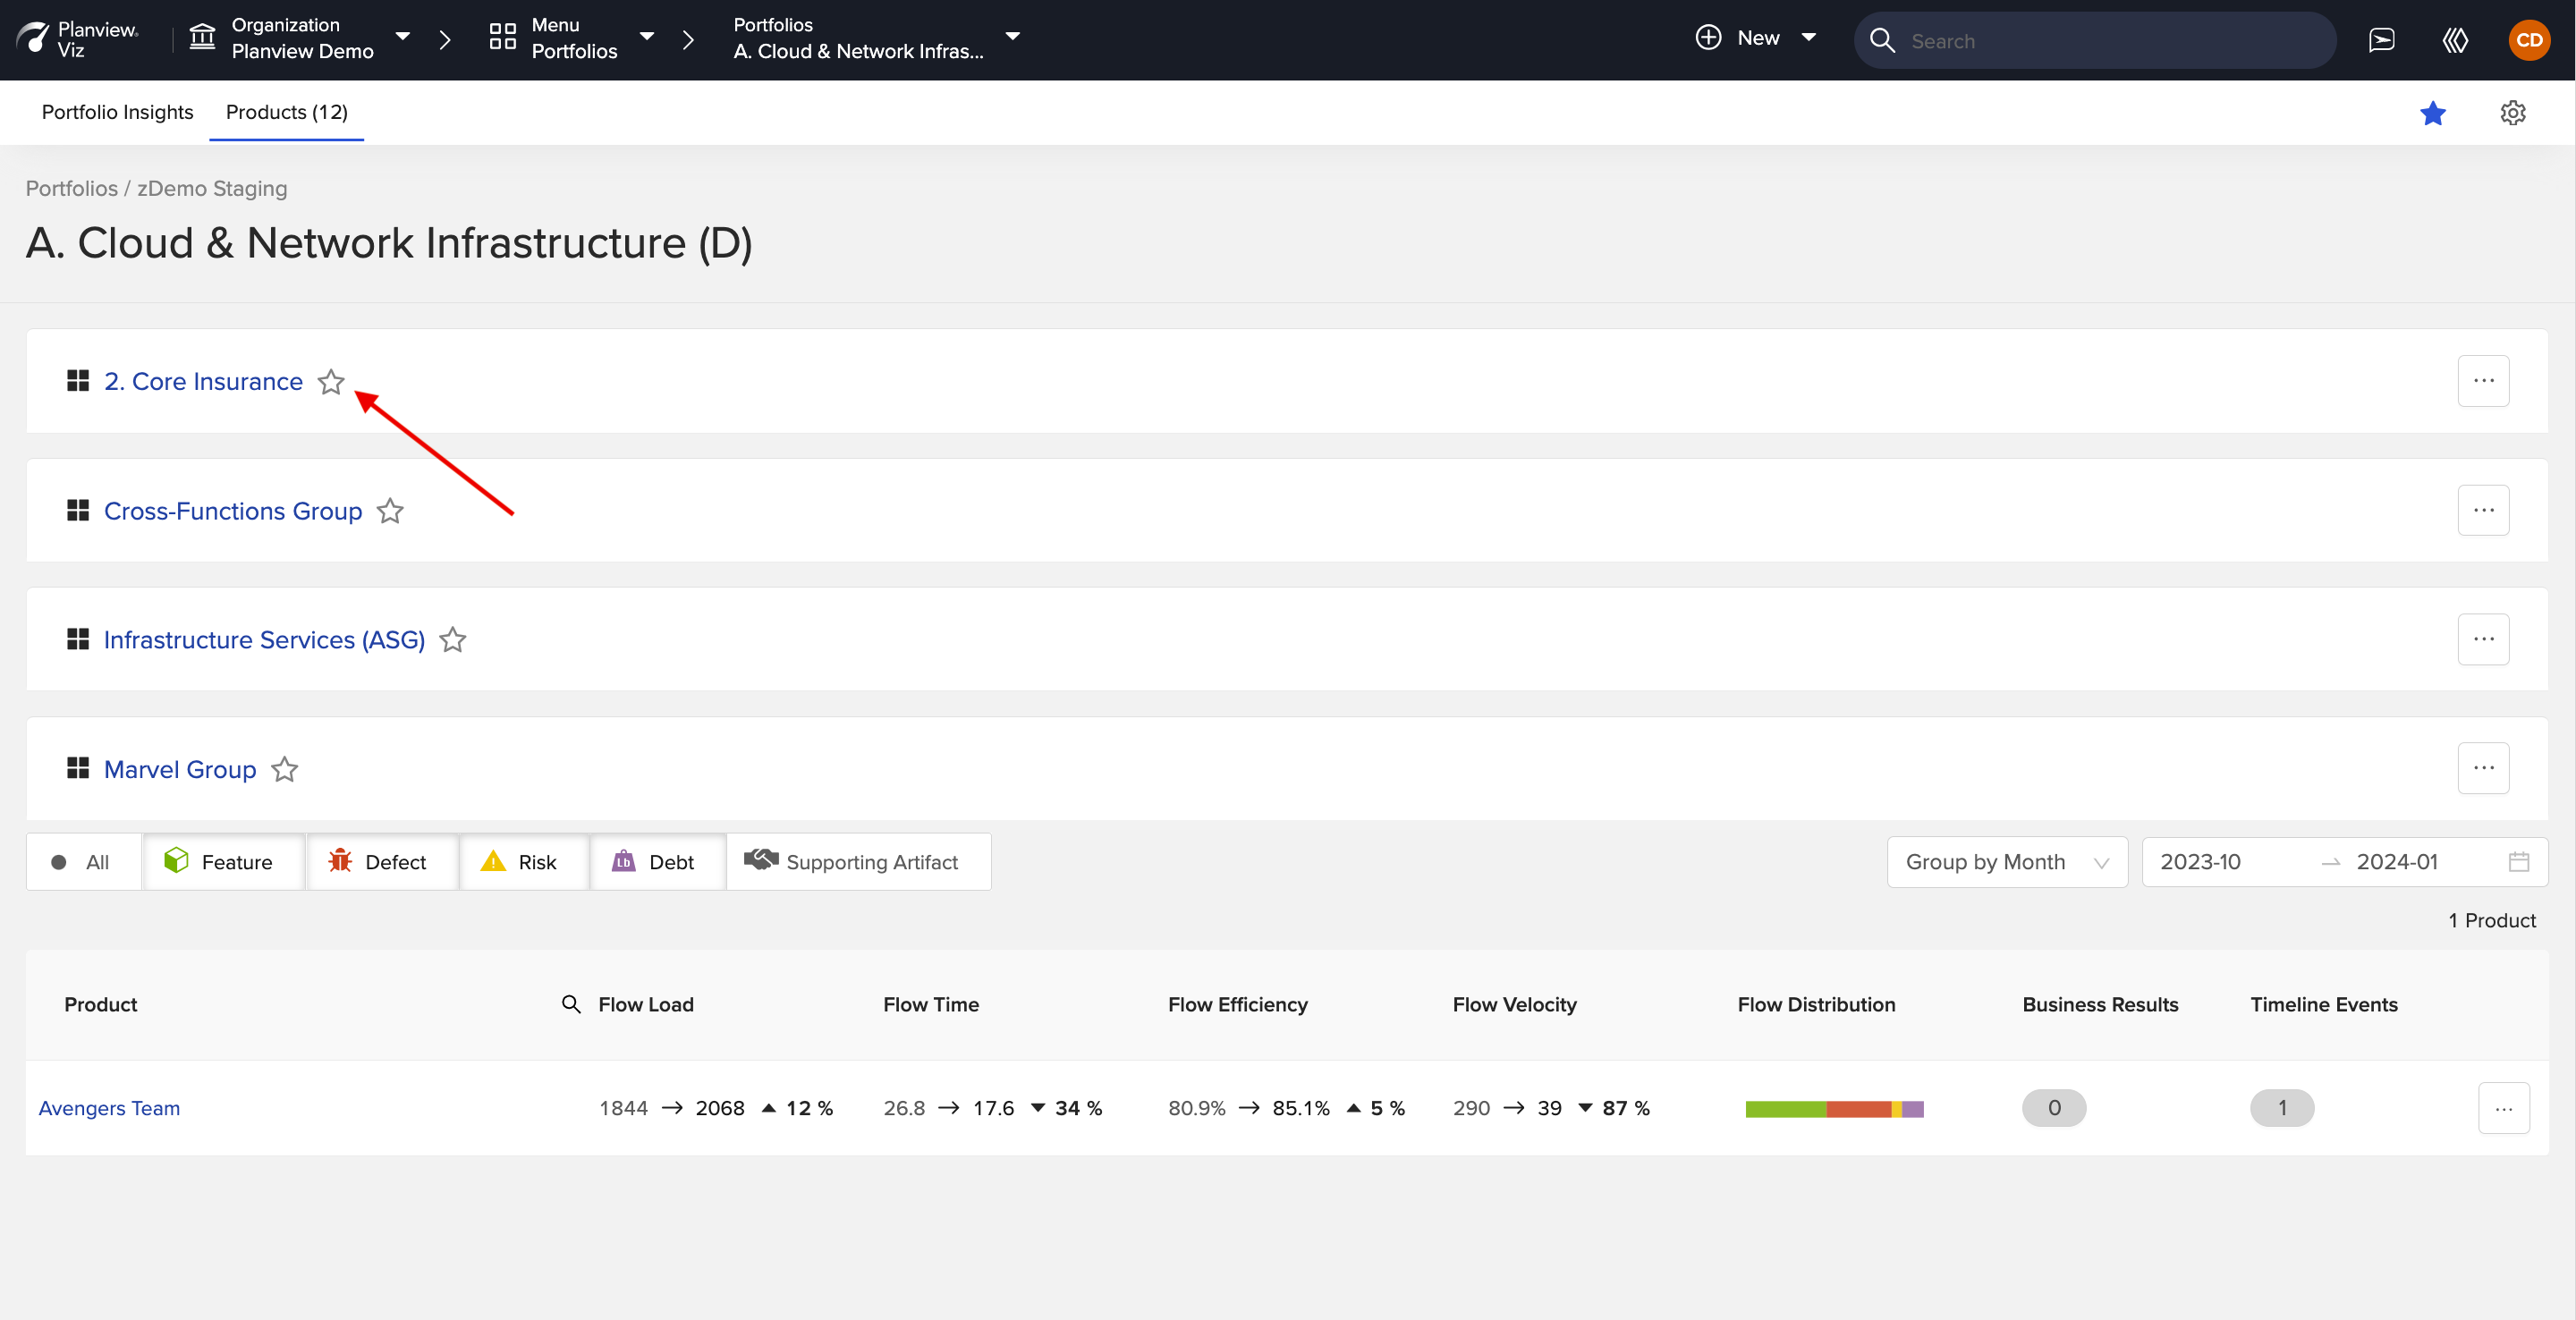
And that's it! Your favorites will then appear in the favorites menu.
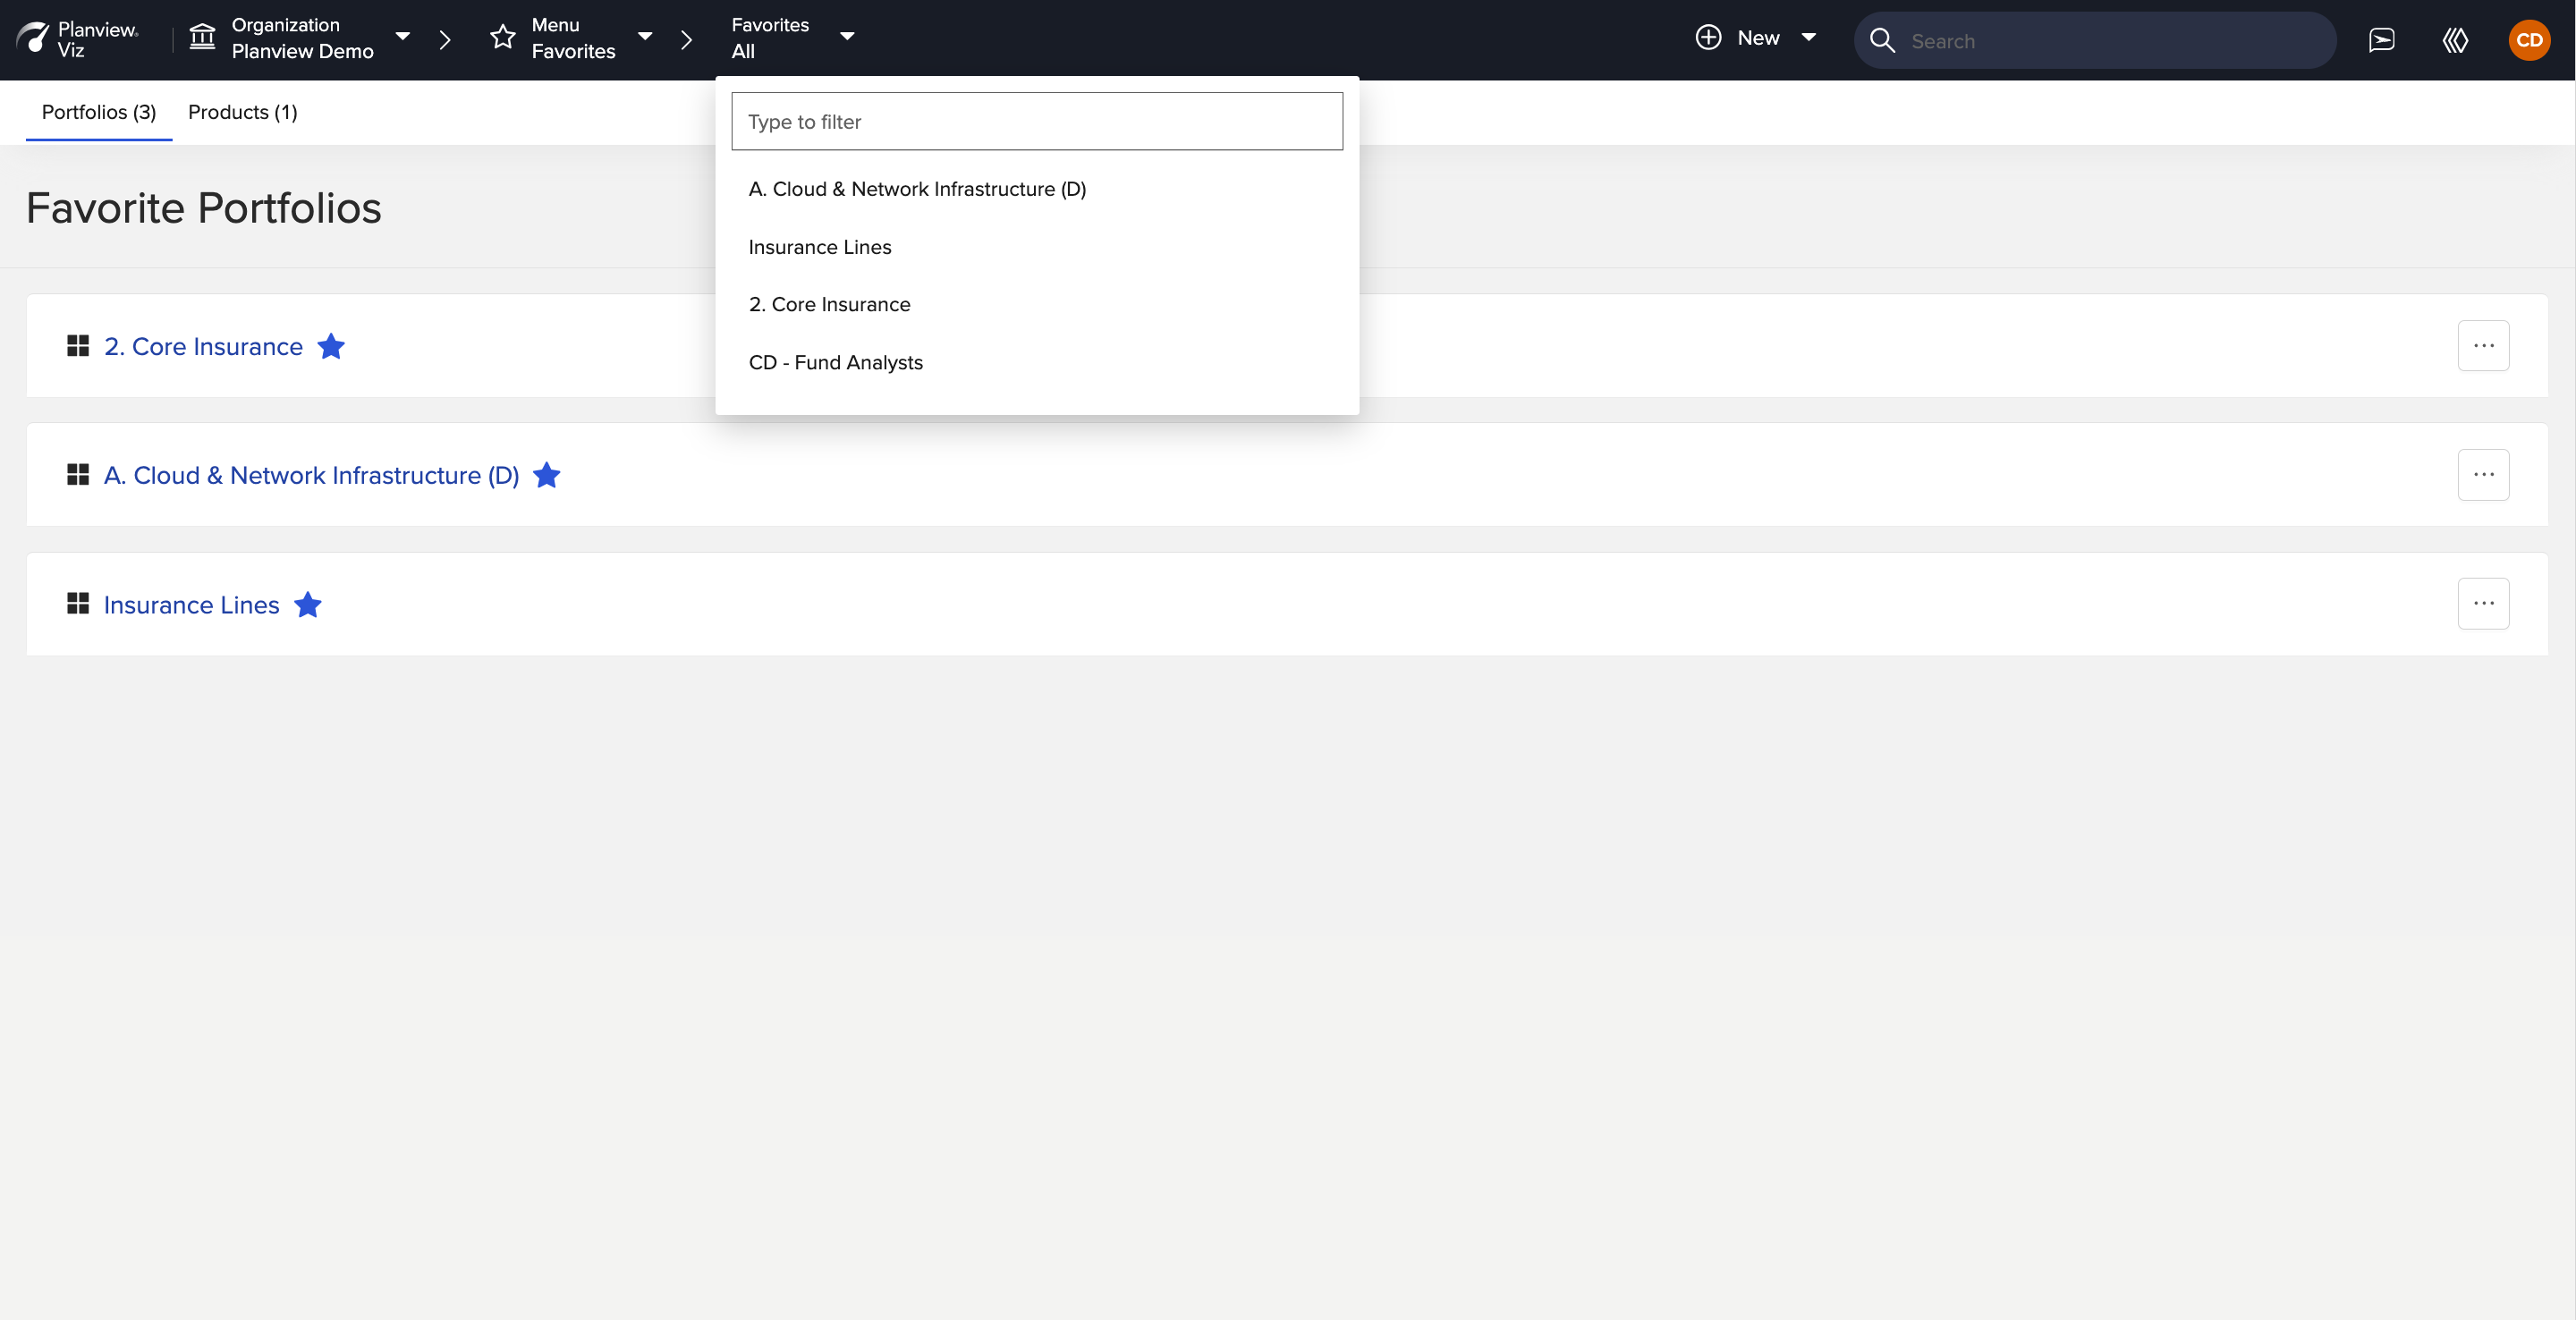
Tip: To remove a favorite, just deselect the star next to the favorited product(s) or group(s).
Navigator
The Navigator provides hierarchical navigation within Viz. It allows you to easily access and switch between the portfolios, sub-portfolios, and products that make up your organization.

By default, the Navigator will be open when you log in. If it's collapsed, you can open it using any of these methods:
- Click the sidebar handle on the left side of the screen
- Select the Navigator option from the main menu.
- Use the keyboard shortcut:
- Windows: Alt + S
- Mac: Option + S


Coaching Tutorial
You can learn more about defining product value stream in the short coaching video below:
Note: This tutorial can also be accessed from the Add Product or Edit Product screens.
Next Steps
After you've finished creating your artifact sets, you can begin modeling your artifacts.